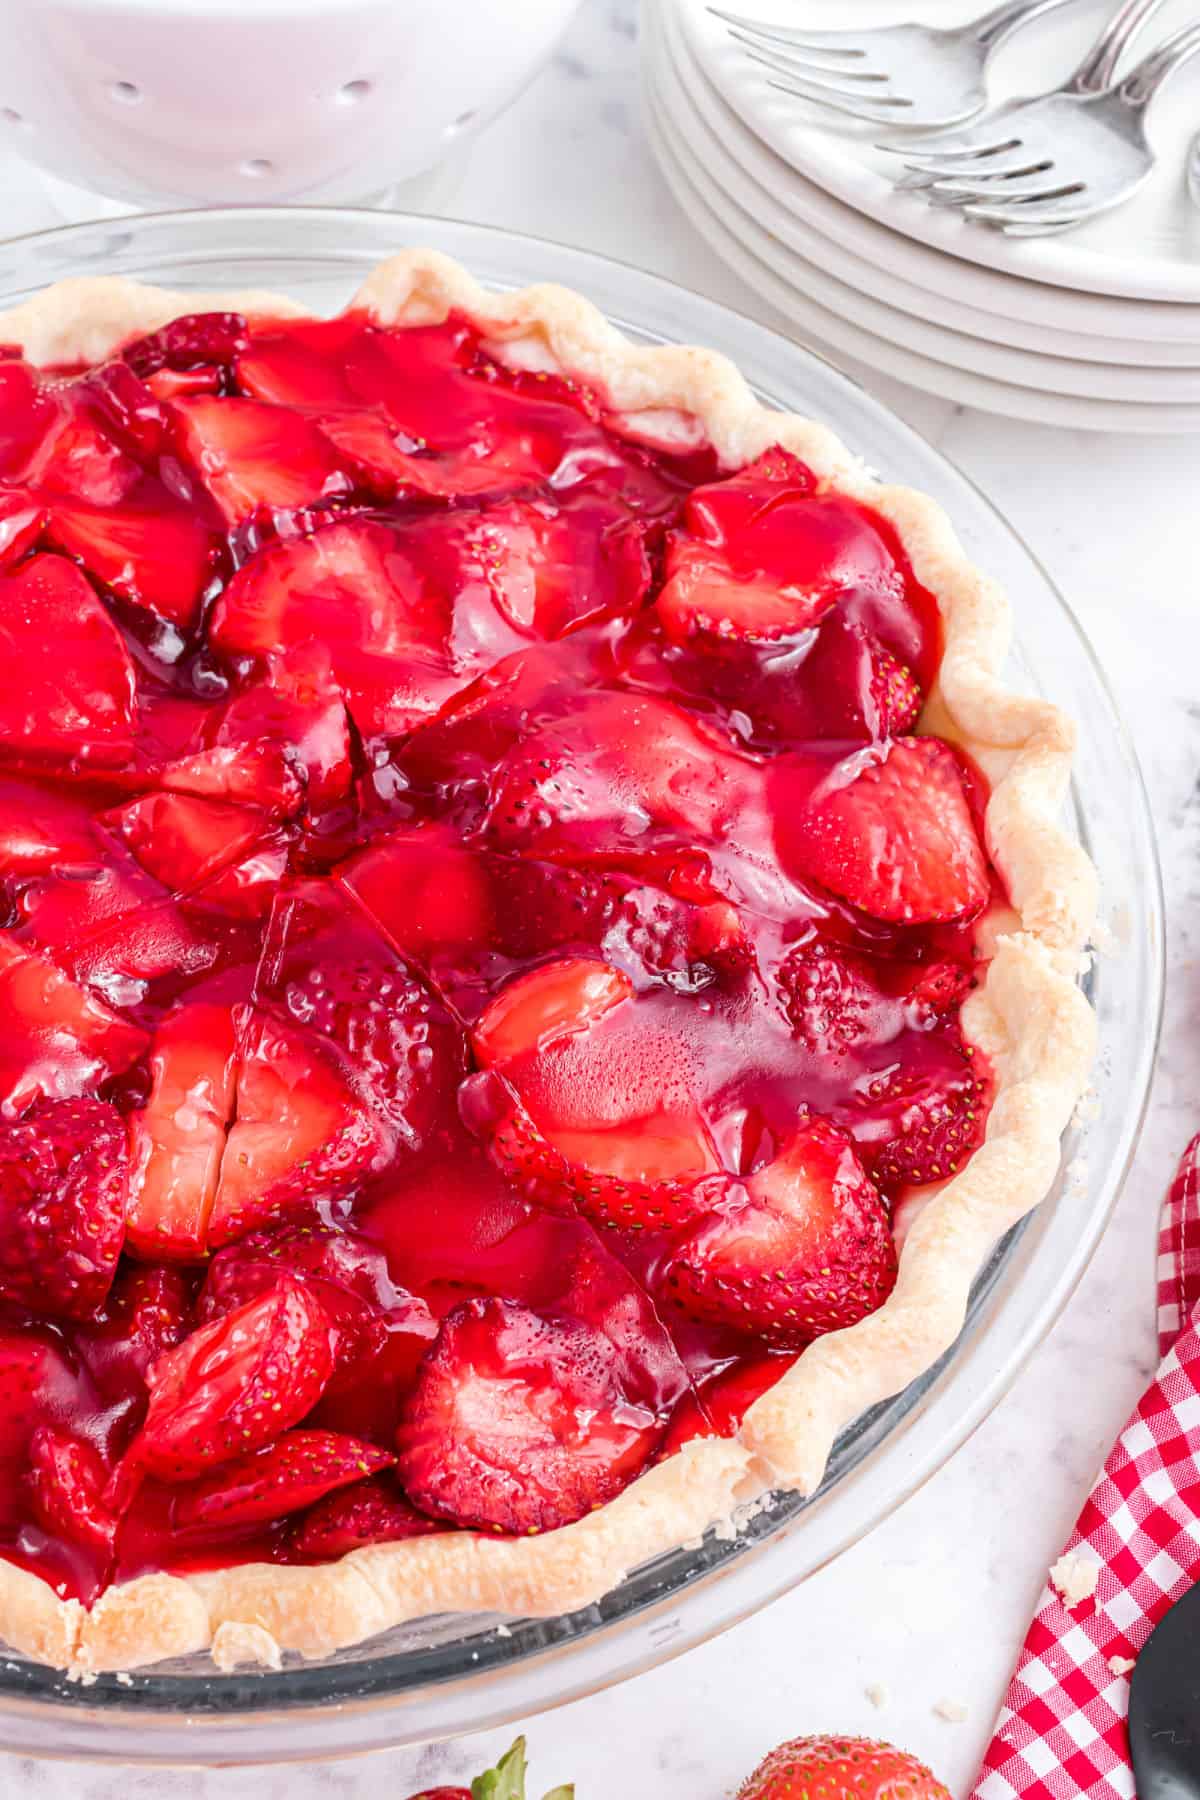
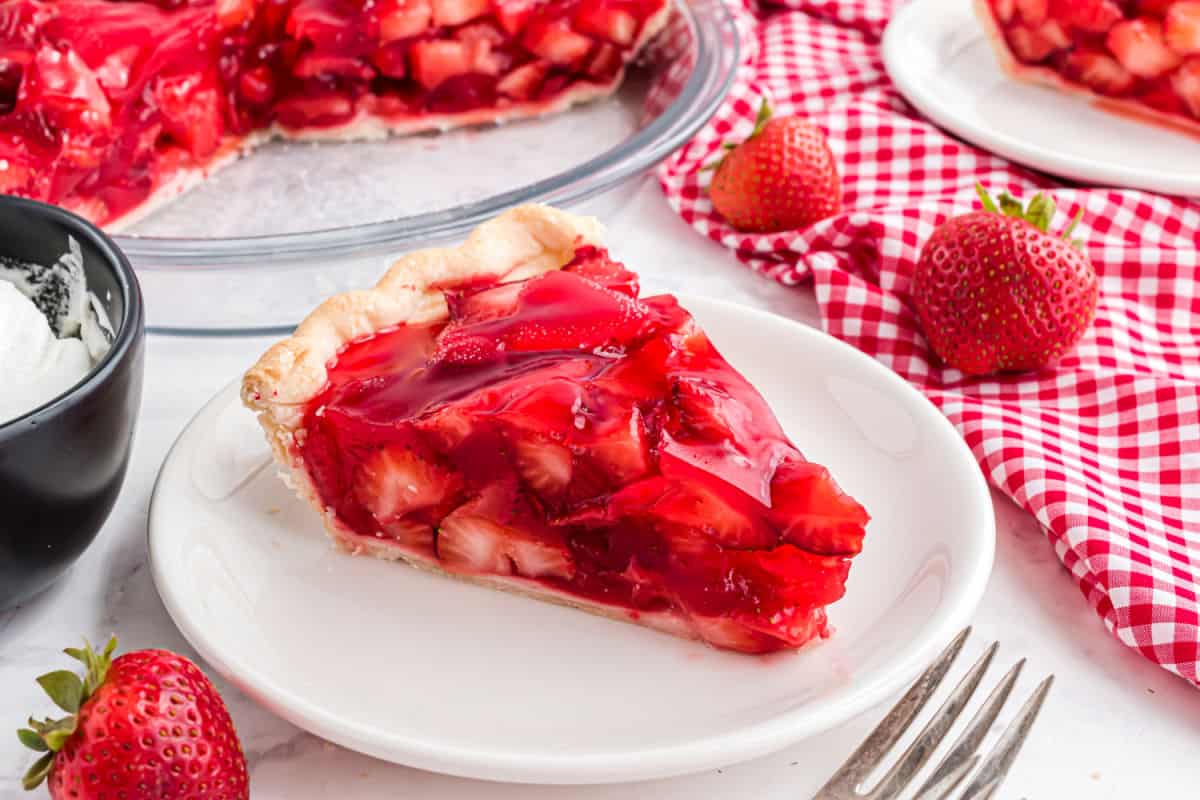
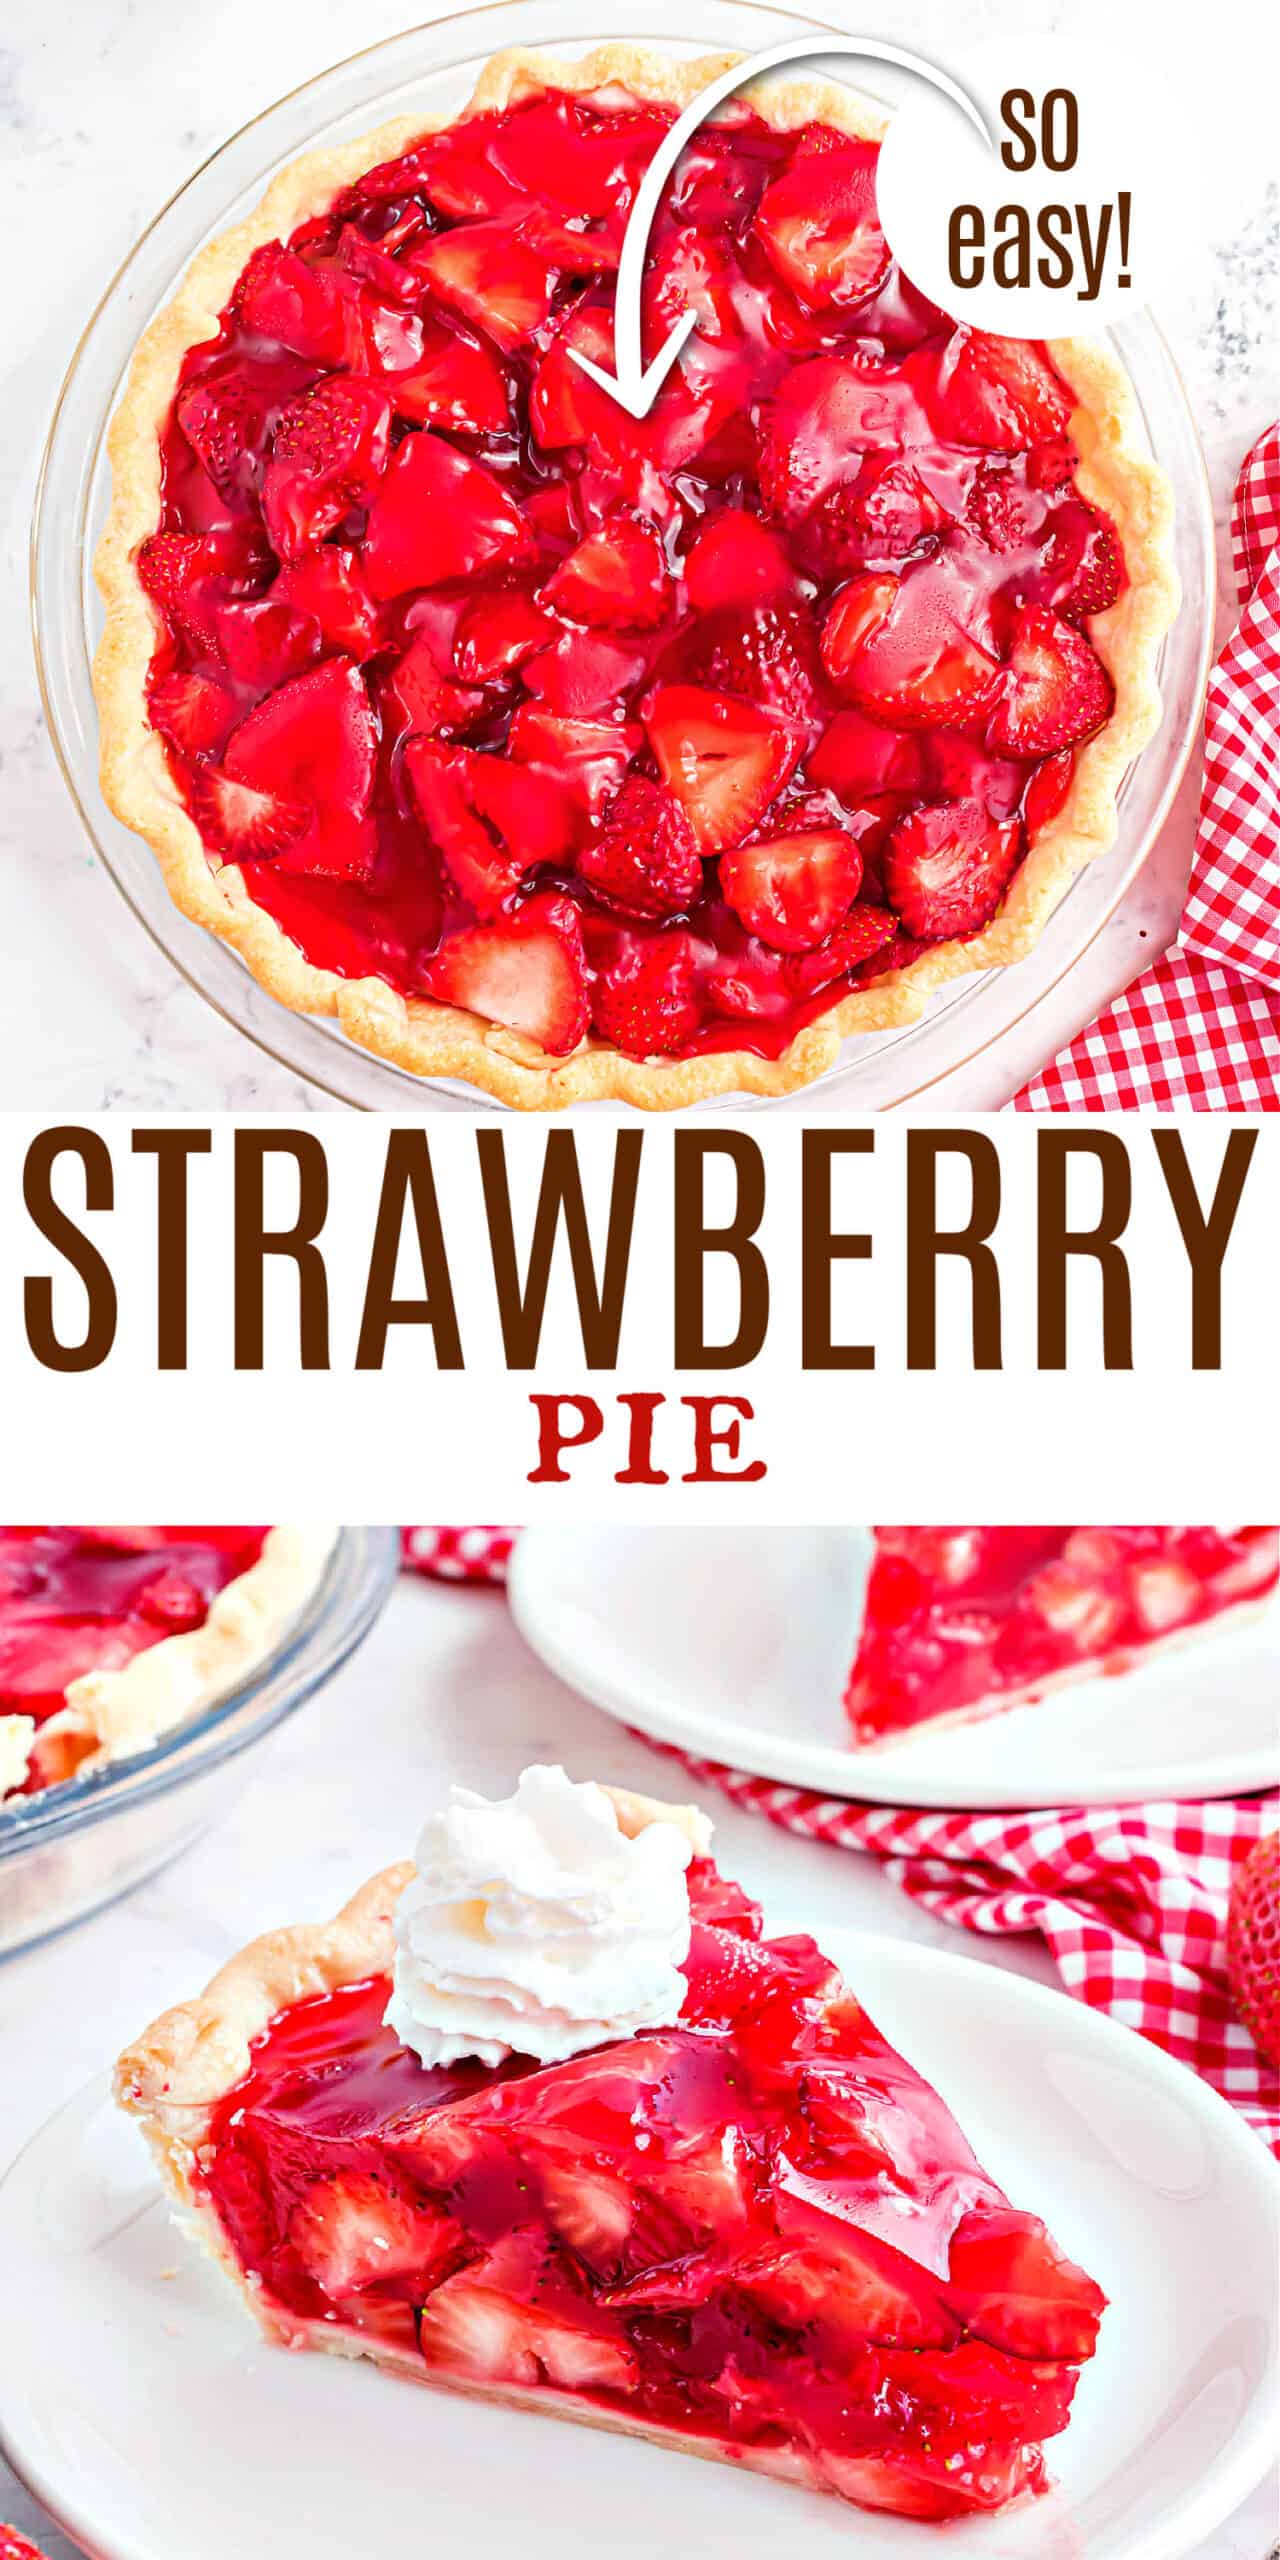
This delicious Strawberry Pie is packed with fresh picked strawberries and sweet flavor. A flaky pie crust, berries, JELL-O gelatin, and whipped cream combine to create the ultimate summer dessert.
Love strawberries? Our strawberry pretzel salad has some of the same great flavor of today’s pie, in a bar! Or give our moist and tender strawberry cake recipe a try next. Don’t forget the strawberry buttercream frosting on top!
Why My Strawberry Pie Is The Best
This strawberry pie recipe is among my favorite ways to celebrate early summer without spending a lot of time and effort in the kitchen.
Fresh strawberries with a cool JELL-O combine to give you such a refreshing treat.
- This pie is only has 6 ingredients, not counting whipped cream!
- The pie crust is the only part that needs to be baked. Then you’ll simply pour in the filling and chill until it’s set.
- You can use pre-made pie crust to save time.
- Less time in the oven means a cooler kitchen on a hot day.
Tip: If you’ve ever had a berry pie that’s runny and soggy, this recipe has a few tricks to help avoid that. Cornstarch and strawberry gelatin come together to help the pie set up and slice cleanly!
Unlike our classic strawberry jello pie recipe, today’s treat is loaded with fresh berries!
Ingredients You’ll Need
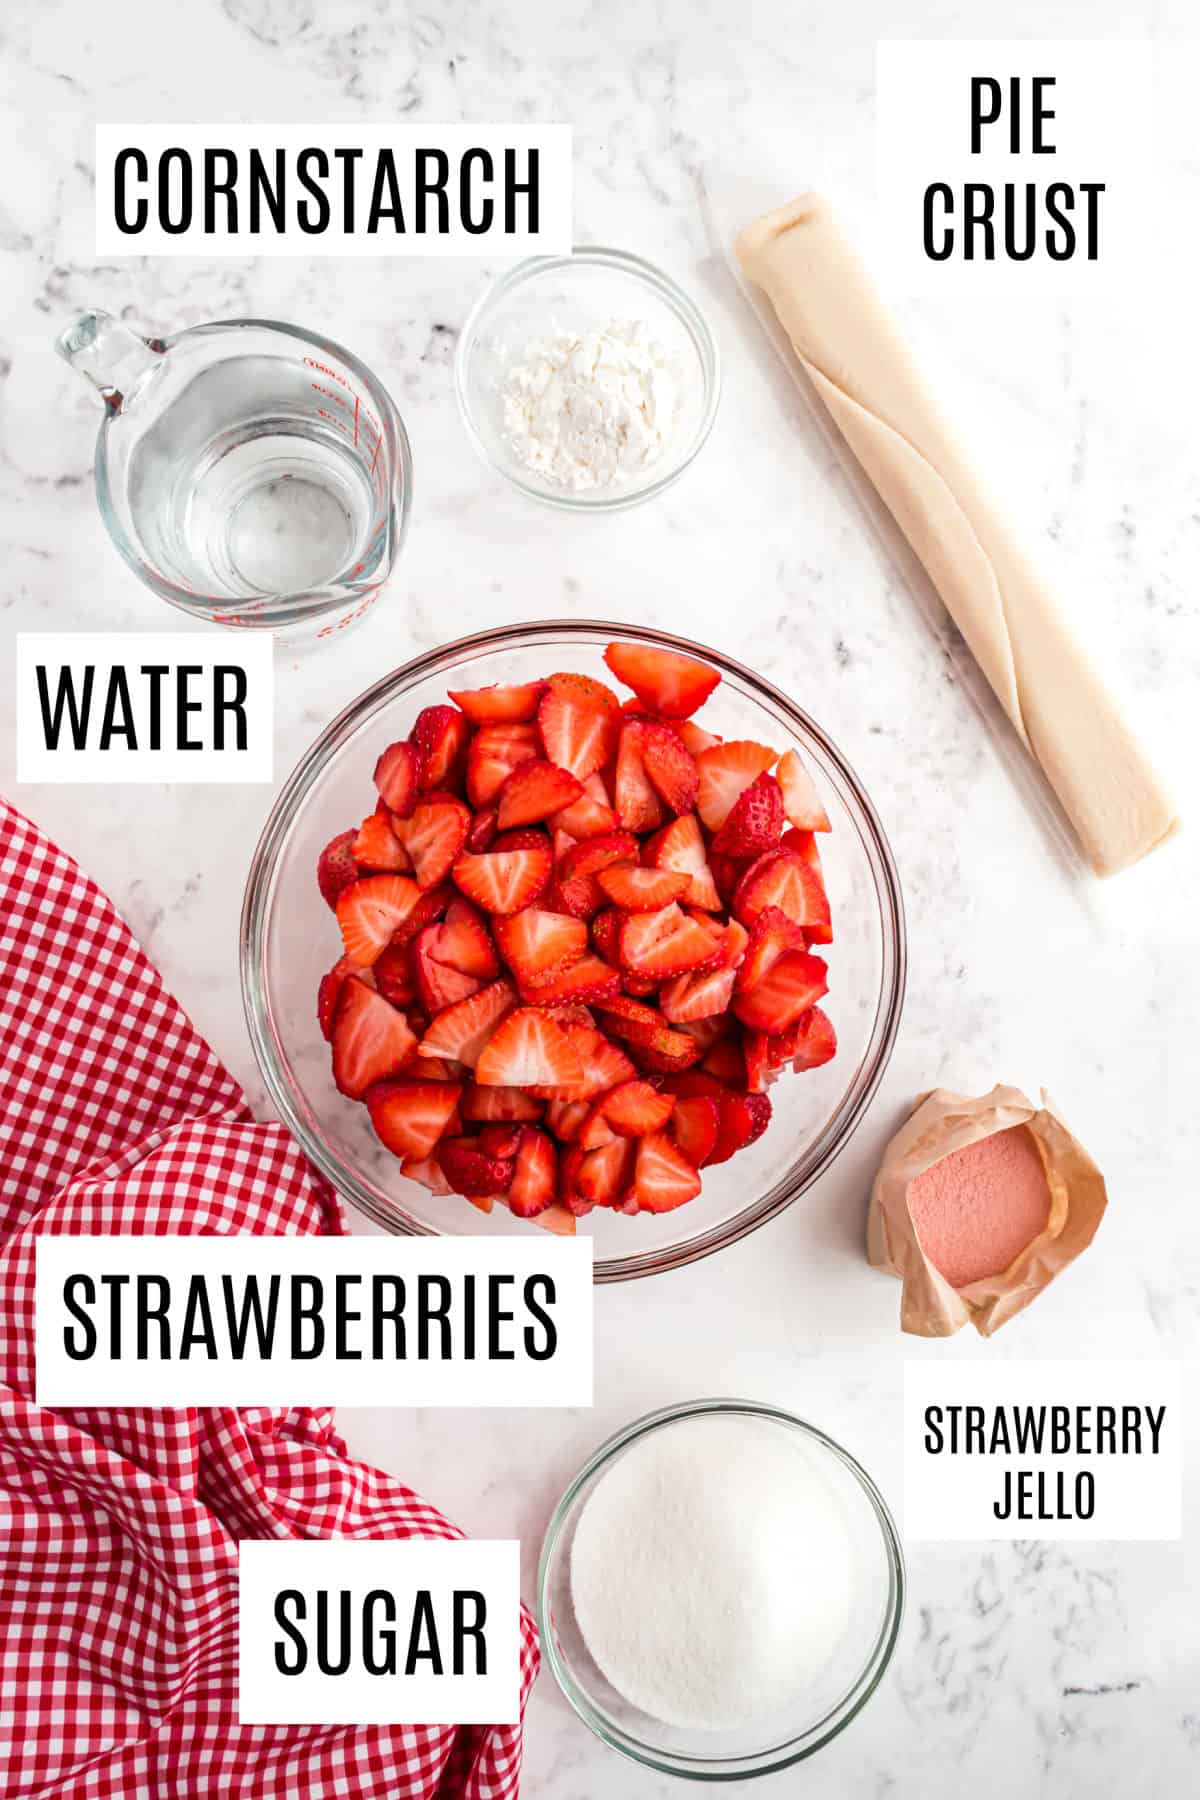
- Pie Crust – For the fastest results, pick up a refrigerated 9” pie crust. Or whip up a homemade pie crust to take your dessert to the next level.
- Granulated Sugar – Adding sugar helps to balance out any sourness in the berries.
- Cornstarch – This is my secret to ensure the pie filling sets firmly, so it stays together when you slice it.
- Strawberry Gelatin – Gelatin helps fill in the space between the berries and sets the filling. It also adds color and shine to the pie.
- Fresh Strawberries – The fresher, the better! Use strawberries of any size.
Pro Tip: Keep your strawberry slices should be on the thicker side – cutting a large berry into about 4 slices and a small one into 3 slices. Slicing the berries too thinly will result in the berries appearing shriveled after a day or two.
How to Make Strawberry Pie
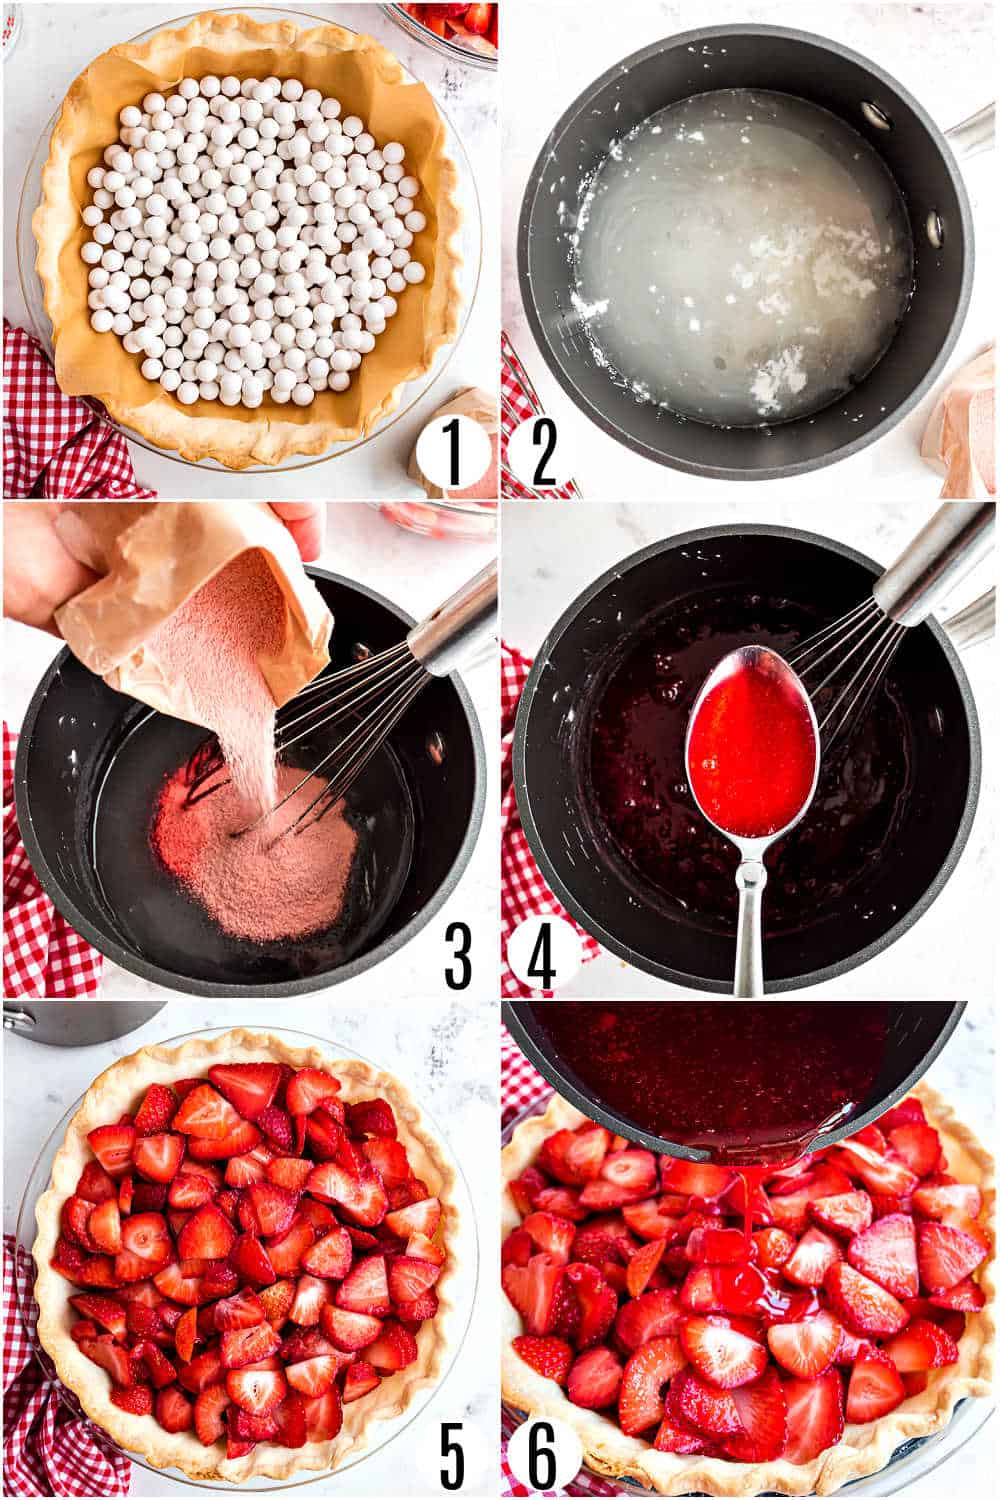
PRO TIP: Wash and prepare strawberries. Rinse and pat dry, remove the top stems, then slice.
- Blind bake the pie crust: Once your pie crust is placed into the pie pan, cover it with a piece of parchment and place pie weights on top. Once it begins to brown, remove the crust it from the oven and set it aside to cool completely. The weights/beans can be removed with the parchment paper once the crust is baked.
- Cook the glaze: Combine the sugar, cornstarch, and water in a saucepan and whisk constantly. Once it’s boiling, cook for about 2 minutes, until the mixture has thickened and looks clearer.
- Add the gelatin and chill: Whisk the strawberry gelatin powder into your finished glaze mixture. The powder should be totally dissolved. Then chill it in the fridge for 20 minutes.
- Fill the pie crust: Once your crust is cool, fill it with the sliced berries. Pour the cooled gelatin mixture over the berries as evenly as possible.
- Chill until set: Refrigerate for at least 5 hours, ideally overnight.
- Slice and serve! (Ideally with whipped cream on top.)
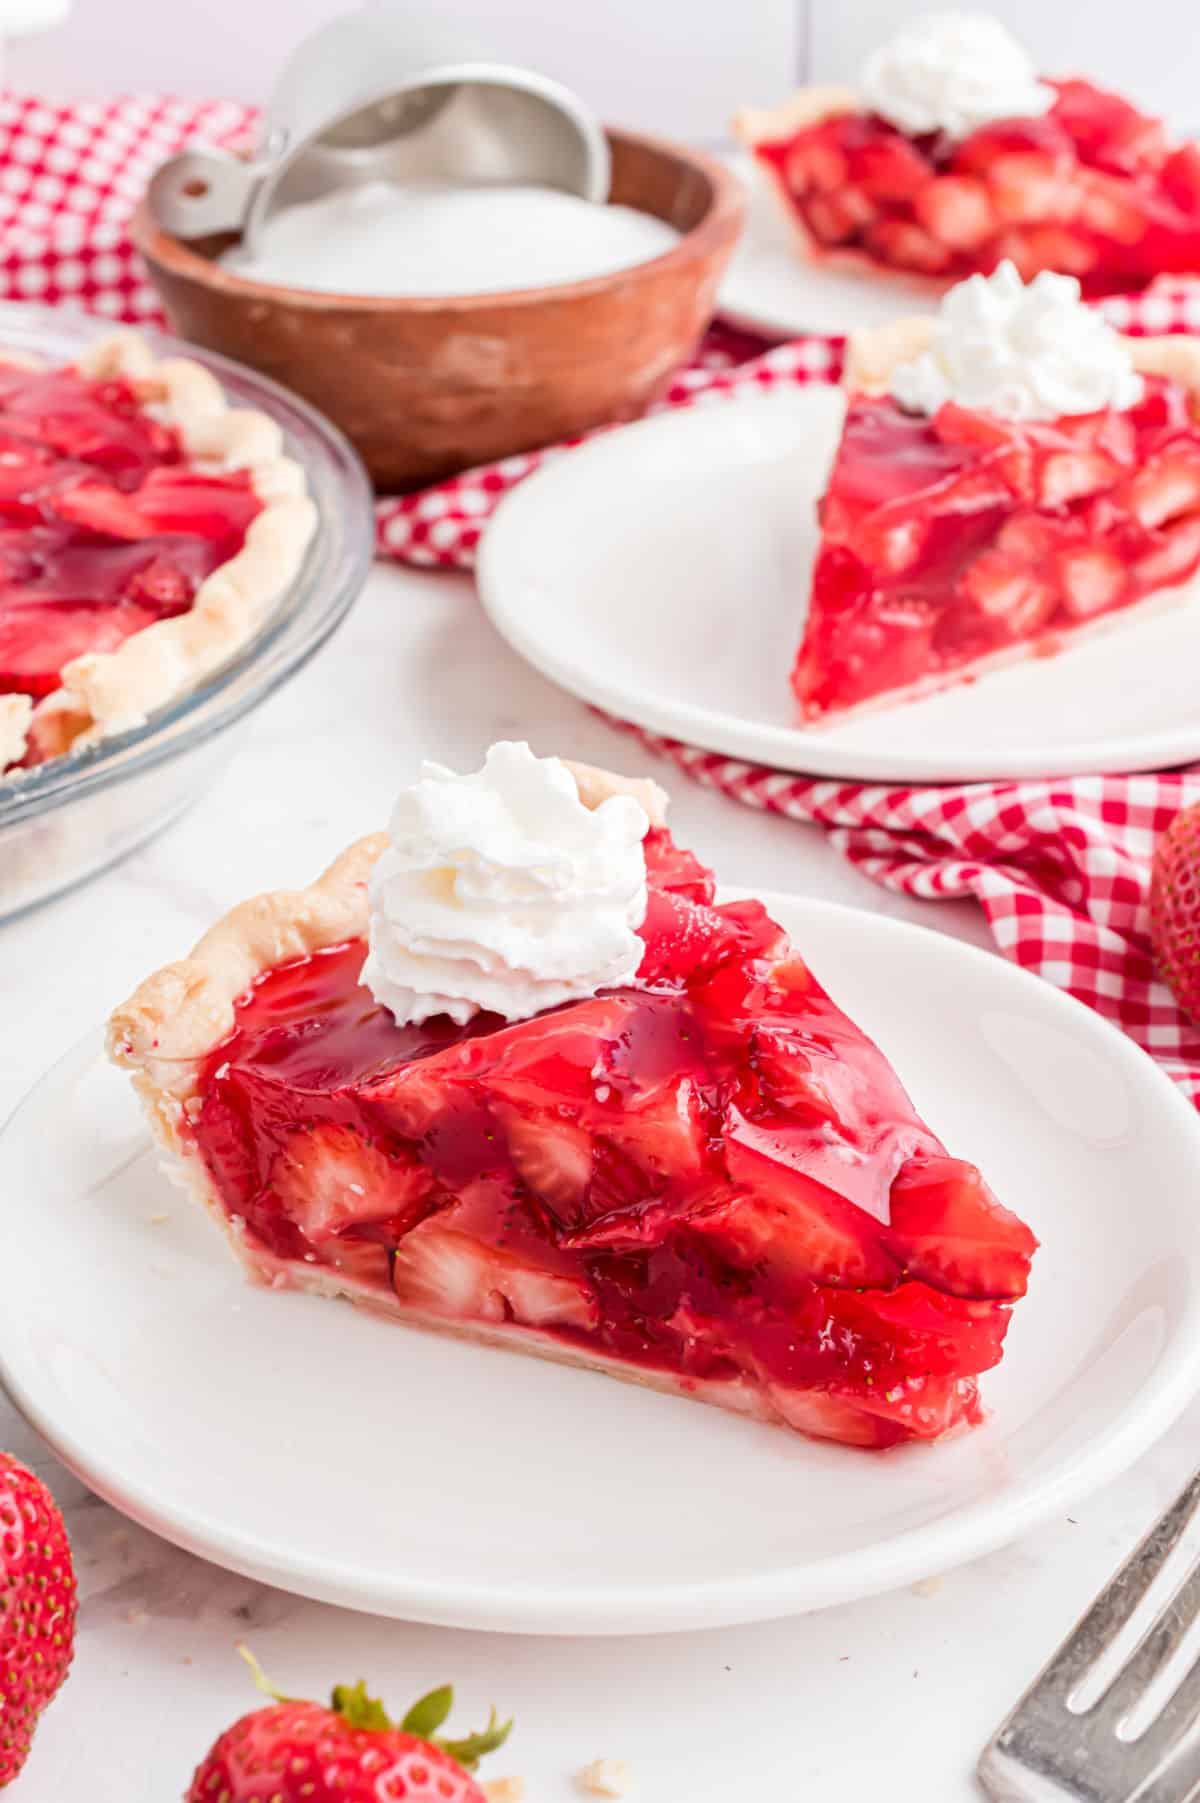
How to Serve Fresh Strawberry Pie
Do you want to top or decorate this strawberry pie with fresh whipped cream?
This is a classic recipe for a soft Homemade Whipped Cream that you can use and eat right away. Or try my Stabilized Whipped Cream if you’d prefer a topping that holds its shape almost like icing.
On a hot summer day, a scoop of our vanilla ice cream would be the perfect pairing.
If you have berries left over, here are a few more strawberry recipes to dig into on hot days:
Easy Dessert Recipes
Pin this now to find it later
Pin It
Strawberry Pie Recipe
Ingredients
- 9- inch pie crust
- ½ cup granulated sugar
- 2 Tablespoons cornstarch
- 1 cup water
- 1 package strawberry gelatin 3 ounce
- 4 cups fresh sliced strawberries
- Whipped cream optional for topping
Instructions
- Preheat oven to 400℉. Unroll refrigerated pie crust (or use homemade pie crust) and place in a 9-inch pie plate.
- Cover with a piece of parchment paper and place pie weights or dried beans on top to prevent the crust from bubbling up and shrinking during blind baking. Bake for 12-15 minutes, until the crust is just starting to brown.
- While the crust is baking, make the glaze. In a medium saucepan, combine the sugar, cornstarch, and water, whisking continuously until the mixture is boiling. Cook over medium-low heat for about 2 minutes, until thickened and the cornstarch is dissolved.
- Remove from heat and whisk in the strawberry gelatin powder until dissolved. Set aside to cool or refrigerate for about 20 minutes.
- Take the crust out of the oven and remove the parchment and weights. Set the crust aside to cool.
- Place sliced berries in the baked pie crust. Pour or spoon the cooled jello mixture over the berries.
- Refrigerate for 5 hours or overnight for best results.
- Cut and serve topped with whipping cream.
Notes
- A refrigerated pie crust (just need one) can be used, or homemade pie crust works great too.
- A fresh strawberry pie will keep in in the refrigerator, covered with plastic wrap or foil, for 3 days. After that, the filling starts to release juices and this can make the crust soggy.
- It is important to use pie weights or beans to blind bake the crust.
- While cooling the glaze, it is important to keep an eye on it. If you leave it in the refrigerator too long, it can start to set up to the point that it won’t spread on the pie and sink down into the filling to fill all the spaces between the strawberries.
- If the gelatin mixture is not transparent after cooling, don’t use it! This can be another sign that the mixture wasn’t boiled long enough and the cornstarch didn’t get dissolved. This will lead to a runny pie filling and a soggy crust.
- Graham cracker crust. While our graham cracker crust recipe is delicious, I wouldn’t use one for this strawberry pie. In testing it, the mixture seeped into the pie crust before setting, causing the crust to be very soggy.
- Plan ahead! We love making this pie in the evening and allowing it to set overnight in the refrigerator. Or make first thing in the morning to enjoy at dessert.

This strawberry pie desert looks & sounds so good!!
My hubby is a diabetic. Any hints on making with sugar-free jello.
Diabetic recipe for fresh strawberry pie thank you
This is a delicious pie. My mother used to serve this in her restaurant. People loved it.