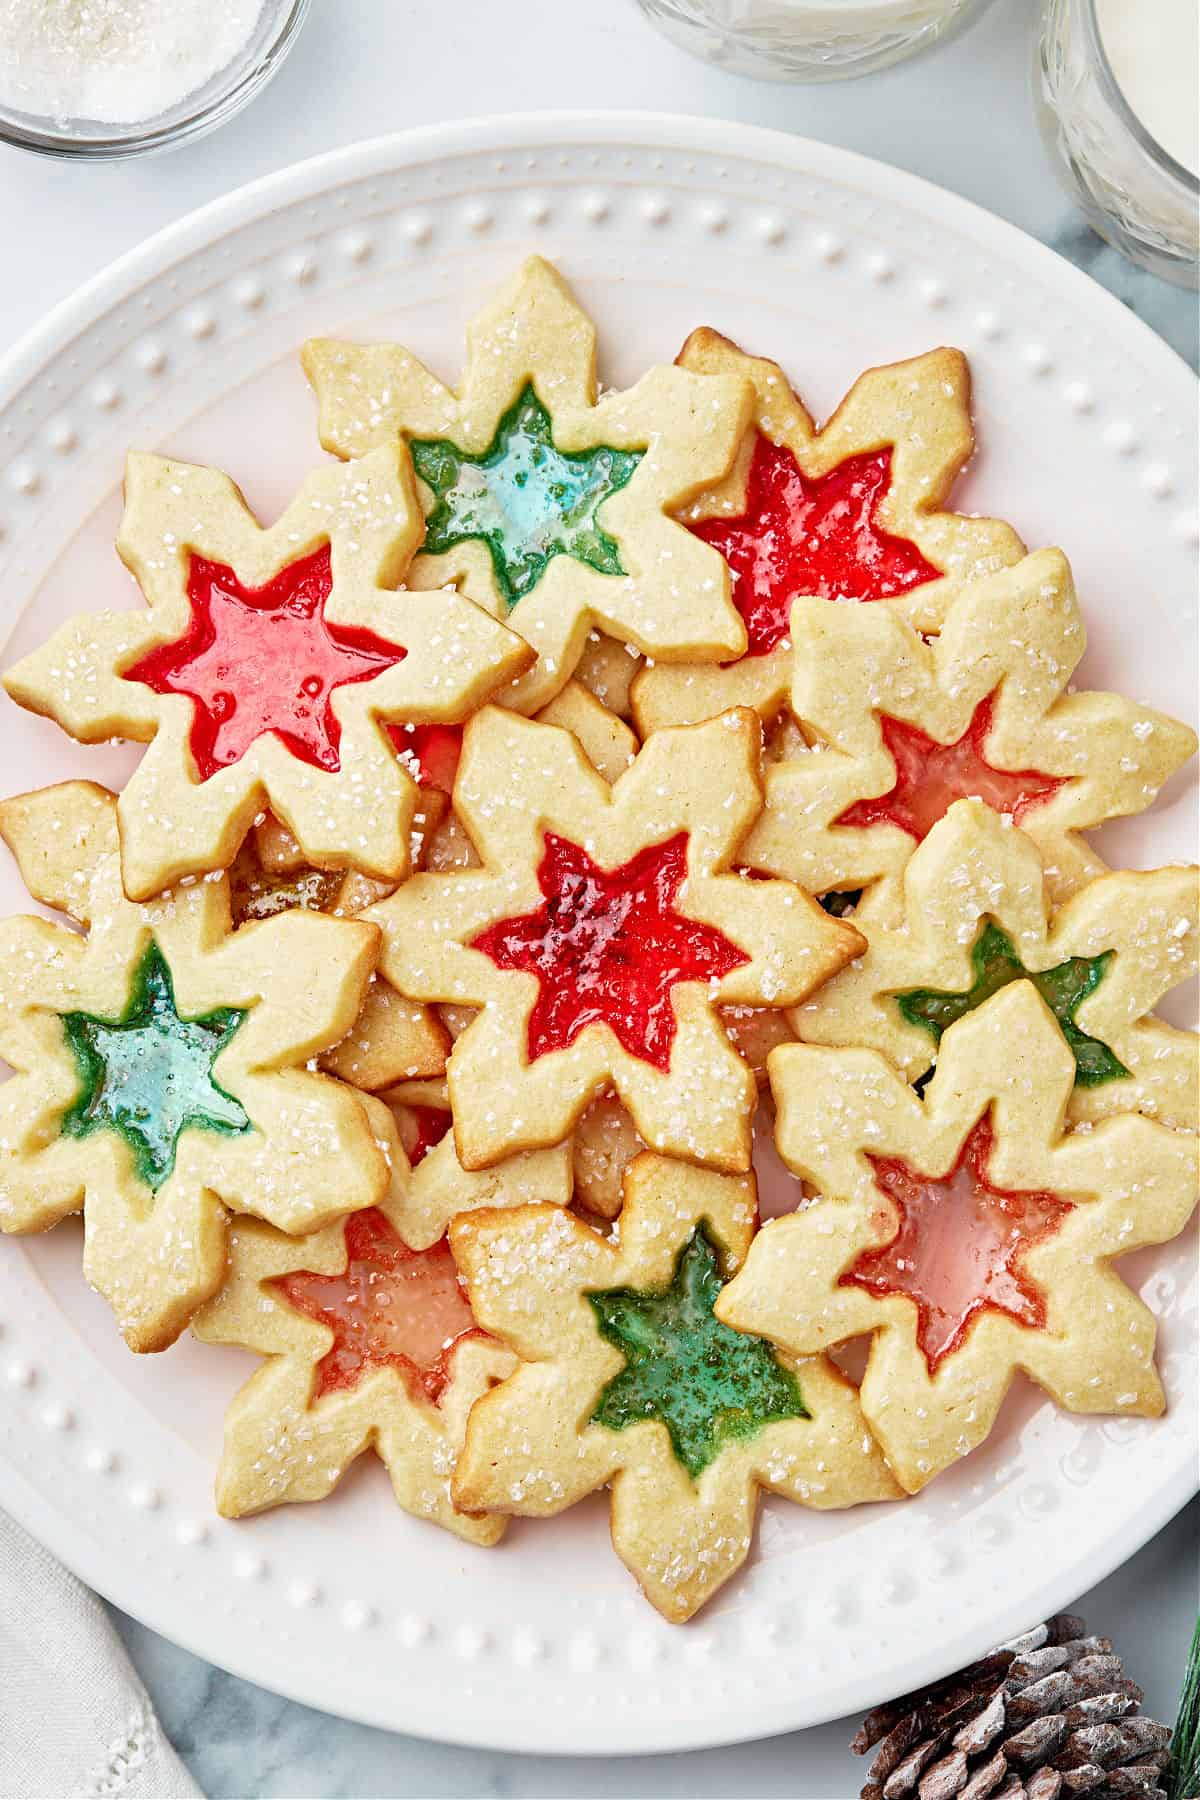
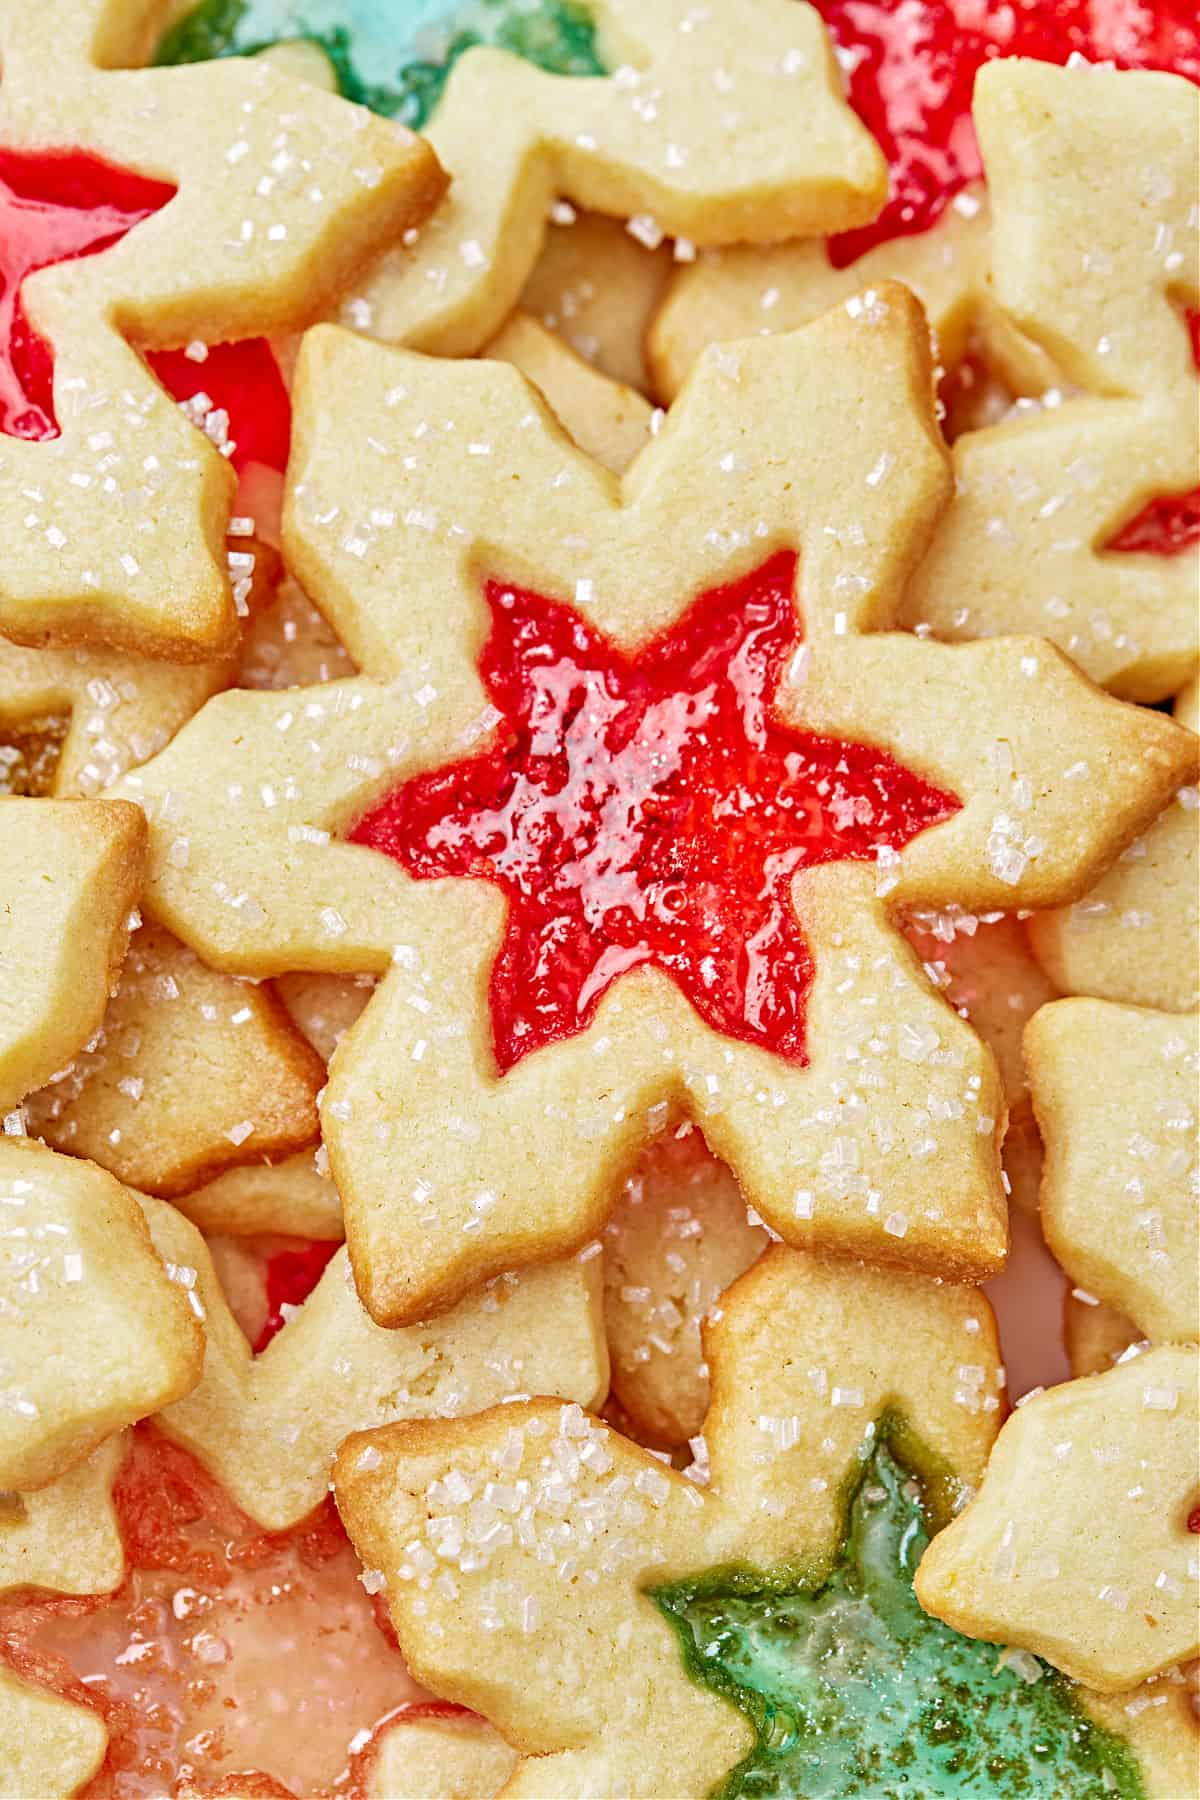
Stained Glass Cookies are buttery sugar cookies with a beautiful melted candy center that looks like stained glass windows. They are impressive but easy to make and perfect for the holidays!
If you’re looking for more Christmas cookies, you must try these delicious eggnog cookies. Or for a more classic recipe, try our rugelach!
Why This Recipe is Best
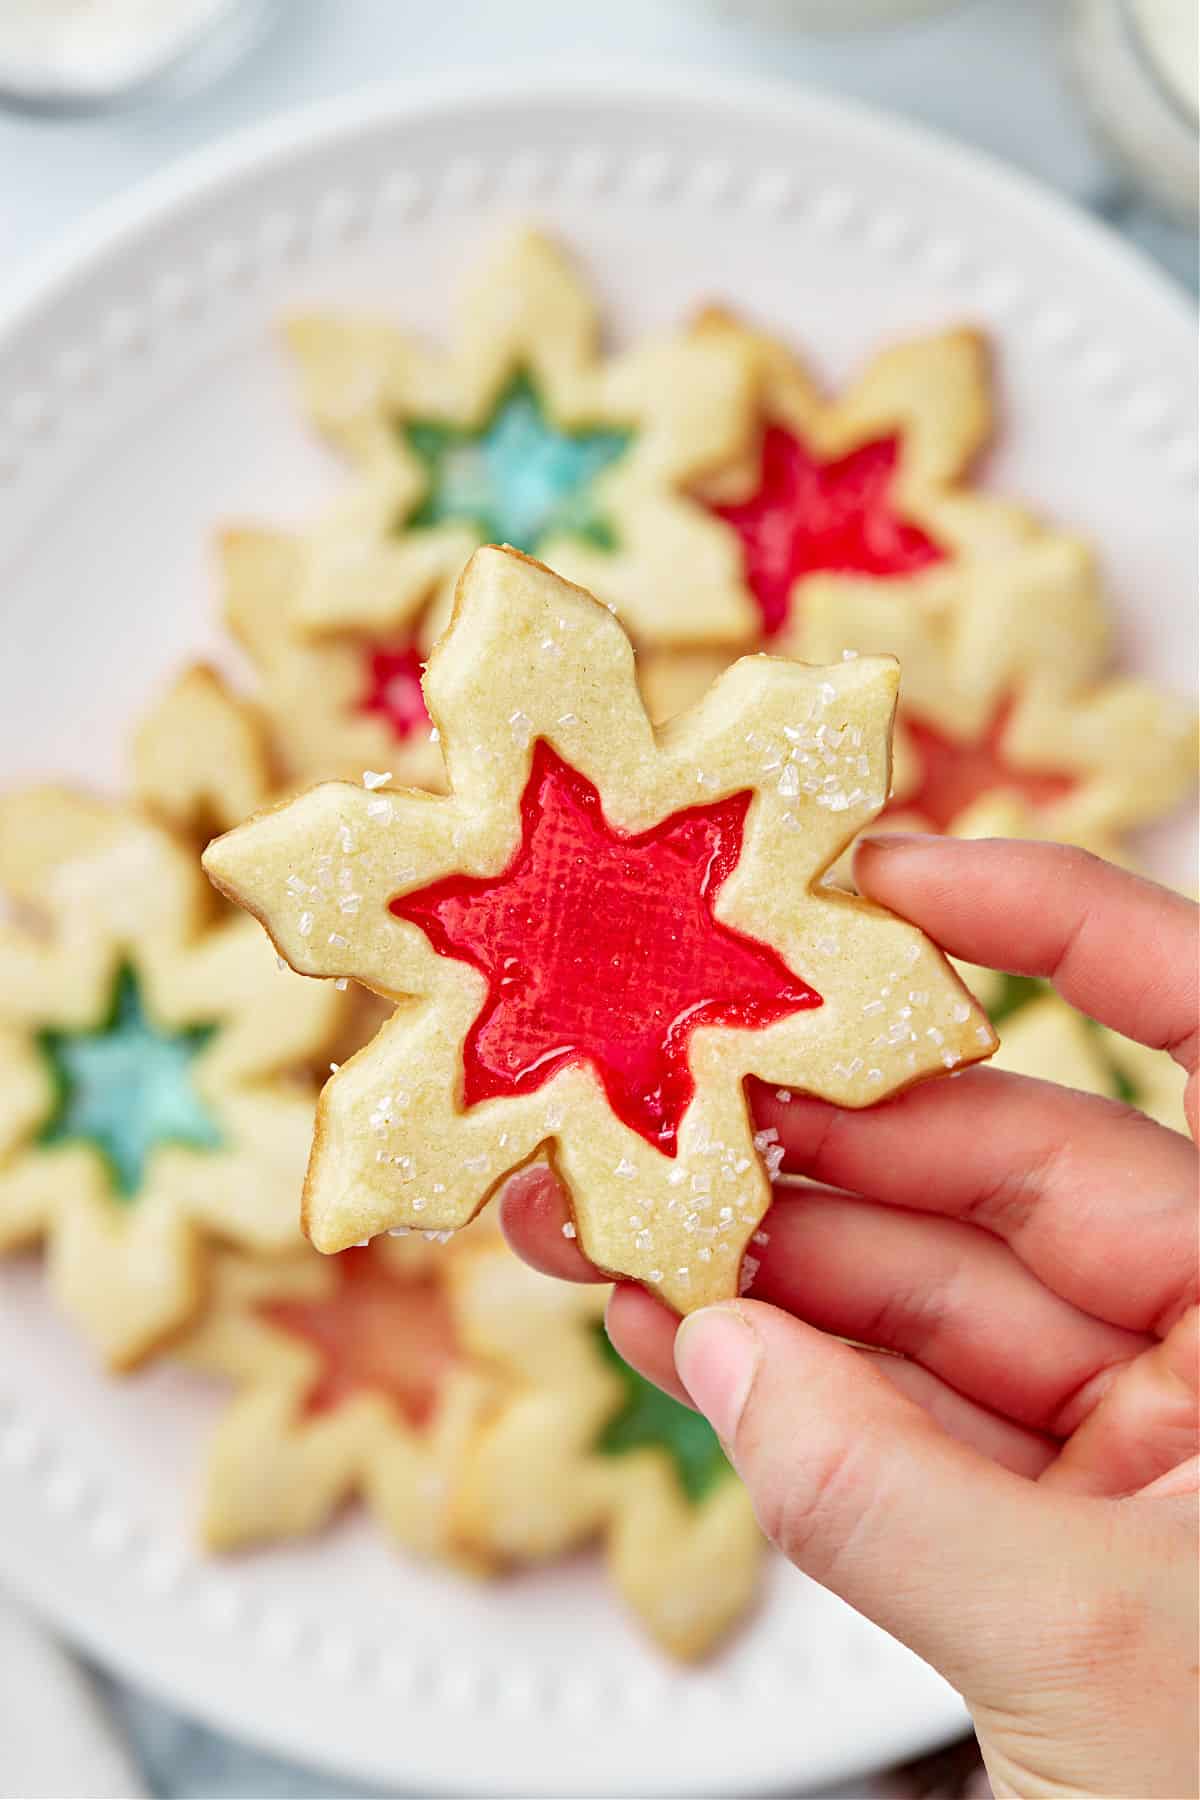
Stained glass cookies take cut-out cookies to a whole new level! These sugar cookies are cut to have an open center that’s filled with crushed candy and baked until set.
The slightly translucent colors look just like stained glass for a truly beautiful, unique cookie!
- The dough for these cookies is just basic, on-hand ingredients, and comes together easily.
- Use Jolly Ranchers or other hard candies and select whichever colors you want to feature for your stained glass!
- These cookies make a gorgeous addition to a holiday dessert table and can also be gifted to friends, family, neighbors, teachers, anyone!
Ingredient Notes
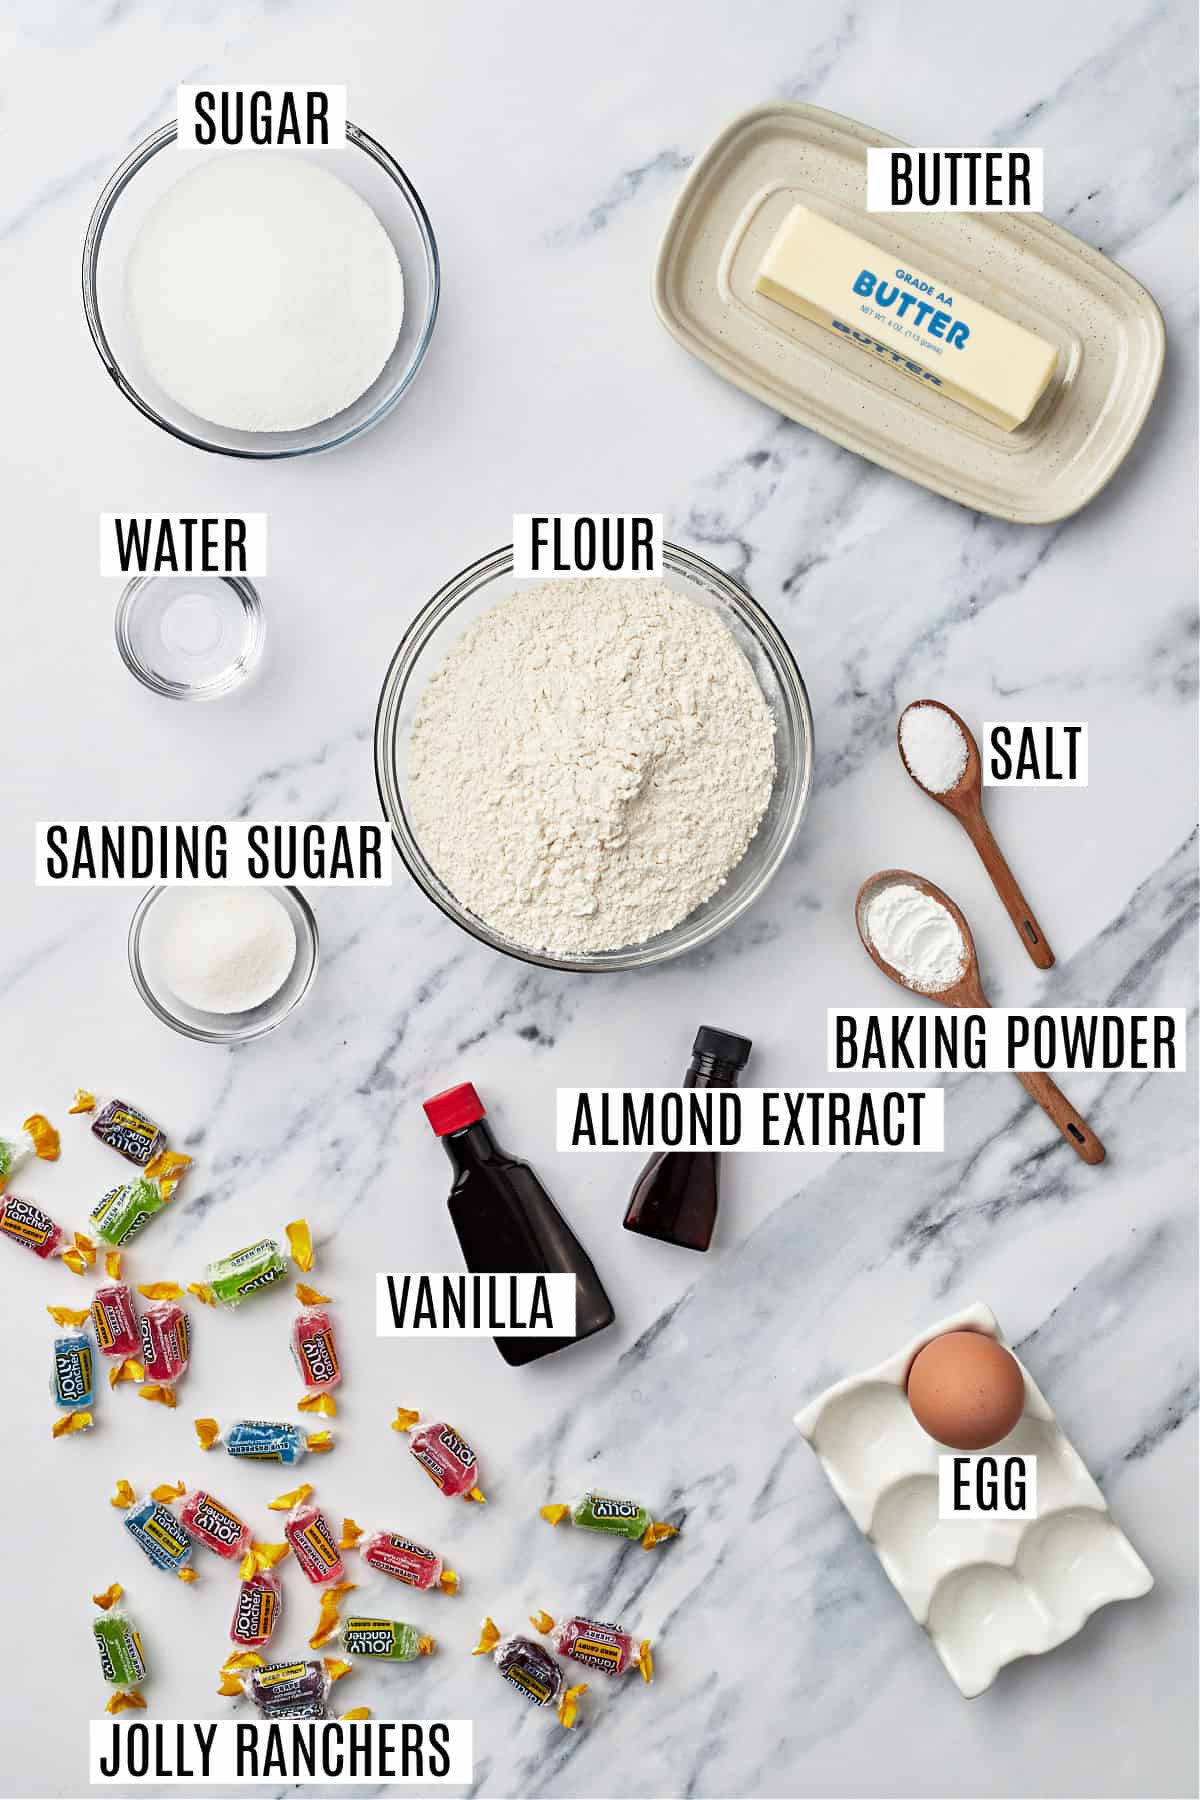
- Unsalted butter – Unsalted butter is best for these cookies. You can use salted butter if that’s all you have; just leave out the added kosher salt in the recipe. See our guide on how to soften butter.
- Vanilla extract – Be sure to use a PURE vanilla extract, not imitation. Try our homemade vanilla extract for best results.
- Almond extract – This blends beautifully with the vanilla to enhance the flavor of the cookie. However, you can substitute extra vanilla extract if you don’t have any.
- Candy – You can use Jolly Rancher candies or other fruit hard candies, such as Life Savers, for the melted candy middle. Just choose your colors and separate the candies accordingly.
Easy Instructions
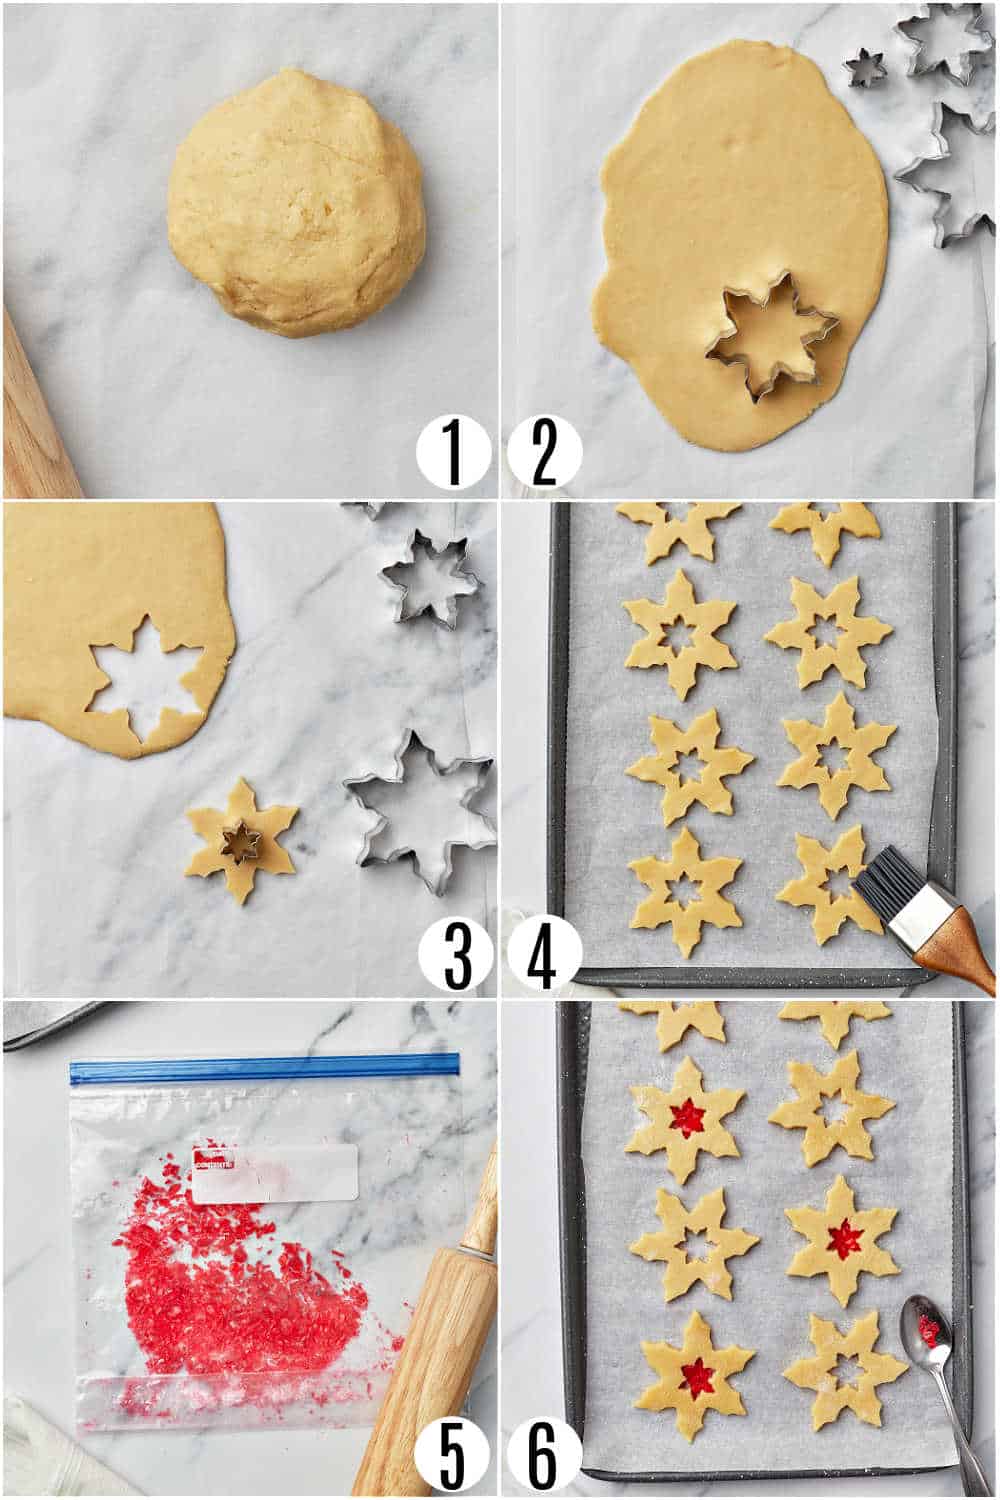
Make the cookie dough. Once you’ve made the dough, divide into two balls.
Roll and chill the dough. Roll each dough ball out to ¼-inch thickness on a piece of parchment paper then chill the rolled out cookie dough for 2 hours (or overnight).
PRO TIP: It’s easier to roll out the dough and chill it (between two pieces of parchment paper, than to chill the dough balls. If you MUST chill the dough balls, you’ll need to work carefully as the dough will be drier.
Cut and fill the cookies. Use two different sized but same shape cookie cutters to cut out the cookies. Crush the hard candies, assorted by color, and fill the cut out cookies with the crushed candy.
Bake then cool. Bake until the candy centers have completely melted and the edges of the cookies are slightly browned. Let cool on the cookie sheet for 10 minutes then remove and let cool completely on a wire rack.
Tips and Tricks
- Don’t chill the dough while it is in a ball shape or it will become dry and be too difficult to roll out.
- Rolling the cookies out on parchment paper will prevent the cookie dough from sticking to the pan and make it easier to transfer in and out of the refrigerator for chilling. It makes clean up easy, too!
- We love these snowflake cookie cutters but any shape will work. You need two different sized cookie cutters – one for the bigger shape that will be filled with the crushed candy and one for the smaller center that will be removed (and can be baked on its own, plain).
- Fill the center of the cookies with crushed candy pieces to about ¾ full. Overfilling with candy can cause them to bubble over the tops of the cookies.
Recipe FAQs
You can use any hard fruit candy, such as Jolly Ranchers or Life Savers. Separate the candies by the colors you want to use, then crush the candies to use as the stained glass center of the cookie.
Yes, these cookies can be made in advance. Let them cool and set up completely before storing. They will keep in a covered container at room temperature for up to 5 days.
Yes. You can freeze the baked and cooled cookies in a freezer-safe ziplock bag for up to 3 months.
More Holiday Desserts
- Perfect your fudge making skills with this easy Vanilla Fudge Recipe! Customize it with your favorite add-ins if you want!
- Creamy, moist and soft, these Ricotta Cookies are perfect for a tangy cookie!
- 7 Layer Bars are layered deliciousness! Bursting with a perfect blend of flavors from chocolate, nuts, and caramel!
- This Christmas Crack Recipe is addicting! Sweet and salty do it right in this recipe!
- Crispy, buttery Saltine Toffee is easy to make and easier to eat!
- These soft Kolachky Cookies have a sweet fruity filling center to make a festive holiday cookie!
Holiday Cookies
See all Cookies recipesPin this now to find it later
Pin It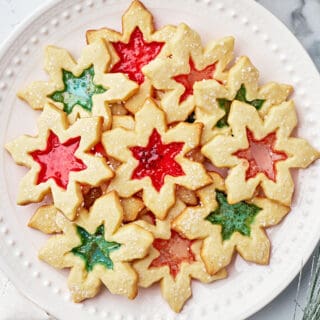
Stained Glass Cookies
Ingredients
- 1 cup unsalted butter softened
- ¾ cup granulated sugar
- 1 teaspoon vanilla extract
- 1 teaspoon almond extract
- ¼ teaspoon kosher salt
- 1 large egg
- 2 ¼ cup all-purpose flour
- ½ teaspoon baking powder
- 12 Jolly Rancher candies various colors
- 2 Tablespoons water optional
- 2 Tablespoons sanding sugar optional
Instructions
- In a large mixing bowl, beat the butter, sugar, vanilla, almond extract, and salt until light in color and well blended.
- Add in the egg and mix until completely combined.
- Slowly add in the flour and baking powder just until combined, do not overbeat the dough.
- Divide the cookie dough into two equally size balls. Place one ball on a sheet of parchment paper and roll the dough to 1/4-inch thickness. Repeat with the second ball of dough.
- Cover the two sheets of rolled out cookie dough with plastic wrap and chill for up to 2 hours (or overnight).
- While the dough is chilling, crush candies in ziploc bags, separately by color. Set aside.
- When ready to bake, preheat oven to 350 degrees F. Line a cookie sheet with parchment paper, set aside.
- Using two cookie cutters of different sizes but same shapes, cut the large cookie first. Then use the smaller cookie cutter on the center of the large cut out cookie (you can bake the center cookie separately with sugar on top to enjoy plain). Place large cookie on a cookie sheet, about 2-inches apart (do not leave the cut out in the center of the cookie or they will bake together).
- Repeat with the remaining dough.
- Put a small amount of the crushed jolly rancher into the center of each cut out cookie.
- Bake for 12-15 minutes, until the candy centers have completely melted and the edges of the cookies are slightly browned.
- Remove cookies from oven and allow to cool on cookie sheet for ten minutes, then remove and cool completely on a wire rack.
Notes
- Don’t chill the dough while it is in a ball shape or it will be too difficult to roll out (it will become dry).
- We love these snowflake cookie cutters.
- Fill the center of the cookies with crushed jolly ranchers to about 3/4 full. Overfilling with candy can cause them to bubble over the tops of the cookies.
- Jolly ranchers cand be substituted for life savers or other fruity hard candy if desired.
- Store cookies in airtight container at room temperature for up to 5 days.





You say not to put the cut out cookie on top of the large cookie. But you don’t say how to assemble them or when, so the stained cookie is on top of the large cookie
There is no assembly. The cut out is filled with candy and melted in the center of the cookie. The small cookies are used as plain sugar cookies.