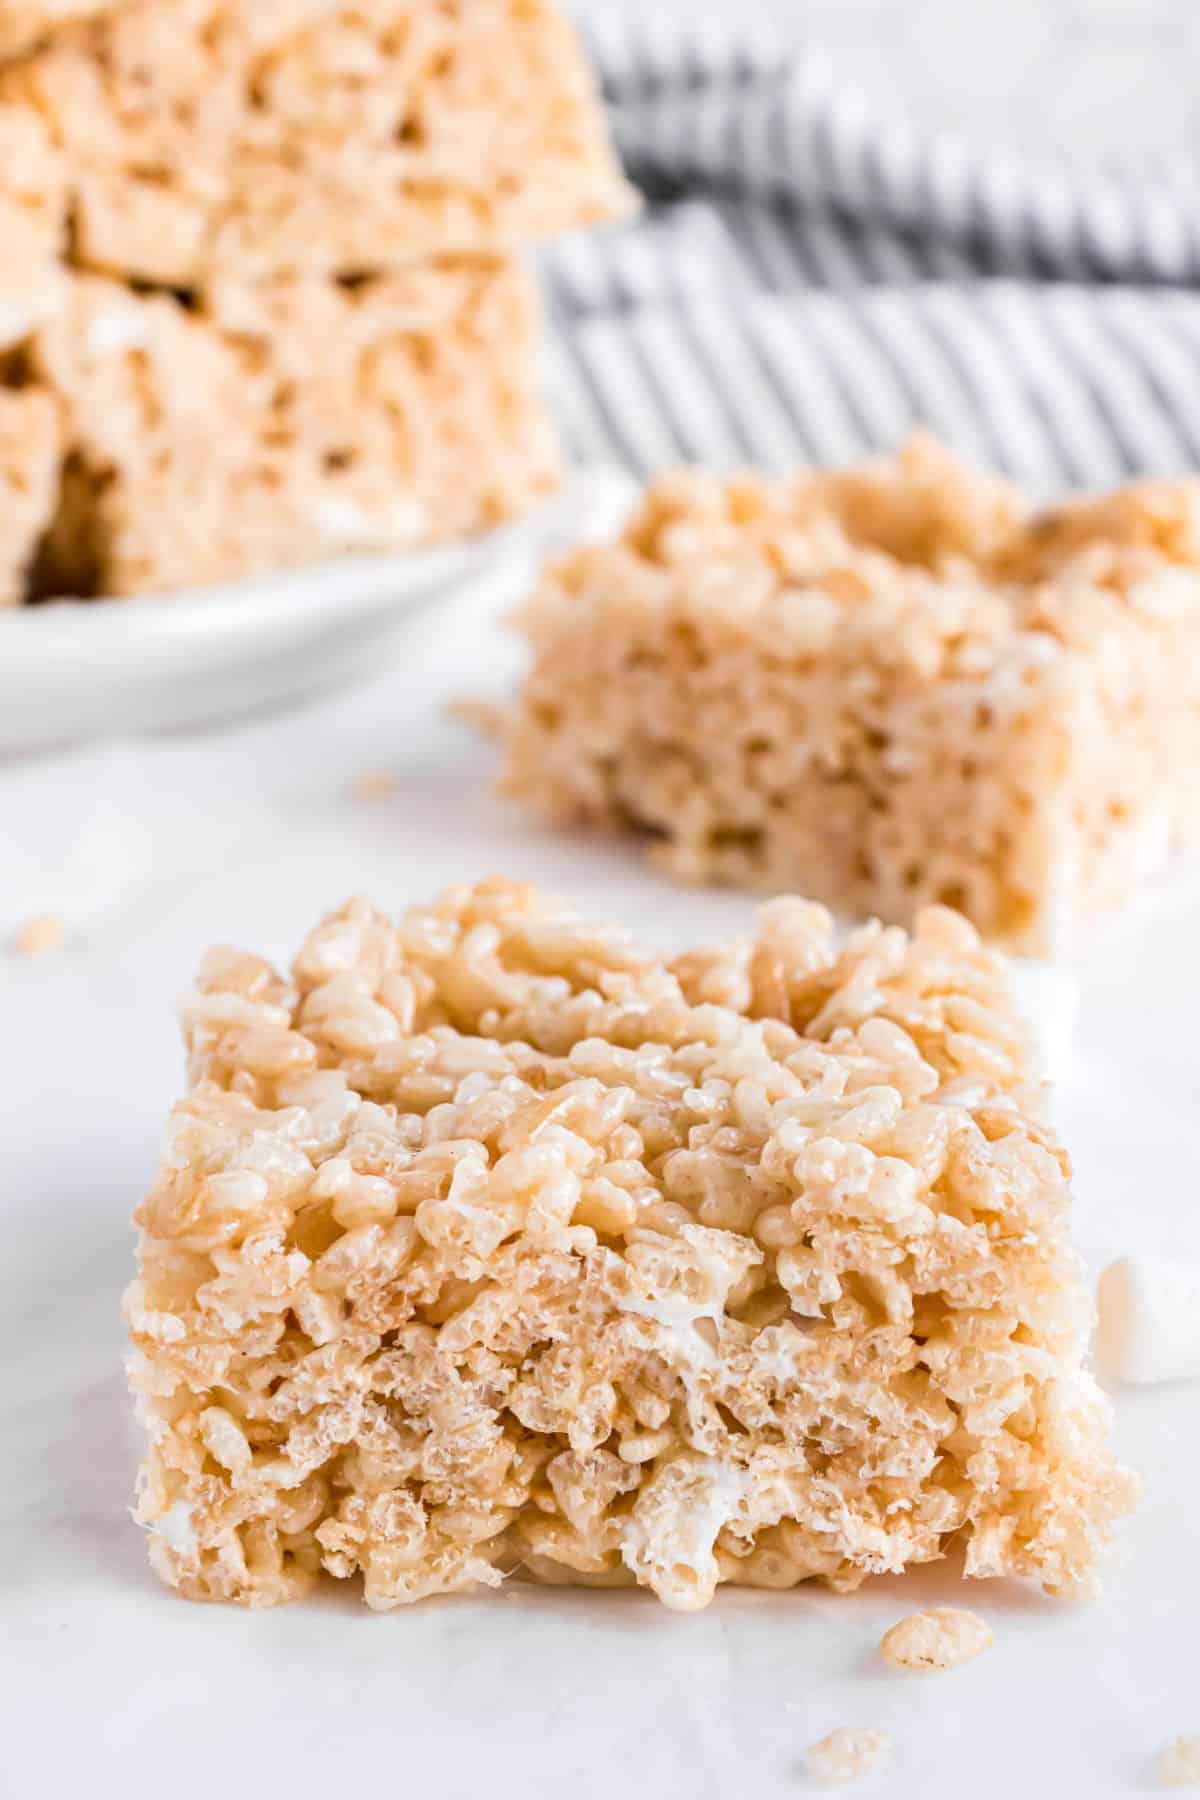
Get my secret tips and tricks to making the most PERFECT Rice Krispies Treats recipe. From using fresh butter and marshmallows to adding vanilla extract, this is my favorite dessert.
I’ve become known as the rice krispie treat expert. Once you’ve mastered my original version, get creative with flavors!
This recipe for rice krispie treats was originally published in October 2016. It has been updated with new photos in February 2021.
Aimee’s Recipe Notes
Taste: Sweet, buttery, and vanilla flavored.
Texture: Gooey, and chewy with a light crispiness from the cereal.
Ease to Make: Simple and quick, perfect for beginners or busy bakers.
Cooking Method: Stovetop, no-bake; just melt, mix, and set in a pan.
Top Tips:
- Add vanilla extract.
- Use fresh marshmallows and cereal for the best results.
- Don’t pack the mixture too tightly—light pressing ensures a soft, melt-in-your-mouth texture.
Featured Review
“These are FANTASTIC and worth the time to refresh your rice Krispy teat skills.” -Sew
Only a couple Ingredients
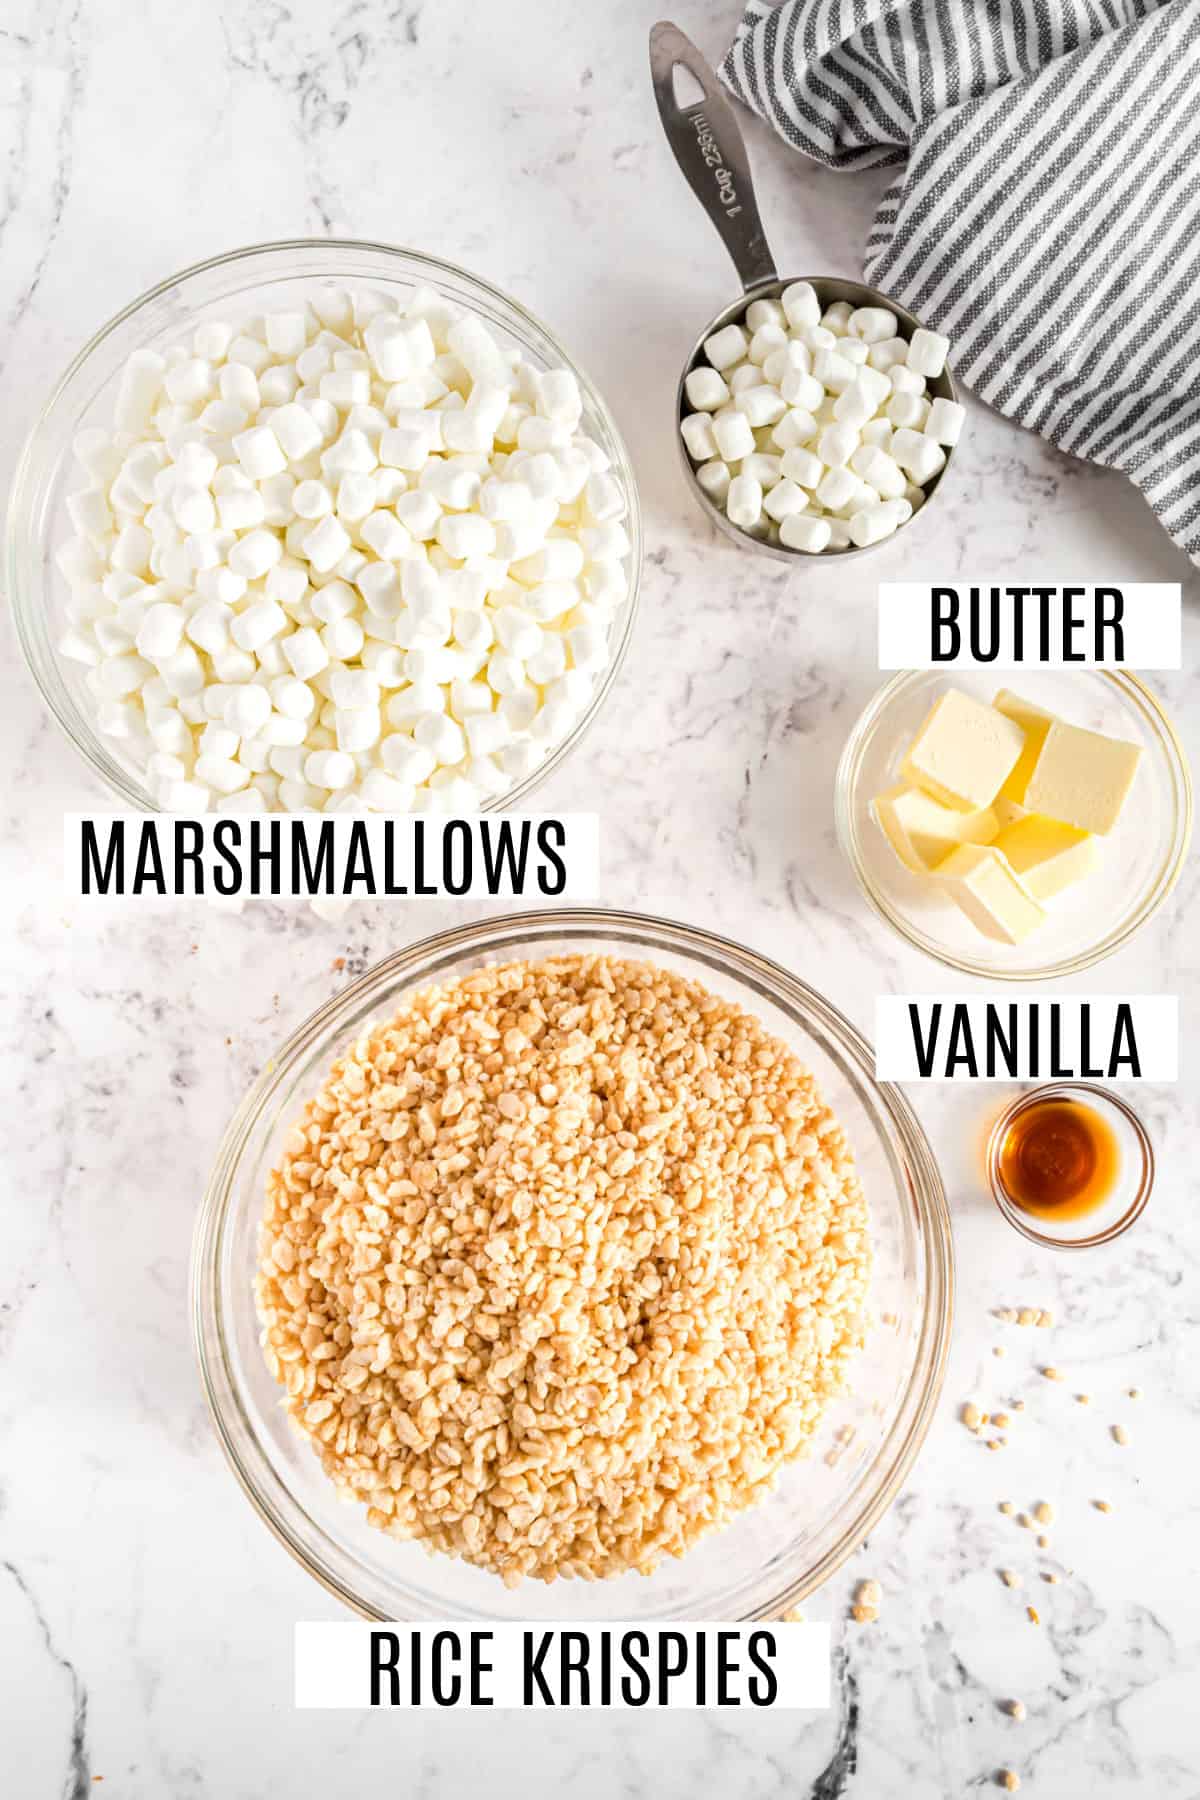
- Butter- use salted butter for this recipe. Just trust me! Don’t have any on hand? Use unsalted butter and a pinch of salt while melting. DO NOT use margarine.
- Marshmallows- you’ll need 8-9 cups of mini marshmallows, keeping about 1 cup aside to add in at the end!
- Rice Krispies Cereal- any brand of crispy rice cereal will work, just make sure it’s FRESH.
Aimee’s Secret Ingredient
Adding my homemade vanilla extract or any pure vanilla extract takes this recipe over the top. Or make it lemon flavored using our easy lemon rice krispie treat recipe.
How to Make Rice Krispie Treats
Scroll down after the recipe card to see more tips and tricks as well as variations that I’ve created off this classic recipe.
Pin this now to find it later
Pin It
Rice Krispie Treats Recipe
Ingredients
- 6 Tablespoons salted butter
- 16 ounce bag mini marshmallows divided
- 1 teaspoon pure vanilla extract
- 6 cups rice krispies cereal
Instructions
- Line a 9-inch square baking dish with parchment paper. Set aside.
- In a large saucepan, melt butter over medium heat. Once melted, add in all but 1 cup of the marshmallows. Reduce heat to low and continue stirring until completely melted.
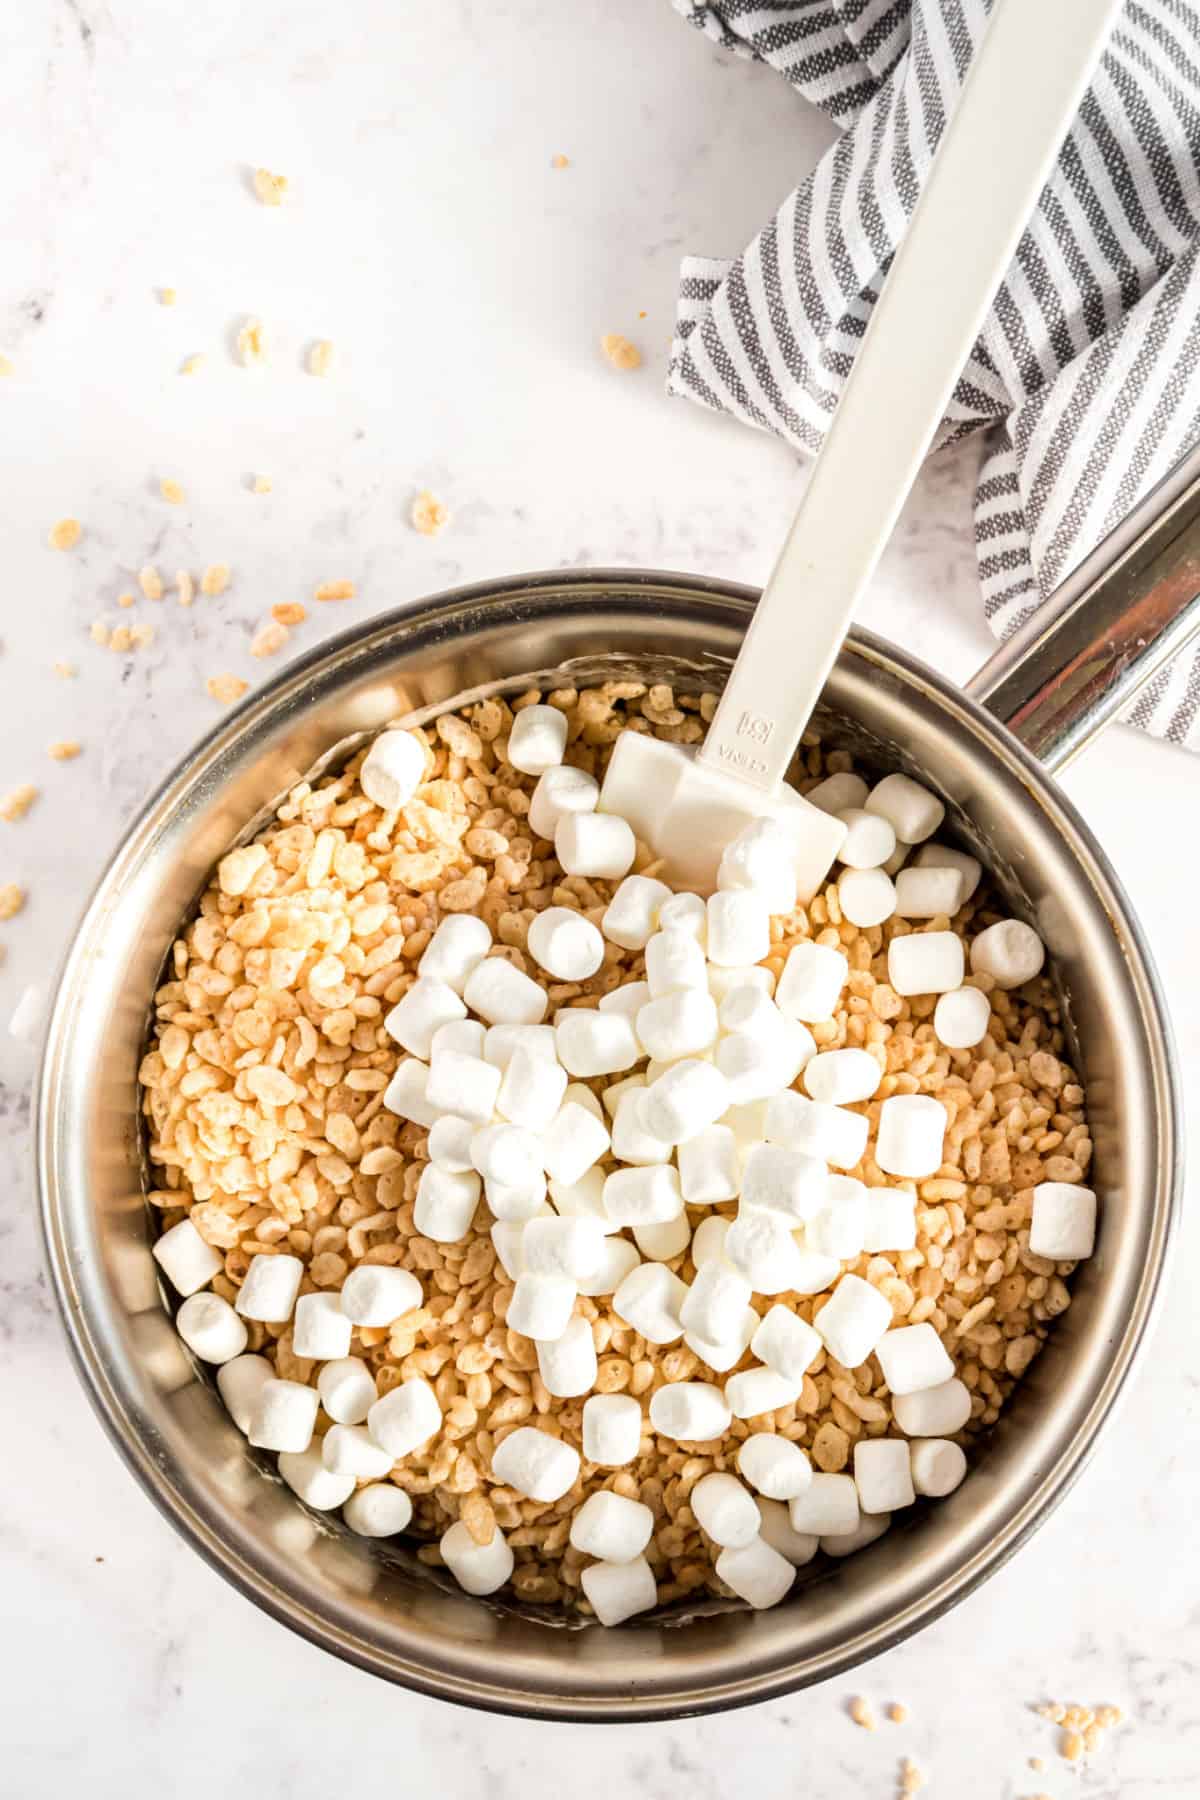
- Remove from heat and stir in the vanilla. Add the cereal and the remaining 1 cup of marshmallows and gently stir until combined.
- Pour into the prepared baking dish. Press GENTLY with your fingertips just until completely spread out (the harder you pack them in, the harder they are to eat).
- Allow to set, about 1 hour. Cut and enjoy!
Notes
- How many marshmallows do I need? One 16 ounce bag of marshmallows is about 8-9 cups. You’ll melt all but one cup of the marshmallows in the butter, reserving the last cup for adding with the cereal.
- Line a 9-inch square baking dish with parchment paper. This way you don’t have to worry about extra butter on your fingertips, or the other extreme of your bars sticking to the pan! Use binder clips to help the parchment paper stay in place.
- Use fresh marshmallows. Seriously, they make a difference. Don’t grab that bag that’s been in your pantry for months and months thinking it will be okay since you are melting them. It won’t be okay.
- Add my secret ingredient. VANILLA EXTRACT. Not imitation vanilla, but PURE VANILLA extract. It makes a difference in creating the illusion that you’re using homemade marshmallows.
- DO NOT (I repeat) DO NOT press these bars into your pan firmly. Using your fingertips, GENTLY press them in just until they are spread out. The harder you pack them in, the harder they are when it’s time to eat them!
- The trick to pressing them in your pan without sticking to your hands is to run your fingers in water, shake off the excess, and press. Voila. No sticking!
- Store in an airtight container for two days. If they last that long, I’d be shocked!
- Make these gluten free by choosing a crispy rice cereal labeled Gluten Free (and check your marshmallow labels too just in case).
- Can you freeze rice krispie treats? YES! I slide them on a parchment paper lined sheet into a ziploc freezer bag. Thaw on counter until soft again!
Video
Nutrition
Quick Tips
- Use fresh marshmallows. Using stale marshmallows will result in stale treats. Trust me, I’ve learned the hard way.
- Brown the butter. Learn how to brown butter and make a batch of my flavorful brown butter rice krispie treats next!
- Add my secret ingredient. VANILLA EXTRACT. Not imitation vanilla, but PURE VANILLA extract. It makes a difference in creating the illusion that you’re using homemade marshmallows.
- Kelloggs is wrong. DO NOT press these bars into your pan firmly. Using your fingertips and gentlypress them in just until they are spread out. The harder you pack them in, the harder they are when it’s time to eat them!
- The trick to pressing them in your pan without sticking to your hands is to run your fingers in water. Dip in water, shake off the excess, and press. Voila. No sticking!
- Store in an airtight container for two days. If they last that long, I’d be shocked!
- Make these gluten free by choosing a crispy rice cereal labeled Gluten Free (and check your marshmallow labels too just in case).
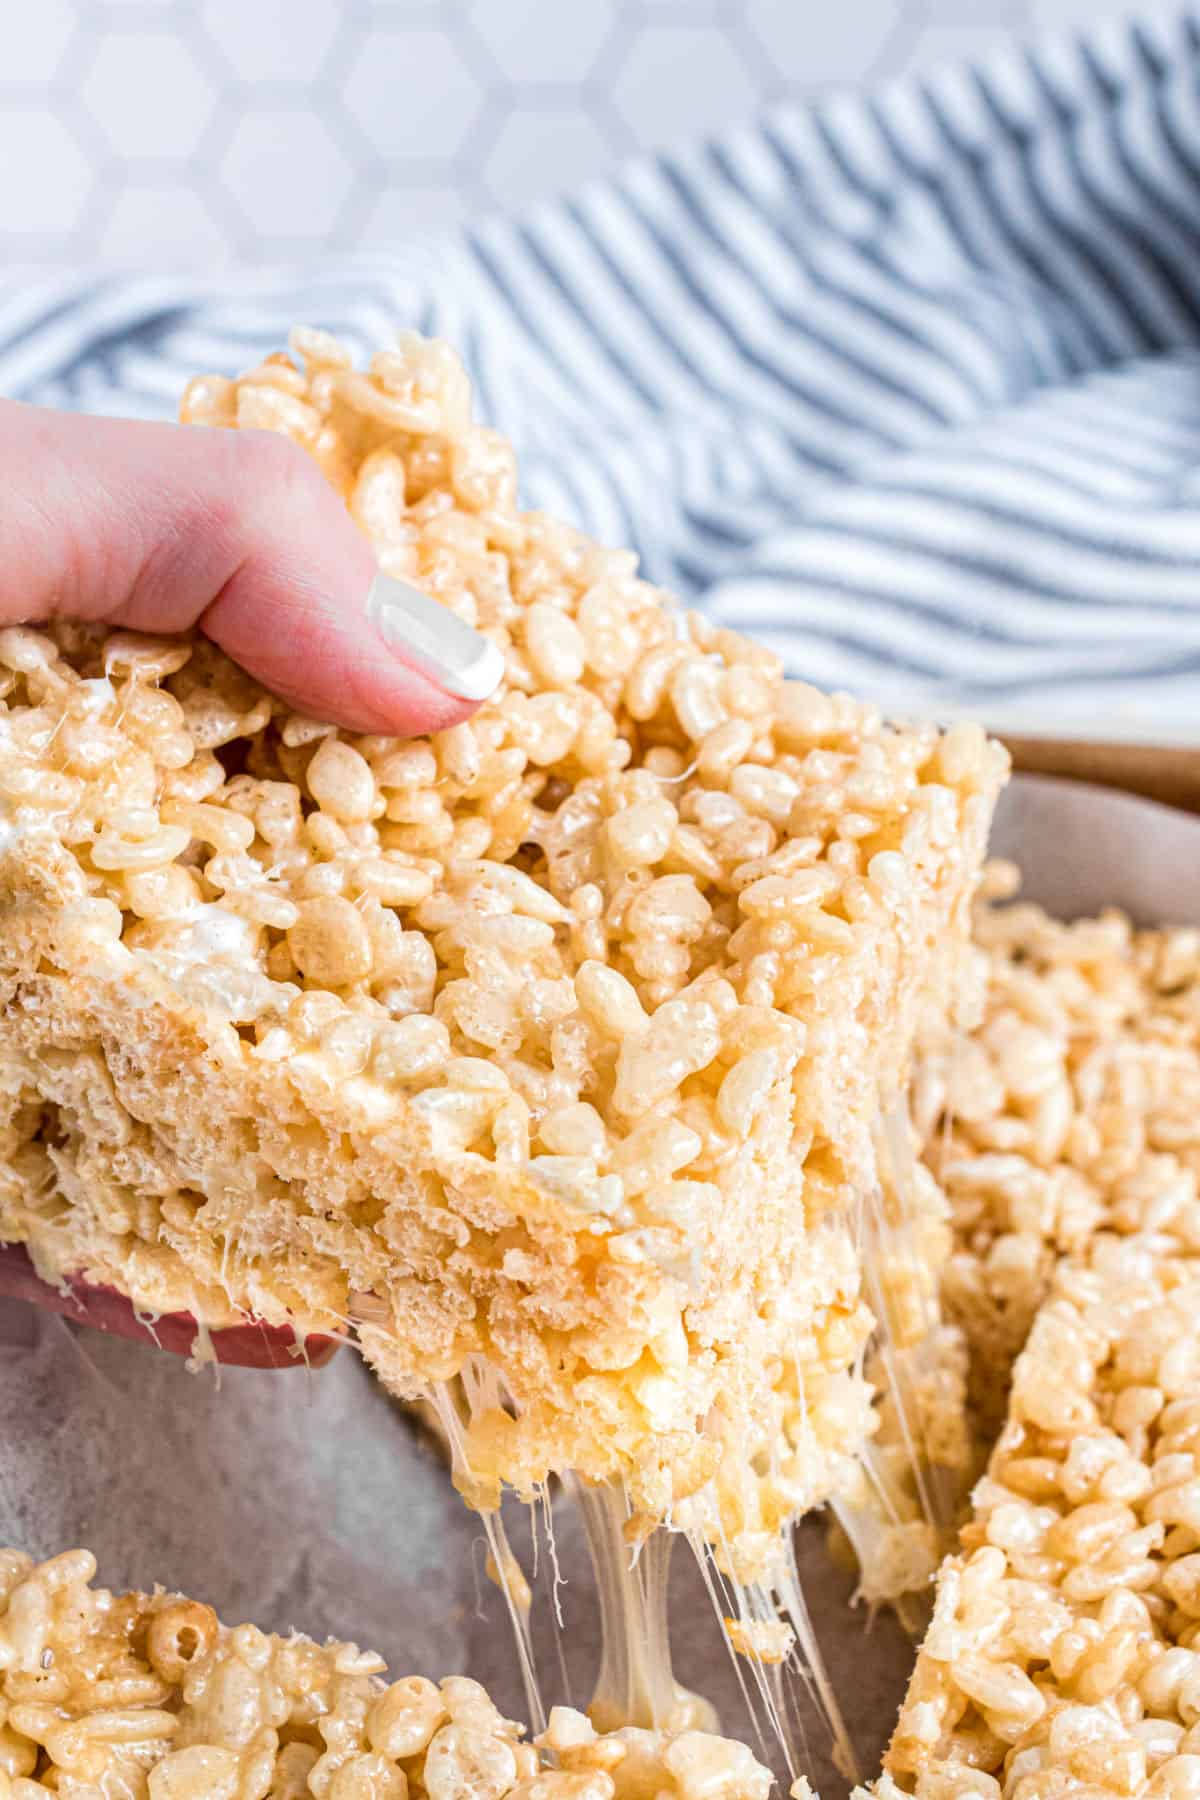
Why are my rice krispie treats hard?
As mentioned above, you’ll get hard rice krispie treats a number of ways.
Using stale ingredients will results in stale, hard treats. So always use fresh marshmallows and fresh cereal too.
Avoid pressing your bars too firmly into the pan. The harder you press, the more firm the rice krispies treats will be.
Storing Leftovers
Rarely is this the case in my house, as we all know I can eat an entire pan of homemade rice krispie treats. But, should you find yourself with leftovers, you can store them in an airtight container at room temperature. I usually just slide them into a ziploc bag.
Or you can freeze rice krispie treats. I was skeptical for a long time, and finally tried it out. I slide my leftovers into a ziploc freezer bag and placed them in the freezer.
Surprisingly, they thaw pretty quickly on the counter and they taste super fresh too!
More Rice Krispie Treat Flavors
Add in some flavored gelatin (or pudding mix) to the melted marshmallow for a unique twist! Cherry Krispie Treats!
Make Lucky Charms Treats for a St.Paddy’s Day dessert idea.
- For best results, name brand cereal stays fresher longer and can hold up to the melted butter and marshmallows better
- Always start with fresh marshmallows. If you use stale marshmallows in hopes that melting them will give you good results, you’ll be disappointed!
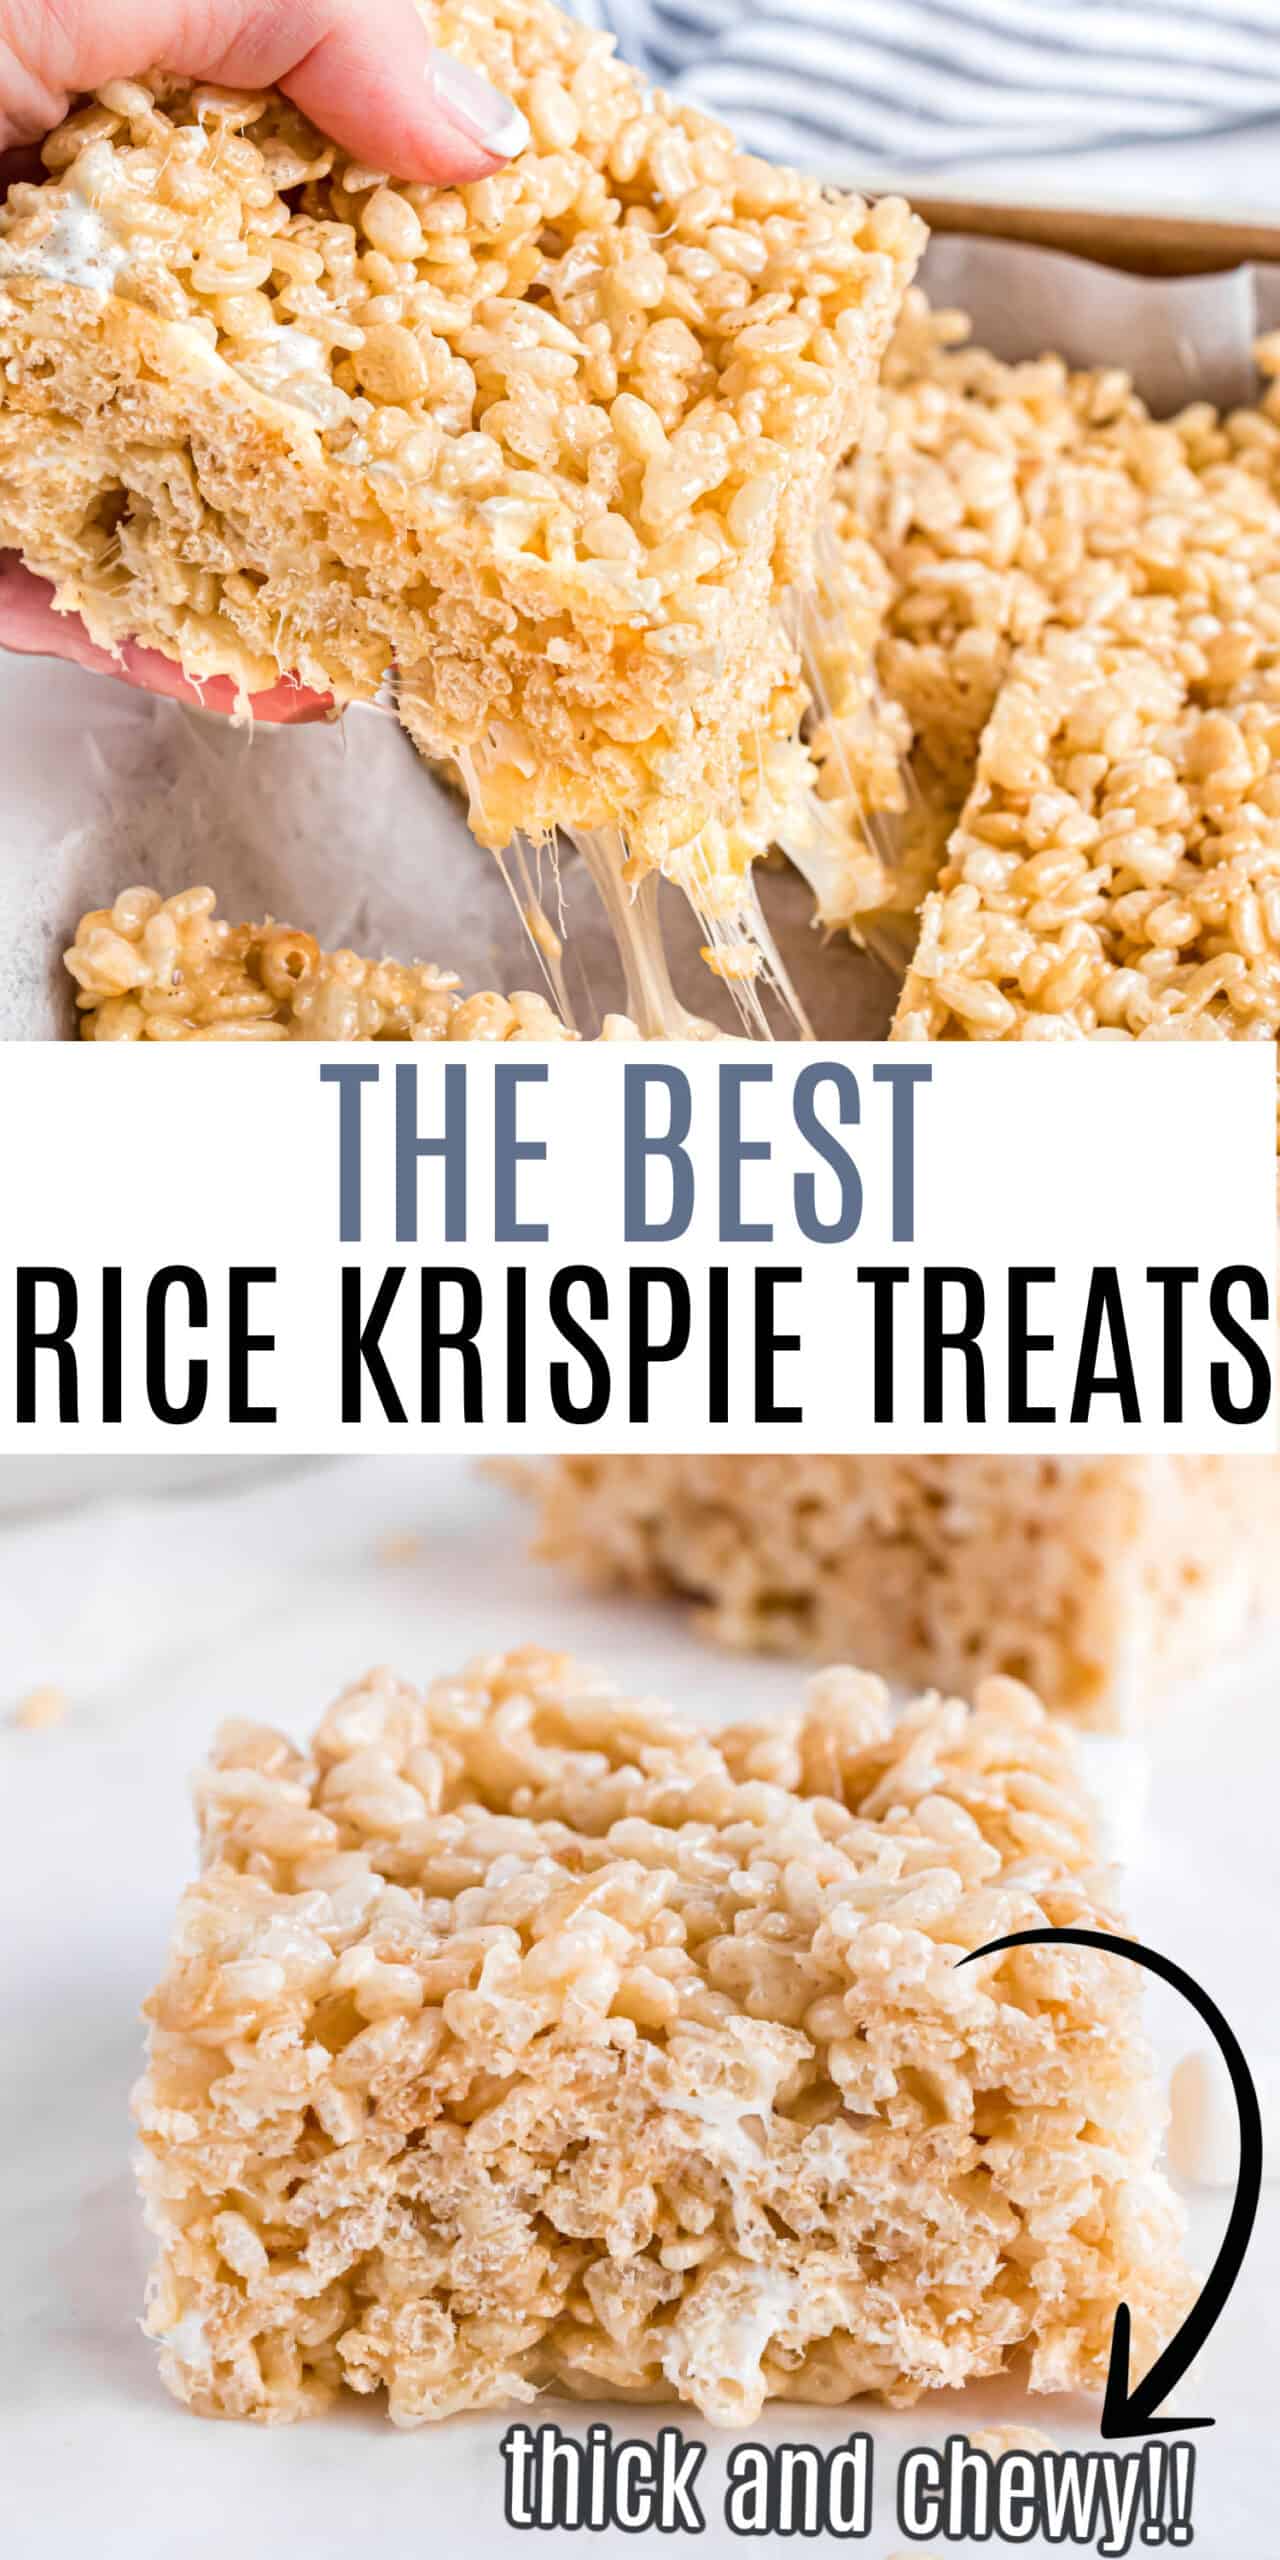
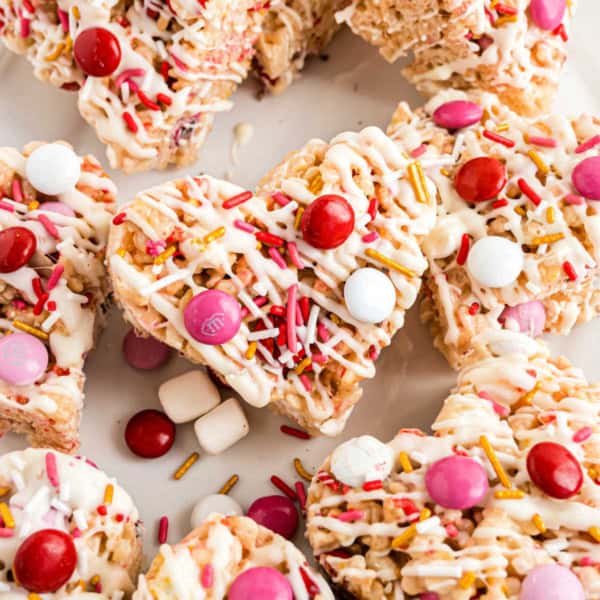
- More mix-ins: fold in some m&m’s or Reese’s peanut butter cups for a delicious dessert idea.
There are thousands of recipes for making homemade krispie treats, and I’m putting it out there that my recipe is BEST. You may see some similar nowadays, but they all stem from my original add-ins.
- Only 4 ingredients
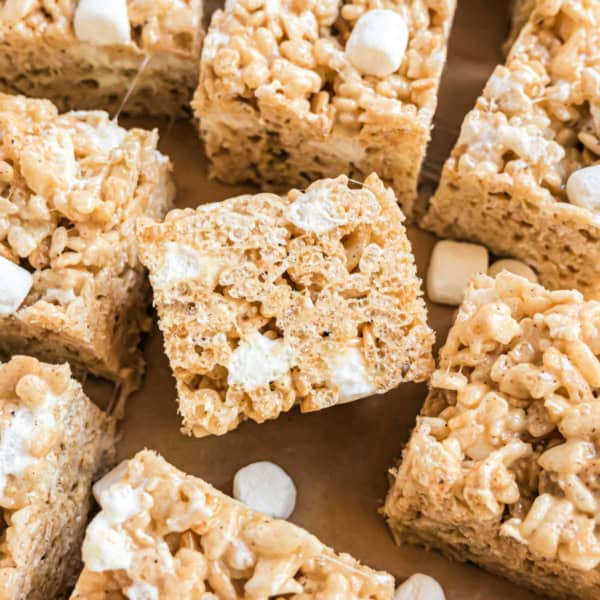
- Thick and chewy
- Vanilla flavor
- Perfect ratio of cereal to marshmallows
We love that this classic treat can be changed up using different cereals too!
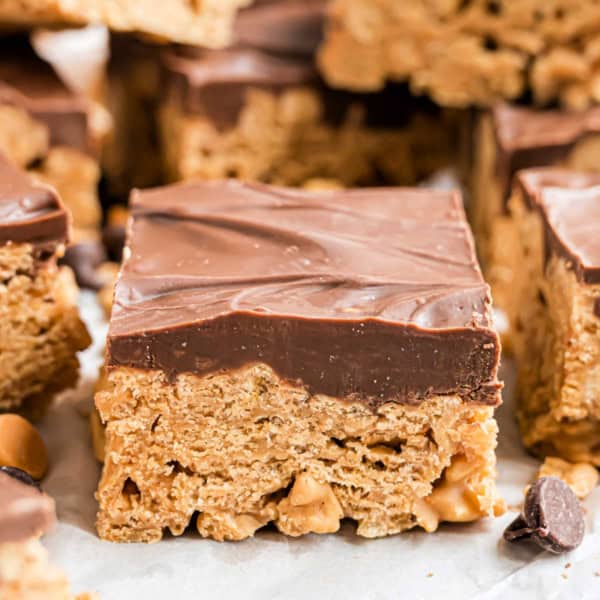
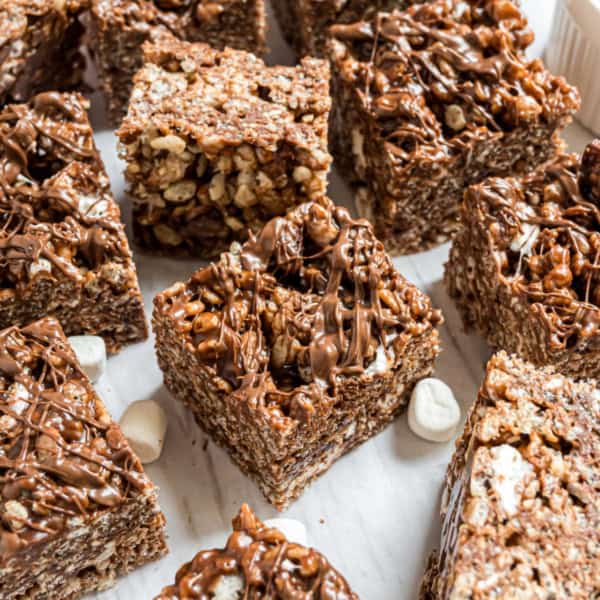
- Chocolate– Cocoa Krispie Treats
- Fruity– Fruity Pebbles Treats
- S’mores– Golden Grahams Treats
- Cheerios– Cheerio Treats
Basic, original, homemade rice krispie treats that captures my taste buds.
The biggest question is how to spell it. Some people say Rice Crispy treat, Some say Crispy Rice, some say Rice Crispies. Either way, you get the point! This rice crispy treats
Best Rice Krispie Treats
Original Rice Krispie Treats recipe with all the tips and tricks for making them thick and chewy!

I love Rice Krispie treats and haven’t made them in a long time. I’m sitting in a hospital waiting room where I took my friend to visit her husband. She already lost her brother to Covid and now her husband is very sick. When we leave I am going to get the ingredients and we are going to make them. That will cheer her up. Thank you for your special ingredient- vanilla sounds great. And I agree if people cannot be positive these days then you don’t need them !
After reading instructions and comments, I made this recipe with a few modifications. I used part Rice Krispies, part fruity pebbles and put a sprinkle of flakes sea salt on top. I didn’t pack them tight so they would stay chewy. Great tip! Amazing!
I’ve been making these for. over 60 years- the ‘old way’ and tried this recipe today and they are the BEST I’ve ever tasted… Thanks!
Thank you 🙂
Aimee for those who leave negative comments sometimes it’s best to just not answer them. Your “story” and recipe was well worth the read. I personally like to understand more of the person before I jump right into a recipe but that’s just me. As for those who just want a recipe either skip right to the recipe or leave the page. Why such negative comments. Does it make you feel better to try and ruin someone else’s day?? Are you that bored that you feel your negativity brings merit?? Do you think you affect the rest of the free world of the internet people who read by these posts?? It’s time to grow up and just enjoy the fact that she has taken the time to contribute her recipe and part of her self. If b you don’t like it then read the box. It has the basic recipe.. Aimee great job!!
Love your recipes, so Good, Thank You!!
Just sat them on the counter to form. Super easy process and, my daughter enjoyed helping to clean the spatula. Thanks for sharing.
Thanks for your Rice Krispie Treats Recipe. This is the first time for me to try to make Rice Krispie Treats.
I’m not sure if your suppose to do it in the oven? And if so what temperature?
Or if it’s to be done on top of the stove element? And if so roughly what temperature?
With my lucky I’ll end up burning it.
The recipe is above, no oven needed.
The recipe is right here on the website..
I do love the rice crispy treats, but the story was unnecessary
So is your comment.
Wow Aimee, real mature. As the one who posted this recipe, it’s best to look and stay professional. Henry clearly stated that although he liked the recipe, the story was unnecessary. I agree. Nobody wants to read a story, we just want the recipe. And his comment is necessary because the more positive reviews you get, the better you look. From that response, you’re clearly immature hun. xoxo
Ummm, if you read my blog post, you’ll see there’s no story. There’s only tips and tricks on making this recipe work. People who come here with unnecessary criticism of me and they way I write, can find other recipes. The internet is a big space, and this is MY happy place. You say “nobody wants to read a story, we just want the recipe.” That’s such an age-old rant and I’m over it. I provide FREE recipes. It takes three seconds to scroll down, or half a second to click the “jump to recipe” on the top of EVERY blog post. It takes several minutes for y’all to write complaints. If you have time to complain and rant, then you have to time to scroll for a free recipe. Have a great day 🙂
😂😂😂😂 yassssss this is the best reply ever #burn lol
YASSS best burn ever we made your recipe and added chocolate chips IT WAS THE BEST EVERRR
Hahahaha! Go Aimee. 😉
The 2nd part was unnecessary
There was no story
And there is clearly a button that allows you to “jump” to the recipe
I too don’t like the hub bub before the recipe
BUT at the end of the day
We are visiting THEIR site
Ran by THEM
Ps
Glad ya liked em
Why write that, Henry? Covid getting you down? Here’s something I bet you already know: not every thought needs to be said out loud (or written). Especially when someone’s giving you something for free!
Aimee, thank you for the recipe!
I bought marshmallows, when I checked, only 10 oz. Was looking forward to making these. Sounds yummy.
Might be a silly question…but – If not using mini marshmallows, can I just use bigger ones and cut to get to the 8-9 cups.
I have the same question!
You’ll need 16 oz WEIGHT in marshmallows. I prefer the minis because they melt faster.
Amy, I can’t figure out these measurements. Your recipe says 16 oz of mini marshmallows makes 8-9 cups of marshmallows. But 16oz is 2 cups (1 cup = 8 oz). Now I have no idea how many marshmallows to use and I’m terrified I’m gonna have way too few. I think I saw in a comment somewhere that this was by weight of the marshmallows… I don’t have a scale and I don’t weigh my marshmallows. Any shot you can just provide us normal, non-chefs the regular measurements (I.e. not weight, just how many cups I should use). This would be a big help for both the marshmallows and the rice crispy cereal.
If you look at a bag of marshmallows, they say 16oz. THat is weight. If you measure by cups it is 8-9 cups.
This is my favorite recipe for rice krispie treats. The only difference is I brown the butter. Once I discovered brown butter I use it as often as I can. Adds a whole different dimension! Thanks for the recipe!
Me too! What a happy accident! I walked away from the stove for a second and returned to what I thought was a big OOPS. Now, I’ll never make them another way. Thanks Aimee!
Brown butter — what a great idea. Thanks for sharing 👍
A 16oz bag of marshmallows is 2 cups, not 8-9.
1 cup= 8oz. Could you please clarify if you use 8-9 cups or 16oz of mini marshmallows. Thanks
Actually a 16 oz bag of marshmallows is sold by weight, not volume. SO yes, there are 9 cups of marshmallows in a bag.
Great recipe! However mine were really hard to cut after an hour of cooling. They weren’t hard but they were too sticky. Did I cut into them too early possibly?
Yeesh. Learn the difference between oz and fl oz. One’s a weight and one’s a volume.
I didn’t see the preheat time or temperature. What is it?
You use a large saucepan on the stove like directed in the recipe.
It’s not made in the oven.
ya 😀
No baking .. you set up the mixture in a pan and just let it cool. Then cut into serving pieces .. stove heat strictly to melt the butter and marshmallows to coat the cereal. That’s it. Then let it cool.
Always great recipes! Enjoy receiving them! Thank you.
The original RC recipe calls for a 9 x 13 ” pan. You put all of this in a 9″ square?
That’s how you get them thick and chewy.
This is a very good recipe
Do you use a 16oz bag or do you measure (weigh) out 16 oz? I can only find 10 oz bags.
I just used 1 1/2 bags of the 10oz mini marshmallow bags and then added a cup more with the cereal. Worked great. There’s a little marshmallows left over to add to some hot chocolate too. Win win.
Kayla, I love your suggestion to save some marshmallows for the cocoa! Bonus points for doing the math, LOL!
😂 #densitymatters
Love love love Rice Krispie Treat recipe. It’s my go to recipe from now on.
Great recipe- my family loves them so much. I’m making them again today. Thanks again!
Thank you for the tips! The addition of vanilla was perfect.
have you ever made brown butter and flaked salt. i had some and i loved them. do you have a recipe for that.
I use browned butter when I make these. Browned butter is the best. I have not tried flaked salt in them. Was the salt added to the marshmallows or sprinkled on the top. Think I will try this today. I love sweet salty.
YASSS best burn ever we made your recipe and added chocolate chips IT WAS THE BEST EVERRR
Wow Aimee, these look delicious! Can’t wait to try them! I have a question though. If I double the recipe, do I have to change the baking time? do I have to change anything else?
Thanks so much!!
Omigoodness! I’m so sorry, I forgot there wasn’t a baking time.
Ps. I am so excited to make them!
Ha Ha!
😉 Lol
LOL 😀