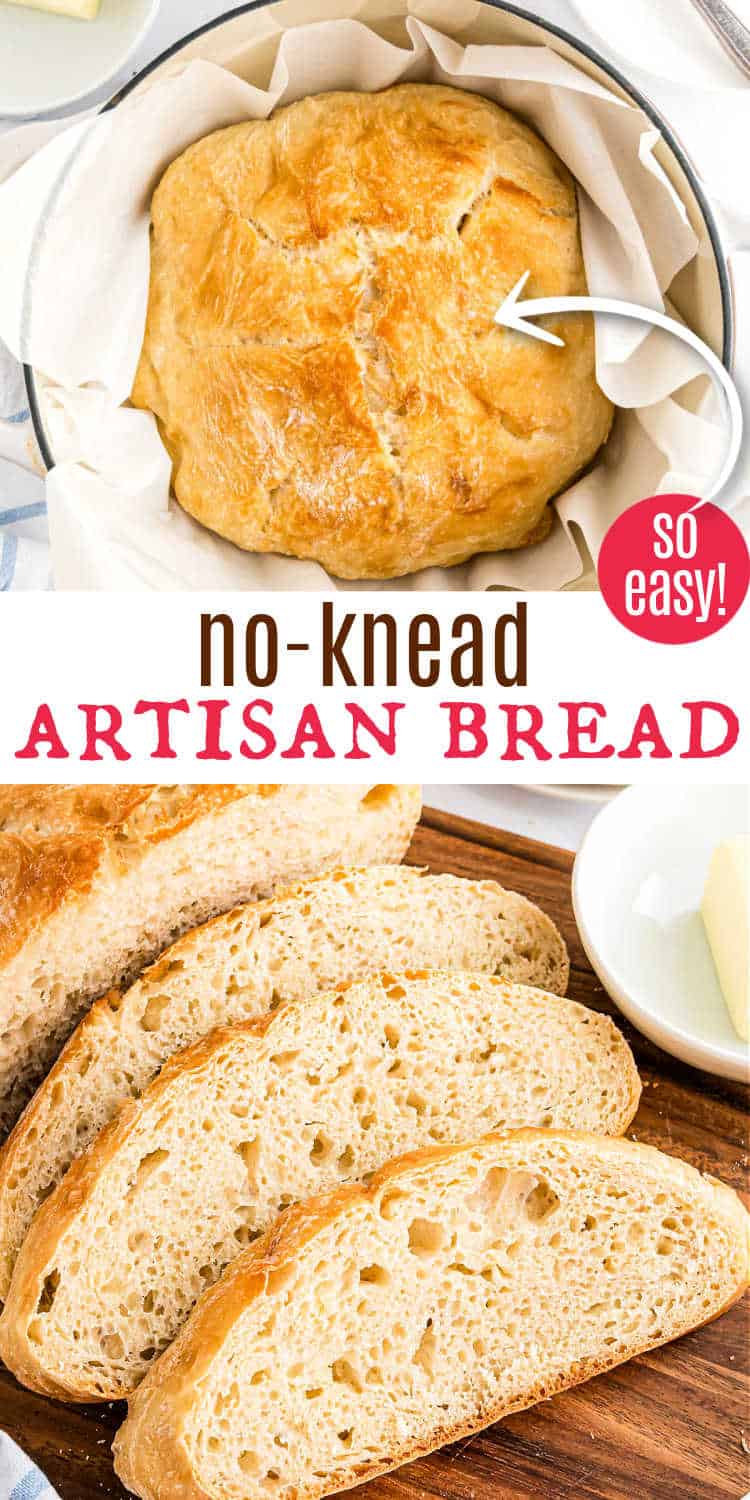
This No Knead Artisan Bread recipe makes crusty, bakery-style bread easy to bake at home! It’s a great recipe for beginners and experienced bakers too.
I’ve been making this chewy, crusty bread for YEARS. Thanks to some of you readers who follow me on social media, I was pushed to finally share the recipe. ENJOY.
Aimee’s Recipe Notes
- Taste: Classic, rustic flavor with a slight tang from slow fermentation.
- Texture: Crispy and chewy crust with a soft and airy interior.
- Ease to Make: Easy; requires rising time but no special skills.
- Cooking Method: Baked in the oven for perfect crust and rise.
- Tools: either a dutch oven or a cookie sheet, with parchment paper regardless of the cooking method.
- Top Tip: Let the bread rise in the refrigerator overnight! You’ll love the taste and texture.
You know how some recipes just give you a sense of pride and accomplishment when you finish them? Baking your own bread definitely qualifies and this Artisan Bread recipe makes it EASY!
This recipe is delicious (oh, that crusty exterior!) and impressive, but it’s also simple and calls for only a handful of ingredients.
It does take some time (for the rising time) since we’re using yeast, but there’s nothing difficult about the process at all. And then you’ll have fresh crusty bread for making sandwiches and serving with Instant Pot Tomato Soup!
- Easy. Truly NO KNEADING.
- With this recipe, all you have to do is mix together the ingredients, stretch and fold a few times, and let time do the rest.
- Another great thing about this no knead artisan bread recipe is that you can customize it to your liking. Add fresh herbs, olives, even cheese!
If you enjoy baking with yeast, try this Dinner Rolls Recipe next. I also love this Olive Garden Breadsticks Recipe, which is totally irresistible!
Important Ingredient Notes
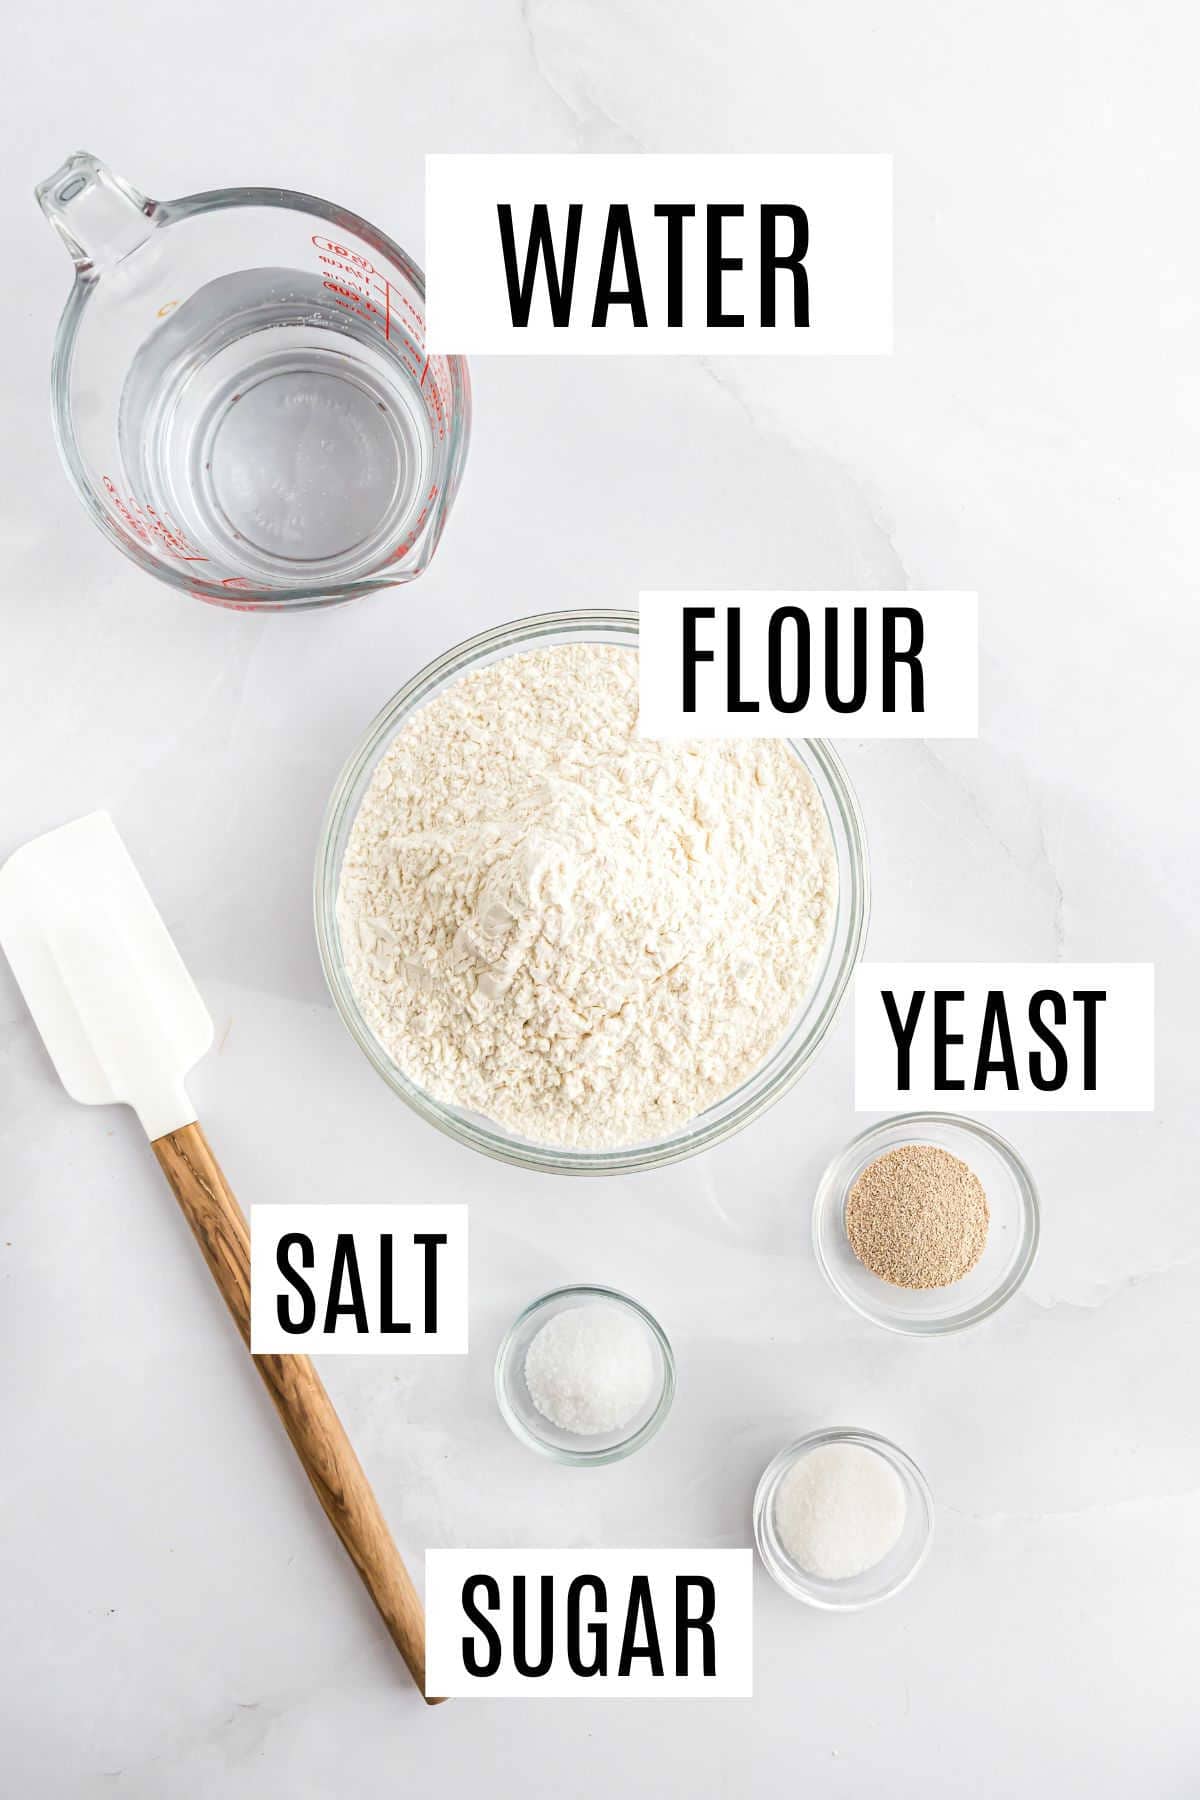
Only five ingredients needed for this chewy artisan bread recipe.
- Bread flour – Bread flour has a higher gluten content than all-purpose flour, giving your bread just the right amount of chewiness. I have made it will all-purpose flour. It “works” but the bread loses the signature chew.
- Granulated sugar – A little bit of sugar helps give the yeast a boost.
- Kosher salt – Absolutely essential when you’re making homemade bread! Not sure what it is? Read my article, “what is kosher salt.”
- Active instant yeast – Check the packet and make sure it hasn’t expired before you start the recipe.
- Warm water – If you have an instant-read thermometer, you want the water to reach 115ºF. Too hot and you’ll kill the yeast, but too cool and it will take a long time for the yeast to start working.
How to Make Chewy Artisan Bread
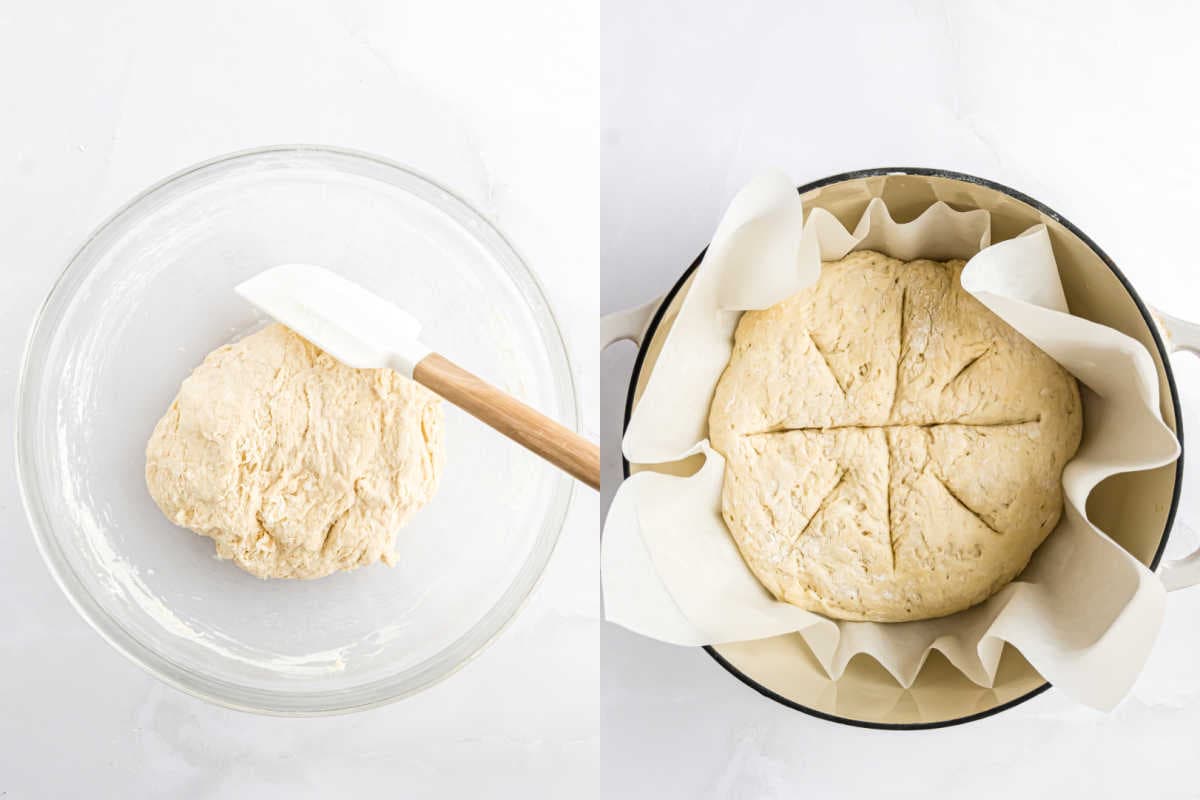
You’re going to love how easy this bread is to make. There’s no kneading. Which means you don’t need a fancy mixer with dough hook to make this bread. A bowl and a spoon and that’s it.
- Mix & Rest: Combine dry ingredients with warm water until a dough forms. Use a wooden spoon or silicone spatula (no dough hook or mixer needed here). Cover and let it rise in a warm spot for 2 ½ hours.
- Stretch & Shape: Stretch and fold the dough a couple times (see notes below), then shape it into a ball on parchment paper. Cover and let it rest for 30 minutes.
- Bake: Preheat a Dutch oven to 450°F. Add dough with parchment, score the top, and bake covered for 30 minutes, then bake uncovered for 10 minutes.
- Cool: Let it cool completely for the best texture.
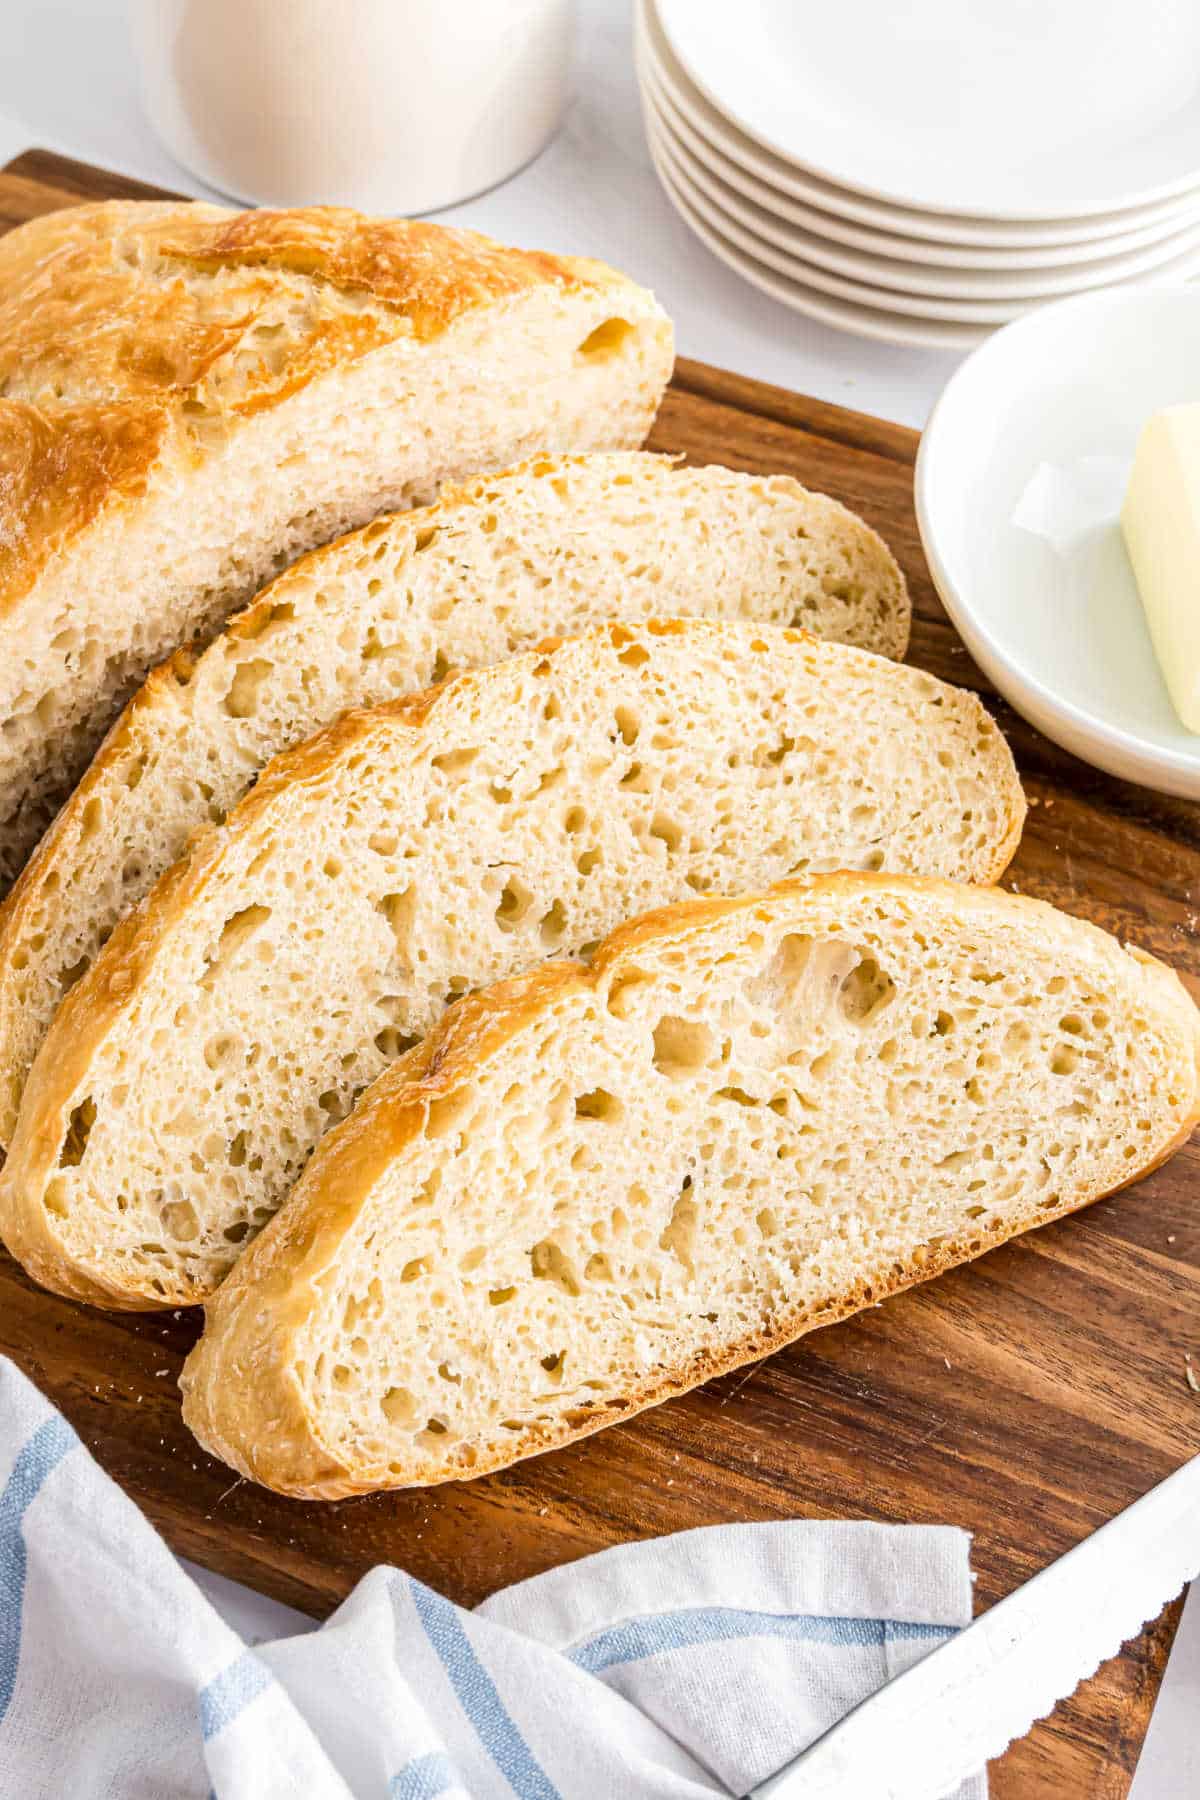
Tips and Tricks
- Stretch and fold the dough by pulling it gently upward without breaking, folding it back, and turning 90 degrees. Repeat this process three more times.
- To shape the dough, fold the edges toward the center, flip it seam-side down, and pull it taut for a better rise and bake.
- Make a loaf. Shape the dough into a long loaf (11×4-inch) after the 2 1/2 hour rest time. Allow to rise an additional 30 minutes, and bake them on a preheated cookie sheet with parchment paper for 27-30 minutes.
- For best results, use a serrated bread knife to cut this loaf of bread.
- The absolute best way to know when this no knead artisan bread is done baking is to use a digital thermometer. It will reach 200ºF in the center of the bread when it’s ready.
- Hot bread straight from the oven is tempting, but resist that temptation! The baking process actually continues as the bread cools, so let it cool completely. If you cut into it too soon, you’ll find the inside is gummy.
- Wrap leftover, cooled bread in plastic wrap and store at room temperature for up to 5 days. Or wrap tightly in plastic wrap, then slide into a ziploc storage bag and freeze for up to 3 months. Thaw at room temperature.
- If you want to try adding mix-ins like cheese (either shredded or small cubes, which give you more cheesy flavor), olives, or fresh herbs, you can stir them in just after incorporating the warm water. Dried herbs can be whisked in with the dry ingredients.
More Savory Bread Recipes
- The easiest homemade Garlic Bread Recipe ever! Serve this with dinner tonight or with your favorite queso!
- This easy Beer Bread Recipe is rich and fluffy! Without using yeast, this simple loaf is perfect for any occasion!
- Soft, fluffy and perfectly golden, this Homemade Bread Recipe is easy to make and absolutely delicious!
- This Cheesy Garlic Bread is golden, buttery, and filled with oozy cheese! Perfect for any meal or snack!
- My Instant Pot Cornbread recipe goes perfect with a side of homemade chili! So moist and buttery!
My Cookbook is Here!
- 5 categories of delicious treats!
- Full page photos for EVERY recipe.
- QR codes with every recipe to receive BONUS recipes!
- 35 mouth-watering, expert tested recipes!
Pin this now to find it later
Pin It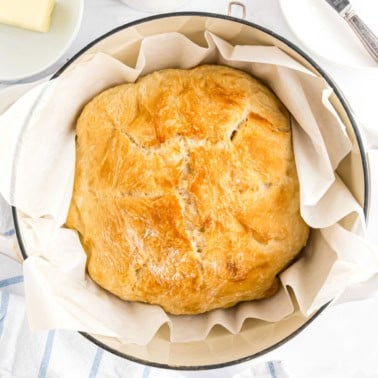
No Knead Artisan Bread Recipe
Equipment
Ingredients
- 3 ½ cups bread flour
- 1 Tablespoon granulated sugar
- 1 ½ teaspoons kosher salt
- 2 ¼ teaspoons active instant yeast, one packet
- 1 ½ cups warm water, 115 degrees F
Instructions
- In a large mixing bowl, add the dry ingredients and give them a quick stir. Pour in the warm water and stir until combined, using a wooden spoon or silicone spatula. Dough will be sticky at this point.
- Use the spoon to shape the dough in the bottom of the bowl into a ball, as best as possible. Cover the bowl with plastic wrap and place it in a warm place to rise for 2 1/2 hours.
- The dough should have nearly doubled in size after the rising time. Use your hands to scrape the dough out of the bowl.. Stretch and fold the dough several times (see notes below for details on how to do this if you're not familiar).
- Place the dough on a large piece of parchment paper and shape it into a smooth ball (without overworking the dough). Lay a piece of plastic wrap over the dough and let it rise on the counter for another 30 minutes.
- While the dough is rising, preheat the oven to 450 degrees F. Place a 4-6 quart dutch oven in the oven while it preheats (with the lid on it).
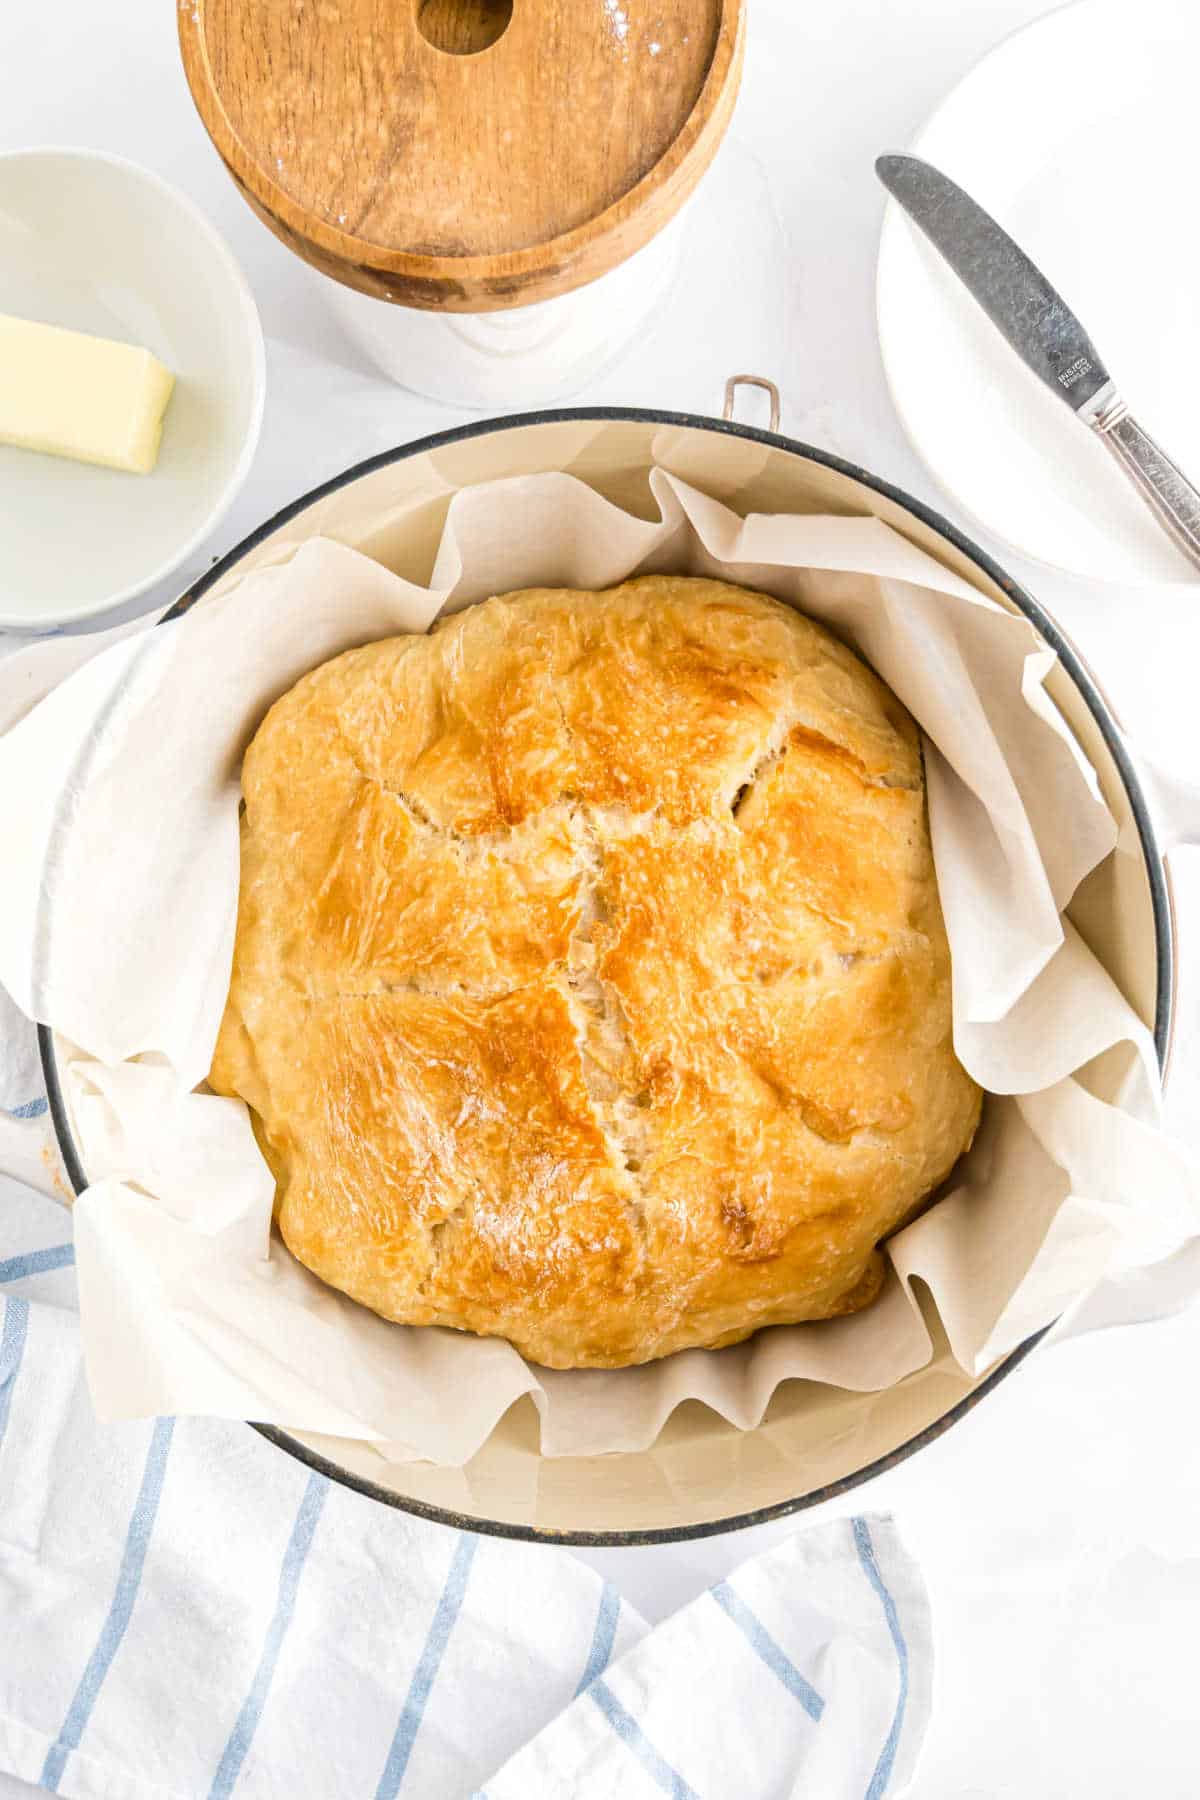
- Using hot pads remove the dutch oven from the preheated oven. Remove the lid. Lift the bread ball using the parchment paper and gently lower the parchment paper with bread into the hot dutch oven. Use a knife and score the top of the bread (like you would an apple pie). Place the lid back on top of the pot.
- Bake bread with lid on for 30 minutes. Remove lid and bake an additional ten minutes.
- Remove bread from the oven and allow it to cool for ten minutes in the dutch oven. Lift the parchment paper and bread out of the pot and transfer it to a wire cooling rack to cool completely.
Notes
- Stretch and Fold– grab the dough at the top of the ball and stretch if over the bottom of the ball. Turn the dough 90 degrees and repeat for a total of 4 stretches. This is just to you can form the shape without kneading the dough.
- Use a digital thermometer, the inside of the baked bread should reach at least 200 degrees F in the thickest part of the bread.
- Alternatively, you can shape the loaf into a log (11×4-inch) after the second rise time, and place on a preheated cookie sheet if you don’t have a dutch oven. Score the top of the loaf. Make sure the cookie sheet is preheated as well. Bake for closer to 27-30 minutes, check the internal temperature.
- For best results use a serrated knife to slice the bread.
- Wrap leftover, cooled bread in plastic wrap for up to 5 days. Or wrap tightly in plastic wrap, then slide into a ziploc storage bag and freeze for up to 3 months. Thaw at room temperature.
