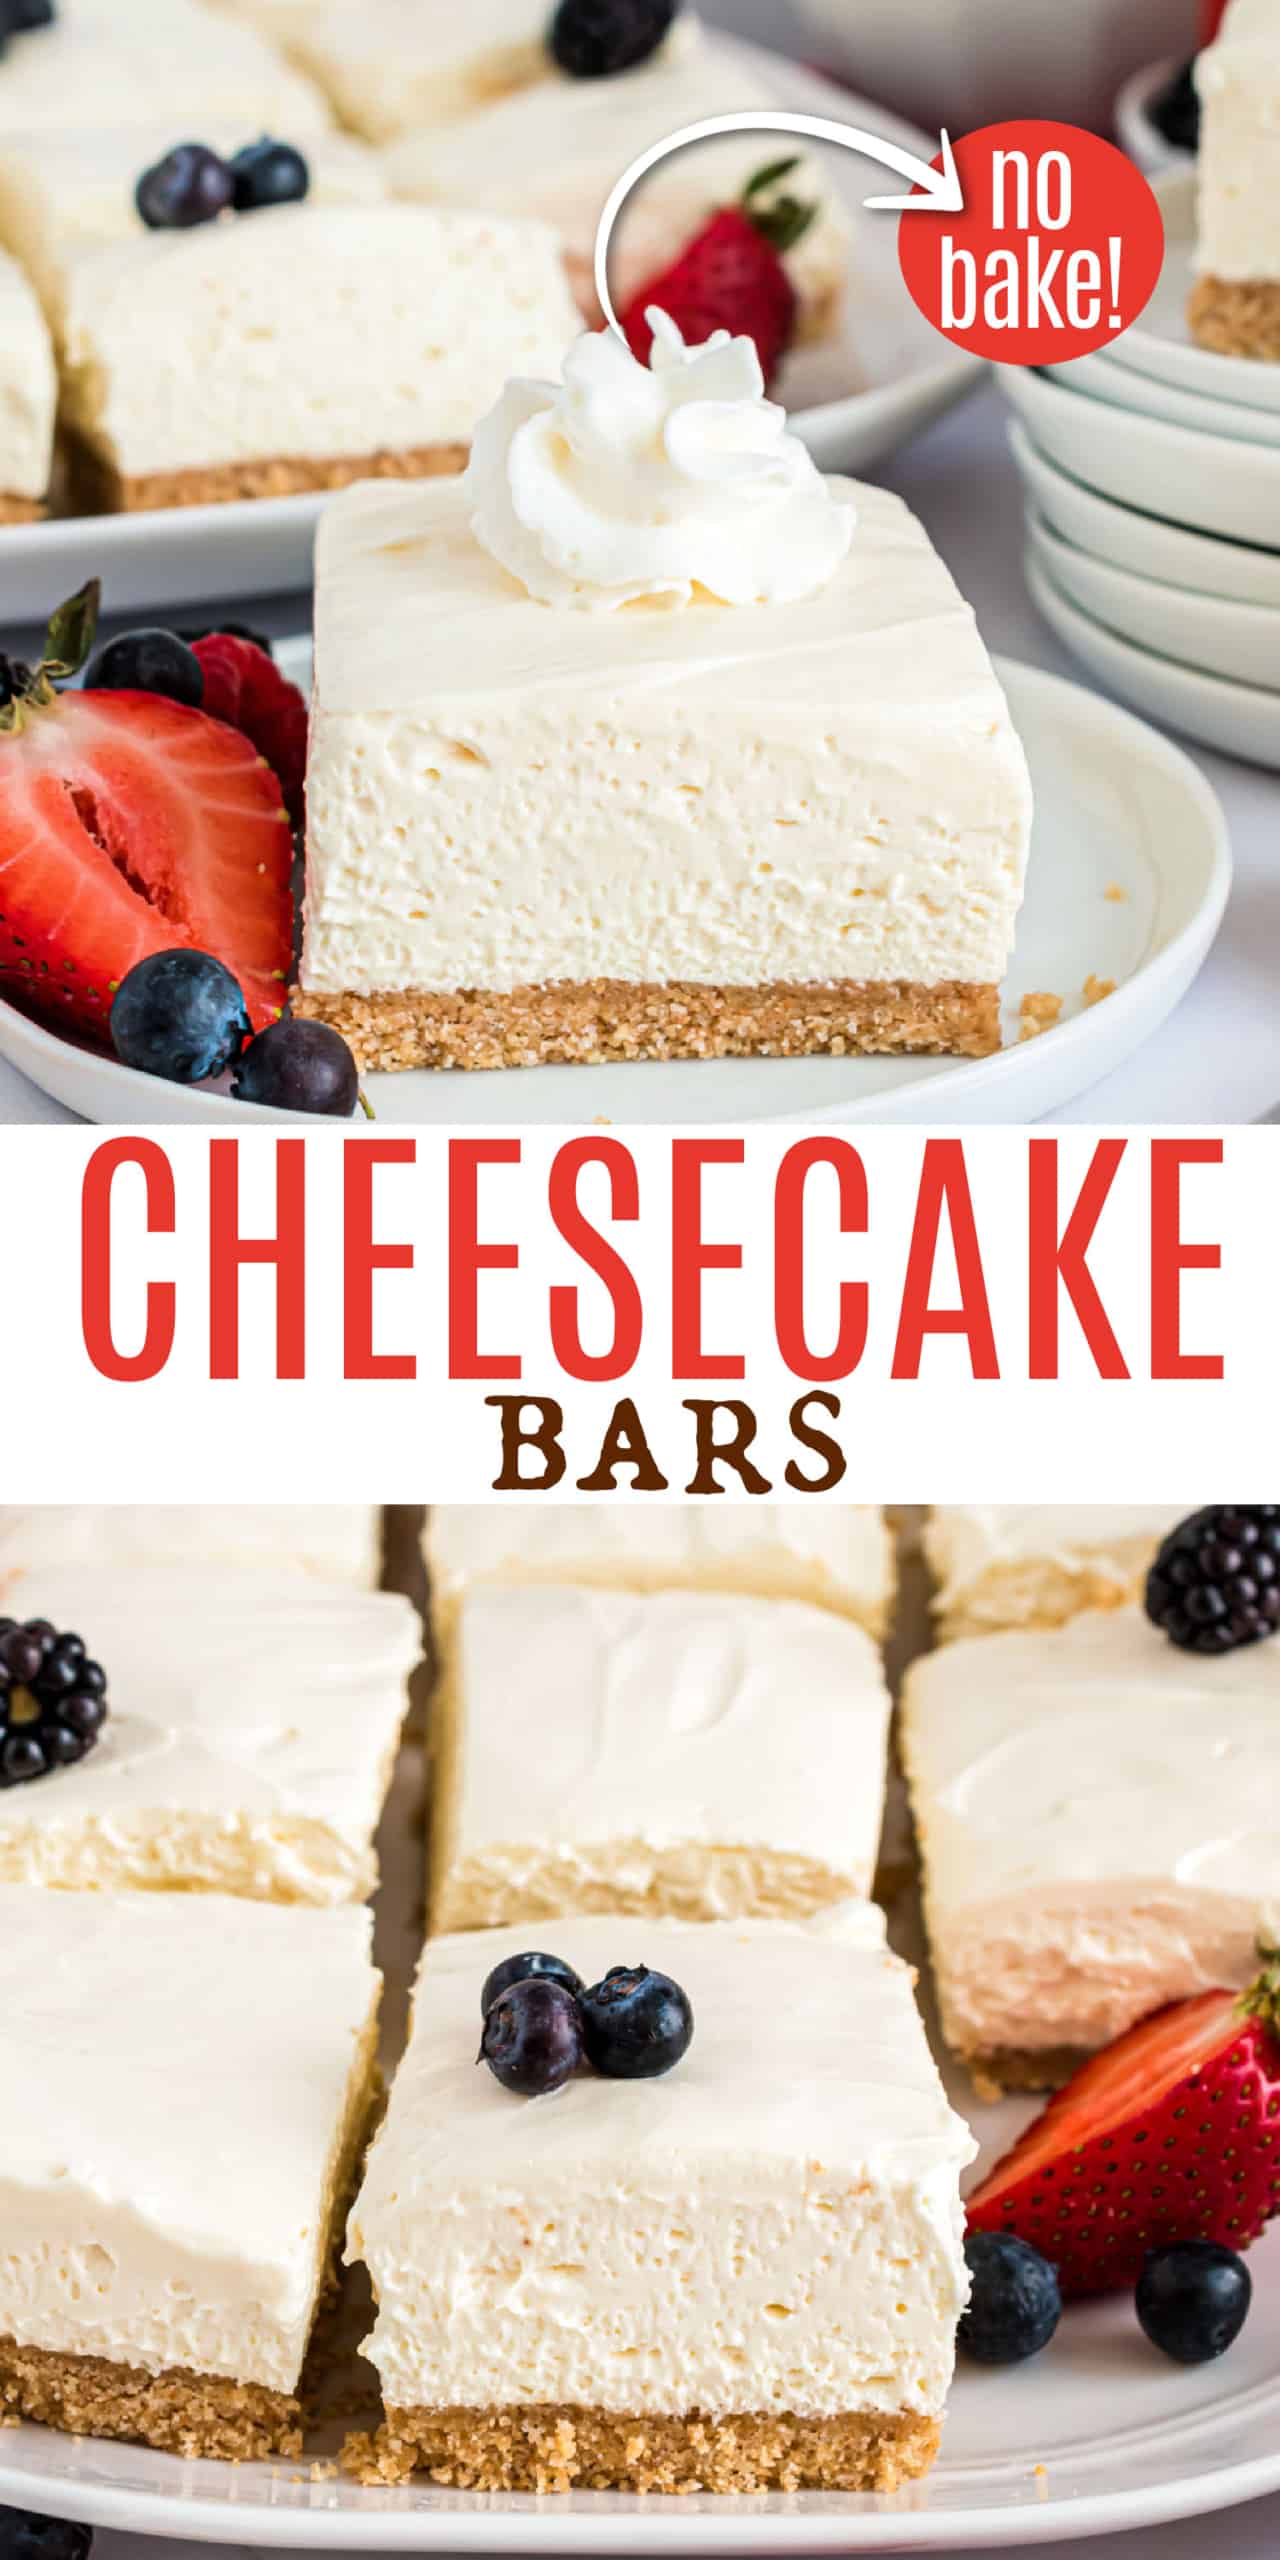
No Bake Cheesecake Bars are a fuss-free way to prep a luscious treat that sets in the fridge. You’ll love how easy these are to whip up for dessert, perfect for family or crowds.
I took my mother-in-laws classic cheesecake and made it even easier. You’ll love this recipe we’ve been making for over 35 years!
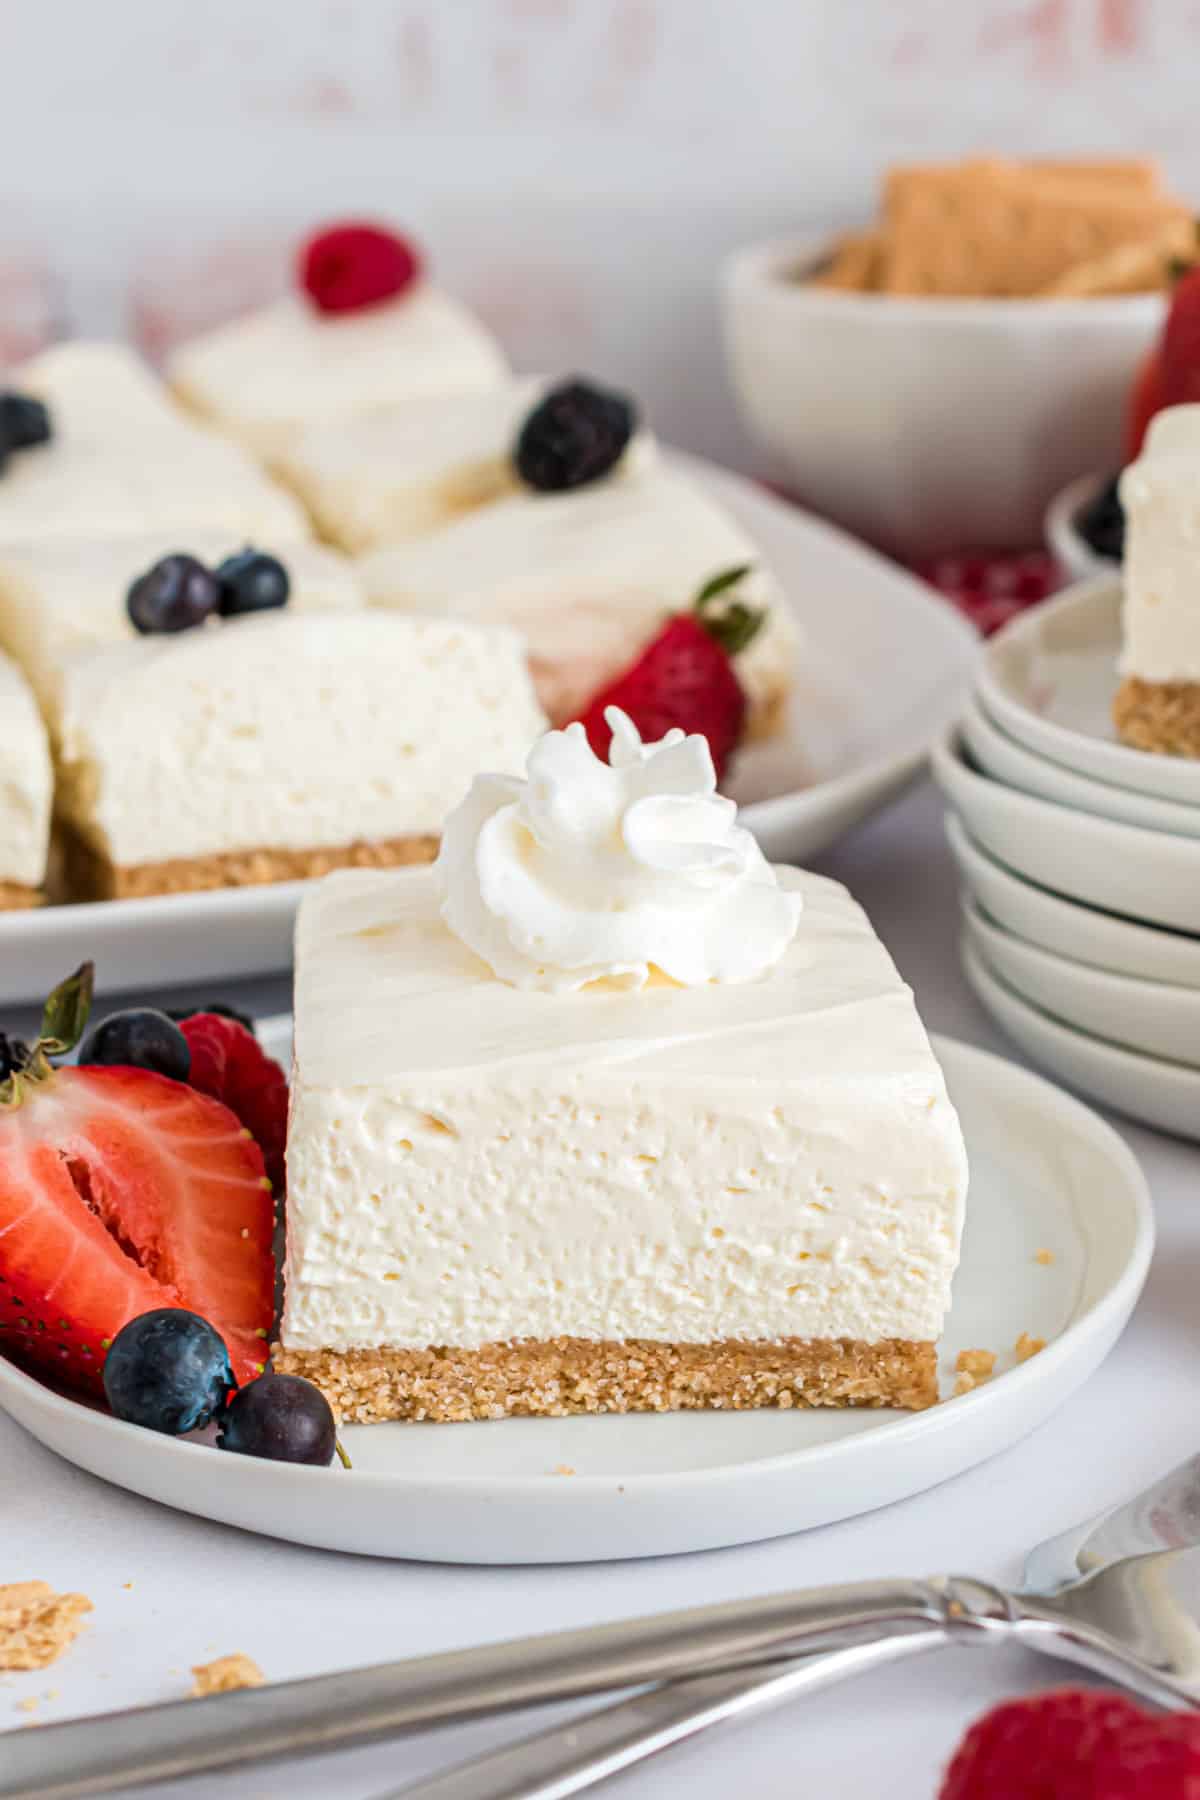
I love baking, but there are some days when I wish I didn’t have to crank up the oven. I mean I love a baked cheesecake bar, but sometimes not turning on the oven is necessary.
That’s why I’ve been exploring no-bake recipes like these cheesecake bars. They deliver the things I love about baked goodies, in a slightly less-involved format.
Here are a few reasons this recipe is a fit when you simply can’t manage the hassle of baking.
- The fridge does the work. The velvety texture of these bars comes together hands-free in the fridge so that you can savor each bite of creamy goodness without breaking a sweat.
- A great make-ahead. Ok, this is big for me when I’m hosting. I mix them when I have a moment and then forget about them until guests arrive. It’s a nice reprieve when you’ve got a dozen other things on your plate.
- Excellent for hot weather. Amid scorching temperatures, these bars offer a sweet escape. Let your fridge do the work while you unwind and dream about the velvety treat that awaits you.
Love no bake cheesecake? Be sure to try my no bake chocolate cheesecake, my chocolate cheesecake bars, as well as my no bake strawberry cheesecake recipe!
Ingredient Notes
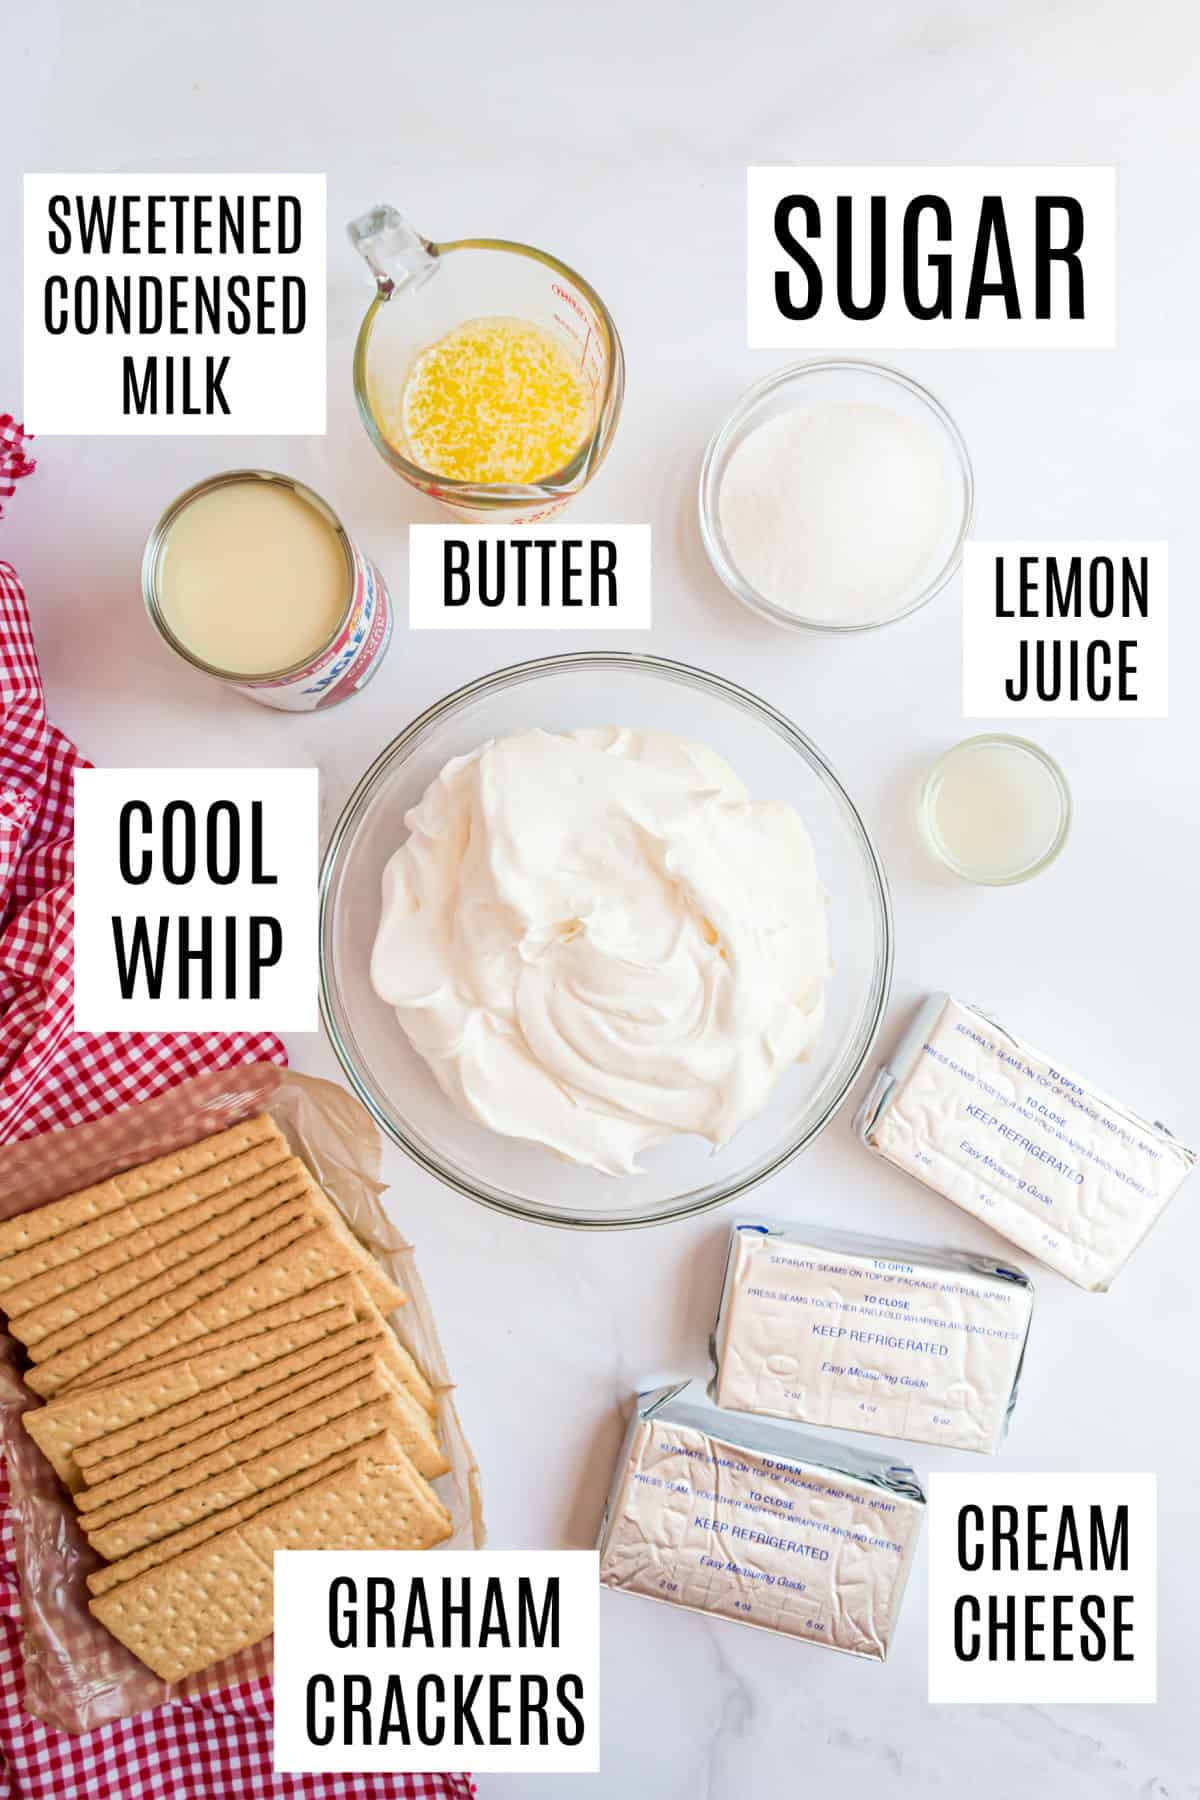
- Graham Cracker Crumbs – These crumbs serve as the base for the crust, adding a delicious, sweet, and crumbly texture. Make them yourself by crushing whole graham crackers until finely ground. Other crumbs made from Oreo or Biscoff cookies are a simple swap that can give the recipe an unexpected twist.
- Sugar – Granulated sugar dissolves seamlessly into the melted butter for an even sweetness throughout the crust. You can replace it with an equal amount of brown sugar for a more malty flavor profile and chewier texture.
- Butter – Melted unsalted butter binds the crust together and adds richness. You can use salted butter, but you might detect the salty flavor in the finished bars.
- Cream Cheese – Room temperature cream cheese is softer and easier to blend with the other ingredients. This way, you’ll have a smoother, creamier filling. Full-fat cream cheese will yield the best texture and flavor.
- Sweetened Condensed Milk – Sweetened condensed milk is crucial to the recipe. It adds sweetness and helps set the filling so that these cheesecake bars don’t have to go into the oven.
- Lemon Juice – Lemon juice adds a tangy contrast to the sweetness and helps balance the flavors. Fresh lemon juice is best, but you could use bottled lemon juice in a pinch.
- Cool Whip – Whipped topping is convenient and gives the cheesecake a light and airy texture. You can make your own stabilized whipped cream if you prefer an option without preservatives and oils.
How to Make No Bake Cheesecake Bars
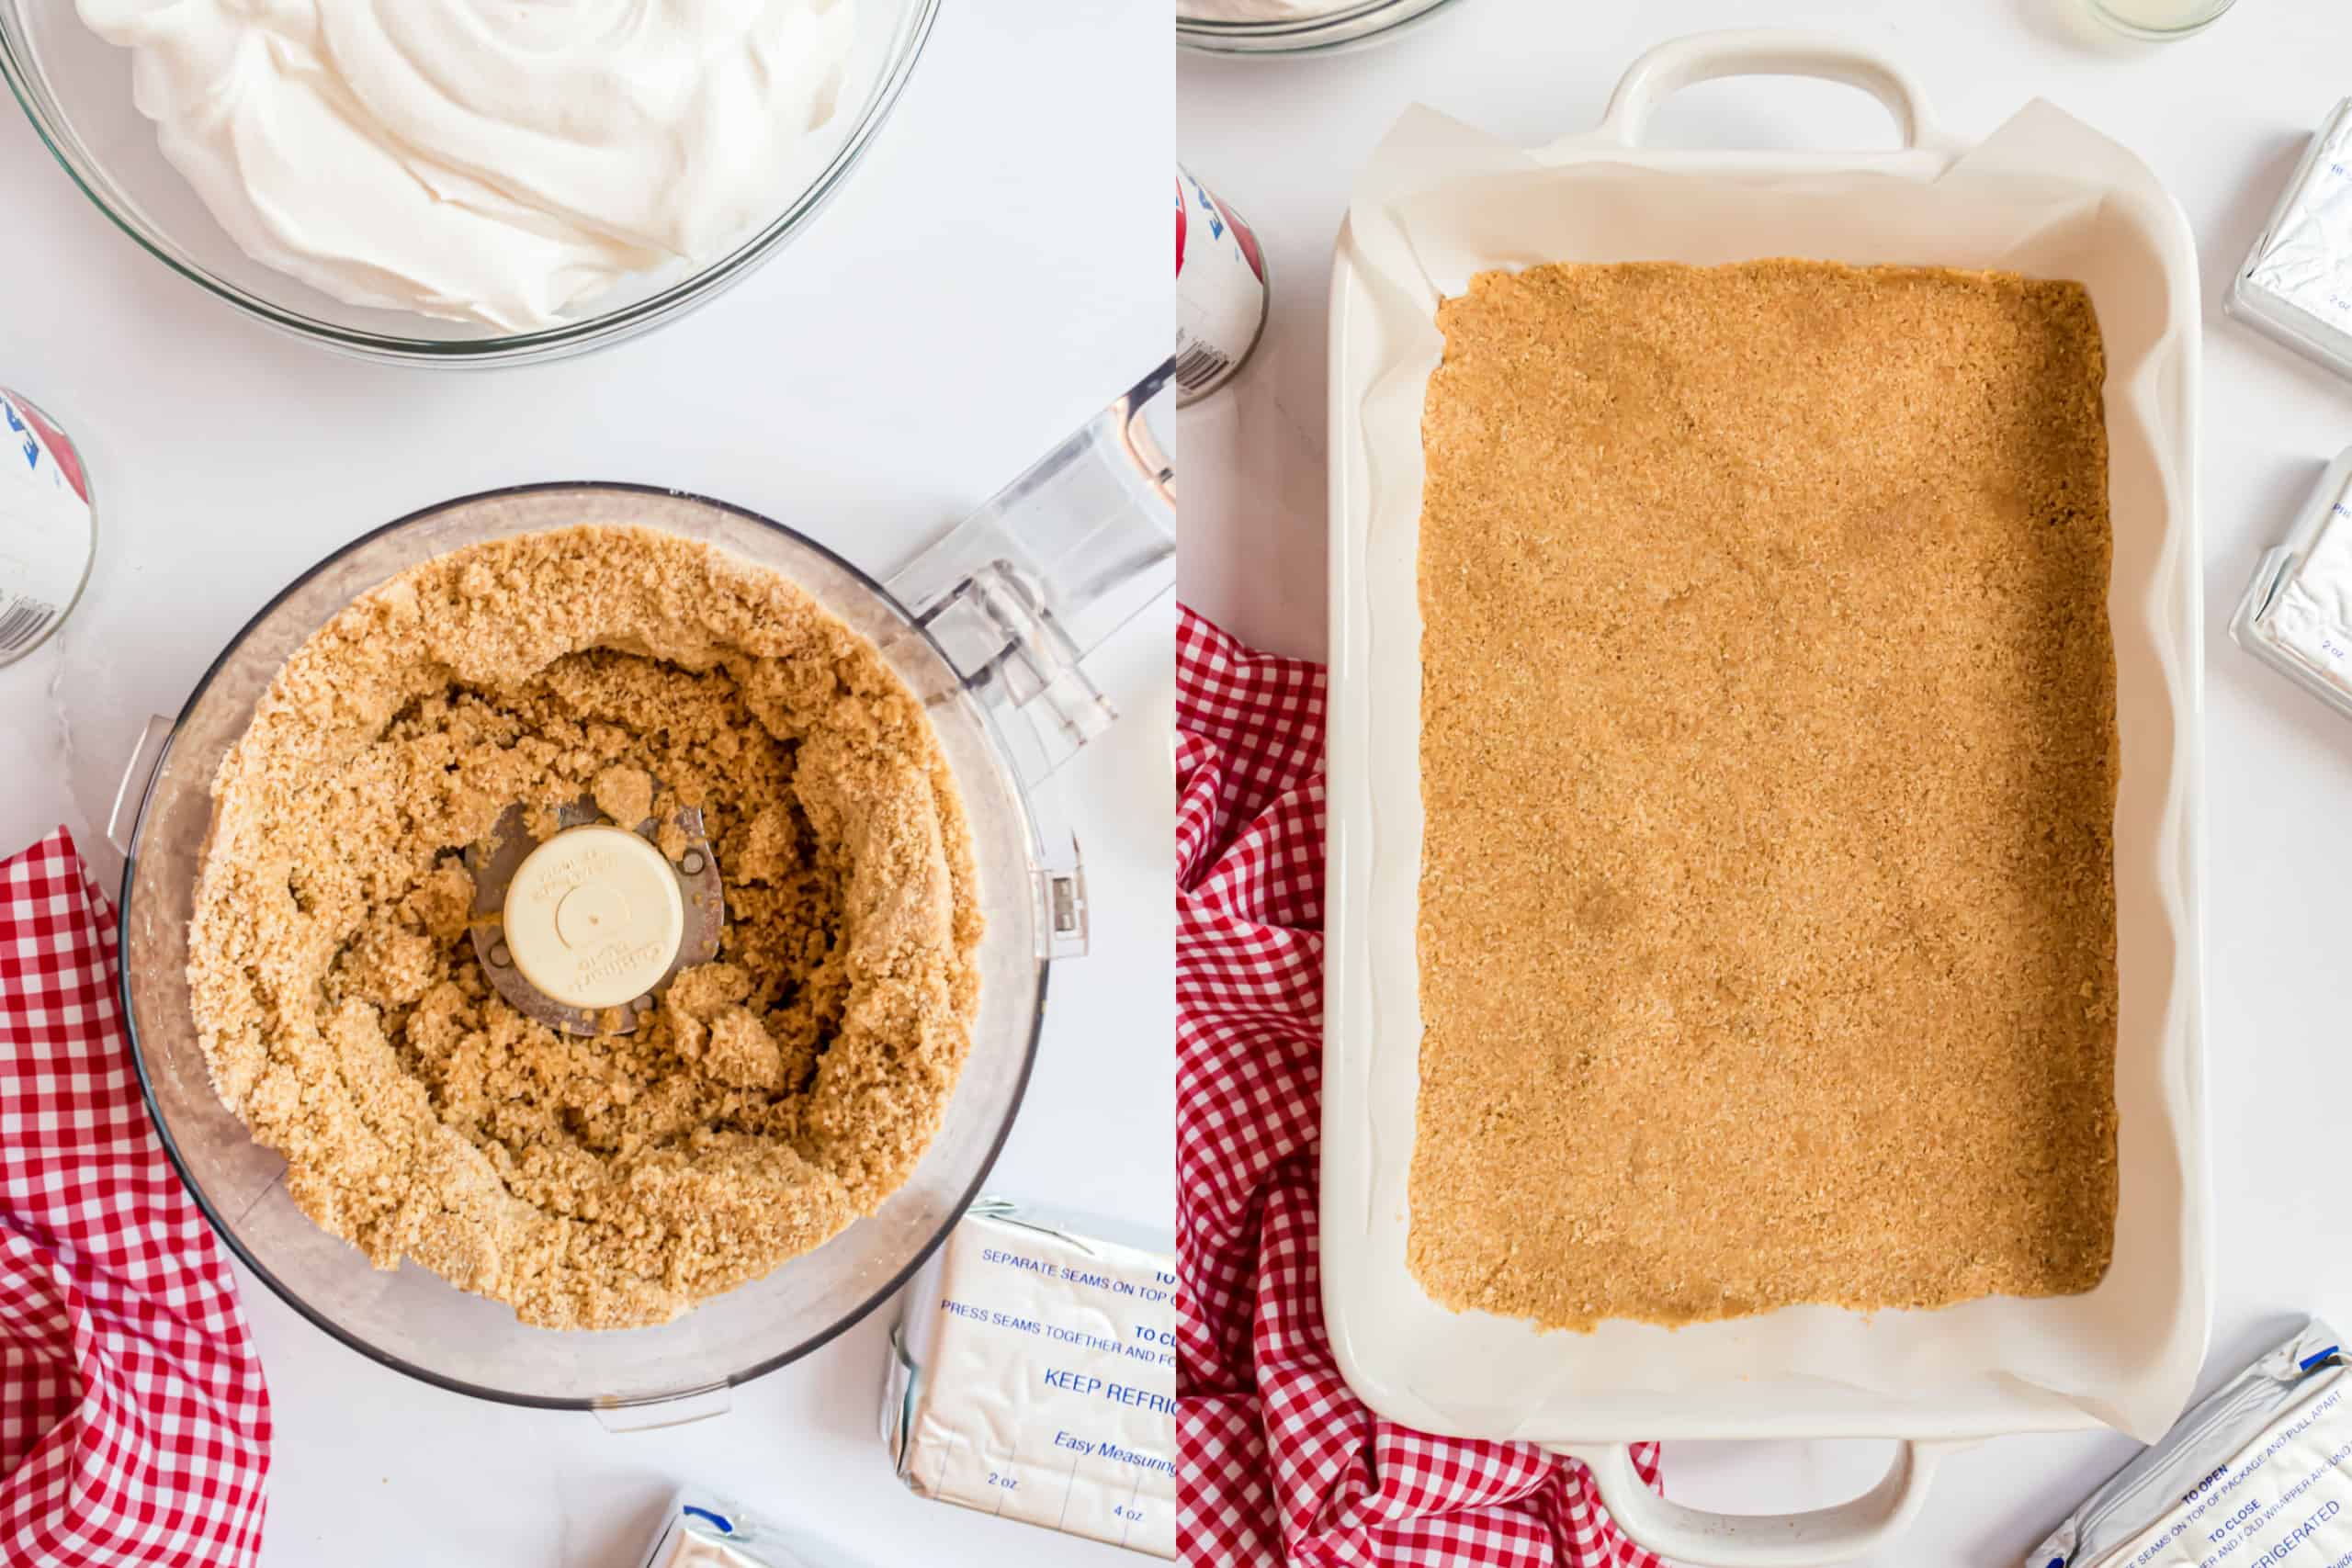
Prepare the crust.
- In a food processor, pulse graham crackers and sugar until they form fine crumbs. Add melted butter and process until just blended.
- Pour the crumb mixture into the prepared baking dish and press firmly to form the crust layer.
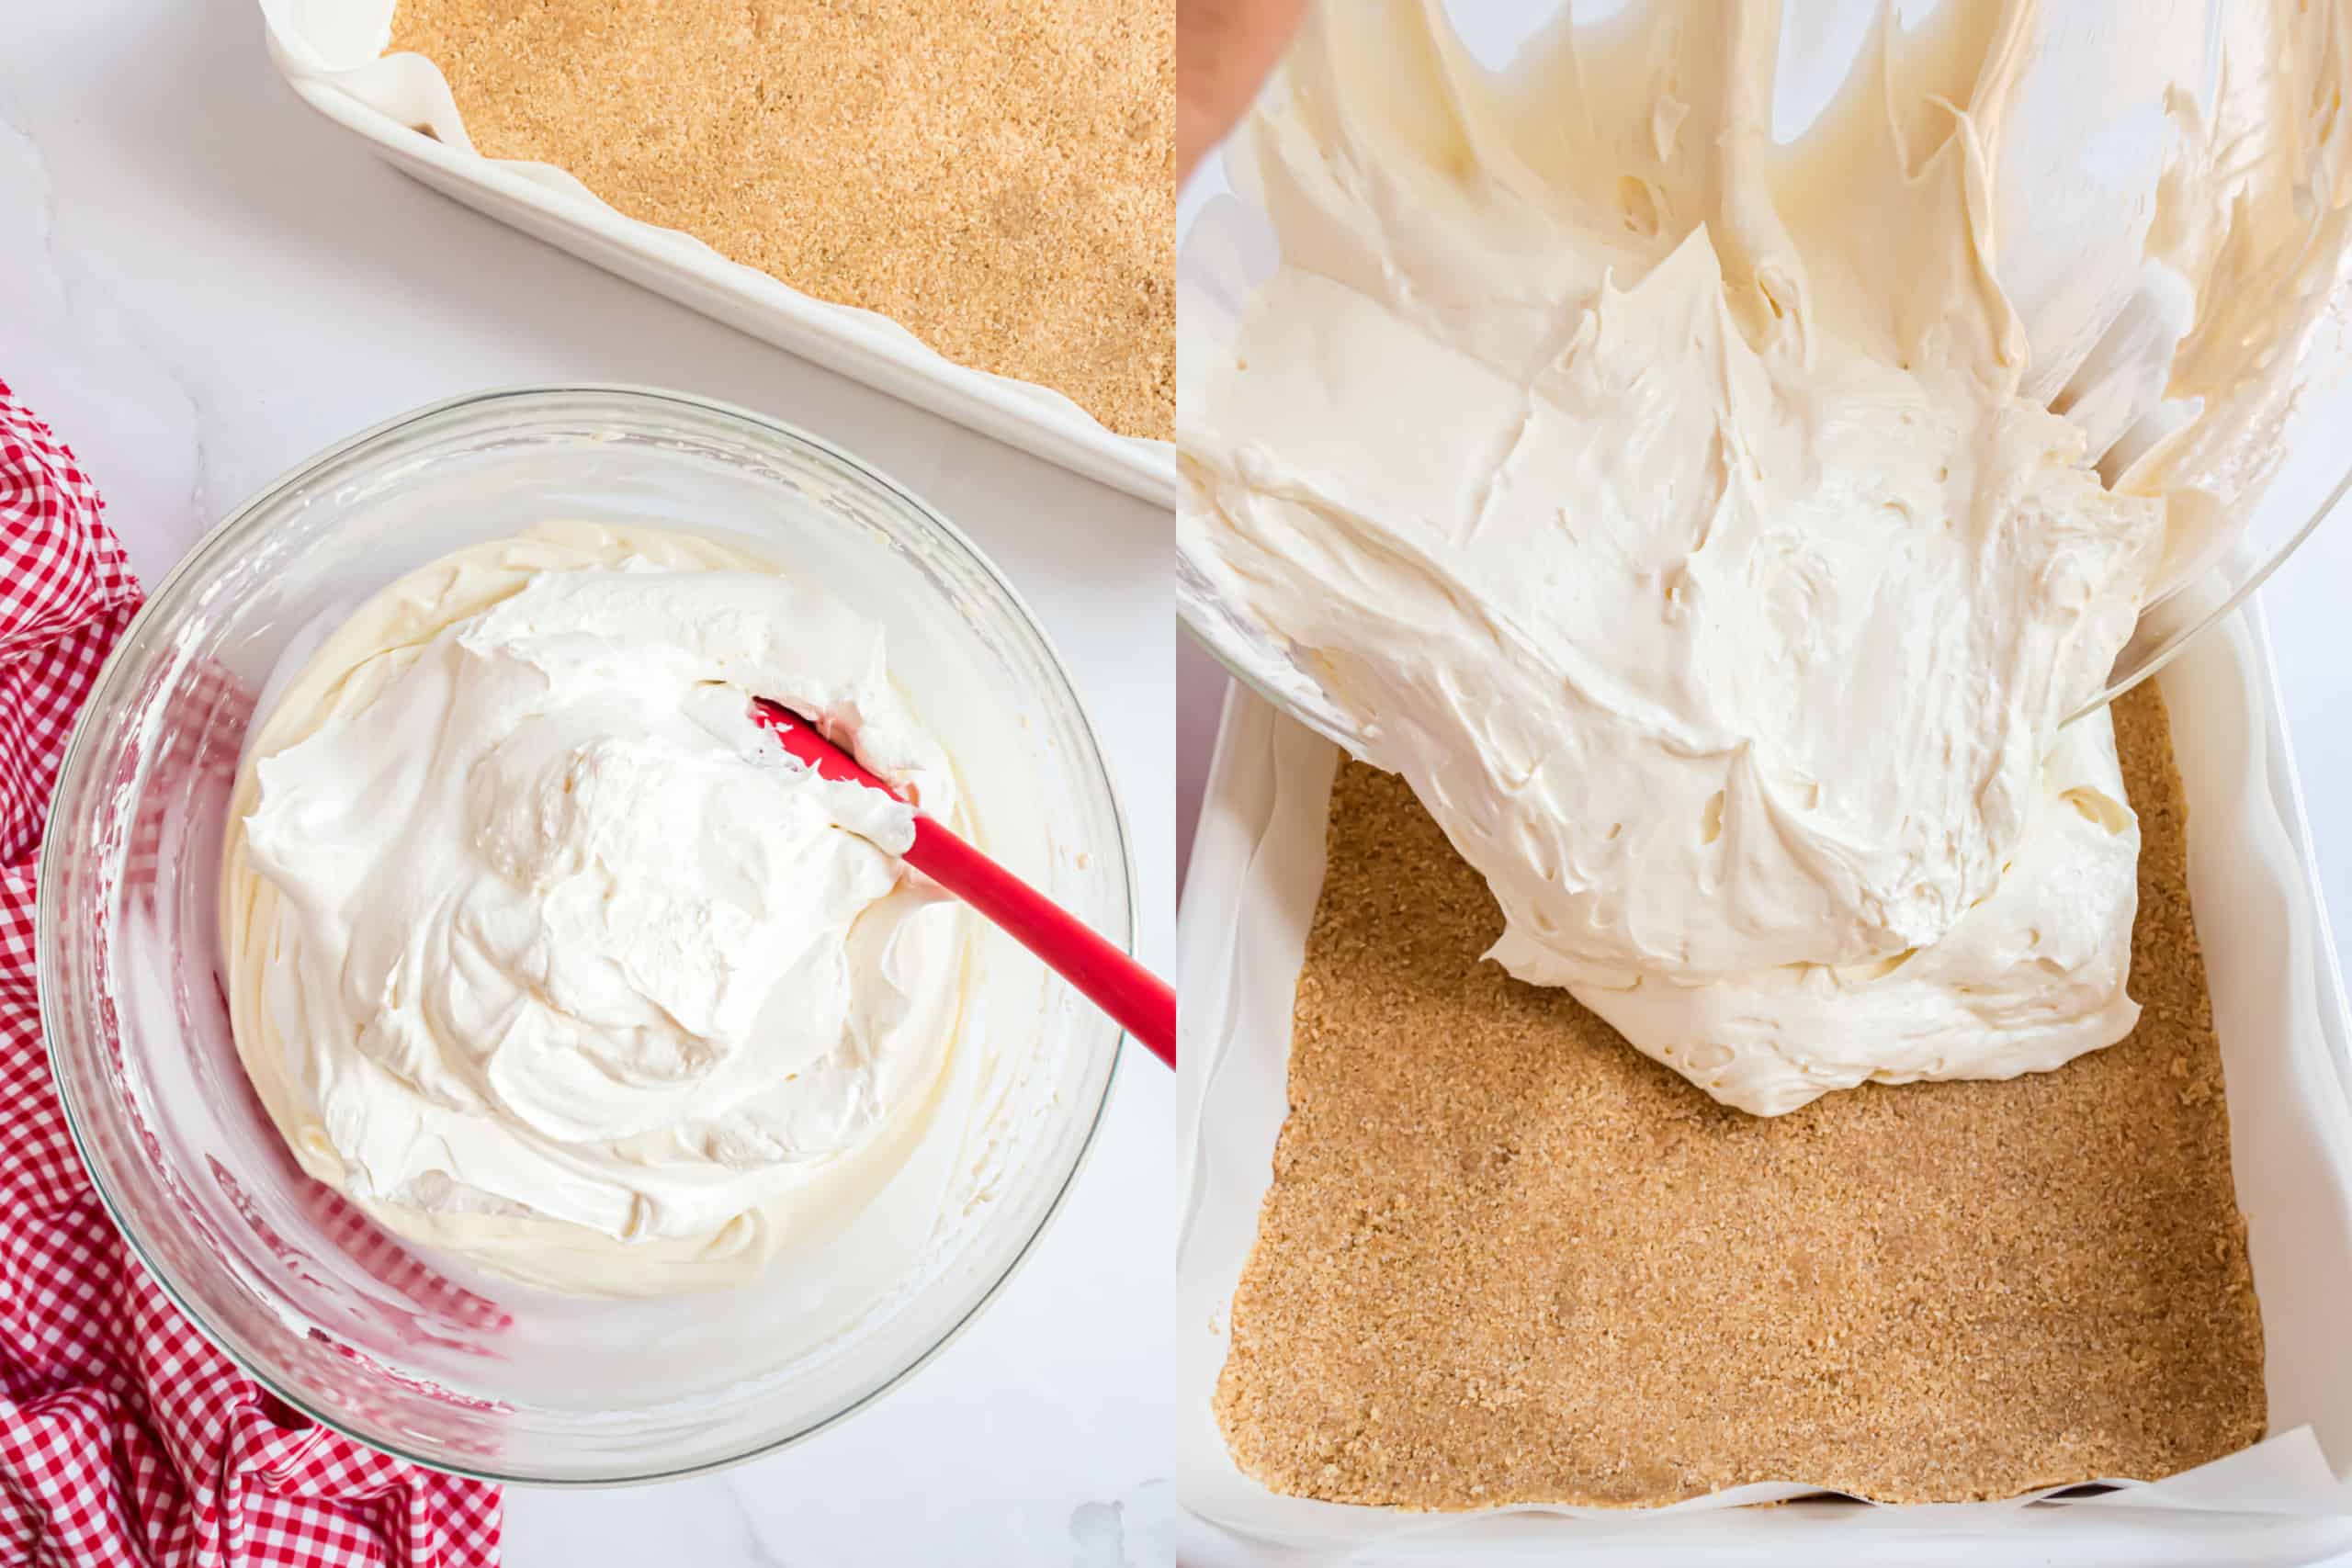
Mix Cream Cheese Base.
- In a large mixing bowl, beat cream cheese with sweetened condensed milk and lemon juice until the mixture is smooth and fluffy. Gently fold in Cool Whip using a spatula until well combined.
- Pour the cheesecake filling over the graham cracker crust layer in the baking dish. Spread the filling evenly and smooth out the top.
Chill. Cover the cheesecake with plastic wrap and refrigerate it for at least 3 hours or overnight, allowing it to set and firm up.
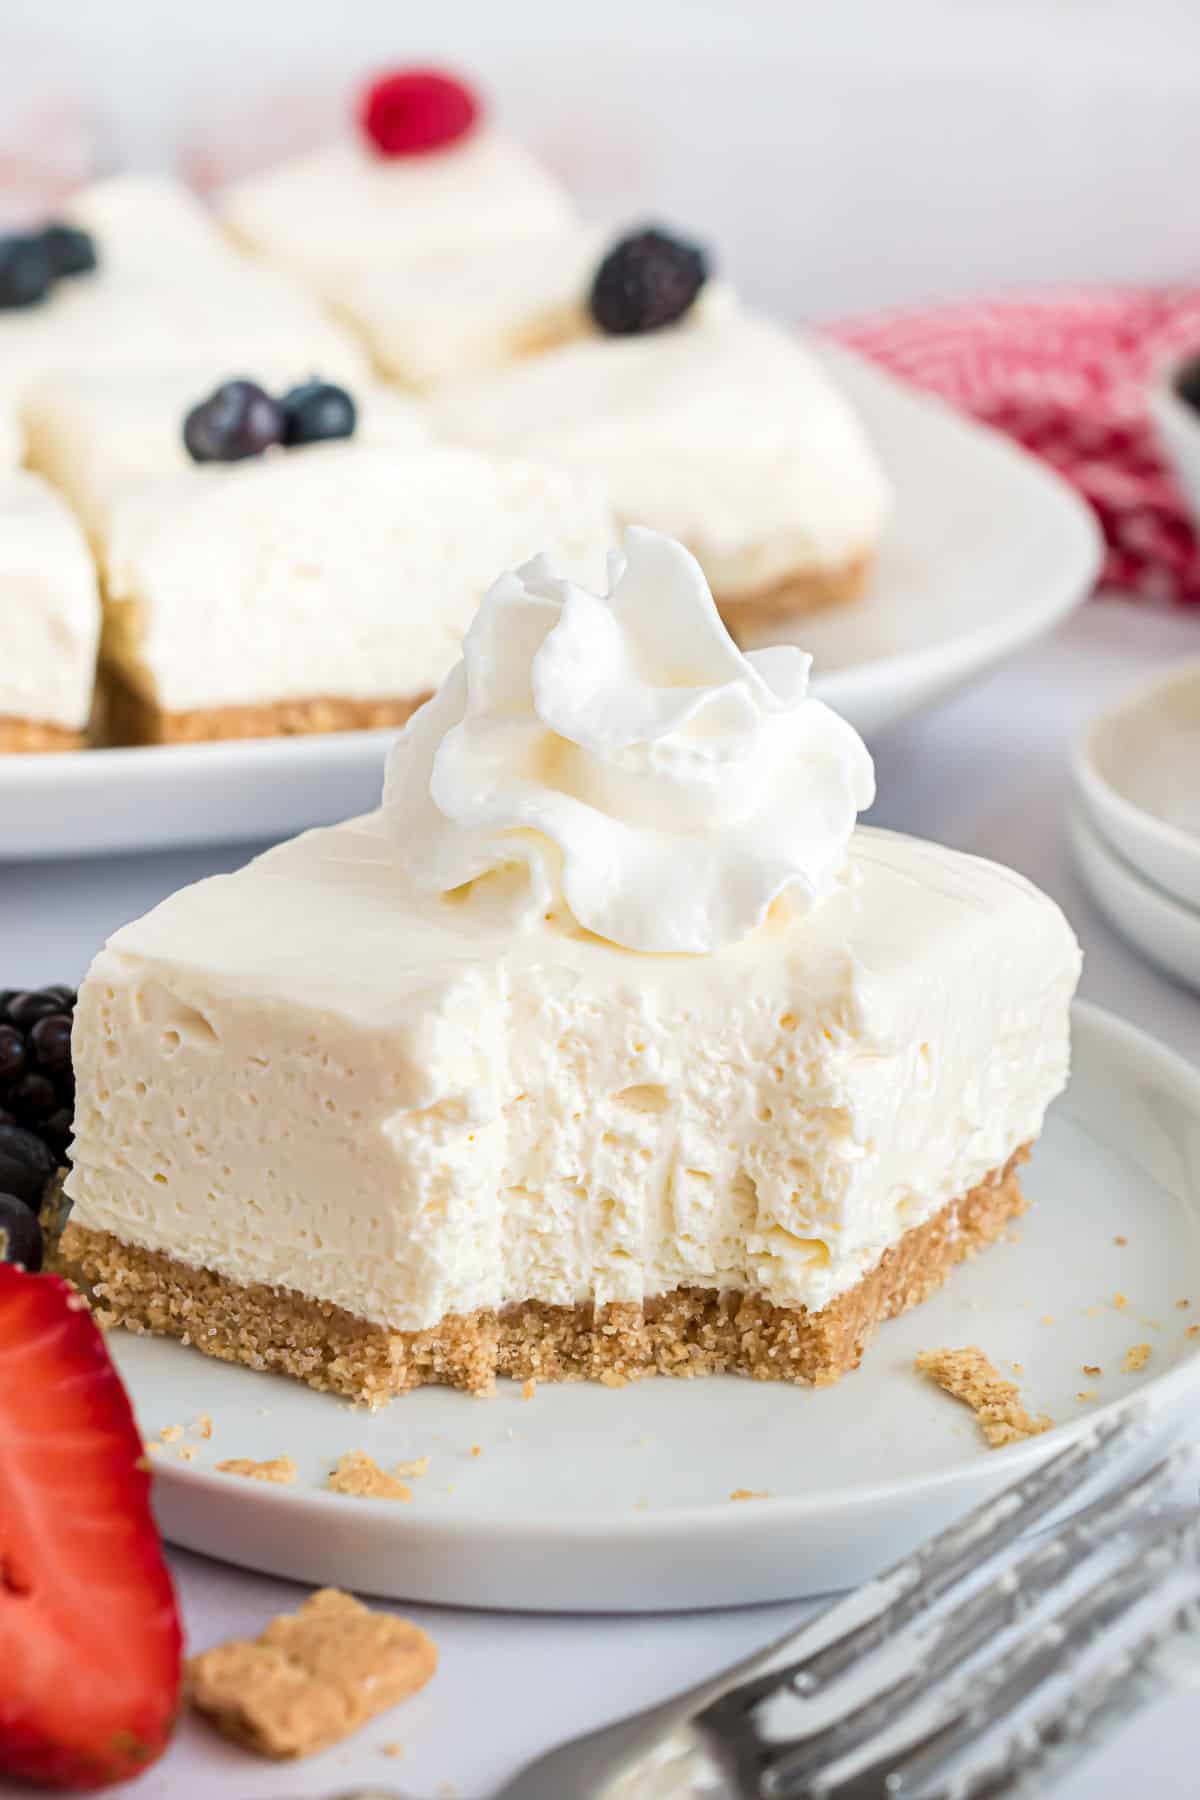
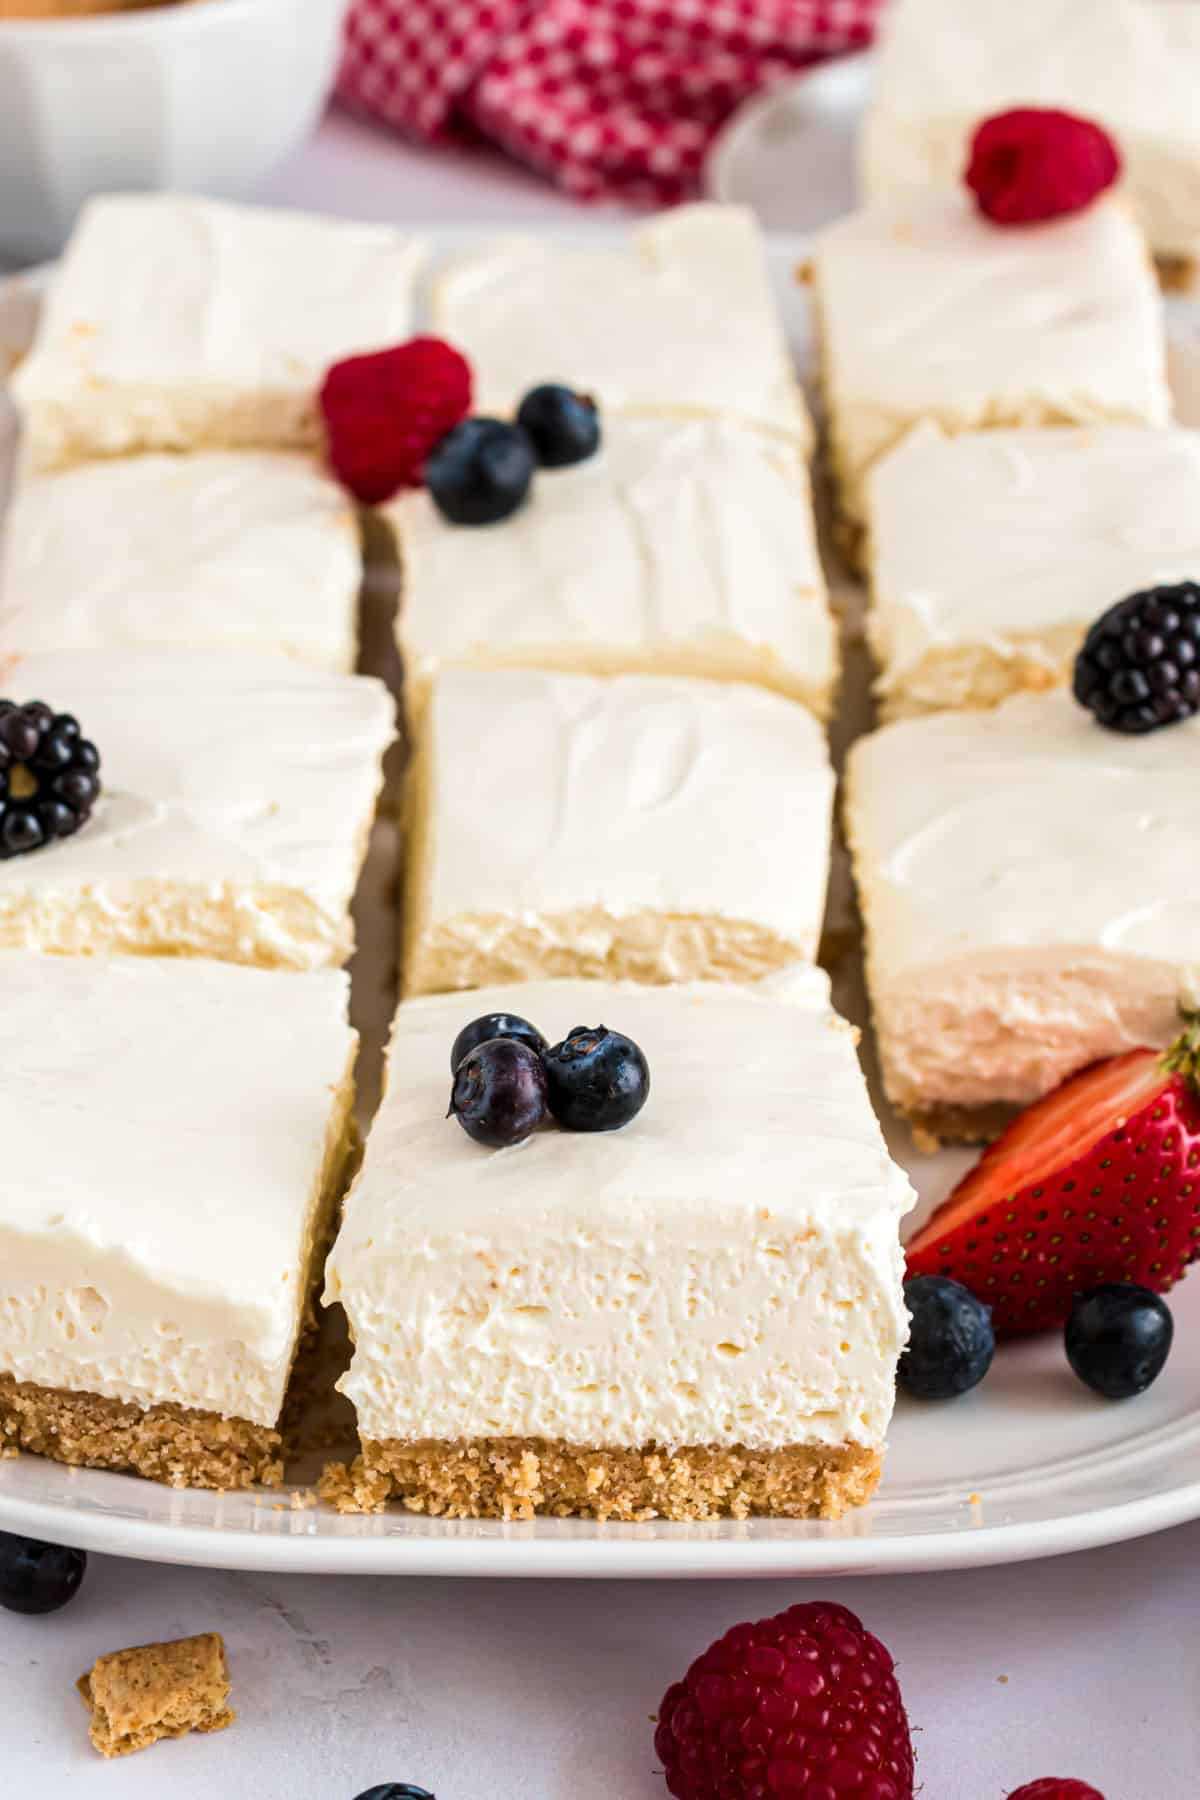
Serve. When ready to serve, add an extra layer of indulgence by topping the cheesecake with the remaining Cool Whip. Or, top with fresh berries, a drizzle of caramel sauce, or a swirl of chocolate syrup.
Readers love my no bake recipes. My funfetti no bake cheesecake gets great reviews! Or give my no bake raspberry cheesecake a try next, you’ll love the sweet topping!
Tips and Tricks
- Not a Cool Whip fan? Make your own stabilized whipped cream instead of using pre-made whipped topping. For a citrusy twist, start with my Lemon Whipped Cream Frosting. Then, dissolve a small amount of gelatin in water and chill until slightly thickened. Fold the gelatin into the whipped cream, and you’re ready!
- Chill the Crust: If you have the time, after pressing the crust into the dish, give it a brief chill in the fridge before adding the filling. This step helps the crust set and provides a sturdy base for your cheesecake.
- Don’t overmix! When incorporating the Cool Whip into the cream cheese mixture, fold gently to maintain the airy texture. Overmixing can cause the filling to become dense.
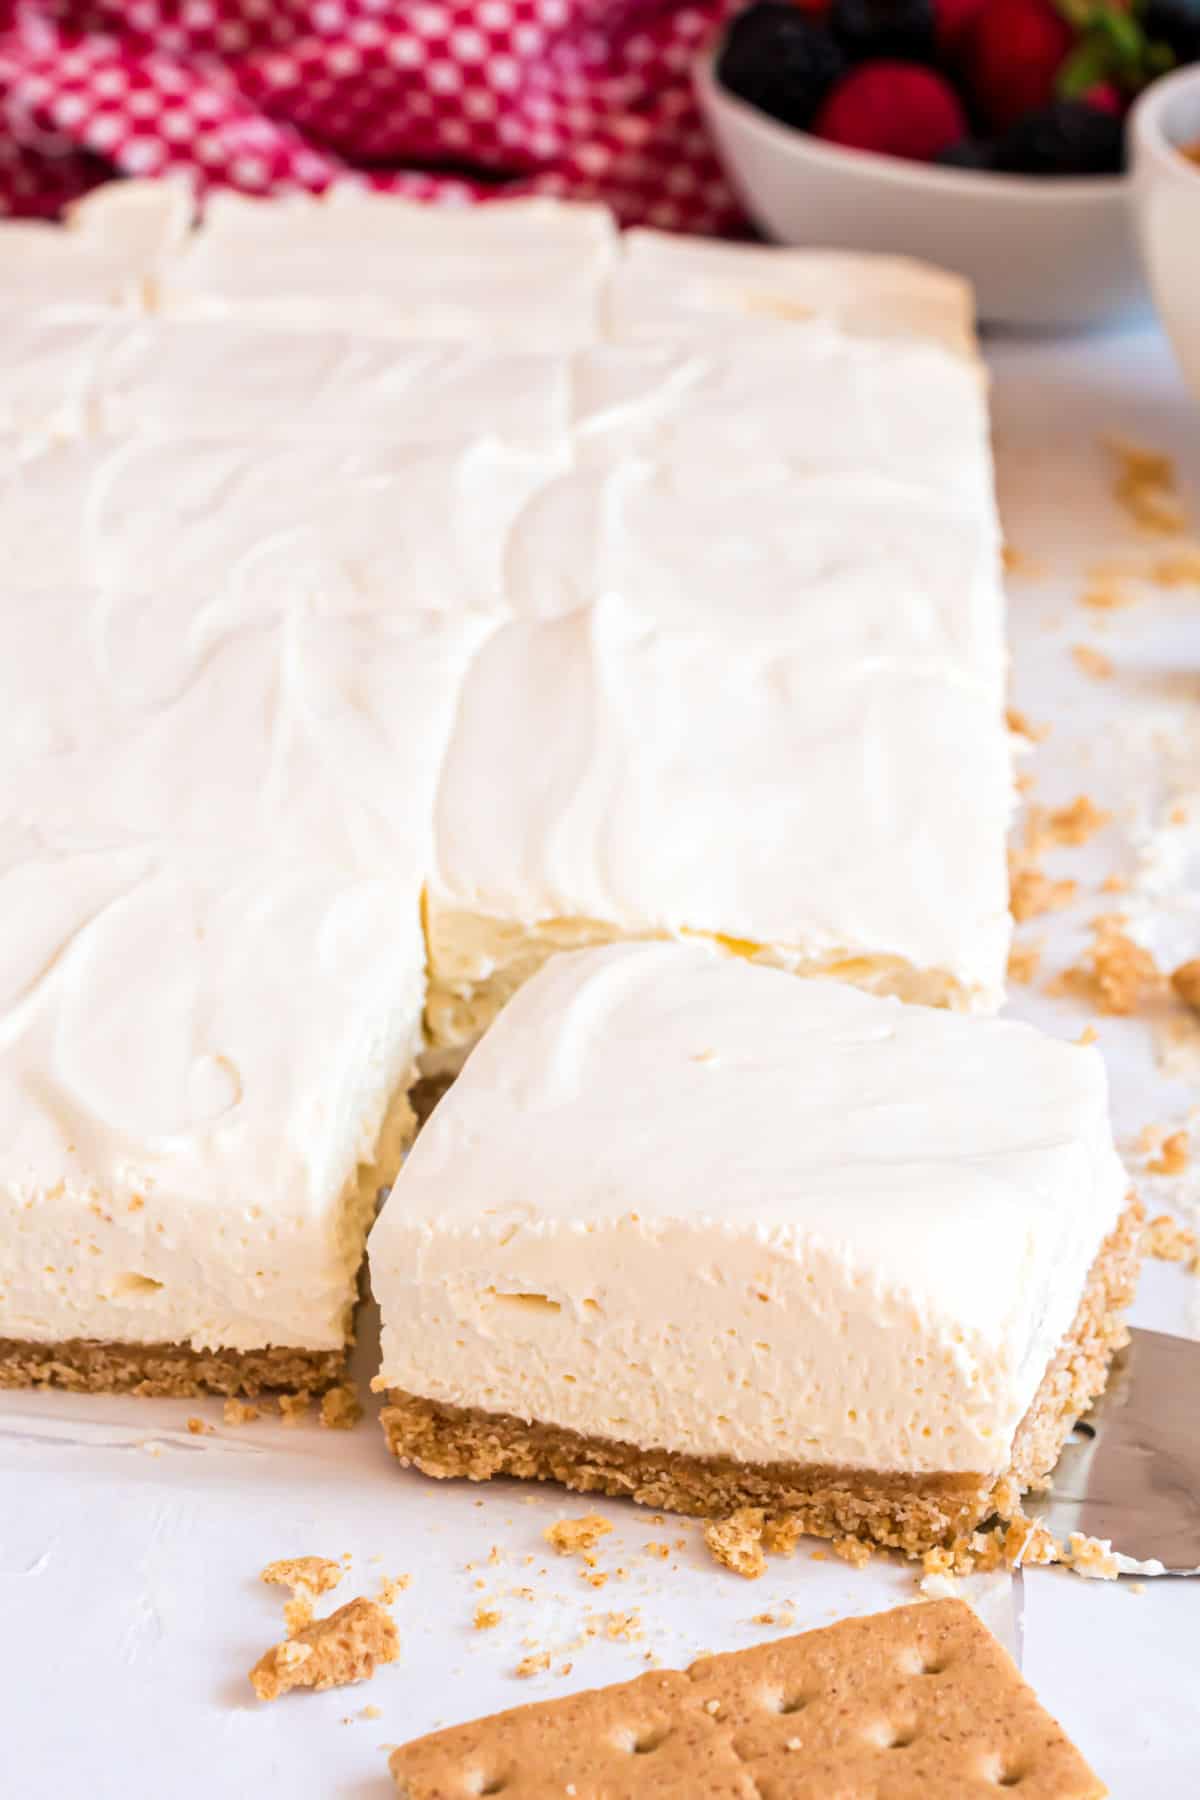
- Clean Cuts: Briefly dip a sharp knife in hot water before slicing. After each cut, wipe the blade clean and repeat the hot-water dip. Heating the knife will help it smoothly glide through the chilled cheesecake bars for clean, neat slices.
- Toppings Galore: While the recipe suggests Cool Whip, get creative with your toppings. Fresh fruit, toasted nuts, chocolate shavings, or a drizzle of honey can add a personalized touch and extra flavor.
Recipe FAQs
Although graham cracker crumbs are the classic option, feel freedom to experiment with other cookies. Try using Nilla Wafers, Gingersnaps, or Biscoff cookies. Both regular and Golden Oreos make irresistible crusts, too!
I recommend refrigerating the cheesecake bars for at least 3 hours, but letting them chill overnight yields the best results. This extended time allows the flavors to meld and ensures a firm, sliceable texture.
Store in an airtight container with pieces of parchment paper to separate layers of bars. They’ll keep in the fridge for up to 4 days or in the freezer for up to 3 months.
You can create mini cheesecake bites using a muffin tin and cupcake liners. This variation is perfect for serving at parties and events.
More Easy Dessert Recipes
- Refreshing and soft, this Lemon Ricotta cake better make it to your dessert table soon!
- This Apple Delight is a layered dessert, filled with apple filling, graham crust, and cool whip!
- No Bake Mini Cheesecakes are so easy and quick! With a few simple ingredients and a Oreo pie crust, this dessert can’t get anymore yummy!
- Lemon Lush is layered goodness! With homemade lemon curd and topped with a whipped cream!
- This Banana Pudding Recipe is the best, creamiest, richest classic dessert! Everyone will LOVE this treat!
Pin this now to find it later
Pin It
No Bake Cheesecake Bars Recipe
Ingredients
For the Crust
- 2 ½ cups graham cracker crumbs, about 18 full size crackers
- ½ cup granulated sugar
- ½ cup unsalted butter, melted
For the Cheesecake
- 3 packages cream cheese (8 ounce each) softened
- 1 can sweetened condensed milk (14 ounce)
- 1 Tablespoon lemon juice
- 12 ounce Cool Whip, thawed
Instructions
- Line a 13×9 baking dish with foil (or parchment paper). Set aside. (see notes below).
- To make the crust, add graham crackers and sugar to a food processor. Pulse until fine crumbs. Add in melted butter and process a couple times until blended.
- Pour crumbs into the bottom of the 13×9 and press firmly into the bottom (use a cup or heel of your hand). Set aside.
- In a large mixing bowl, beat cream cheese with sweetened condensed milk and lemon juice for several minutes until smooth and fluffy.
- Fold in Cool Whip with a spatula, then pour cheesecake filling over the graham cracker crumb layer. Spread evenly and smooth tops.
- Cover cheesecake with plastic wrap. Refrigerate for 3 hours or overnight.
- When ready to serve, top with extra Cool Whip, fresh berries, caramel sauce, or chocolate syrup.
Notes
- If you want to serve your bars straight from the dish, no need to line it with foil or parchment paper. If you prefer to remove them from the pan and cut into bars, foil or parchment work great.
- You can swap out the graham cracker crumbs for Nilla Wafers, Golden Oreos, Gingersnaps, or any other cookie.
- Swap out the Cool whip for our homemade stabilized whipped cream if preferred.
- Store cheesecake in refrigerator for up to 4 days, or freeze for up to 3 months.

These are great.