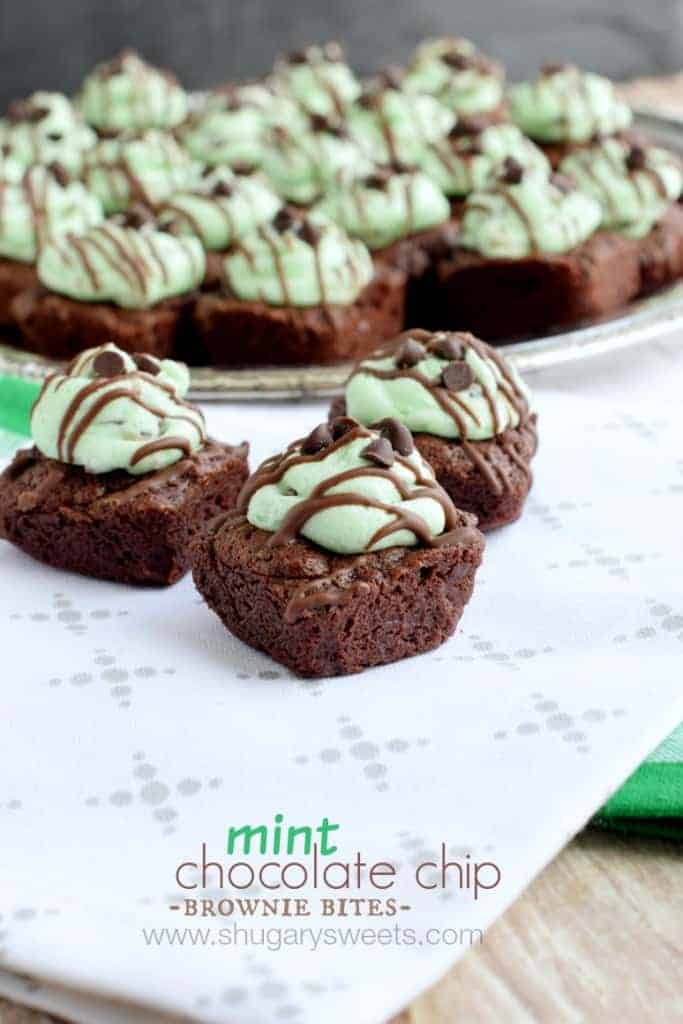
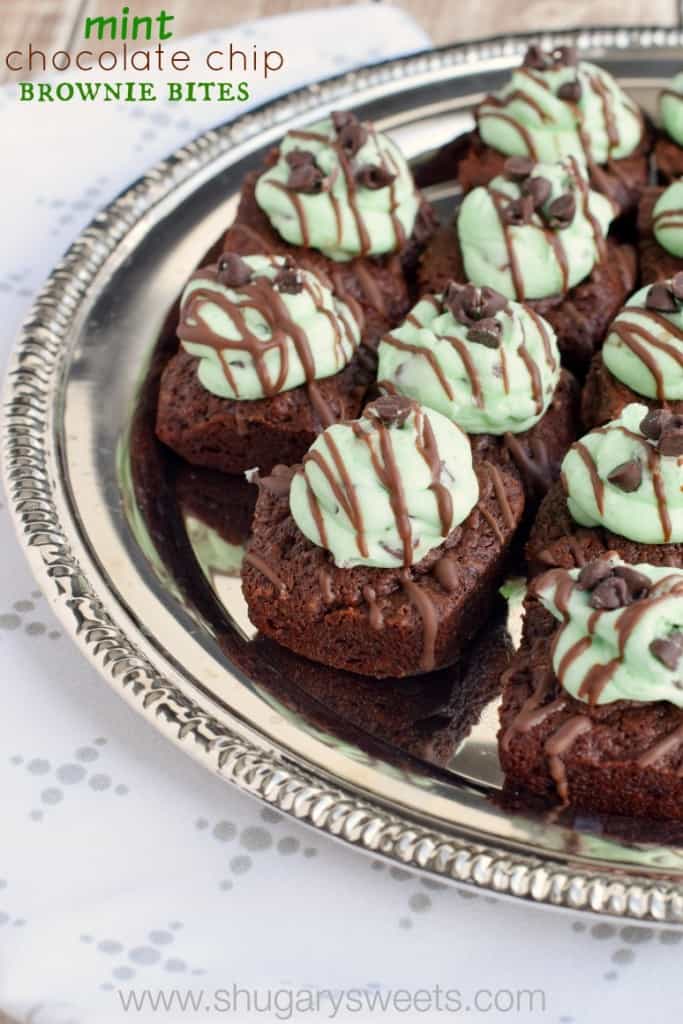
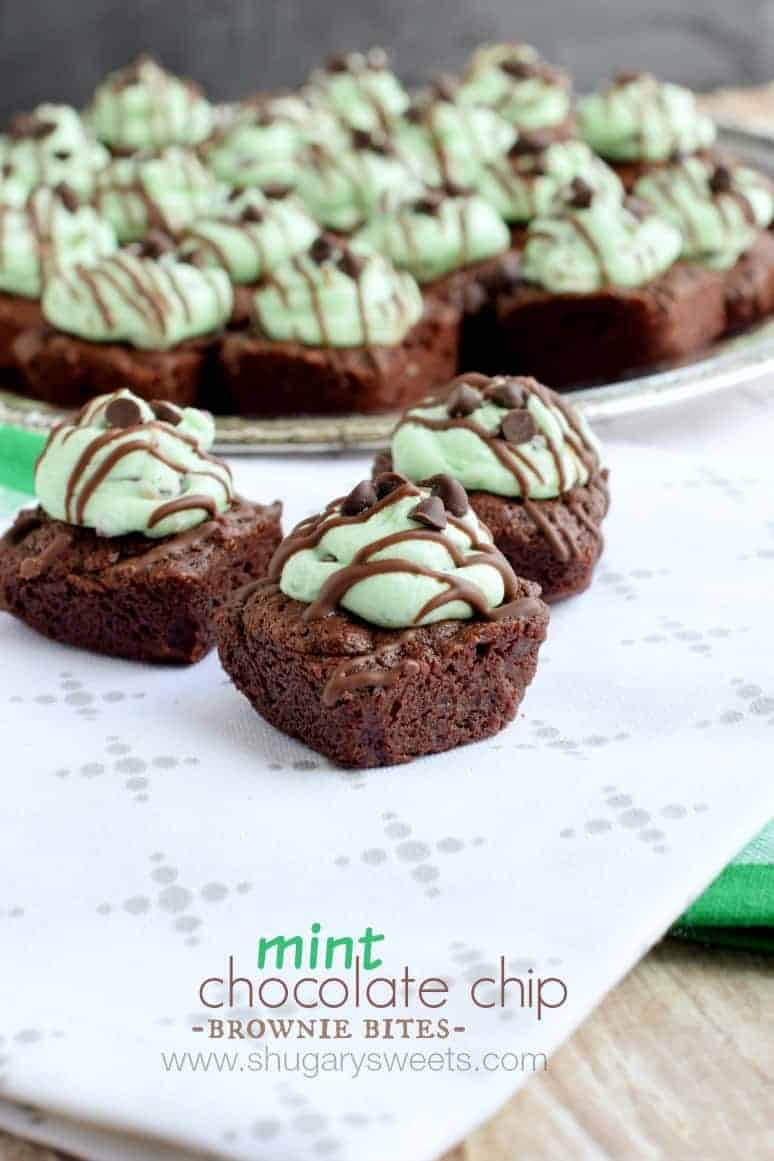
Mint Chocolate Chip Brownie Bites are bite sized pieces of heaven. Rich chocolate homemade brownies topped with a creamy, minty frosting!
I take my brownies seriously around here. From classic Frosted Brownies to these ultra fudgy Buttermilk Brownies, I think the best brownies are made from scratch.
Why Make Brownie Bites
Most home bakers run into one main issue with homemade brownies: cutting them!
How many times have you baked a perfect tray of brownies only to have them crumble and tear when sliced? Or to realize you weren’t careful with your slices and now your brownies are all different sizes?
There’s one surefire way to avoid slicing mishaps: make brownie bites instead!
- Brownie bites bake as individual servings. No knife needed!
- Easy to transport and serve. A great option for parties and potlucks.
- All the delicious taste of homemade brownies in bite-sized form.
- Smaller brownies means you get to eat MORE of them!
Today’s brownie bites are topped with a decadent mint chocolate buttercream. A delicious bite-sized chocolate dessert for any mint lover.
Ingredient Notes
- Bittersweet chocolate chips – The 60% cocoa chocolate is best for rich, chocolatey brownies!
- Unsalted butter – If you only have salted butter, leave out the added kosher salt in the recipe.
- Green food coloring – We use the food gel to give the frosting a mint green color.
- Andes baking chips – These are like itty bitty versions of the classic chocolate mint candies. Perfect for folding into this mint chip frosting!
- Mini chocolate chips – Because more chocolate is always a good idea.
How to Make Brownie Bites
Brownie bites are as easy to make as regular brownies. Mix together your brownie ingredients to form a batter. Instead of a regular square baking pan, you will bake the brownies into bite sized portions.
I use this silicone baking mold to bake my brownie bites. It creates perfect two-bite brownies! If you don’t have a special brownie bites pan, you can use a regular mini muffin pan instead.
Whether you use a mold or a mini muffin tin, make sure to spray it with baking spray first. Baking spray prevents sticking and makes it easy to slide your baked brownies out of the pan to cool.
Mint Chip Frosting
Whip up a homemade buttercream while your brownie bites cool.
Add one drop of green food gel to the frosting and blend. If you want a darker green color add another drop of food coloring until you get the shade you like.
Fold a few Andes mint chips into the frosting. Melt the rest of the mint chips in a separate bowl.
Dollop or pipe mint frosting onto the baked, cooled brownie bites. Drizzle with the melted mint chips. Sprinkle the brownie bites with a few mini chocolate chips for a perfect finishing touch!
Recipe FAQs
The food coloring gives the frosting its green color. There’s no substitute for it, unfortunately.
The good news is that the color does not impact the taste of the brownie bites at all. Feel free to leave it out if you prefer not to use it!
Yes, you can bake them in a square 8 x 8 baking dish for brownie bars. Bake until a toothpick inserted in the center comes out clean.
Store these brownie bites at room temperature in an airtight container. They are best enjoyed within 3 to 5 days of baking.
You can also freeze brownie bites, with or without the frosting! Transfer cooled brownie bites to freezer bags. Store in a single layer in the freezer for up to 3 months. Thaw in the refrigerator before enjoying.
More Easy Dessert Recipes
- Chocolate Mint Brownies: another decadent chocolate mint treat!
- Snickerdoodle Cheesecake Bars
- Peanut Butter Revel Bars
- Butterscotch Marshmallow Bars
- Butterscotch Revel Bars
- Raspberry Shortbread Bars
Best Brownie Recipes
See all Brownies and Bars recipesPin this now to find it later
Pin It
Mint Chocolate Chip Brownie Bites
Ingredients
For the brownies:
- ½ cup unsalted butter
- 1 package bittersweet chocolate chips (60% cacao) 12 ounce
- 1 cup granulated sugar
- ¾ cup all-purpose flour
- 3 large eggs
- ½ teaspoon kosher salt
For the frosting:
- ½ cup unsalted butter softened
- 2 cups powdered sugar
- 2 Tablespoons milk
- 1 drop green food coloring
- 1 cup Andes creme de menthe baking chips divided
- ¼ cup mini chocolate chips
Instructions
- In a large microwave safe bowl, combine the butter with chocolate chips. Heat for one minute on high. Stir and microwave for another 30 seconds. You may need to stir and heat for one more round of 30 seconds until fully melted. Add sugar, flour, eggs and salt. Stirring until well blended.
- If using a silicone mold, you don’t need to grease it. (If you are using a metal pan, you may want to lightly grease with baking spray). Drop dough by large tablespoons until evenly divided into pan.
- Bake in a 375 degree oven for 12-14 minutes. Remove and cool in pan 5 minutes, then cool completely on wire rack.
- For the frosting, beat butter for 2 minutes. Add powdered sugar, milk and green food coloring. Beat an additional 3-4 minutes until light and fluffy, scraping down the sides as necessary.
- Fold in 1/2 cup Andes creme de menthe baking chips. Pipe onto brownies.
- Melt remaining 1/2 cup of Andes baking chips for 30 seconds in microwave. Stir and heat and additional 15 seconds until melted. Spoon into a small plastic bag and snip off the corner. Drizzle over brownies and sprinkle immediately with mini chocolate chips. ENJOY
Notes
- The food coloring gives the frosting its green color. There’s no substitute for it, unfortunately. The good news is that the color does not impact the taste of the brownie bites at all. Feel free to leave it out if you prefer not to use it!
- You can bake them in a square 8 x 8 baking dish for brownie bars. Bake until a toothpick inserted in the center comes out clean.
- Store these brownie bites at room temperature in an airtight container. They are best enjoyed within 3 to 5 days of baking.
- You can also freeze brownie bites, with or without the frosting! Transfer cooled brownie bites to freezer bags. Store in a single layer in the freezer for up to 3 months. Thaw in the refrigerator before enjoying.
Nutrition

These are absolutely delicious. Fortunately, I only had one silicone pan so I had to prepare in two batches. I say fortunately because I had to dig the brownies out with a spoon!
The next batch, I used spray. They popped right out! It’s my fault though, I had already read that you needed spray with these silicone molds so I should have just listened to my inner voice. I will definitely make again!
Glad the second batch worked out, and you enjoyed them 🙂
Just made these and they are so delicious! Thanks for the recipe!