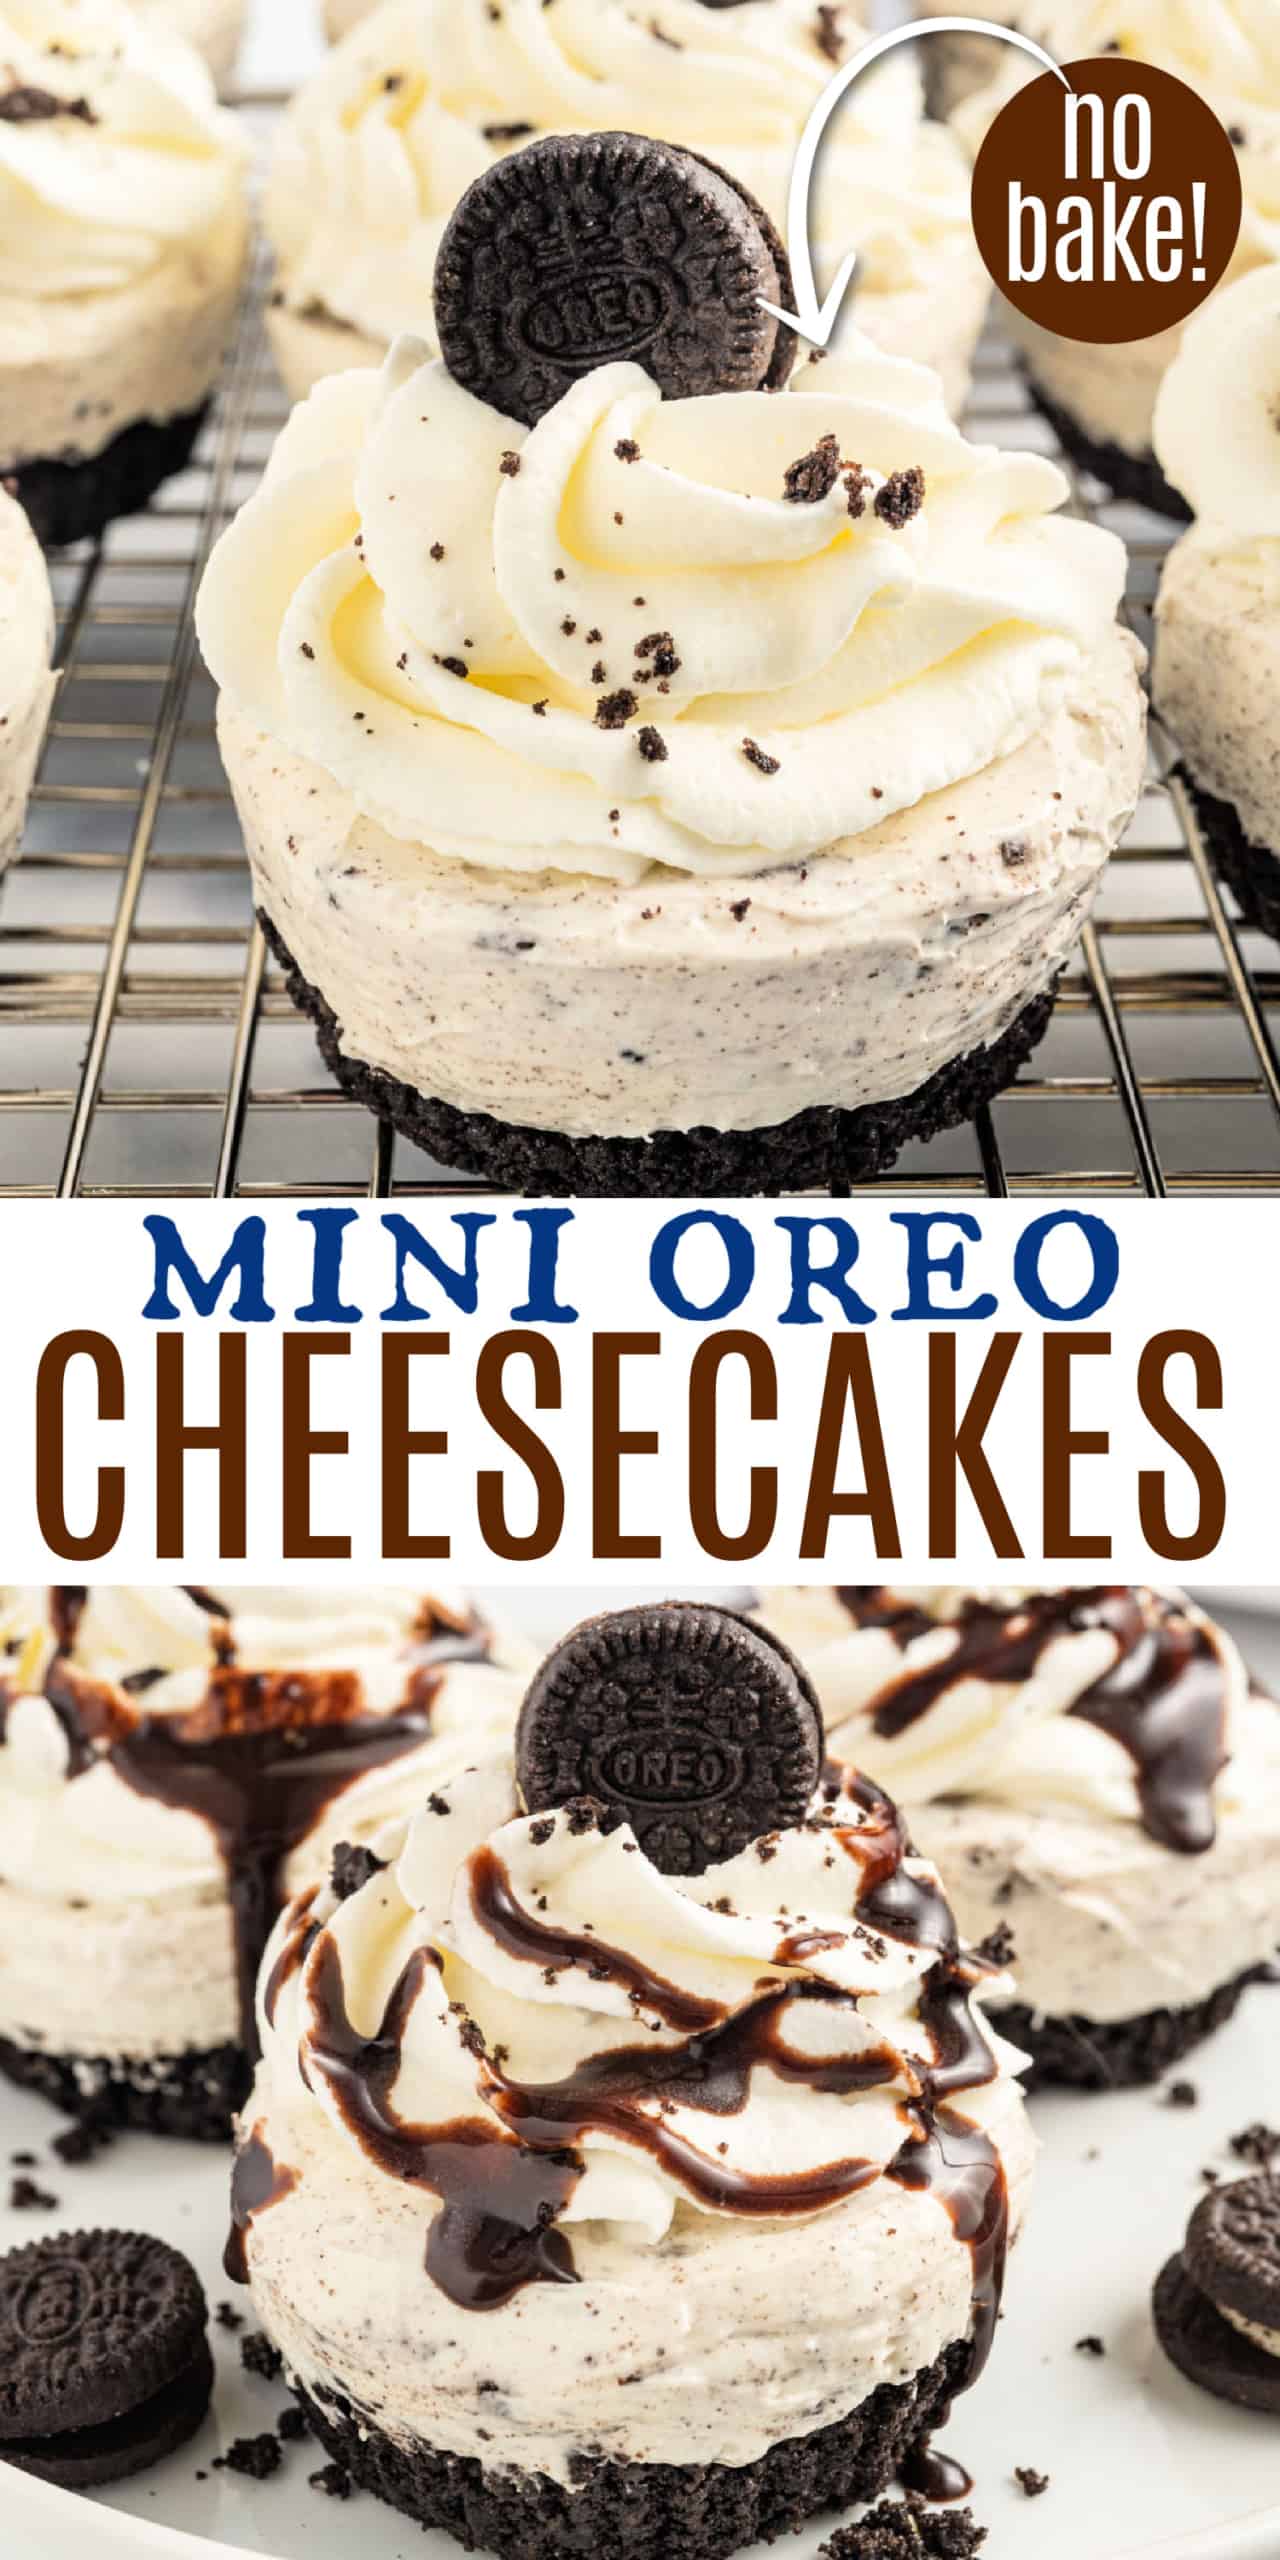
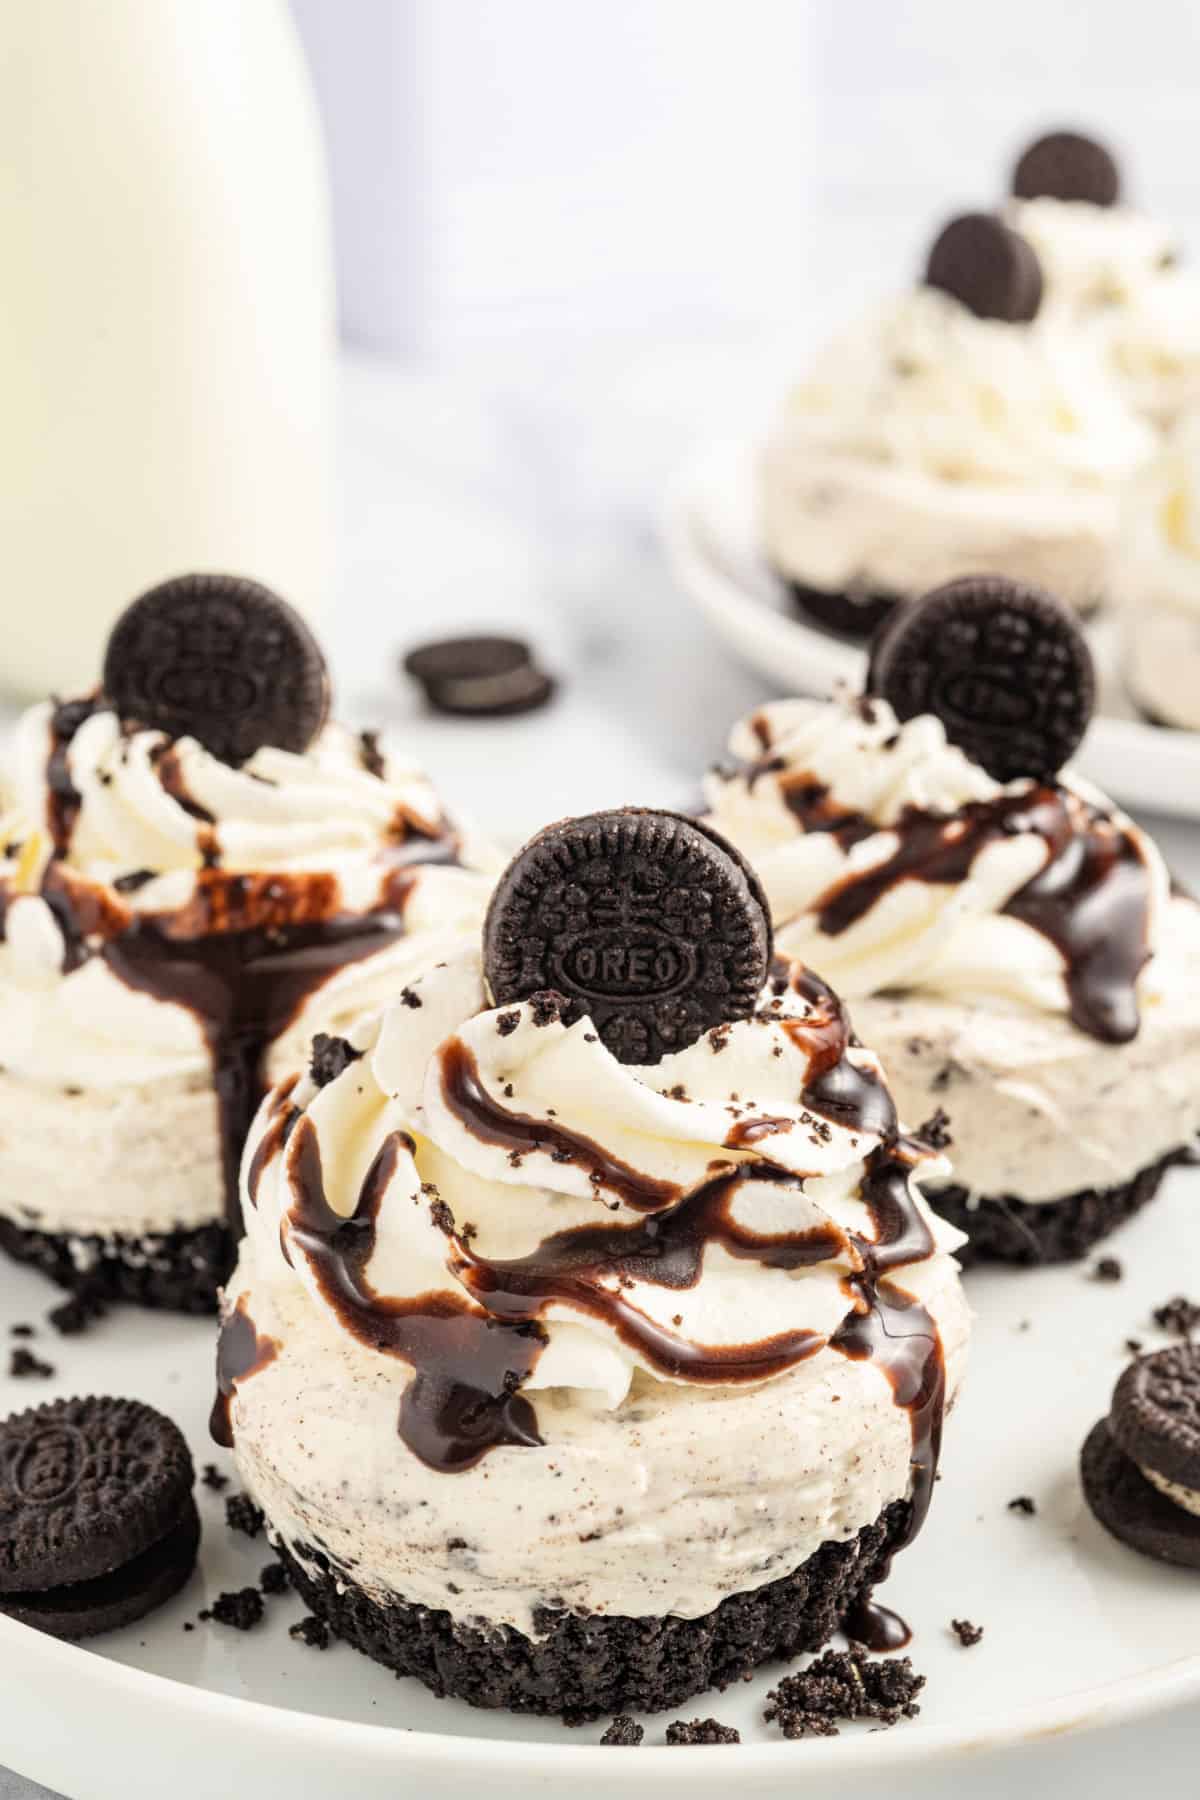
Mini Oreo Cheesecakes incorporate this classic cookie into a delectable, no-bake dessert. These creamy single-serving cheesecakes are made in only 20 minutes using muffins pans!
Why Mini Oreo Cheesecakes Work
Calling all Oreo lovers!
This easy recipe brings together the best of both no bake cheesecake and Oreo cookies. I’m a sucker for both..what can I say? Here are more reasons why this recipe works so well.
- No complicated baking is required. Just mix, refrigerate, and enjoy. It’s stress-free.
- With the single-serving size, it’s easy to indulge with portion control.
- Individual servings are perfect for gatherings. Bring them to your next barbecue or party for a dessert that’s guaranteed to be a hit.
- They’re freezer-friendly, so you can make a big batch and store them as a last-minute emergency dessert stash.
- Preparation time is only 20 minutes, so you can relax, call it a night, or go do other things as they chill in the refrigerator.
Love cheesecake bites? Our Oreo cheesecake bites are baked, if you prefer the texture of a baked cheesecake bar recipe. Or give our easy no bake mini cheesecakes a try and top them with our homemade caramel sauce!
Ingredient Notes
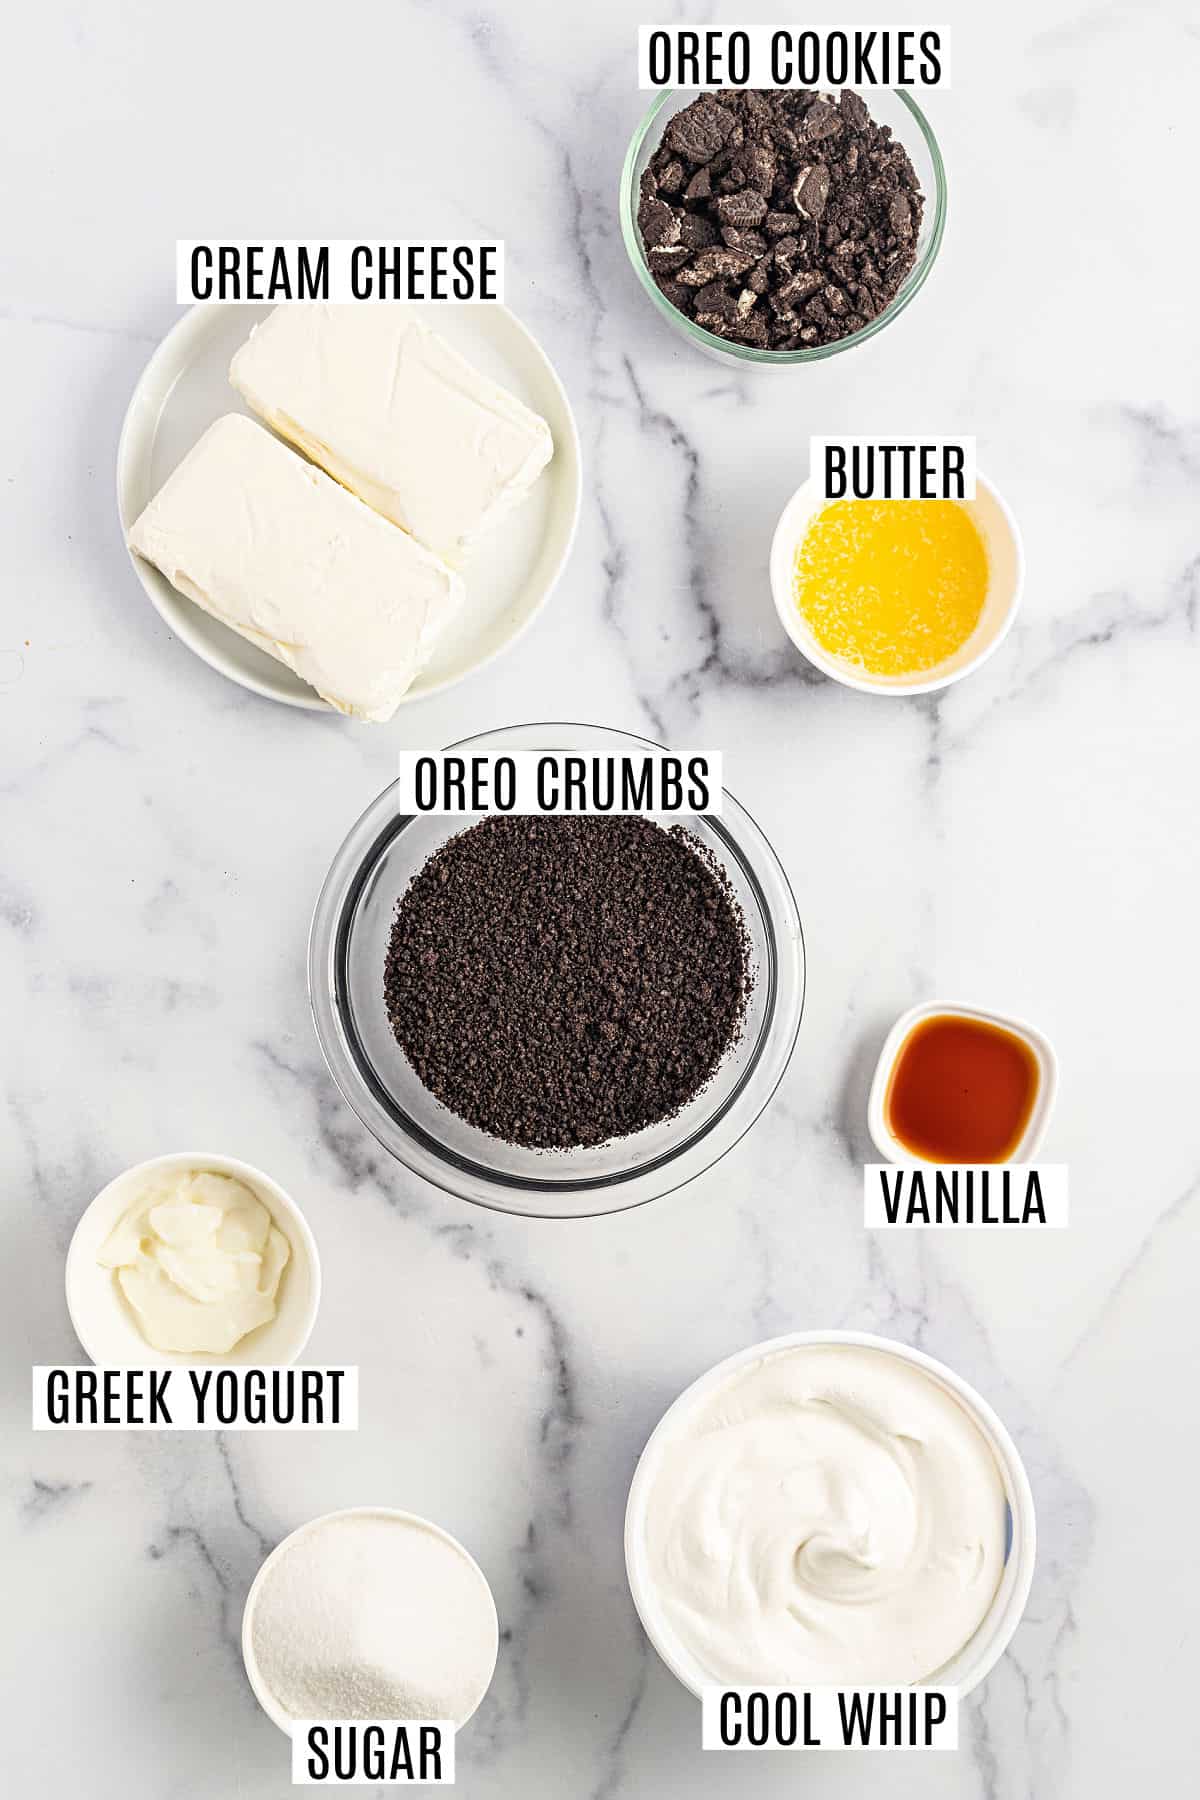
- Oreo Cookies – We’ll process these into crumbs to make a tasty Oreo crust.
- Unsalted Butter – It’s essential to add moisture and richness to the crust.
- Cream Cheese – Creates the tangy base for these cheesecakes. Be sure to use blocks of cream cheese, not the type that comes in a tub.
- Plain Greek Yogurt – Adds extra creaminess, flavor, and a lighter texture with a little less fat.
- Sugar – Adds sweetness.
- Vanilla Extract – Adds aromatic flavor. Choose a pure vanilla extract, or try our homemade vanilla extract for best flavor.
- Cool Whip – Lightens up the cheesecake texture and calorie count. Make sure it is fully thawed before using it in this recipe. Use our homemade stabilized whipped cream if your prefer that over store bought.
- Whipped Cream – This topping is optional but makes a tasty presentation. Our homemade whipped cream is perfect.
- Chocolate syrup – Drizzle this over the whipped cream as an optional finish. Try our easy chocolate syrup recipe!
Easy Instructions
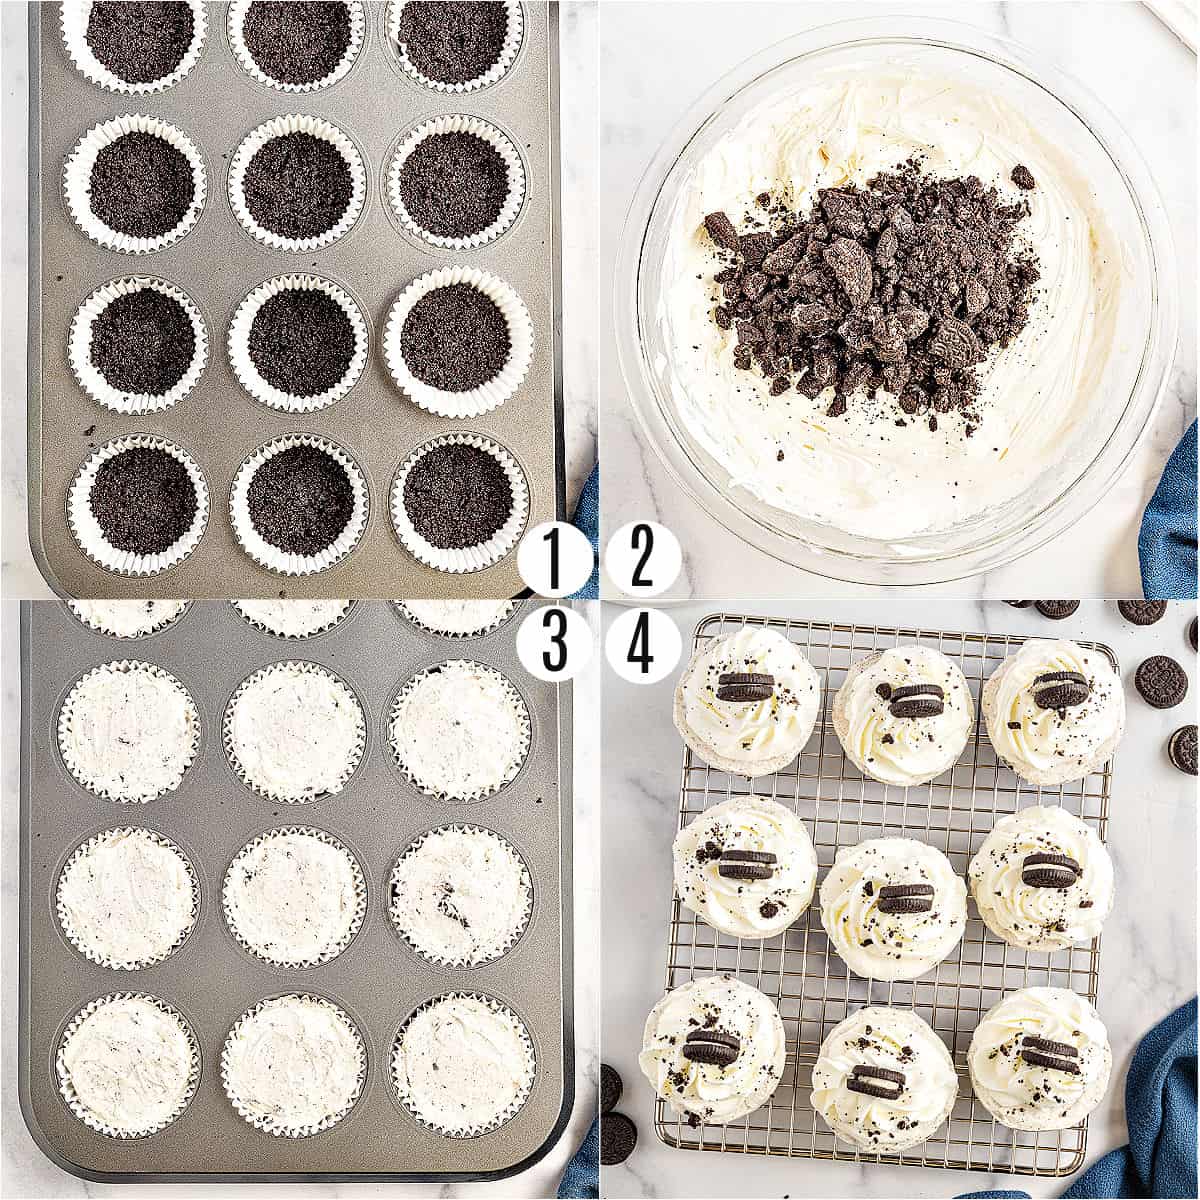
- Make the cookie crusts. Pulse the Oreos in a food processor to fine crumbs. Stream in the melted butter until blended. Add 2 Tablespoons of crumbs to each cupcake liner, and press it in firmly to make the crusts.
PRO TIP: Some people love just putting a WHOLE unprocessed oreo cookie in the bottom, instead of crumbs. This works great too!
- Make the cheesecake filling. Beat the cream cheese, yogurt, sugar, and vanilla in a medium bowl until smooth. Fold in the Cool Whip until thoroughly combined, then fold in the crushed Oreos.
- Fill and chill. Fill each cupcake liner to the top using a cookie scoop or spoon. Smooth the tops, then refrigerate the cheesecakes for 6+ hours.
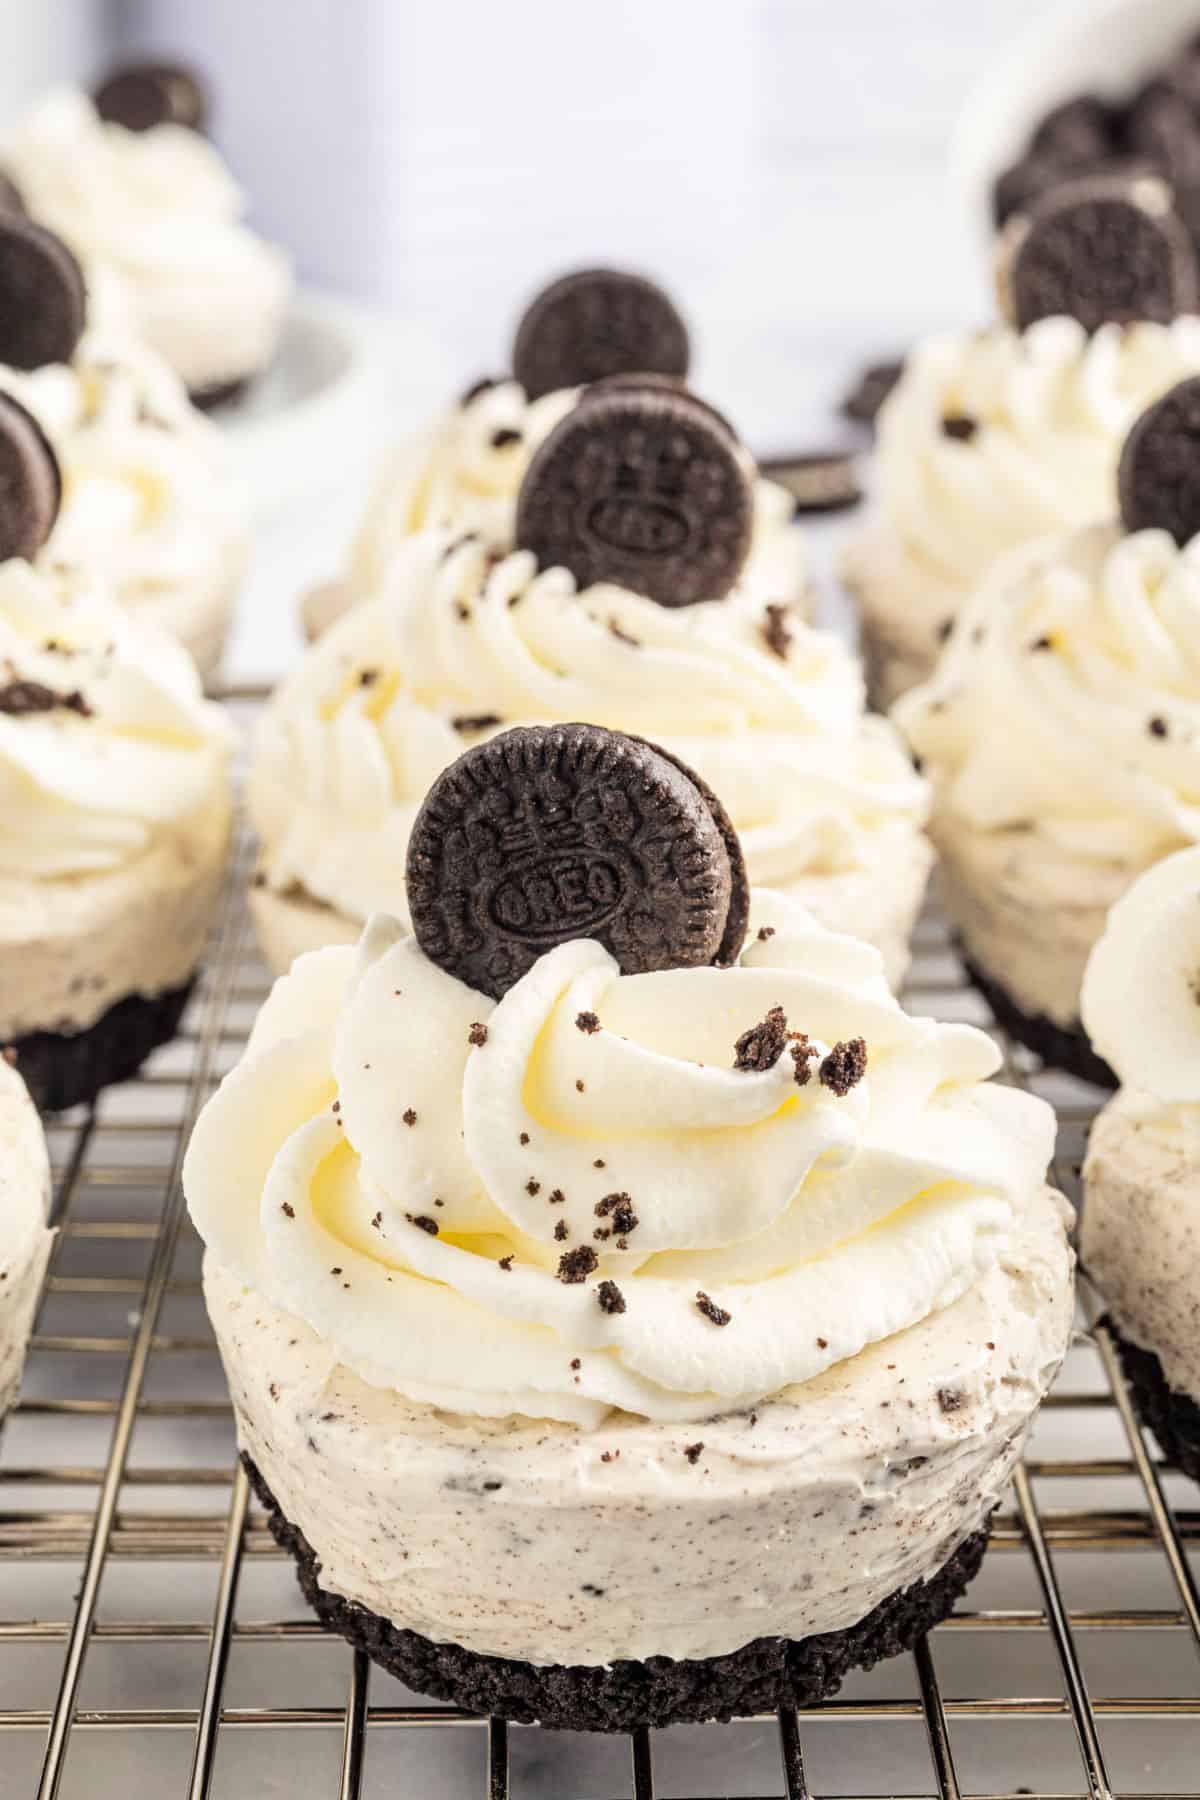
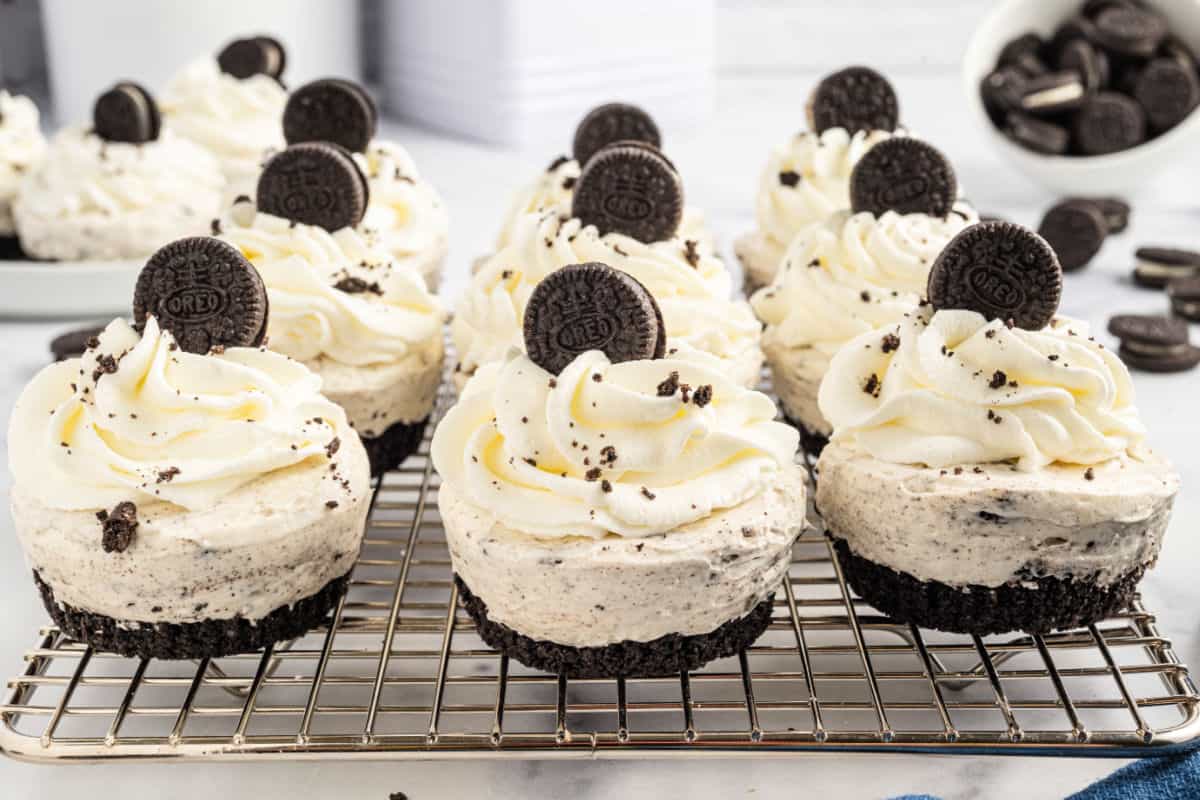
- Serve. If desired, serve the cheesecakes with piped whipped cream and chocolate syrup on top.
Tips and Tricks
- Soften the cream cheese to room temperature beforehand. This makes it easier to blend and achieve a silky-smooth consistency. Use our guide on how to soften butter for best tips and tricks.
- Beat the cream cheese mixture thoroughly so no lumps remain. This will ensure a super creamy texture.
- To ensure the crusts don’t fall apart after baking, press the crust mixture firmly into the cupcake liners before filling them.
- Use a piping bag with a big star tip for the whipped cream for a professional touch.
- Feel free to get creative and add additional toppings to each cheesecake. Some options include whole Oreos, maraschino cherries, strawberries, and chocolate shavings.
- Change the flavor using flavored Oreos such as java chip, peanut butter, or caramel coconut.
- Skip the oreo cookies and make a batch of our easy no bake mini cheesecakes and top with berries instead!
Recipe FAQs
Yes, feel free to substitute the Greek yogurt with sour cream if that’s what you have on hand. For maximum flavor, it’s best to use full-fat sour cream if you plan to do this.
Store Mini Oreo Cheesecakes in an airtight container in the refrigerator for up to 4 days. Wait until you’re ready to serve them to add the whipped cream and chocolate syrup.
Yes. To freeze these cheesecakes, store them in a freezer-safe, airtight container for up to 3 months. To thaw them, let them sit overnight in the refrigerator.
More Easy Dessert Recipes
See all Desserts recipesPin this now to find it later
Pin It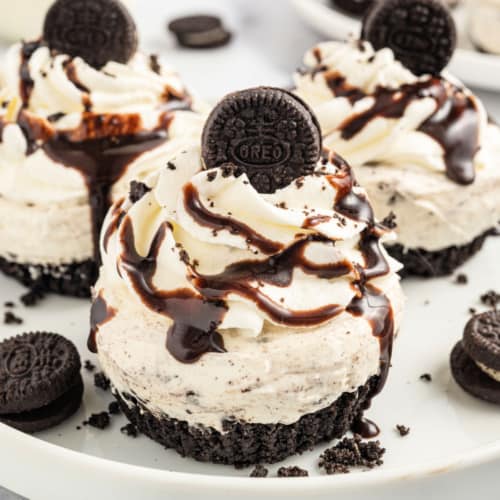
Mini Oreo Cheesecakes
Ingredients
For the Crust
- 3 cups Oreo crumbs (about 25 Oreo Cookies)
- ½ cup unsalted butter (melted)
For the Cheesecake
- 2 packages cream cheese (16 ounce total, softened)
- ¼ cup Greek yogurt, plain
- ¾ cup granulated sugar
- 1 teaspoon vanilla extract
- 8 ounce Cool Whip (thawed)
- ½ cup crushed Oreos
- 1 cup whipped cream optional, for topping
- ¼ cup chocolate syrup optional, for topping
Instructions
- Line two muffin tins with 18 cupcake liners. Set aside.
- Process oreo cookies in a food processor until fine crumbs. Add in melted butter until blended. Scoop 2 Tablespoons of crumbs into the bottom of each cupcake liner. Press crumbs firmly. Set aside.
- In a medium mixing bowl, blend cream cheese, Greek yogurt, sugar, and vanilla extract until smooth (about 2-3 minutes). Fol in Cool Whip and blend until combined. Fold in crushed oreo cookies.
- Spoon the cheesecake filling (we love using a cookie scoop for this) into each cupcake tin, to the top. It will be about 3 Tablespoons of filling. Smooth the tops then refrigerate for about 6 hours (or overnight).
- Serve with whipped cream and chocolate syrup, if desired.
Notes
- Swap out the Greek yogurt for sour cream, if desired.
- Store cheesecakes in an airtight container in the refrigerator for up to 4 days.
- Freeze in a freezer safe, airtight container for up to 3 months. Thaw overnight in refrigerator.
- Beat cream cheese mixture until no lumps. This will ensure a creamy texture.
- See blog post for more recipe tips and tricks.
