These Mini Cherry Cheesecakes show up at all holidays in our family. Just like a full-size cheesecake, these bite-sized treats are packed with creamy flavor! Add your favorite pie filling topper!
For all you cheesecake lovers, these delicious Oreo Cheesecake Bites are perfect for parties or weeknight desserts! Or give our easy no bake mini cheesecakes a try next!
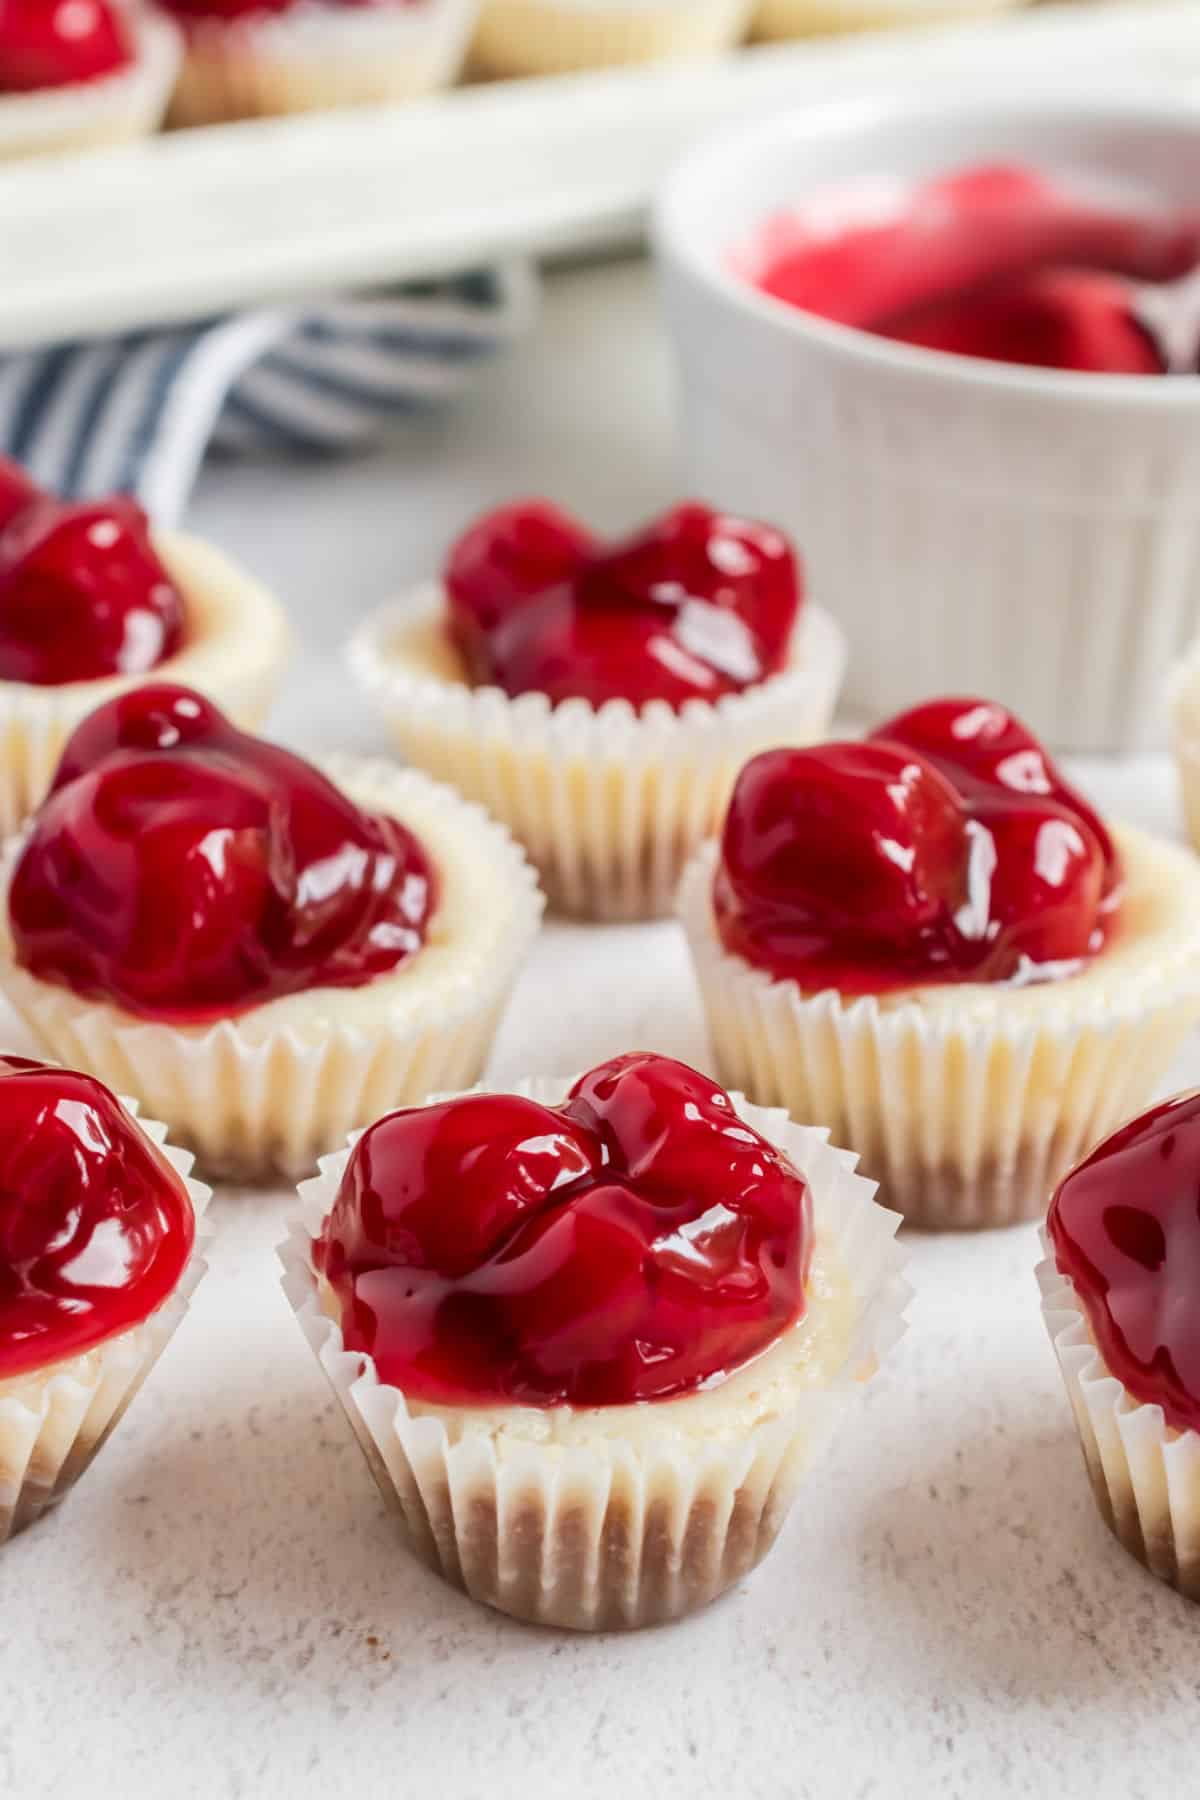
Bite Size Cheesecake Recipe
Bite-sized Mini Cherry Cheesecakes. Easy to make, delicious to eat, and makes 4 dozen treats. That’s a lot of bites.
Although, trust me when I say how easy it is to just polish off a good 3 or 4 (or 12) of these mini cheesecakes in one sitting.
- Versatile recipe. Swap out flavors of crust and topping for a unique combination.
- Made in a mini muffin pan, these one bite treats are great for holidays!
- Freezer friendly. Freeze the baked cheesecakes before adding the topping!
Ingredient Notes
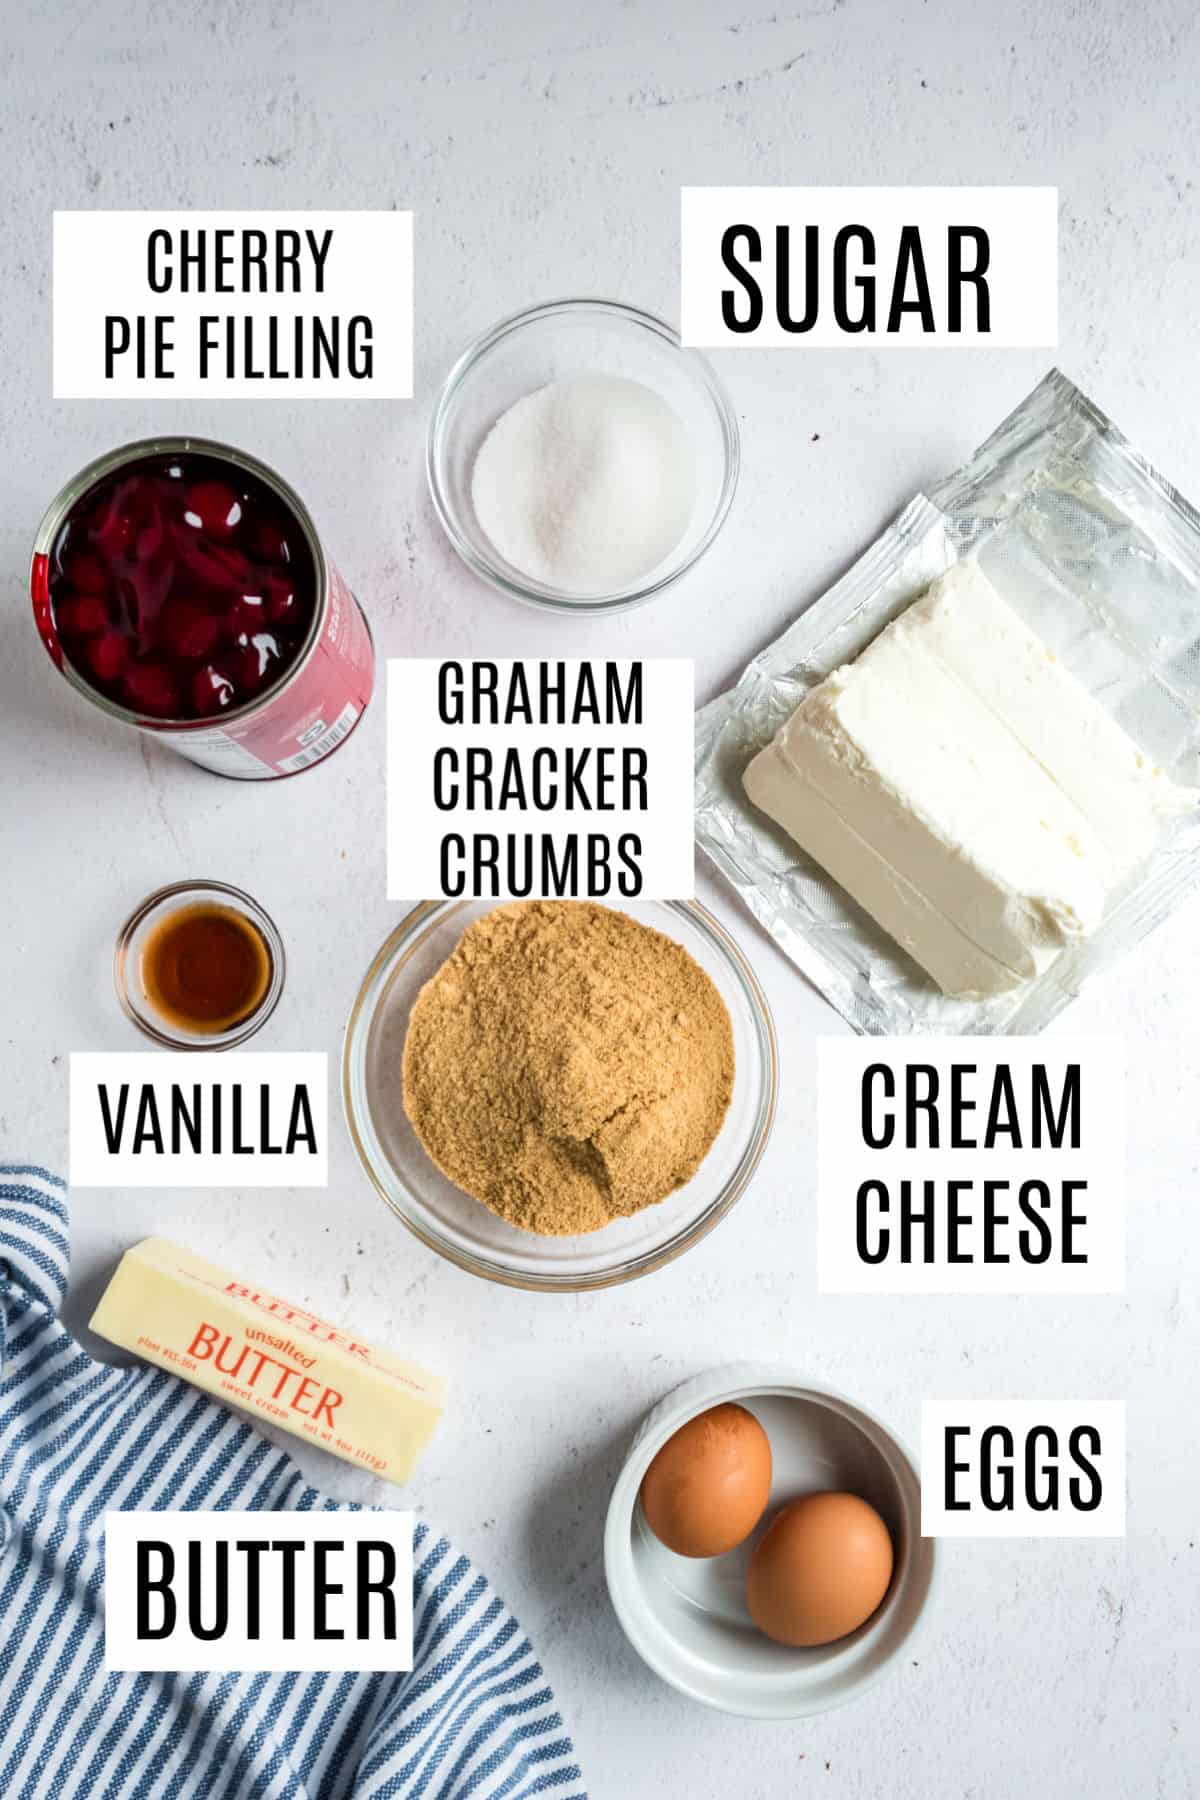
Graham cracker crumbs. I use whole graham crackers and make my own crumbs, but store bought crumbs are fine too (although I find them lacking in flavor. You can use almost any cookie…nilla wafer, oreo, and gingersnaps are my favorite.
Cream Cheese. Full fat is a must here for the creamiest cheesecake. Be sure to choose the block cream cheese (not the cream cheese in a tub).
Pie Filling. My family grew up using cherry pie filling, however any flavor would be fantastic!
How to Make Cherry Cheesecake
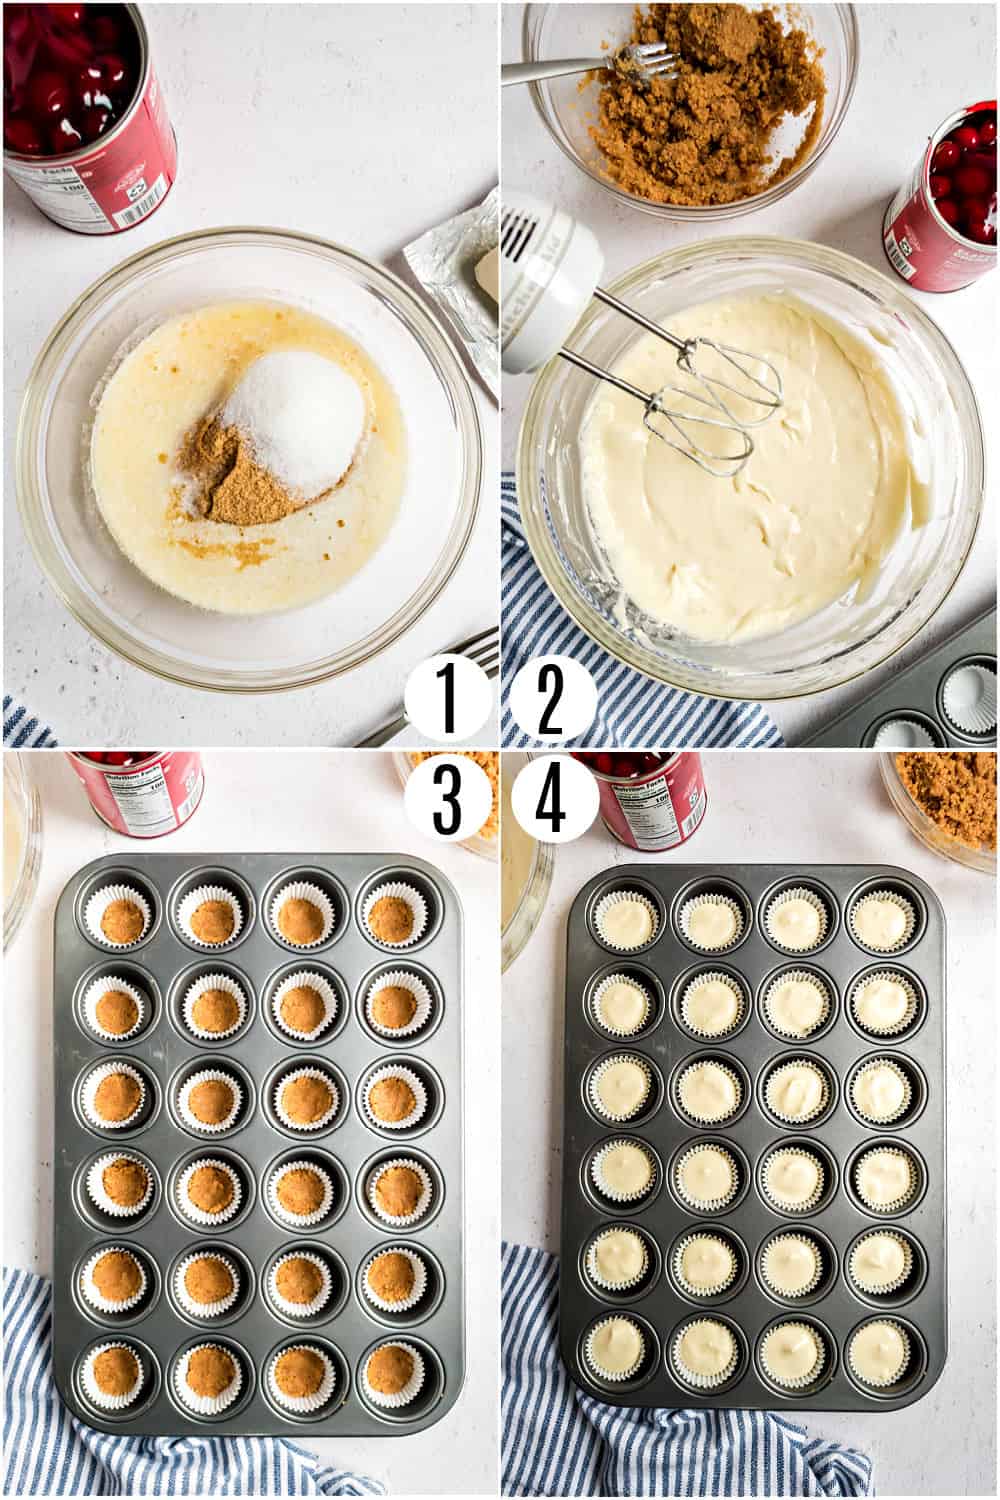
Don’t be intimidated by their petite size – Mini Cherry Cheesecakes aren’t hard to make! Just 3 simple layers.
Crust.
- You’ll start by making your graham cracker crust. I know some people buy the already made crumbs, but I find that they don’t have a good taste to them.
- So grab your food processor (or blender) and process your graham crackers to a fine crumb. Add the butter and sugar and mix well. Add about 1-2 tsp of crust to each paper liner.
- Press firmly. I use a tart shaper for this!
Much like my mini no bake cheesecakes, you can swap out the graham cracker crust, for Nilla wafers or Oreo cookies!
Filling.
- For the cheesecake filling, you’ll want to beat your cream cheese for several minutes with the egg, vanilla extract, and sugar. It will be creamy and fluffy!
- Add enough filling to each tin to fill 2/3 full.
- Bake in 350 degree oven for about 17-20 minutes. Remove and cool completely.
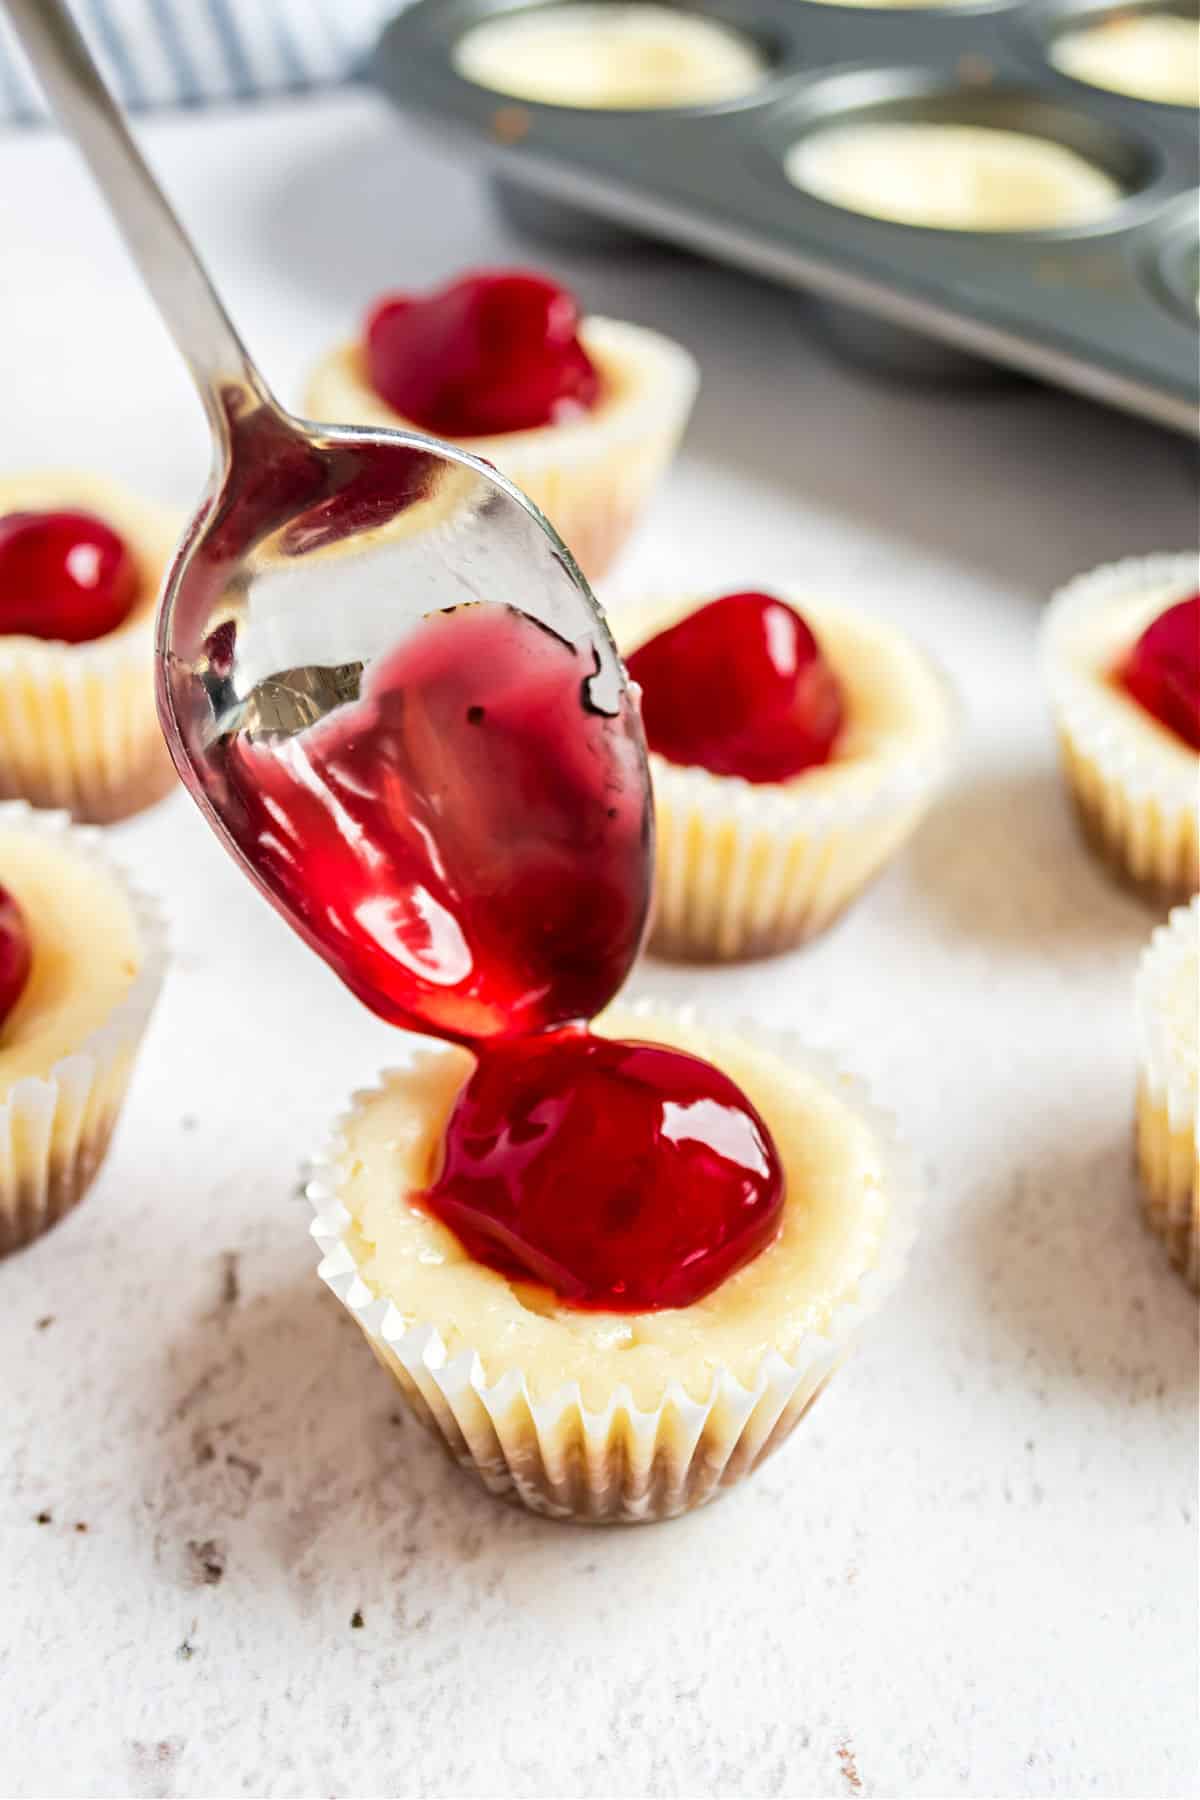
Topping.
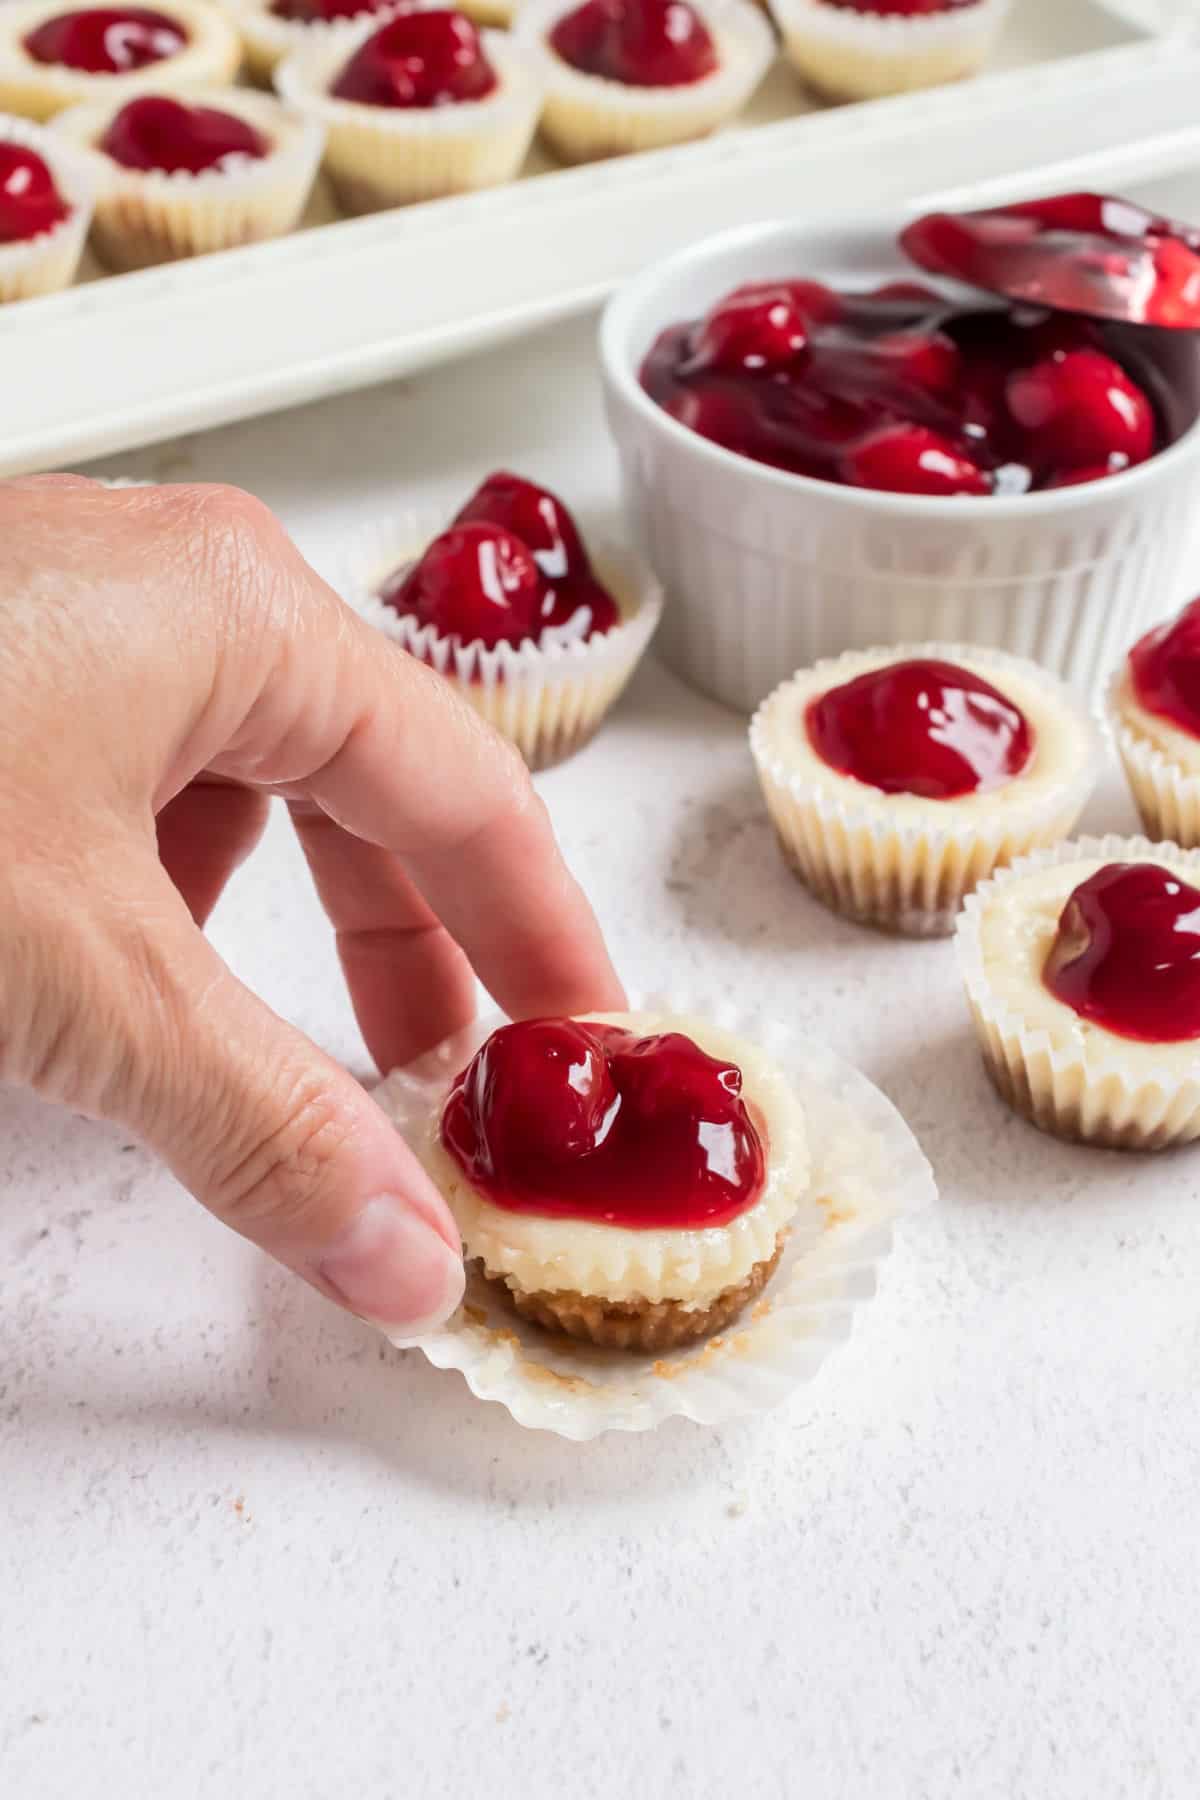
- To turn these tiny cheesecakes into Mini Cherry Cheesecakes, top each cheesecake with a dollop of cherry pie filling, making sure that at least one cherry gets on each bite!
- You could also add homemade whipped cream and fresh berries too!
Refrigerate until ready to enjoy. These are best enjoyed chilled!
Tools used
- First, you’ll need a mini cupcake pan with paper liners! We actually have three of these pans so that I can have the next batches ready to go while one is in the oven!
- I use a tart shaper to press my crust firmly into the pan. This tool is also handy when making Pecan Tassies and Apple Pecan Cups.
- Beating the cream cheese until smooth and creamy takes about 3-5 minutes. It’s easy to do when you have a KitchenAid mixer! However, a hand held mixer works just fine too!
Recipe FAQs
Yes, but you will need to add a few more minutes of baking time.
The cheesecakes are baked when the center is mostly set but not fully solid. If you gently jiggle the pan, the center of each cheesecake should wobble slightly but not appear watery.
If your cheesecakes are sinking, over beating the batter is often the culprit. Beating for too long, incorporates excess air which can result in sunken mini cheesecakes. To avoid over mixing, bring your ingredients to room temperature before using. Room temperature ingredients are easier to incorporate, requiring less mixing.
Yes, your favorite homemade cherry pie filling should work equally well here! Make sure it is fully cooled before adding to the mini cheesecakes.
More Easy Dessert Recipes
- Mini Caramel Apple Cheesecakes
- Pistachio Cherry Cheesecake
- Cake Mix Cookies
- Chocolate Cheesecake
- Chocolate Chip Cookie Pie
- Pecan Pie Cheesecake Bars
Pin this now to find it later
Pin It
Mini Cherry Cheesecakes Recipe
Ingredients
For the crust:
- ½ cup unsalted butter
- 1 ¼ cup graham cracker crumbs about 9 full size crackers
- ¼ cup granulated sugar
For the cheesecake:
- 2 large eggs
- 2 packages cream cheese, softened 8 ounce each
- 1 cup granulated sugar
- 1 teaspoon vanilla extract
- 21 ounce can cherry pie filling
Instructions
- Make graham cracker crust by melting butter and using a fork to mix in the graham crumbs and 1/4 cup sugar. Set aside.
- Beat 1 cup sugar, eggs, cream cheese and vanilla until well blended. Press 1-2 tsp crust in a paper lined mini muffin pan. Fill 2/3 full with cream cheese filling.
- Bake in a 350 degree oven for about 17-20 minutes. Makes about 4 dozen mini cherry cheesecakes. Store tightly covered in refrigerator.
- To serve, top each cheesecake with a tablespoon of cherry pie filling (try to get one cherry on each pie). Enjoy cold!
Notes
- First, you’ll need a mini cupcake pan with paper liners! We actually have three of these pans so that I can have the next batches ready to go while one is in the oven!
- I use a tart shaper to press my crust firmly into the pan. This tool is also handy when making Nut Cups.
- Beating the cream cheese until smooth and creamy takes about 3-5 minutes. It’s easy to do when you have a KitchenAid mixer! However, a hand held mixer works just fine too!
- Storage: Keep cheesecakes in refrigerator for up to 5 days. Freeze (without pie filling) for up to 3 months.
Video
Nutrition
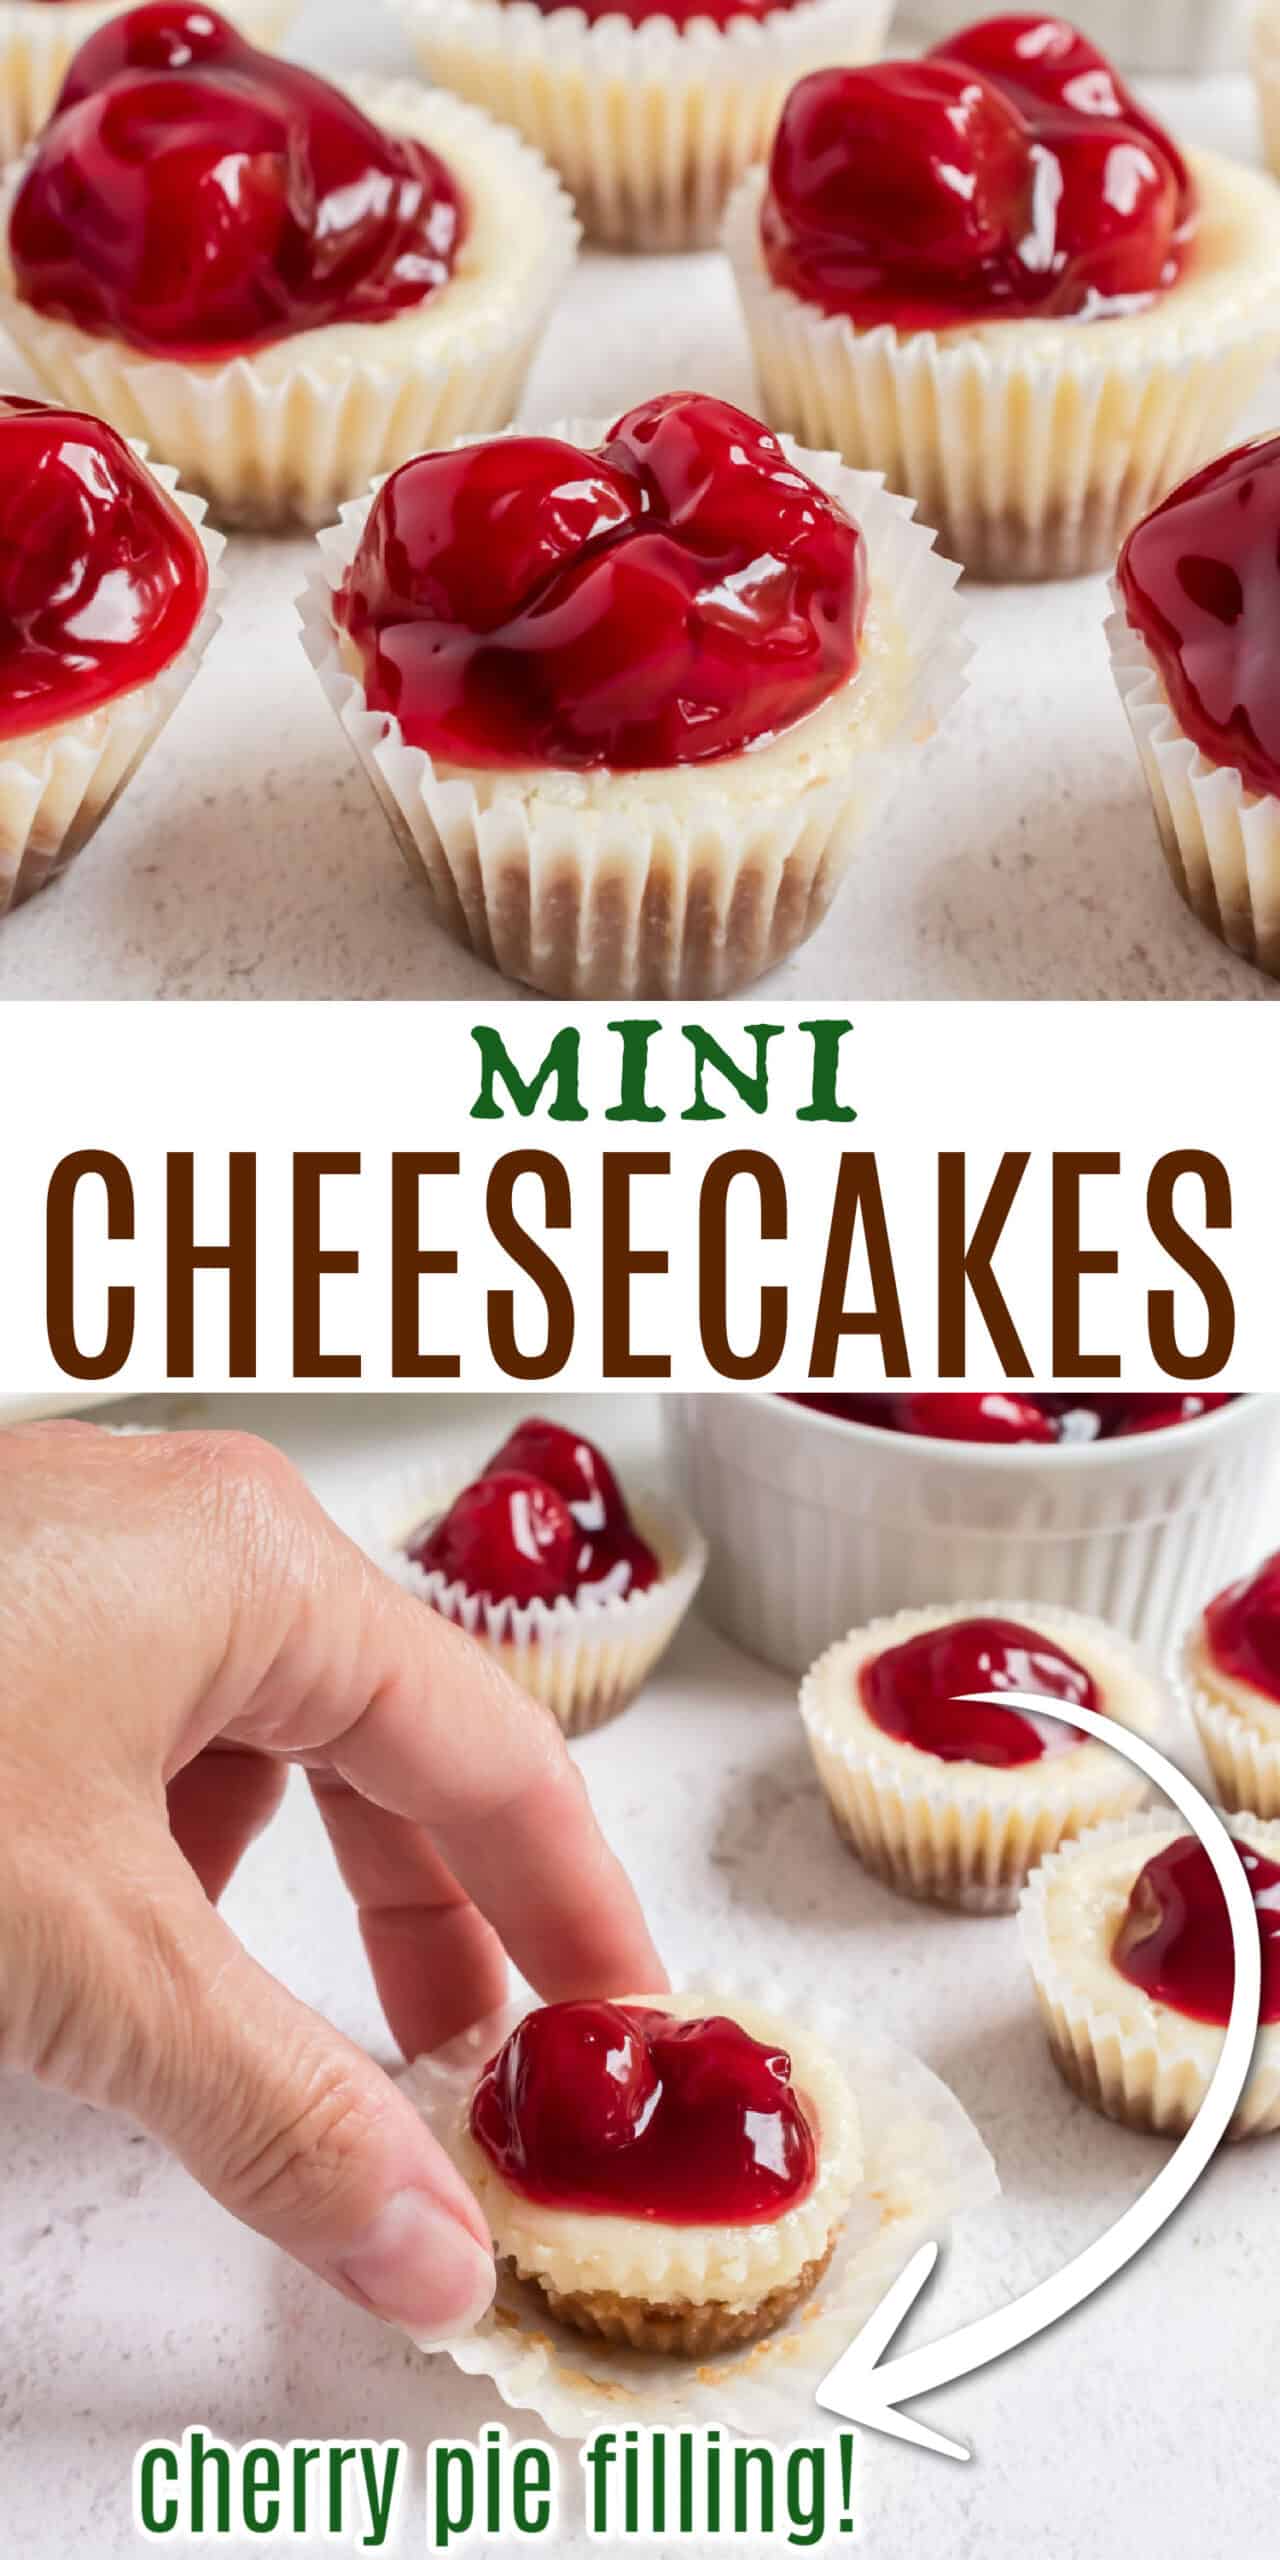
These Mini Cherry Cheesecakes show up at all holidays in our family. Just like a full-size cheesecake, these bite-sized treats are packed with creamy flavor!

Can you use this recipe and just make it a whole cheesecake instead of mini cheesecakes?
Why is there liquid butter underneath liner when I remove cheesecakes from pan
Hmmm. I’m not sure as I haven’t ever had that problem. Could be super thin liners?
When you make one batch or three batches the graham crackers are still the same 9 full size graham crackers
I made the mini cherry cheesecakes.yummmm!they are so good 👍 its.like eating my cherry delight only in a smaller version
They are a hit !!👍👍👍thank u for your recipe.😊I have a question
Iafe them on Monday jan-29-24.ive had them in the fridge since jan-29-24.its only one day more .it says on your recipe store in fridge up.to 5 days or freeze without topping 3 months.i only have 3 left.is it ok to eat them.plz get back toe right away thanks.
Planning on making these with regular size muffin liners/pan (12). Recommended baking time??