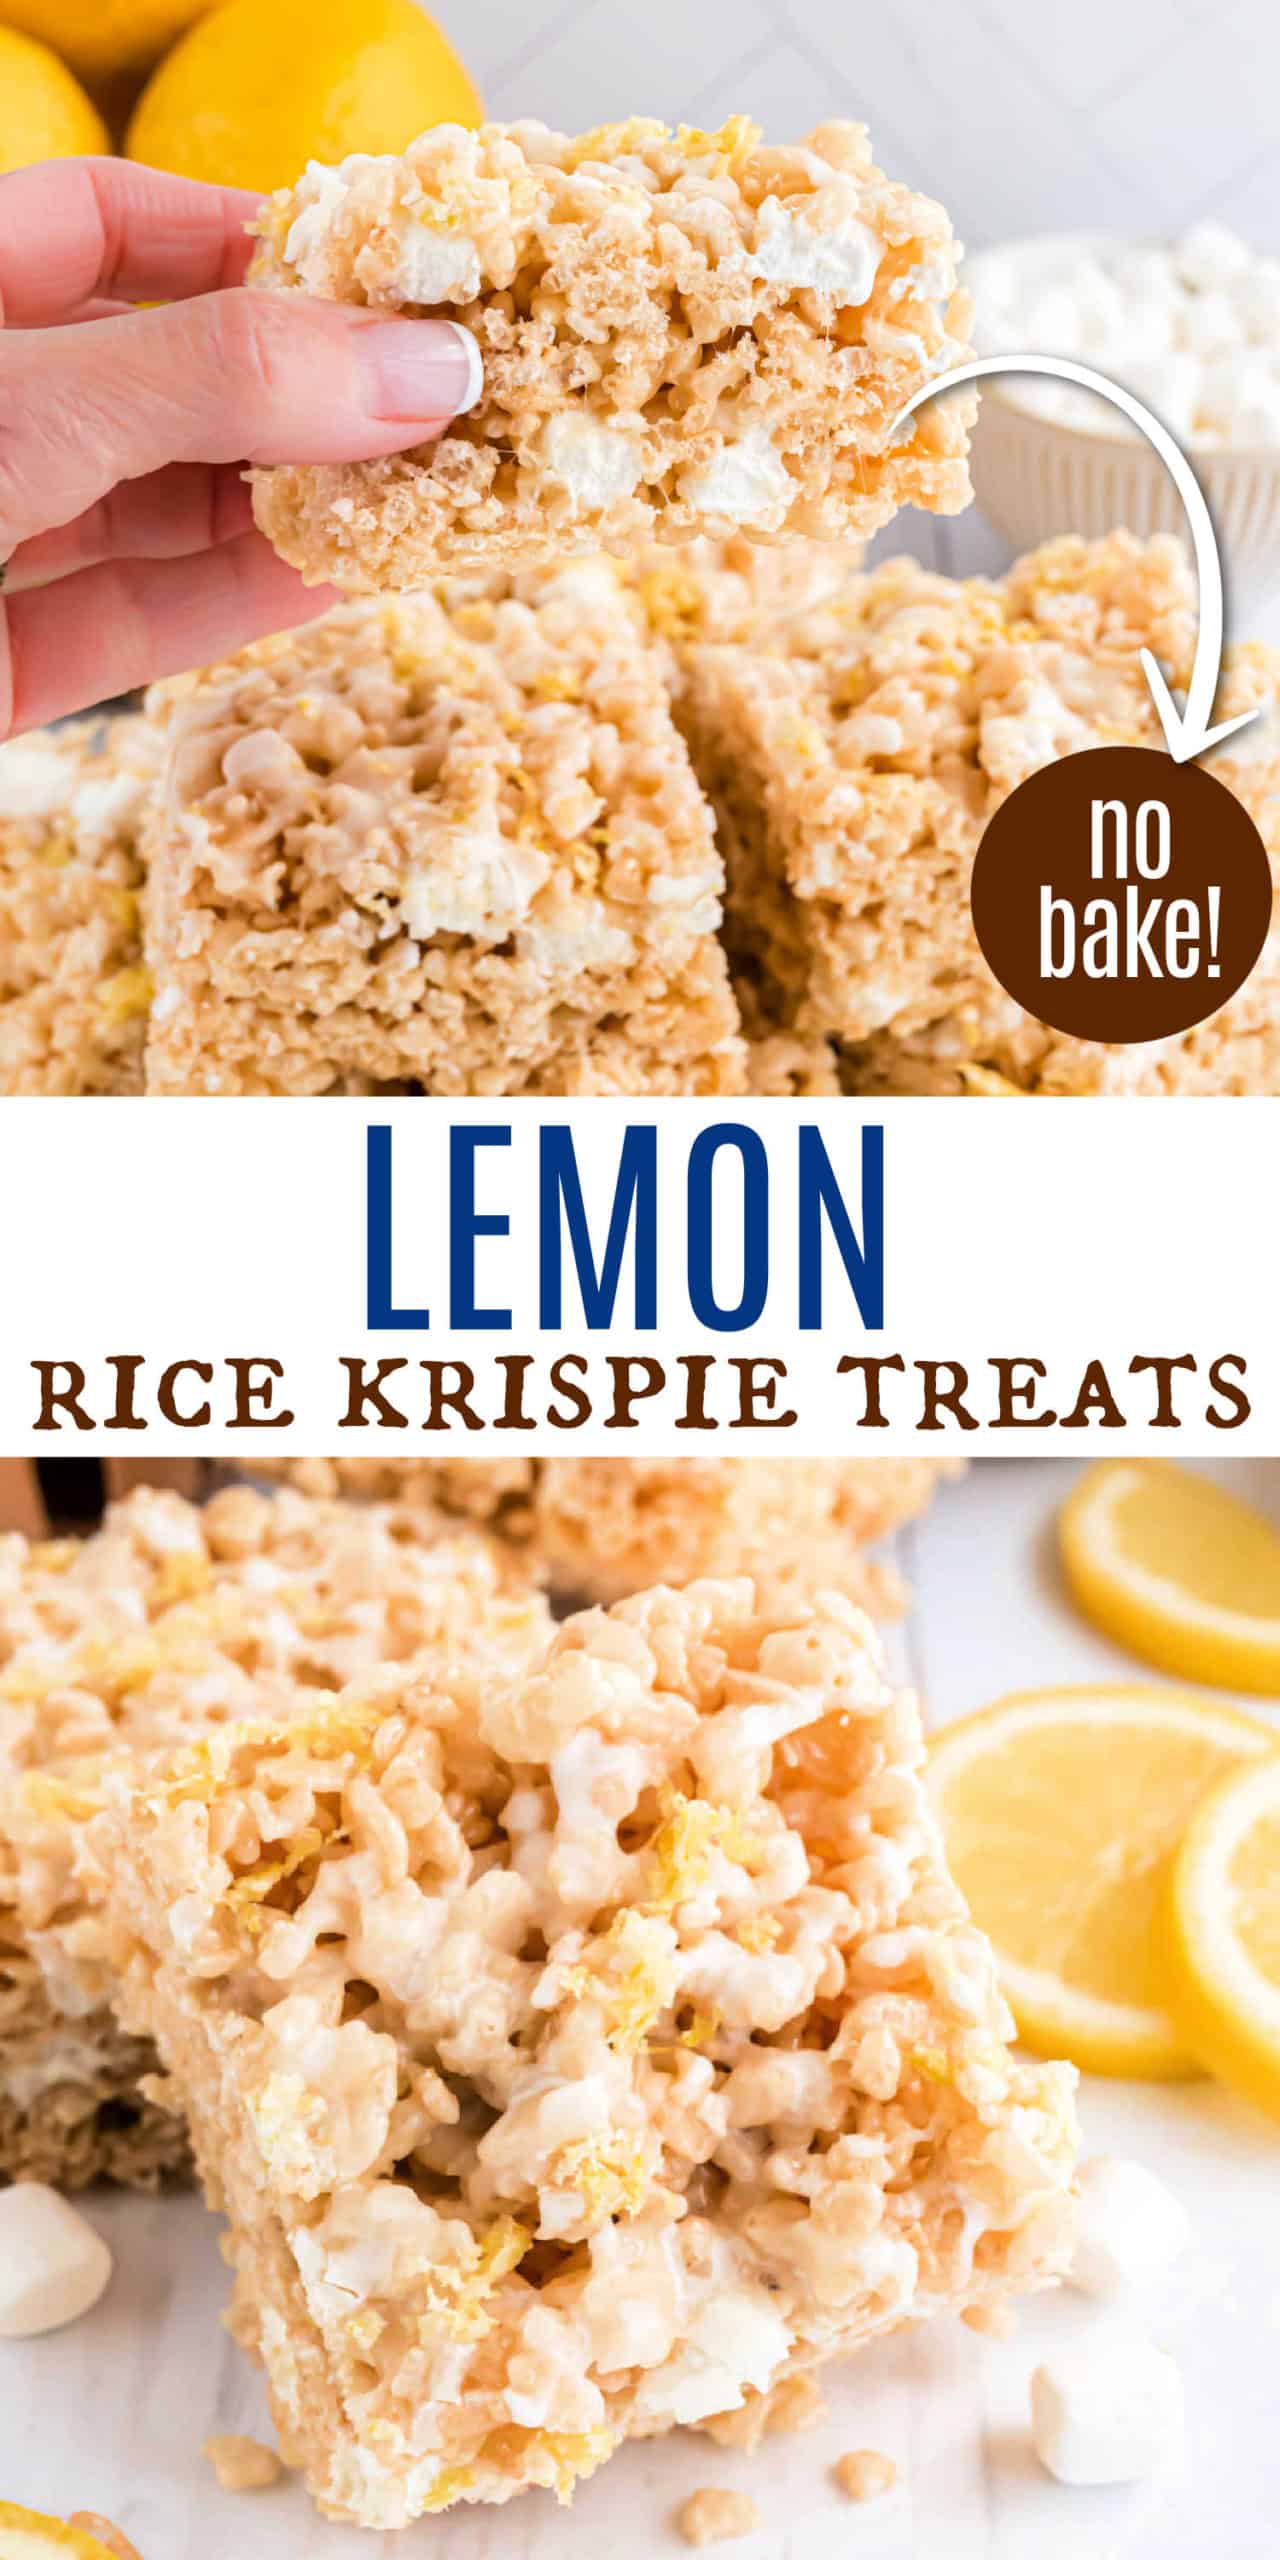
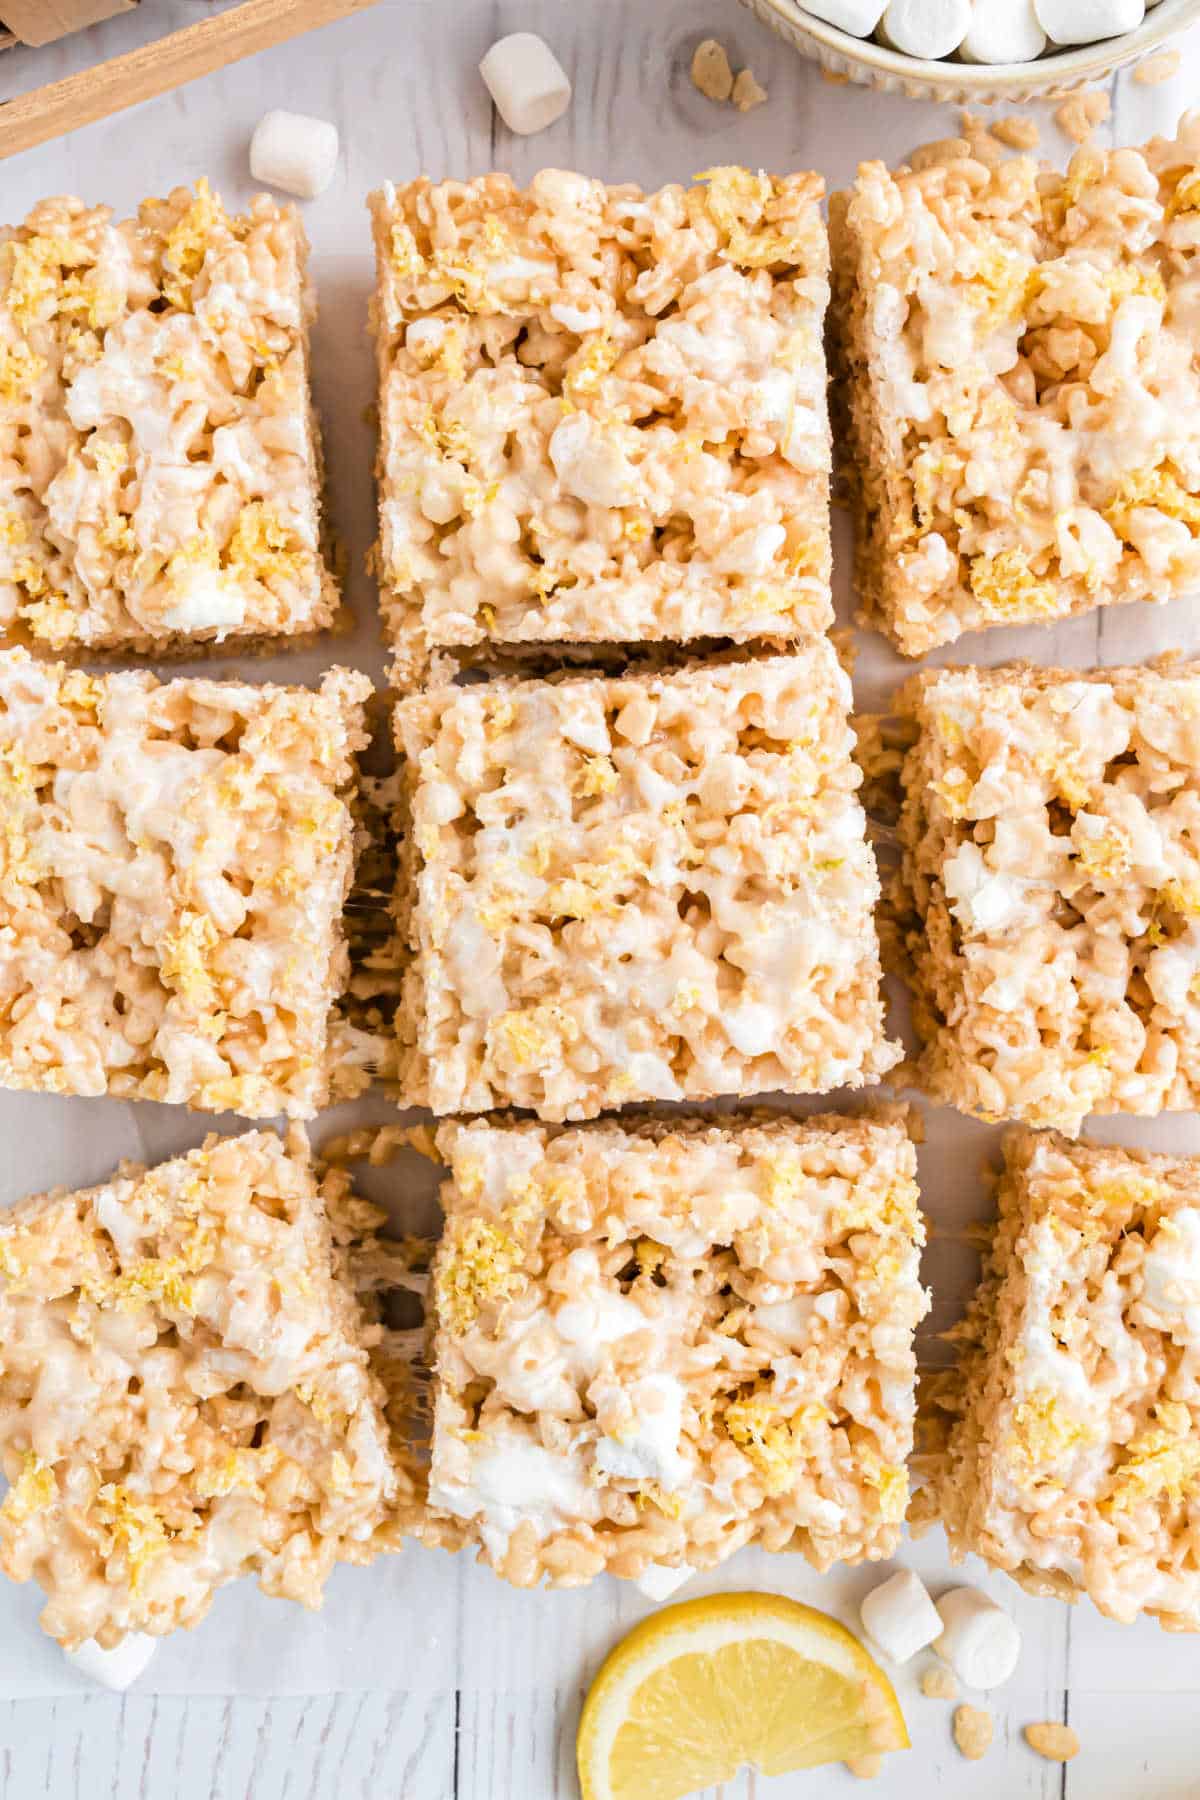
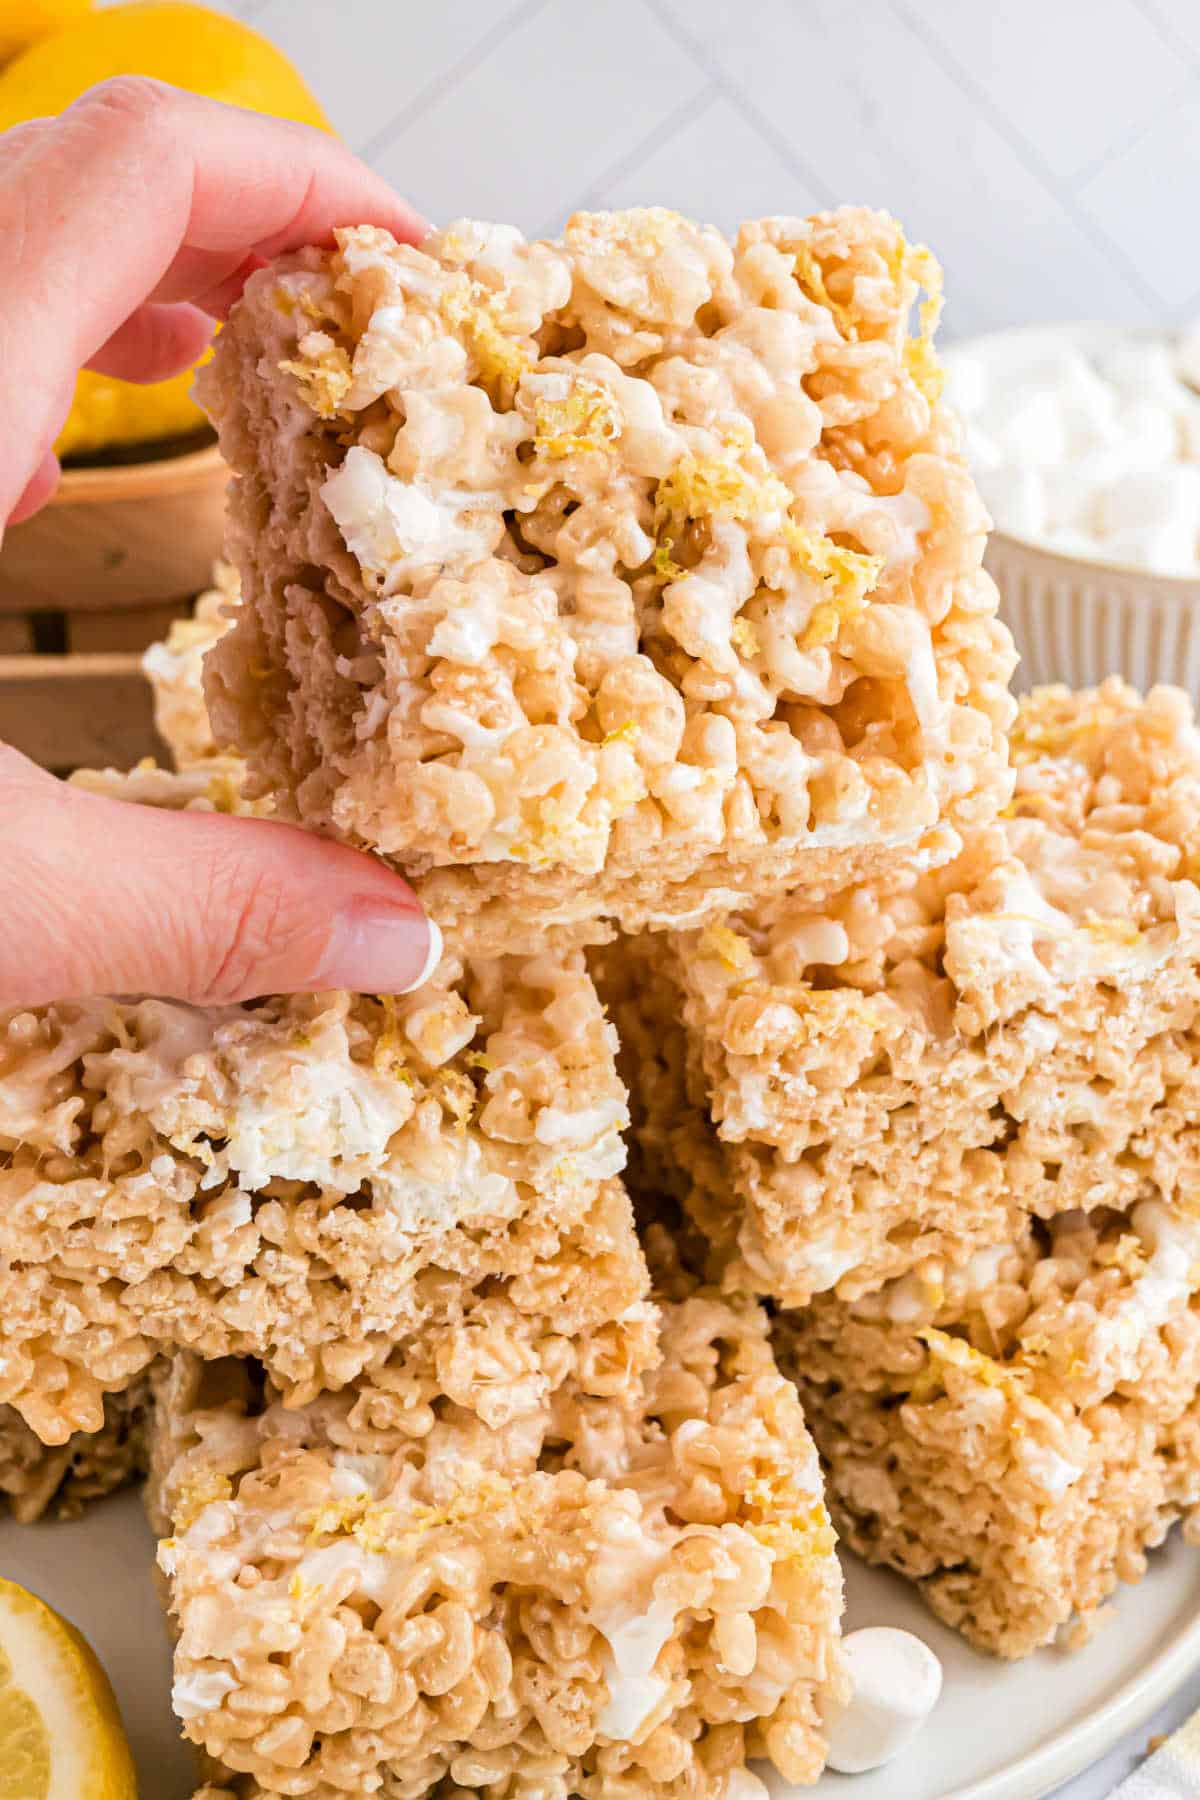
Lemon Rice Krispie Treats have a chewy texture and buttery marshmallow flavor, plus a zesty lemon twist for extra flavor. If you love lemon, these are a must-make!
Why You’ll Love These Lemon Rice Crispy Treats
If you’ve been a reader for a while, you probably know that Rice Krispie treats are my weakness.
Whether it’s Strawberry Krispie Treats, Fluffernutter Rice Krispie Treats, or Cherry Rice Crispy Treats, I will gladly take them all! These Lemon Rice Krispie Treats are my latest and greatest.
I’m not sure why I didn’t think of these sooner because the flavor of classic Rice Krispie treats pairs beautifully with lemon! Like Lemon Bars, they have that buttery-sweet-tart contrast going for them.
- Quick and Easy to make!
- With lemon zest, juice, and lemon extract, these Rice Krispie treats are full of bright citrus flavor.
- These treats are always a hit for potlucks, picnics, and backyard barbecues—and they’re easy to transport too!
Important Ingredient Notes
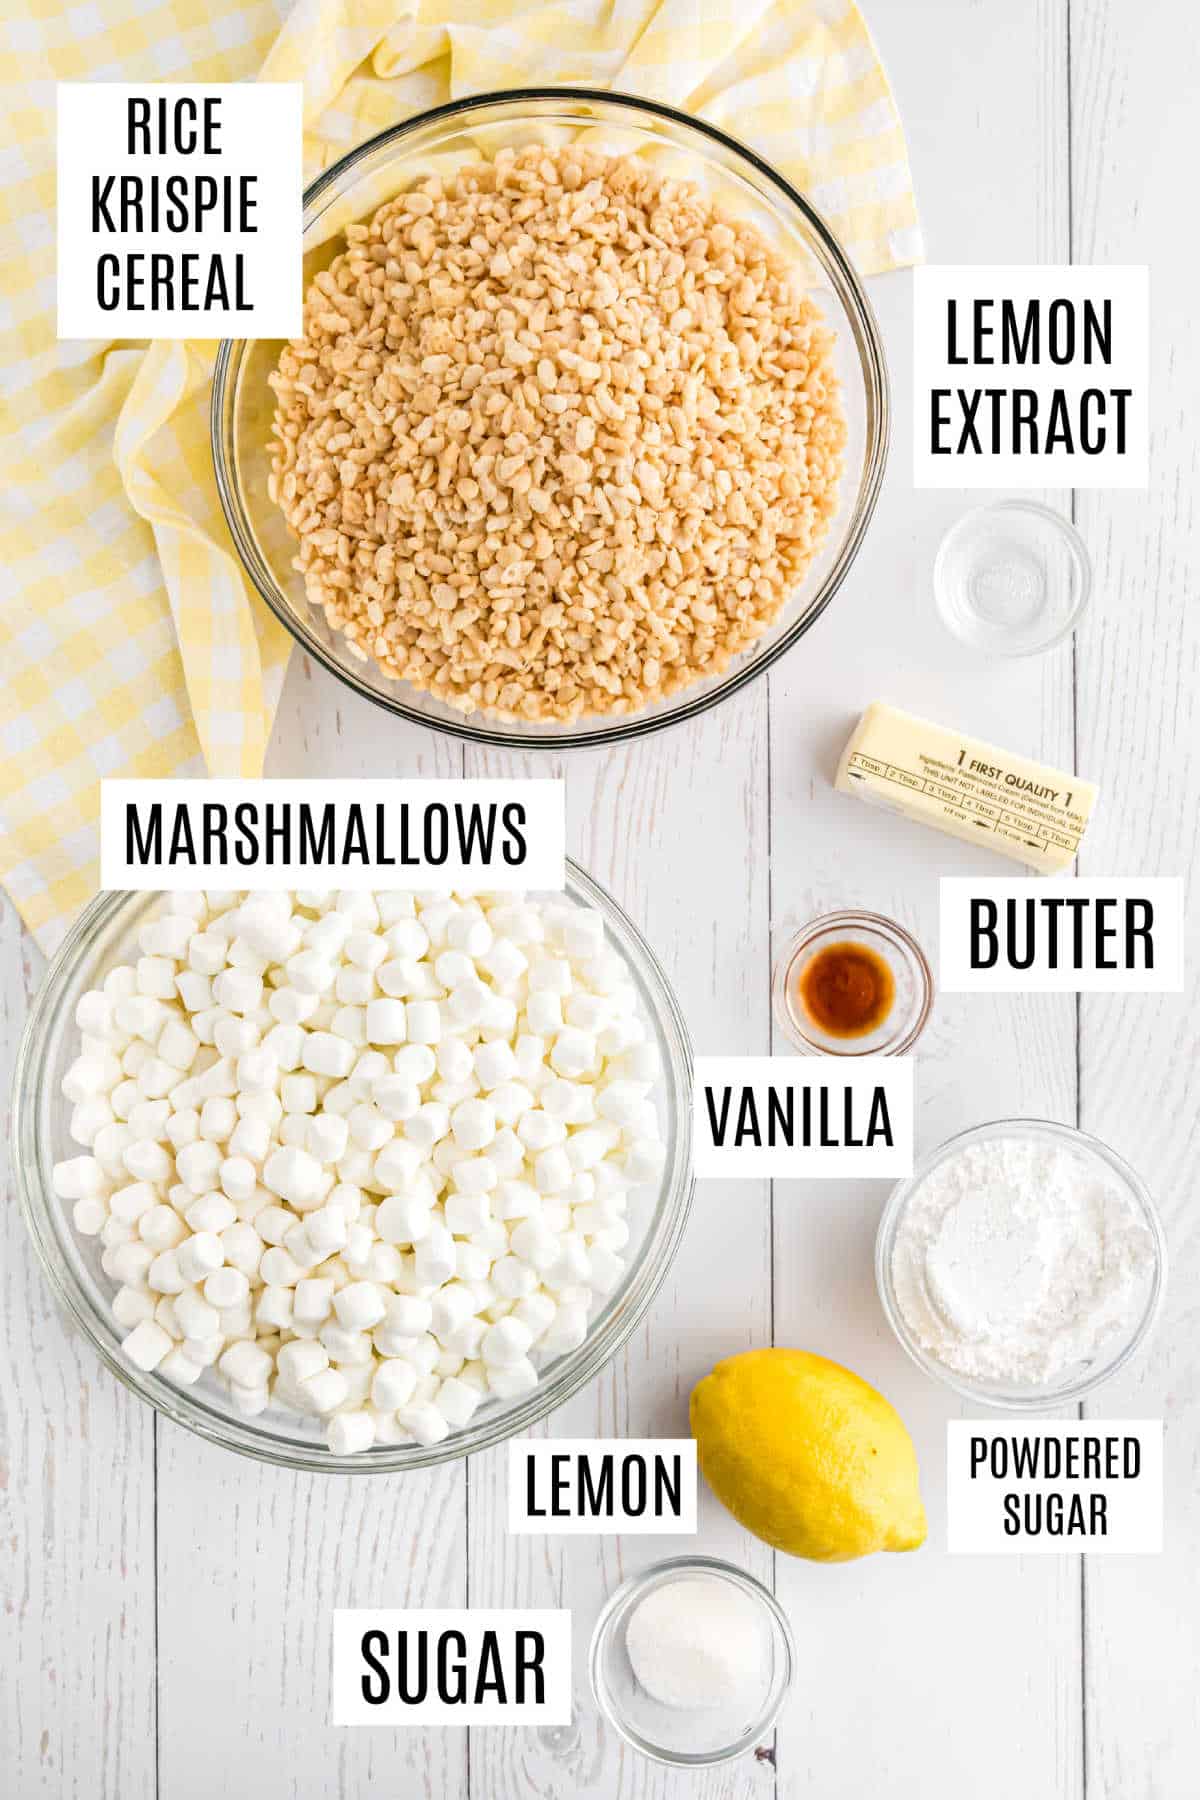
- Lemon – You’ll need the juice and the zest, but zest the lemon first. It’s much easier that way!
- Salted butter – Most baking recipes use unsalted butter, but I prefer salted because it adds some balance to the dish.
- Mini marshmallows – Make sure they are fresh! Stale marshmallows can ruin Rice Krispie treats.
- Extracts – You’ll need both lemon and vanilla extract. Lemon extract adds a stronger lemon flavor than juice without adding a lot of excess liquid.
- Rice Krispies cereal – Normally I’m not a stickler for name brands, but I make an exception for Rice Krispy treats. Some of the off-brand versions have a slightly different texture.
For depth of flavor, you’ll have to try to make brown butter. These brown butter rice krispie treats have a caramelized flavor!
How to Make Lemon Treats
- Make the Topping: Combine a tablespoon of sugar with lemon zest and stir. Set it aside.
- Make the Glaze: In another bowl, whisk the lemon juice and zest. Set it aside.
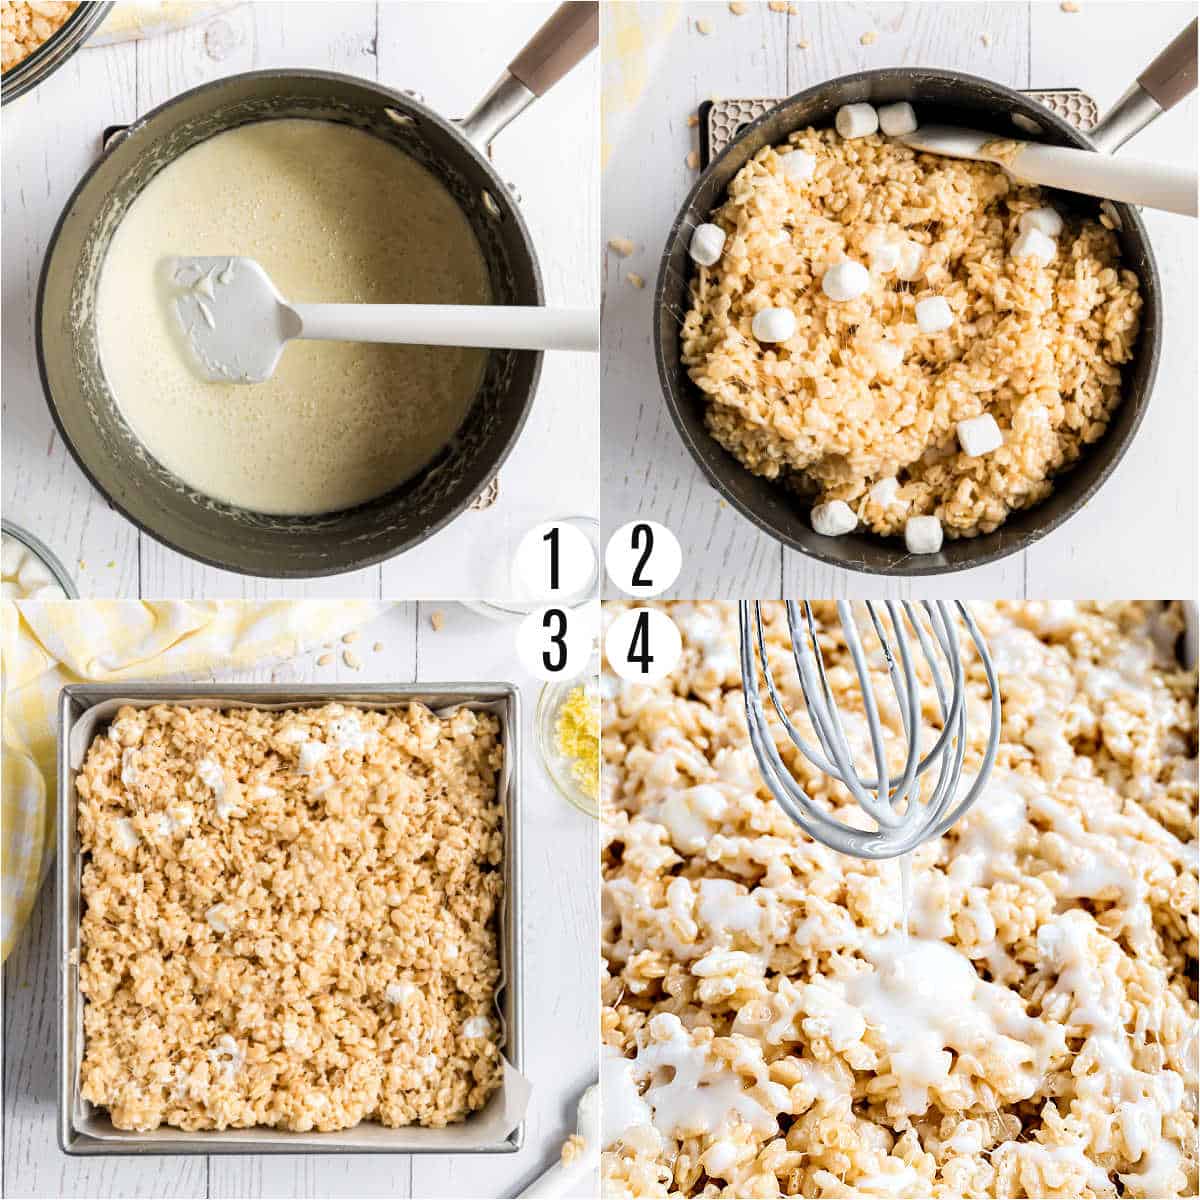
- Heat the Marshmallow Mixture: Melt the butter in a saucepan set over medium heat, then add all but 1 cup of the marshmallows. Reduce the heat to low and stir until the marshmallows are completely melted. Remove from heat.
- Finish the Rice Krispie Mixture: Stir in the lemon and vanilla extracts, followed by the cereal and remaining marshmallows.
- Transfer to Pan: Pour the mixture into a parchment-lined 9-inch square baking dish, pressing it gently with your fingertips to spread it evenly.
- Set: Drizzle with the lemon glaze, then add the lemon sugar mixture. Allow the lemon Rice Krispie treats to set for about 1 hour before cutting and serving.
You can also drizzle white chocolate on these bars for a decadent no bake dessert!
Tips and Tricks
- Here’s how to zest a lemon; you’ll get about 1 teaspoon of zest from a single lemon.
- In addition to the marshmallows, make sure the cereal is also fresh. If it’s been sitting open in the box for several weeks, your Rice Krispie treats will be missing the crispy!
- I like to add the lemon glaze while the Rice Krispie treats are warm because it seeps down into them, making them extra delicious. If you prefer a more “finished” look, you can wait to add the toppings. Slice into bars then top each one with glaze and sugar after they have cooled and set.
- Store the lemon Rice Krispie treats in a sealed container at room temperature for a few days. Alternatively, you can freeze them in a ziploc bag for up to 3 months. If you have to stack them in the bag or container, put parchment paper between the layers to prevent sticking.
For another lemony treat, try this Lemon Chiffon Pie. My Lemon Brownies are a reader favorite too!
More Rice Krispie Treat Recipes
- Perfectly spiced, these thick and chewy Pumpkin Pie Rice Krispie Treats taste like fall in every bite!
- These Red White and Blue Rice Krispie Treats are the perfect patriotic twist on my favorite dessert!
- These heart-shaped Valentine’s Rice Krispie treats are delicious and easy for a cute holiday treat!
- This nut-free Biscoff Rice Krispie Treats recipe is perfect for your kids lunches!
- Pistachio Rice Krispie Treats with Dark Chocolate are made with pudding mix, and drizzled with chocolate! Upgrade the classic treat with this fun twist!

My Cookbook is Here!
- 5 categories of delicious treats!
- Full page photos for EVERY recipe.
- QR codes with every recipe to receive BONUS recipes!
- 35 mouth-watering, expert tested recipes!
Pin this now to find it later
Pin It
Lemon Rice Krispie Treats Recipe
Ingredients
- 1 lemon, zested and juiced, see notes
- 1 Tablespoon granulated sugar
- ½ cup powdered sugar
- 6 Tablespoons salted butter
- 16 ounce bag mini marshmallows, divided
- ½ teaspoon lemon extract
- ½ teaspoon vanilla extract
- 6 cups rice krispies cereal
Instructions
- Start by making the lemon topping. Zest one lemon in a small bowl. Add 1 Tablespoon of granulated sugar and mix with a spoon until crumbly and combined. Set aside.
- Juice the same lemon in a small bowl. Add in powdered sugar and whisk until smooth. Set aside.
- Line a 9-inch square baking dish with parchment paper. Set aside.
- In a large saucepan, melt butter over medium heat. Once melted, add in all but 1 cup of the mini marshmallows, reducing heat to low. Stir with a spatula until marshmallows are completely melted. Remove from heat.
- Add in lemon and vanilla extracts, stir until blended. Add cereal and remaining one cup of mini marshmallows, stirring gently until combined.
- Pour mixture in prepared baking dish, pressing gently with your fingertips until spread out. Immediately drizzle with the lemon glaze, then add the lemon sugar mixture.
- Allow krispie treats to set for about one hour. Cut and enjoy.
Notes
- For the whole lemon, zest the lemon using our guide on how to zest a lemon. You’ll get about 1 teaspoon of zest. For the lemon juice, you’ll get about 1 Tablespoon juice.
- Be sure to use fresh marshmallows and fresh cereal. Using stale ingredients will result in stale treats.
- Adding the lemon glaze while the krispie treats are warm allows the fresh citrus flavor to sink into the krispie treats. If you prefer a more “finished” look, you can wait to add the toppings. Slice into bars then top each one with glaze and sugar after they have cooled and set.
- Store lemon krispie treats in airtight container at room temperature for several days.
- You can also freeze krispie treats by sliding into a ziploc bag. Freeze for up to 3 months.
