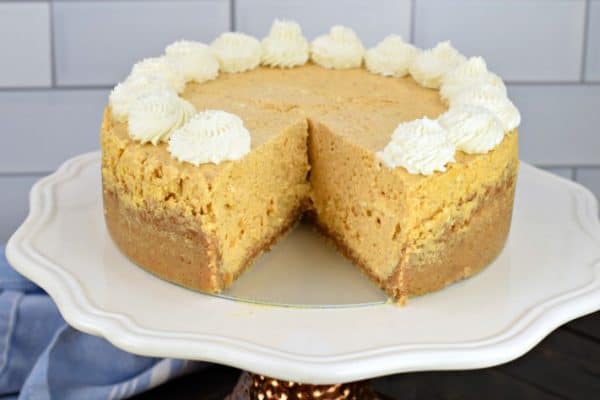
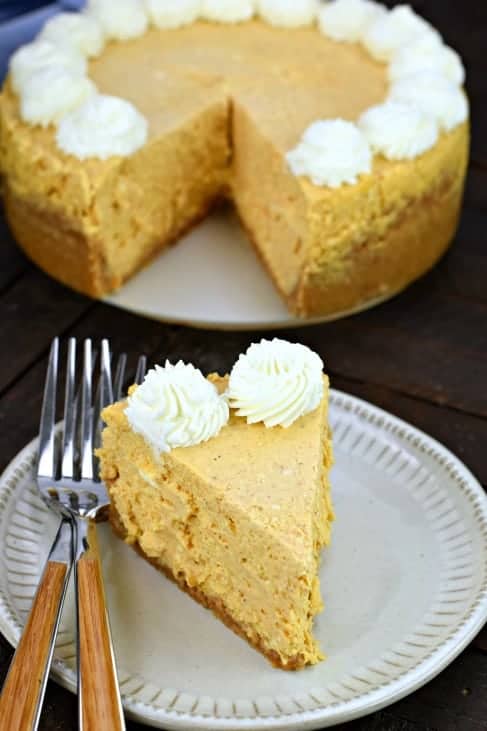
Instant Pot Pumpkin Cheesecake is the creamiest, silky smooth, fall dessert you’ve been craving. Transform your Thanksgiving dessert table with this easy pressure cooker dessert recipe!
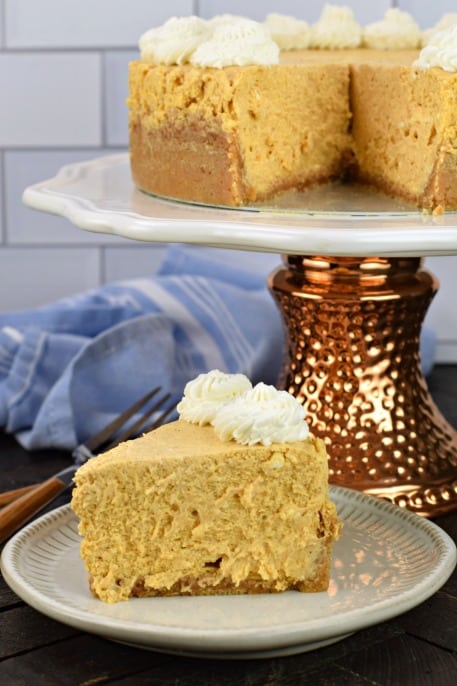
Why This Recipe is Best
I went and did it again. I made a cheesecake in my Instant Pot.
You may recall this easy Instant Pot Cheesecake I originally shared not too long ago…well, I thought we need a fall version. And that means pumpkin!
Making cheesecake in the Instant Pot (something I swore I would never do), has literally become something I LOVE doing.
Instant Pots aren’t only for making Hard Boiled Eggs and Instant Pot Mac and Cheese, you’ll also love pressure cooker desserts, like this Instant Pot Chocolate Cake recipe!
And if you’re pumpkin obsessed, like me, then today’s recipe is right up your alley. I suggest enjoying a piece of Pumpkin Cheesecake with a big glass of this homemade Pumpkin Cream Cold Brew!
- Once you’ve assembled the cheesecake and start pressure cooking you don’t have to worry about opening the oven, looking for cracks, or any other issues.
- They come out perfectly creamy, silky smooth and just need to be chilled for a bit before eating. You’re going to love this Pumpkin Cheesecake!
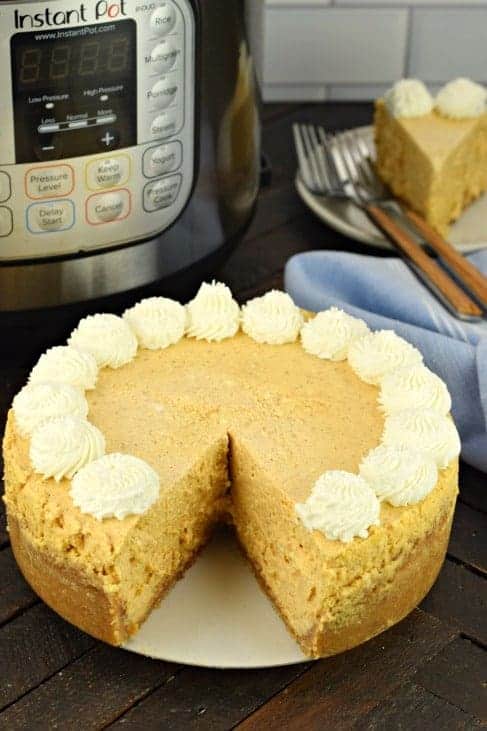
Ingredient Notes
- Graham Crackers – Feel free to swap the graham crackers in the crust for gingersnap cookies for a ginger flavored twist!
- Cream Cheese – Be sure to use full-fat cream cheese and let it soften a bit at room temperature. Also, use the block kind of cream cheese (not the kind in a tub).
- Pure Pumpkin Puree – Make sure to use only pure pumpkin puree, NOT pumpkin pie mix in today’s recipe.
- Pumpkin Pie Spice – Use my pumpkin pie spice or any store bought version.
- Whipped Cream – This is an optional topping for serving the cheesecake. Use fresh whipped cream, cool whip or homemade stabilized whipped cream, whatever you prefer.
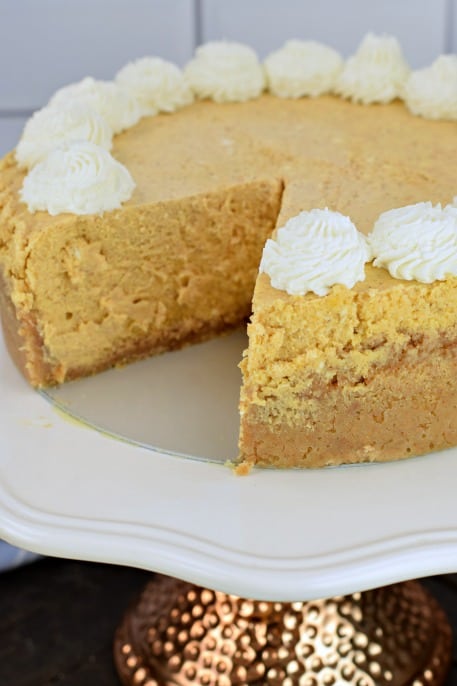
Easy Instructions
Make the Crust.
- In a food processor, pulse the graham crackers with sugar until fine crumbs. Add in melted butter and mix until combined.
- Press the crumbs into the bottom (and partially up the sides) of a 7-inch cheesecake pan. Set aside.
Pumpkin Filling.
- In a large mixing bowl, combine the cream cheese and sugar. Mix until smooth. Beat in eggs, one at a time.
PRO TIP: Softened cream cheese and room temperature eggs will make a creamier cheesecake texture!
- Add pumpkin, sour cream, pumpkin pie spice, vanilla extract and all-purpose flour. Mix just until everything is blended.
- Pour the filling over the prepared crust.
Pressure Cook.
- Wrap the cheesecake in aluminum foil. Add 1 cup of water to the bottom of the Instant Pot. Place the foil wrapped cheesecake pan on a trivet and place in the pressure cooker.
- Seal the pressure cooker and cook on high pressure for 35 minutes, followed by a natural release.
- Remove cheesecake and allow to cool completely to room temperature. Refrigerate cheesecake for at least 8 hours or overnight.
Serve.
- Remove foil and gently blot off any excess condensation from the top of the cheesecake. Run a knife around the edges of the pan and gently remove the cheesecake from the pan.
- Top with whipped cream, slice and enjoy!
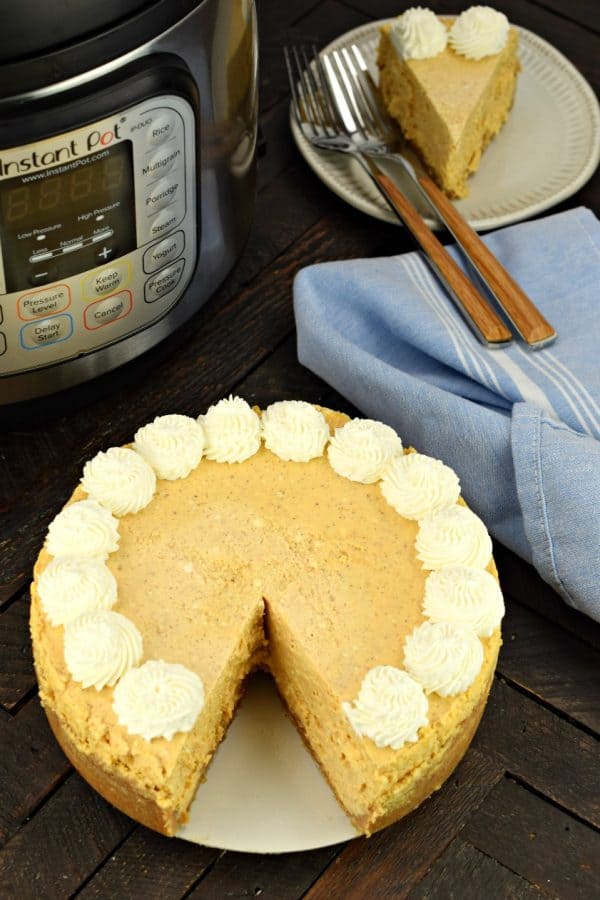
Tips and Tricks
- Make sure your cream cheese and eggs are room temperature when making the cheesecake filling. They will blend smoother without clumps!
- Be sure the cheesecake pan is not touching the sides of the instant pot when lowered into the pot. If it is, your pan may be too large.
- I love this 7×3-inch Fat Daddios Cheesecake Pan. It doesn’t have the springform latch (so it fits perfect in my 6qt Instant Pot), but the bottom of the cheesecake pan is separate, so you can just push it up and the cheesecake comes out perfectly.
- The cook time and prep time do not include the time it takes the Instant Pot to come to pressure or for the natural release.
- Take this pumpkin cheesecake to a new level by garnishing with chocolate, caramel and/or pecans!
Recipe FAQs
I recommend using a 7-inch springform pan to make cheesecake in the Instant Pot. It will fit in both the 6 and 8 quart Instant Pot.
Store the cheesecake, covered in plastic wrap, in the refrigerator. Enjoy within 5 days for best flavor.
Yes! Once the cheesecake has cooled and been chilled in the refrigerator for at least 8 hours, remove from pan and wrap in heavy duty aluminum foil. Slide into a large ziploc freezer bag and freeze for up to 3 months. Thaw overnight in the fridge then top with whipped cream, slice and serve.
More Instant Pot Recipes
Delicious main dish meals to enjoy before dessert is ready!
- Instant Pot Pork Chops
- Sloppy Joes
- Instant Pot Broccoli Cheddar Soup
- Instant Pot Ziti Recipe
- Beef Stroganoff
- Chicken Alfredo
Love this recipe? Please leave a 5-star 🌟🌟🌟🌟🌟 rating in the recipe card below & a review in the comments section below!
Pin this now to find it later
Pin It
Instant Pot Pumpkin Cheesecake
Equipment
Ingredients
For the crust
- 1 cup graham cracker crumbs about 1 sleeve, or 9 full size crackers
- 2 Tablespoons granulated sugar
- 5 Tablespoons unsalted butter melted
For the filling
- 2 packages cream cheese, room temperature 8 ounce each
- ⅔ cup granulated sugar
- 2 large eggs room temperature
- ½ cup pure pumpkin puree
- ¼ cup sour cream
- 2 teaspoons pumpkin pie spice
- 1 teaspoon vanilla extract
- ¼ cup all-purpose flour
For the Whipped cream
- 1 cup COLD heavy whipping cream
- ¼ cup powdered sugar
Instructions
- In a food processor, pulse the graham crackers with granulated sugar until fine crumbs. Add in melted butter and mix until combined.
- Press the crumbs into the bottom (and partially up the sides) of a 7-inch cheesecake pan. Set aside.
- In a large mixing bowl, combine the cream cheese and granulated sugar. Mix until smooth. Beat in eggs, one at a time.
- Add pumpkin, sour cream, pumpkin pie spice, vanilla extract, and all-purpose flour. Mix just until everything is blended.
- Pour the filling into the prepared crust.
- Wrap the top of the cheesecake in aluminum foil. Then place the cheesecake on a second, large piece of foil, wrapping the sides of foil up over the top of the covered cheesecake. Press the foil snug onto the pan.
- Add 1 cup of water to the bottom of the Instant Pot. Place the foil wrapped cheesecake pan on the trivet (I use the one that came with my pressure cooker) and lower into the pressure cooker.
- Secure lid and turn valve to "SEALING." Select high pressure for 35 minutes.
- When the cook time ends, allow to naturally release pressure completely (this takes about 20-30 minutes).
- Remove cheesecake from Instant Pot by lifting up the trivet by the handles. Allow cheesecake to cool completely to room temperature.
- Refrigerate cheesecake overnight or at least 8 hours, before serving.
- To remove cheesecake from pan, remove foil and gently blot off any excess condensation from the top of the cheesecake, using a paper towel.
- Use a knife to run around the edges of the pan and gently push the bottom of the cheesecake pan up to lift it out of the pan (or unhinge the buckle if your pan has that).
- For the homemade whipped cream, in a bowl, add heavy whipping cream with powdered sugar.
- Beat until peaks form, this will take several minutes.
- Using a disposable decorator bag, pipe swirls of whipped cream on cheesecake. Or place in a bowl and serve with a spoon so guests can add their own whipped cream.
Notes
- Make sure your cream cheese and eggs are room temperature when making the cheesecake filling. They will blend smoother without clumps!
- Be sure the cheesecake pan is not touching the sides of the instant pot when lowered into the pot. If it is, your pan may be too large.
- I love this 7×3-inch Fat Daddios Cheesecake Pan. It doesn’t have the springform latch (so it fits perfect in my 6qt Instant Pot), but the bottom of the cheesecake pan is separate, so you can just push it up and the cheesecake comes out perfectly.
- The cook time and prep time do not include the time it takes the Instant Pot to come to pressure or for the natural release.
- Take this pumpkin cheesecake to a new level by garnishing with chocolate, caramel and/or pecans!
Nutrition
Instant Pot Pumpkin Cheesecake is the creamiest, silky smooth, fall dessert you’ve been craving. Transform your Thanksgiving dessert table with this easy pressure cooker dessert recipe!



I had this recipe printed and .. I didn’t note the additional time needed. Please revise the recipe 35 min + natural release.. the cake looked uncooked in the center.
I’m having the same problem with a soupy center. I’m adding time to get to 50 minutes and then will follow the rest of the directions. Here’s hoping for the best…
Hi Aimee…. what are people talking about to increase time to 50 minutes? Are they maybe not allowing for 20 NR? Or, have you found the bake time should be increased from 35 minutes…. Making this again this year for the firefighters!… Thanks for all of your awesome recipes, Aimee. Btw, also IP’ing the boneless turkey breast for the firefighters as well this year … thank the Lord for Aimee!!
You are absolutely correct needs 45-50 minutes to be done.
I made this gluten free. I substituted gluten free ginger snap cookies for crust and did not add extra sugar. For the flour I used ground raw pumpkin seeds and substituted 1/3 cup honey for the sugar. It was a hit fat Thanksgiving. I made two, it was so good.
This tastes fantastic, but is nowhere near done in 35 minutes. I cook HP for 50 minutes, then follow the other steps and it’s perfect.
Why is it necessary to cover with foil? The top of the cheesecake stuck to the foil and completely ruined it. I’ve never had another recipe say to do this before.
Hi Aimee…. I’m making this for a firehouse as their Thanksgiving dessert. How tall is your 7″ cheesecake pan? Do the ingredients go right to the top of the springform pan? Thank you!!… Love, love your site!
Mine is 7-inch by 3-inch. It doesn’t fill the pan completely 🙂
Just made this and put it into the instant pot. Cannot wait to eat it tomorrow. I taste tested the batter. Yummy.
The center of my cheesecake didn’t set… should I have cooked it longer?
My cheesecake Came out looking uncooked in the middle. The outside inch looks set but the rest looks the same way it did when i poured the batter into the pan. Should I cook it longer???
This is going to be so perfect for Thanksgiving, especially when I can just have this in the Instant Pot while I worry about the turkey!
Can the flour be substituted for gluten free and still be yummy?
I made mine completely gluten free and my husband said it was delicious!
I thanks for the tip about freezing. I’m going to make a couple of these and freeze them to use all season long. Looks fantastic!