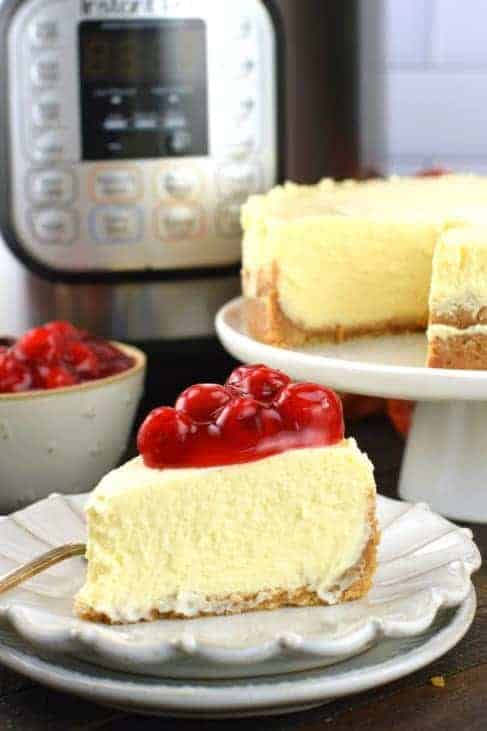
This Instant Pot Cheesecake recipe is so easy and creamy, you’ll love it plain or topped with fresh fruit or cherry pie filling!
For more cheesecake recipes in the pressure cooker, be sure to try my Peanut Butter Cheesecake as well as my rich and fudgy Chocolate Cheesecake.
Why You’ll Love Cheesecake in the Instant Pot
A few years ago when I purchased my first Instant Pot, I wasn’t convinced of the “craze.”
The desire to put EVERYTHING in the pressure cooker. Like, why?
Sure, who doesn’t love Pot Roast or Beef Stroganoff in the Instant Pot…but dessert? I mean, I have the Perfect Cheesecake recipe already, so why put it in the pressure cooker?
You guys. I’m sorry. I realize my mistake now. Here’s why you should make Instant Pot cheesecake ASAP:
- It’s SO much easier. No need to fuss with a water bath because the Instant Pot creates the steam for you!
- The texture is light and creamy. If dense cheesecakes make you feel sick after eating them, you’ll love Instant Pot cheesecake.
- It’s a no-fail cheesecake recipe that won’t let you down.
Important Ingredient Notes
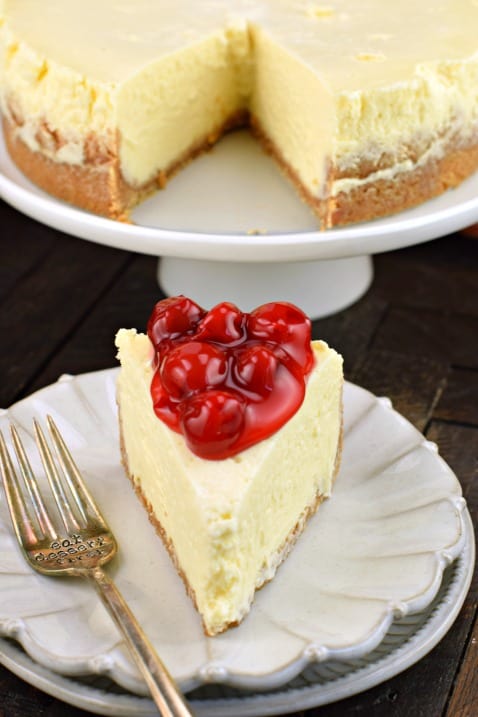
- Graham cracker crumbs – You can buy crumbs in the baking section, or crush a sleeve of full-size graham crackers.
- Cream cheese – Full-fat blocks of cream cheese, not the kind that comes in a tub.
- Sour cream – Sour cream contributes to the creamy texture and adds that signature tangy flavor we all love in a good cheesecake. For maximum richness, I recommend full-fat sour cream!
- Heavy whipping cream – This also makes for a rich, creamy filling. I don’t recommend trying to cut calories with half-and-half or whole milk. This is cheesecake, after all—it’s meant to be decadent!
- Cherry pie filling – Or any other kind of pie filling you like. Apple pie filling is great if you’re making Instant Pot cheesecake for Thanksgiving! You can also substitute fresh fruit.
How to Make Instant Pot Cheesecake
Make the Crust:
- In a food processor, pulse the graham crackers to form fine crumbs. Add the melted butter and granulated sugar and pulse to combine.
- Press the crumb mixture into the bottom and partially up the sides of a 7-inch springform pan.
- Refrigerate the pie crust while you work on the filling.
Make the Filling:
- In a large mixing bowl, beat the cream cheese and granulated sugar until they’re smooth and creamy.
- Beat in the vanilla extract, flour, and the eggs, one at a time, scraping down the sides of the bowl as needed.
- Stir in the sour cream and heavy whipping cream.
Assemble and Prepare the Instant Pot:
- Pour the filling into the chilled graham cracker crust.
- Wrap the top of the cheesecake in foil. Set the cheesecake on a second piece of foil, wrapping the sides up over the top.
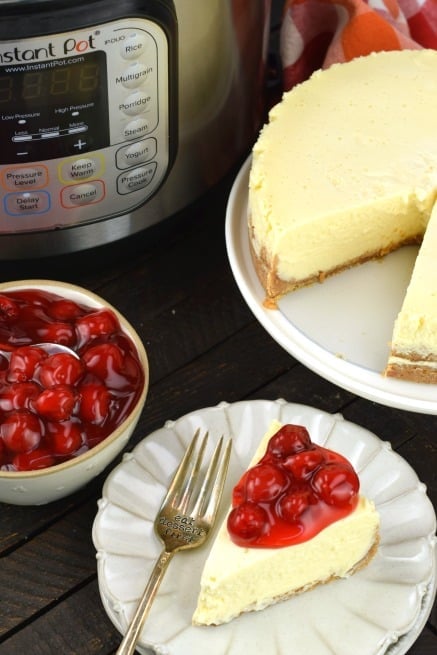
- Fill the pressure cooker with 1 cup of water. Place the foil wrapped springform pan on the trivet (I use the one that came with my pressure cooker) and lower it into the Instant Pot.
Bake:
- Secure the lid, turn the valve to “SEALING” and turn on the pressure cooker.
- Set to high pressure for 40 minutes.
- When the cheesecake is done, allow the Instant Pot to naturally release pressure completely. This takes about 20-30 minutes.
- Remove the cheesecake from the Instant Pot by lifting the trivet with the handles. Allow it to cool to room temperature.
Chill and Serve:
- Refrigerate the cheesecake overnight, or for at least 8 hours.
- After chilling, remove the foil from the cheesecake and gently blot off any condensation with a paper towel.
- Run a knife along the sides of the pan to gently remove the cheesecake.
- Push the bottom of the cheesecake pan up to lift the cheesecake out of the pan (or unhinge the buckle if yours has that).
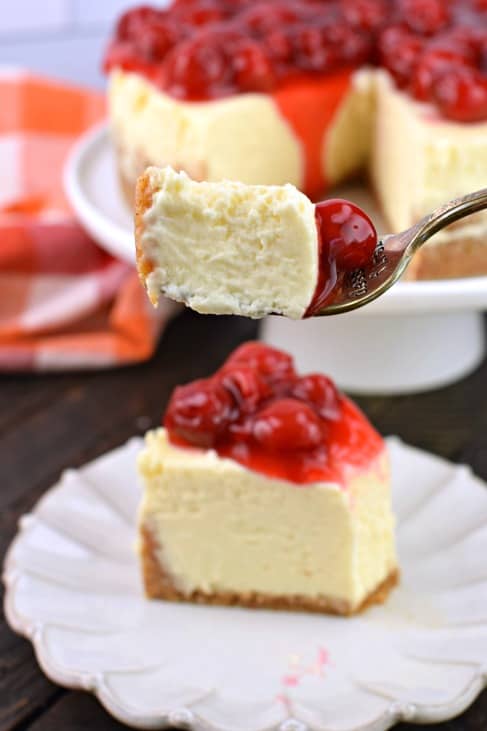
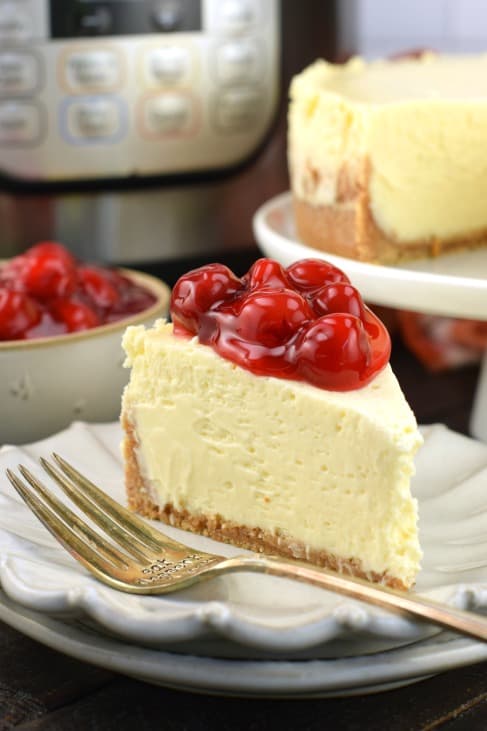
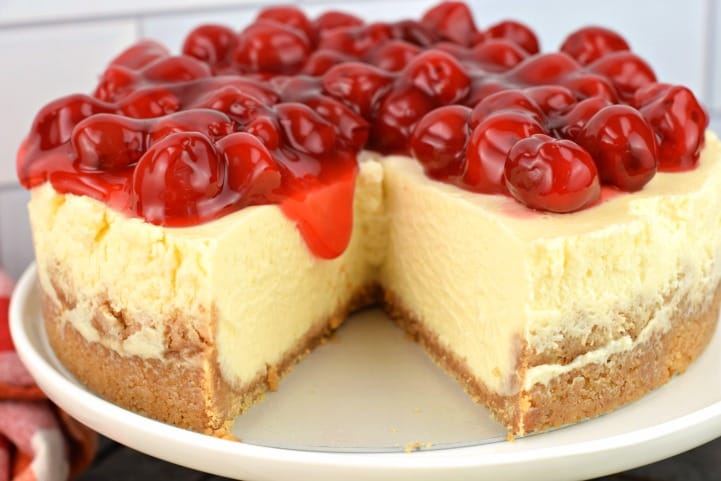
- Top the cheesecake with cherry pie filling, then slice and serve.
Tips and Tricks
- Plan ahead and make your cheesecake a day in advance. This allows your cheesecake plenty of time to firm up and chill.
- Today’s recipe was tested in a 6qt Instant Pot. You may need to make changes for a different size. I use the Instant Pot Duo 6qt.
- I used this Fat Daddio’s 7-inch Cheesecake Pan. It fit perfectly in my Instant Pot with a little extra room on the sides, which is what you want.
- Store the cheesecake in refrigerator for up to 5 days for best results.
- Make sure your cream cheese and eggs are room temperature when making the cheesecake filling. They will blend smoother without clumps!
- The cook time and prep time do not include the time it takes the Instant Pot to come to pressure.
- Do not over beat the mixture. Beat JUST until the last egg is incorporated, scraping down the sides of the bowl as needed.
Recipe FAQs
When the valve drops and you open the lid, you can check doneness with a thermometer. it should read between 140-150 Degrees F. Don’t judge it by the jiggle test because it needs to cool completely and be refrigerated to set fully.
I recommend a 7-inch springform pan. It will fit in the 6 and 8 qt Instant Pot.
Yes! A quick stroll through the freezer section at your grocery store is proof. Wrap your cooled and set cheesecake in parchment paper, then foil. Store in freezer for up to 3 months. Thaw in refrigerator overnight.
More Easy Dessert Recipes:
- This ooey gooey Rice Krispie Treats Recipe is the perfect chewy treat!
- Try this Easy Apple Crumble or Apple Crisp for a great tart dessert that everyone will enjoy!
- Make some homemade copycat Twix Cookies that will be a family favorite on the dessert table!
- Try out this Instant Pot Chocolate Cake for a rich and decadent dessert!
- Want some zesty treats? Lemon Cheesecake and Lemon Bars are my go to desserts!
Pin this now to find it later
Pin It
Instant Pot Cheesecake
Ingredients
For the crust
- 1 cup graham cracker crumbs 1 sleeve of crackers, 9 full size
- 2 Tablespoons granulated sugar
- 5 Tablespoons melted butter
For the filling
- 2 packages cream cheese, room temperature 8 ounce each
- ⅔ cup granulated sugar
- 1 teaspoon vanilla extract
- 2 Tablespoons all-purpose flour
- 3 large eggs room temperature
- ¼ cup sour cream
- ¼ cup heavy whipping cream
- 1 can cherry pie filling 20 ounce
Instructions
- In a food processor, pulse graham crackers until fine crumbs. Add in melted butter and granulated sugar. Pulse until combined.
- Press crumbs into the bottom and partially up the sides of a 7-inch springform pan. Refrigerate until filling is ready.
- In a large mixing bowl, combine cream cheese and granulated sugar. Beat until smooth and creamy.
- Add in vanilla extract, flour and the eggs, one at a time. Do not over beat the mixture. Beat JUST until the last egg is incorporated, scraping down the sides of the bowl as needed.
- Add the sour cream and heavy whipping cream, stirring until blended.
- Pour filling into chilled graham cracker crust.
- Wrap the top of the cheesecake in foil. Then place the cheesecake on a second piece of foil, wrapping the sides up over the top.
- Fill the pressure cooker with 1 cup of water. Place the foil wrapped springform pan on the trivet (I use the one that came with my pressure cooker) and lower it into the instant pot.
- Secure the lid, turn valve to "SEALING" and turn on the pressure cooker.
- Set to high pressure for 40 minutes.
- When the cheesecake is done, allow to naturally release pressure completely. This takes about 20-30 minutes.
- Remove cheesecake from the Instant Pot by lifting the trivet with the handles. Allow cheesecake to cool to room temperature.
- Place cheesecake in refrigerator to chill overnight, or at least 8 hours.
- After chilling, remove foil from cheesecake and gently blot off any condensation from top of cheesecake with a paper towel.
- Use a knife and run it along the sides of the pan to gently remove cheesecake from pan.
- Push bottom of cheesecake pan up to lift the cheesecake out of the pan (or unhinge the buckle if yours has that).
- Top chilled cheesecake with cherry pie filling and serve cold. ENJOY.
Notes
- Be sure to start with room temperature cream cheese and eggs for best results. The filling will be creamier without lumps if using room temperature ingredients.
Nutrition
This Instant Pot Cheesecake recipe is so easy and creamy, you’ll love it plain or topped with fresh fruit or cherry pie filling!



I tried this recipe and it was very good but not set in middle. Did it need to cook longer?
I have made this twice and it’s absolutely delicious! My crust is sticking though, is there something I can do differently?
You could cut a piece of parchment paper to sit on top of the pan between the crust and pan.
This was really tasty, but was very soupy in the middle when I cut it into it. I followed the directions correctly and don’t know why it didn’t set up. If you are supposed to let it naturally release (and have it set overnight still wrapped) how are you able to tell when things are truly done? Or is this just something that is always trial and error with when using an Instant Pot?
Can you use Nilla wafers? I don’t really like Graham wafers?
Recipe says 2Tbsp in crust 2/3 C in cheese mixture
Yes definitely!
How much of the sugar goes into the crust and how much goes into the cheesecake?
I followed the recipe and made this in my 8qt. It was perfect and everyone at work wants the recipe now. My first cheese cake and first in an instant pot.
I made this recipe today! Very easy to understand and had no problems. After letting my cheesecake chill for 8 hours, the middle isn’t soupy but isn’t hard like the rest. Is it okay to eat? Or should I just toss and try again? I think I should increase the time for an 8 qt instant pot!
Would you please provide the times for an 8 quart instapot?
Oh my! I greatly missed the amount of time it was going to take to cool. I figured after a few hours of cooling I could plop it in the freezer to finish it up more quickly but my son’s banquet started an hour earlier than I thought! Ughhh Queue large bowl of Halloween leftovers as desserts for the dinner.
Back to my cheesecake:
OMGoodness! So good. So easy. And I’m sure it will be easier the more I make it. I took half to work and they loved it, my fiancée loved it and I thought it was phenomenal. Win, win, win all the way around.
I did a couple of things different:
I put parchment paper on the bottom of my tin so it would come right off. I probably won’t do that again. The paper got stuck in the graham crackers in a couple of spots so I had to put the cake upside down on a plate, dig it out and then flip it back over. I think there’s plenty of butter so it would just slide off.
I also mixed the cream cheese and sugar but in a separate bowl I whisked the eggs, etc together with a fork before adding to the cream cheese mixture (I was afraid I would over-mix if not). It all worked out.
Last but not least, the next time I make this, I will have to double the filling recipe. I made this in my 8qt in a larger spring pan and it was just barely at 1” tall including the crust.
OMGawd I am so excited for this!!! I’ve never made a cheesecake, as in ever, so I decided why not make it in my IP (cause I love my IP!) for my son’s award banquet and try it out on strangers. Hahaha
The filling is so delicious!!! I may buy cookies and keep this for home.
Hi Aimee! I made 2 of your pumpkin cheesecakes n loved them! One question….i baked the crust for a crunchier texture. But I had butter leaking out the bottom….any way to avoid this? Thank you! Janet
Oh no! Did you use high pressure?
Thank you for your reply.
I have read many great reviews in FB groups about your recipe! I have a 8 qt IP and using a 8 x 3 Fat Daddio’s pan. I will double the recipe, but could you please suggest how much time? Thank you.
Hi Lisa,
I haven’t tried to double the recipe for a cheesecake.
Once this cheesecake cools to room temperature, you need to let it set for 6-8 hours in the refrigerator. No issues after chilling 🙂
I have never attempted to make cheesecake in my IP! I totally need to though as it is one of my favorite desserts.
A cheesecake lovers dream! So tasty!
Creamy, delicious and so easy! This is cheesecake perfection!
What brand of cherry pie filling did you use?
Also, would the addition of lemon juice to the batter be an acceptable modification.
I use Lucky Leaf cherry pie filing. And lemon juice would be fine 🙂
Does this have the same texture as a traditional cheesecake?
Yes it does!