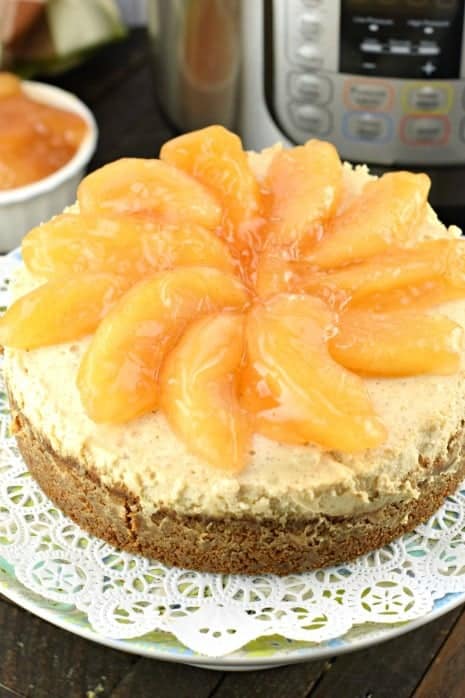
Instant Pot Apple Cheesecake is so easy to make! Gingersnap crust, creamy cinnamon cheesecake filling, and topped with a shortcut pie filling, this cheesecake is a must-make this holiday season.
Our readers love these easy Caramel Apple Cheesecake Bars for a fun fall twist. Or give this sweet Sopapilla cheesecake recipe a try next!
Why this Recipe is Best
Instant Pot Cheesecakes are becoming a new trend here on Shugary Sweets.
Which is ironic because about two years ago I swore I would never get all crazy and do desserts in the pressure cooker.
And here we are with my 4th cheesecake recipe, and 5th dessert if you count this Instant Pot Apple Crisp in the mix.
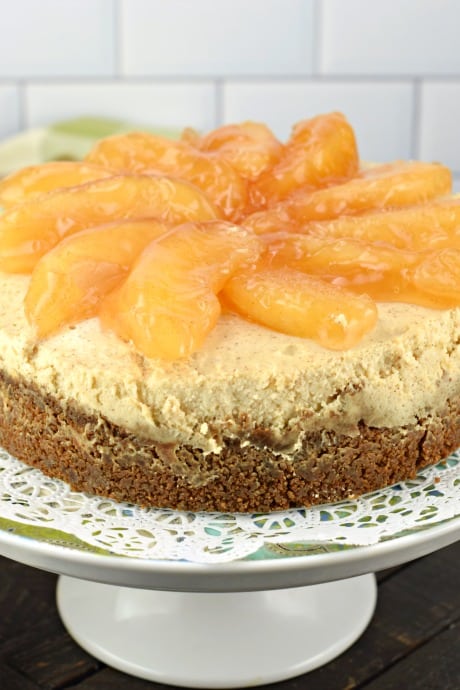
- Spicy, sweet Gingersnap crust is the perfect base!
- Creamy, cinnamon cheesecake filling, that is moist and delicious with no cracks (thanks to the Instant Pot)
- No apples to slice, peel, dice thanks to my easy apple pie filling shortcut
- Super versatile recipe, can top with caramel and pecans too!
Have I convinced you yet to give this fall flavored cheesecake a try? Imagine the possibilities by just swapping out the pie filling and the crust flavor (you can use graham crackers or nilla wafers instead of gingersnap).
How to make Apple Cheesecake
Crust.
- In a food processor, pulse the gingersnap cookies until fine crumbs. Add in melted butter and mix until combined.
- Press the crumbs into the bottom (and partially up the sides) of a 7-inch cheesecake pan. Refrigerate until ready to fill.
Cheesecake filling.
- In a large mixing bowl, combine cream cheese and granulated sugar. Beat until smooth and creamy.
PRO TIP: Use room temperature, softened cream cheese for best results.
- Add in vanilla extract, flour and the eggs, one at a time. Do not over beat the mixture. Beat JUST until the last egg is incorporated, scraping down the sides of the bowl as needed.
- Add the heavy whipping cream, cinnamon, and nutmeg, stirring just until blended.
- Pour filling into chilled gingersnap crust.
Pressure Cook.
- Wrap the top of the cheesecake in foil. Then place the cheesecake on a second piece of foil, wrapping the sides up over the top.
- Fill the pressure cooker with 1 cup of water. Place the foil wrapped cheesecake pan on the trivet (I use the one that came with my pressure cooker) and lower it into the instant pot.
- Secure the lid, turn valve to “SEALING” and turn on the pressure cooker.
- Set to high pressure for 40 minutes.
- When the cheesecake is done, allow to naturally release pressure completely. This takes about 20-30 minutes.
- Remove cheesecake from the Instant Pot by lifting the trivet with the handles. Remove foil and allow cheesecake to cool to room temperature. The center will be jiggly, but will firm up after chilling.
- Place cheesecake in refrigerator to chill overnight, or at least 8 hours.
Serve.
- After chilling, gently blot off any condensation from top of cheesecake with a paper towel.
- Use a knife and run it along the sides of the pan to gently remove cheesecake from pan.
- Push bottom of cheesecake pan up to lift the cheesecake out of the pan (or unhinge the buckle if yours has that). Slide onto a cake platter.
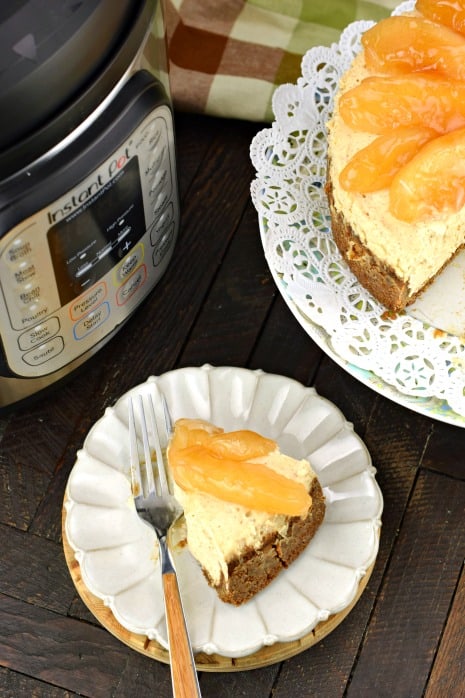
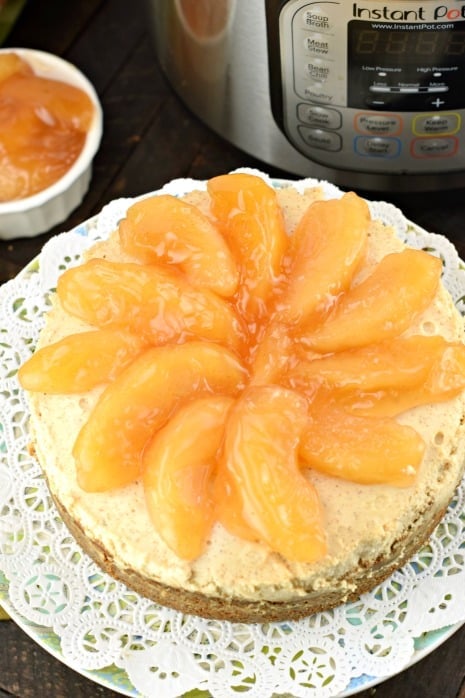
- Top the cheesecake with about one can of Apple Pie filling. I arranged the apple slices in a decorative way, but that’s totally not necessary. You could also use our fried apples as a topping.
- Serve with homemade whipped cream if desired.
- Looking for something easy? This Sopapilla Cheesecake recipe is a childhood favorite.
More Cheesecake Recipes
- Chocolate Chip Cheesecake Bars
- No Bake Cheesecake Recipe
- Oreo Cheesecake
- Blueberry Cheesecake
- Mini Cherry Cheesecakes
- No Bake Pumpkin Cheesecake
- Mini Caramel Apple Cheesecakes
- Instant Pot Pumpkin Cheesecake
- Peanut Butter Cheesecake
- More Easy Dessert Recipes
Pin this now to find it later
Pin It
Instant Pot Apple Cheesecake
Ingredients
For the crust
- 1 ½ cup gingersnap cookie crumbs about 28 cookies
- 5 Tablespoons unsalted butter melted
For the filling
- 2 packages 8 ounce each cream cheese, softened
- ⅔ cup granulated sugar
- 2 teaspoons vanilla extract
- 2 Tablespoons all-purpose flour
- 3 large eggs
- ¼ cup heavy whipping cream
- 1 teaspoon cinnamon
- ¼ teaspoon nutmeg
For the topping
- 1 can apple pie filling 20 ounce
Instructions
- In a food processor, pulse the gingersnap cookies until fine crumbs. Add in melted butter and mix until combined.
- Press the crumbs into the bottom (and partially up the sides) of a 7-inch cheesecake pan. Refrigerate until ready to fill.
- In a large mixing bowl, combine cream cheese and granulated sugar. Beat until smooth and creamy.
- Add in vanilla extract, flour and the eggs, one at a time. Do not over beat the mixture. Beat JUST until the last egg is incorporated, scraping down the sides of the bowl as needed.
- Add the heavy whipping cream, cinnamon, and nutmeg, stirring just until blended.
- Pour filling into chilled gingersnap crust.
- Wrap the top of the cheesecake in foil. Then place the cheesecake on a second piece of foil, wrapping the sides up over the top.
- Fill the pressure cooker with 1 cup of water. Place the foil wrapped cheesecake pan on the trivet (I use the one that came with my pressure cooker) and lower it into the instant pot.
- Secure the lid, turn valve to “SEALING” and turn on the pressure cooker.
- Set to high pressure for 40 minutes.
- When the cheesecake is done, allow to naturally release pressure completely. This takes about 20-30 minutes.
- Remove cheesecake from the Instant Pot by lifting the trivet with the handles. Remove foil and allow cheesecake to cool to room temperature. The center will be jiggly, but will firm up after chilling.
- Place cheesecake in refrigerator to chill overnight, or at least 8 hours.
- After chilling, gently blot off any condensation from top of cheesecake with a paper towel.
- Use a knife and run it along the sides of the pan to gently remove cheesecake from pan.
- Push bottom of cheesecake pan up to lift the cheesecake out of the pan (or unhinge the buckle if yours has that). Slide onto a cake platter.
- Top the cheesecake with about one can of Apple Pie filling. I arranged the apple slices in a decorative way, but that’s totally not necessary. Serve with homemade whipped cream if desired.
Notes
- Today’s cheesecake recipe needs to chill in refrigerator for at least 8 hours, it’s best to make a day in advance.
- This recipe was tested in a 6qt Instant Pot. You may need to make changes for a different size.
- I used this Fat Daddio’s 7-inch Cheesecake Pan. It fit perfectly in my Instant Pot with a little extra room on the sides, which is what you want.
- Be sure your cream cheese is at room temperature. This will result in the creamiest cheesecake texture with no lumps!
- Store cheesecake in refrigerator for up to 5 days for best results.
- The cook time and prep time do not include the time it takes the Instant Pot to come to pressure.
- See blog post for more tips and tricks.
Nutrition
Instant Pot Apple Cheesecake is so easy to make! Gingersnap crust, creamy cinnamon cheesecake filling, and topped with a shortcut pie filling, this cheesecake is a must-make this holiday season.



Yum – it turned out great and family loved it!
This looks so tasty! Love the frosting even though its made in an instant pot!
I was always afraid of making dessert in my IP, but this recipe was really easy to follow and it tasted AMAZING.
Oh my goodness! This is the cleverest idea for an easy, no fuss dessert! Cheesecakes are my weakness!
Oh my goodness, how yummy does this cheesecake look! I can’t wait to try!
This recipe is fantastic! I just made it today thinking about having it as one of our Thanksgiving desserts. My family loves it!