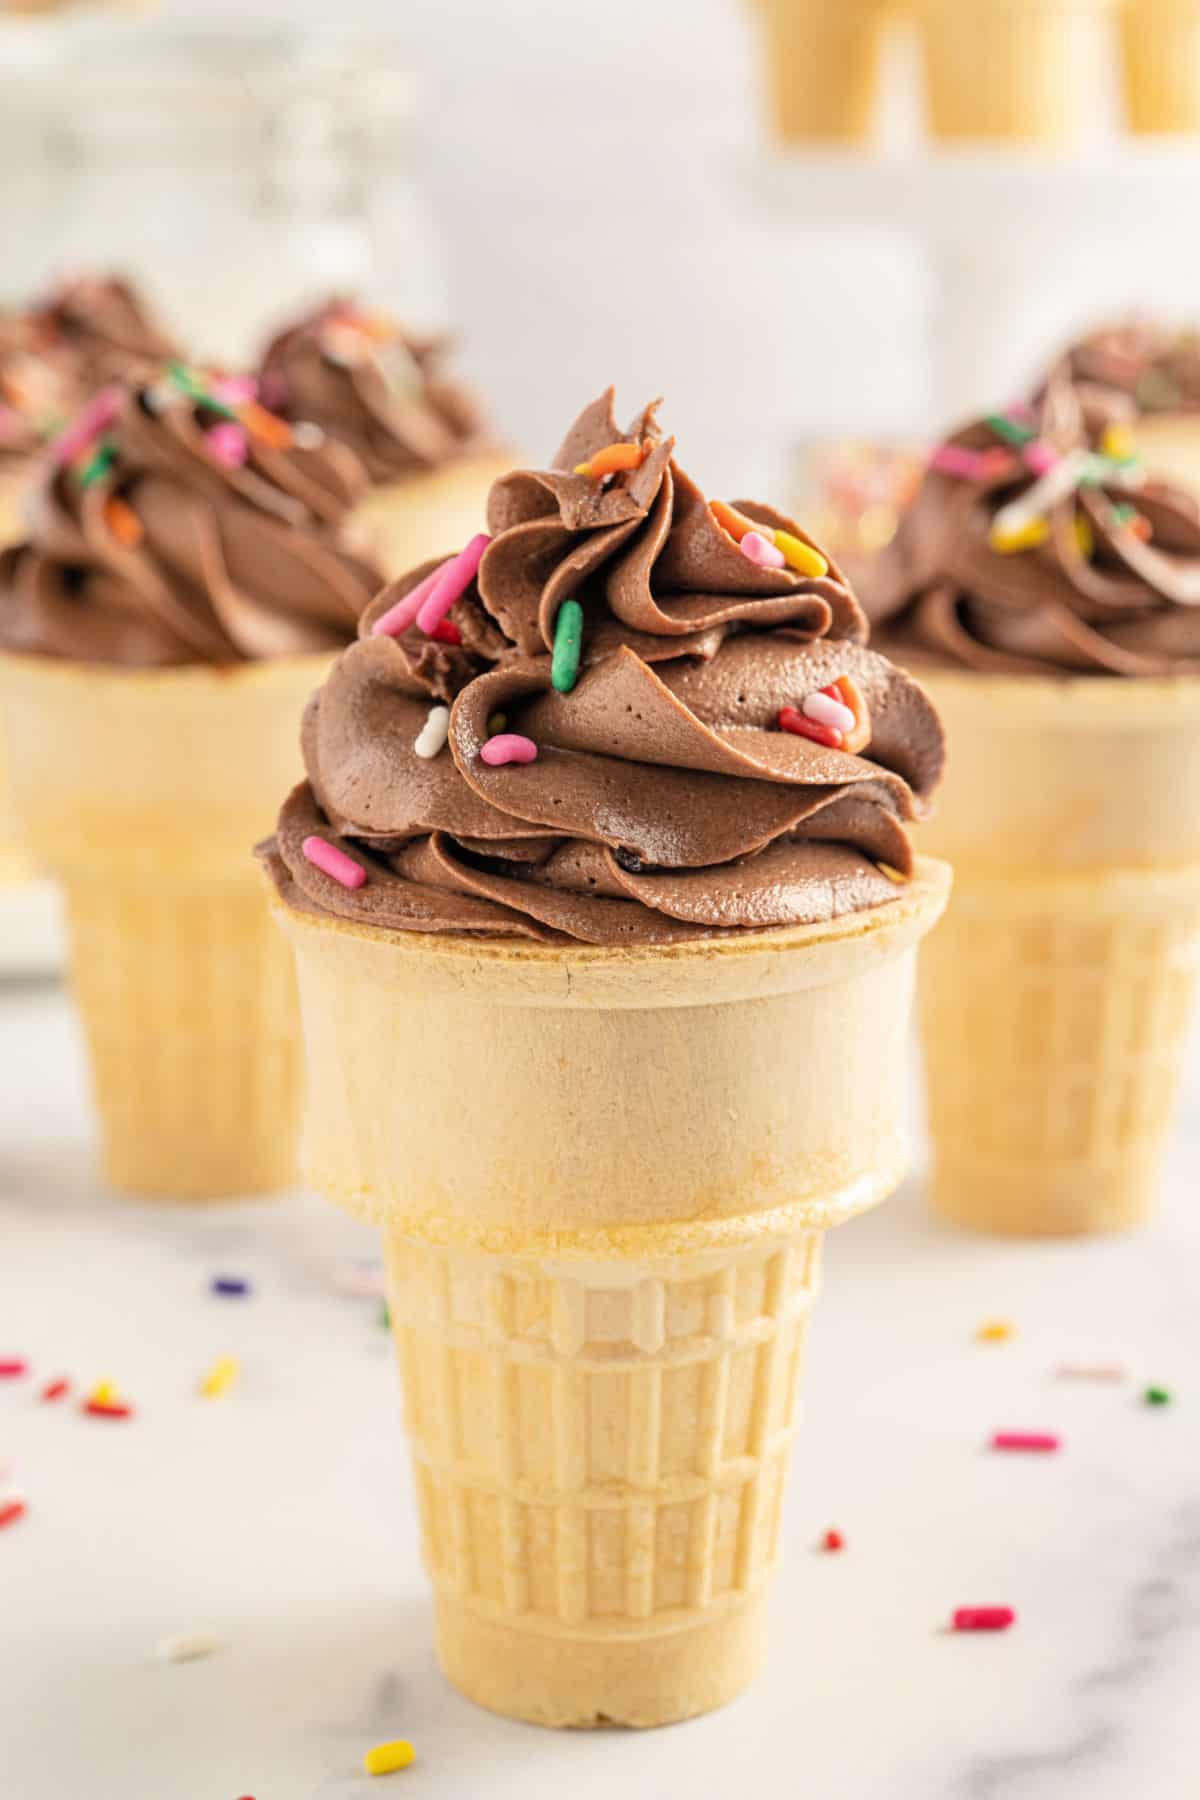
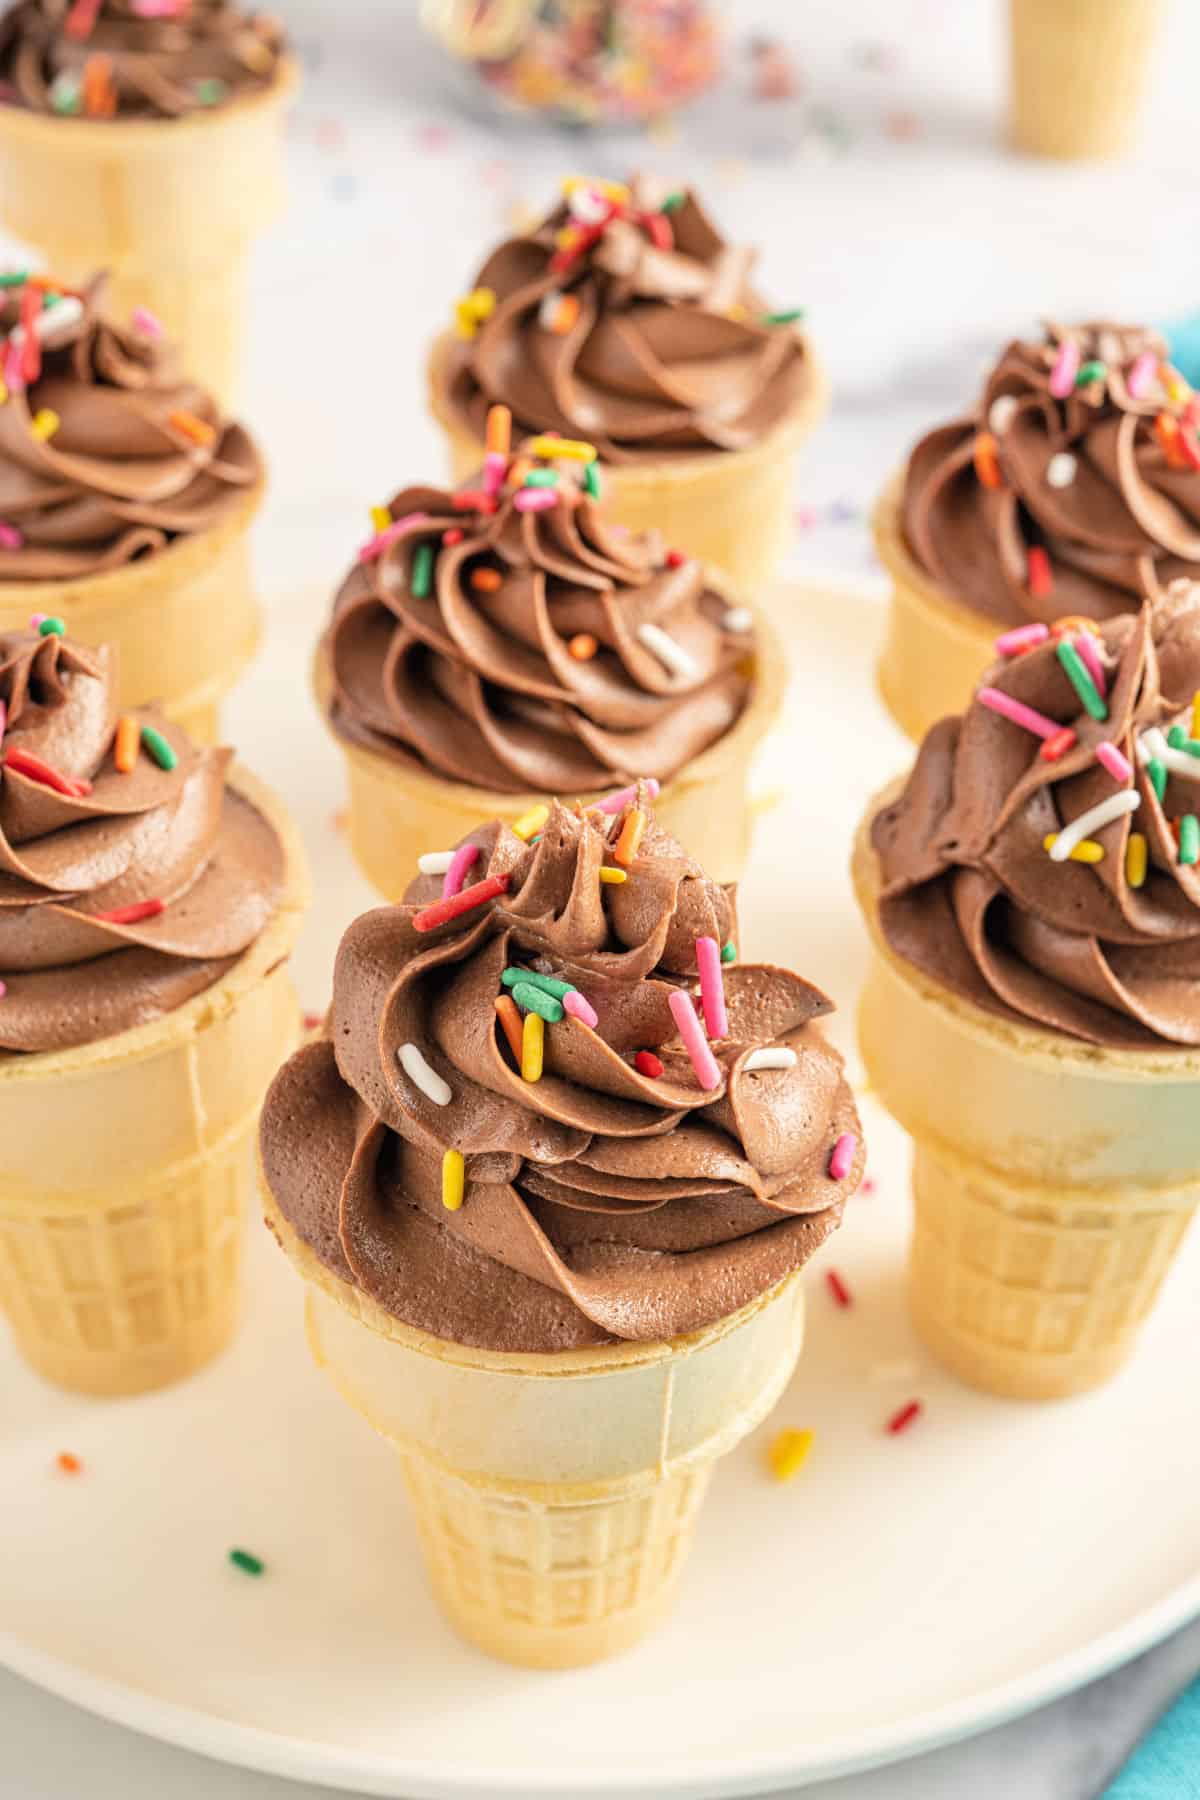
Ice Cream Cone Cupcakes combine the fun of a fluffy frosted cupcake with the delight of a cake ice cream cone to hold it in. This kid-friendly dessert is perfect for parties!
Why This Recipe is Best
Two desserts are better than one, right? And these Ice Cream Cone Cupcakes have two desserts IN one!
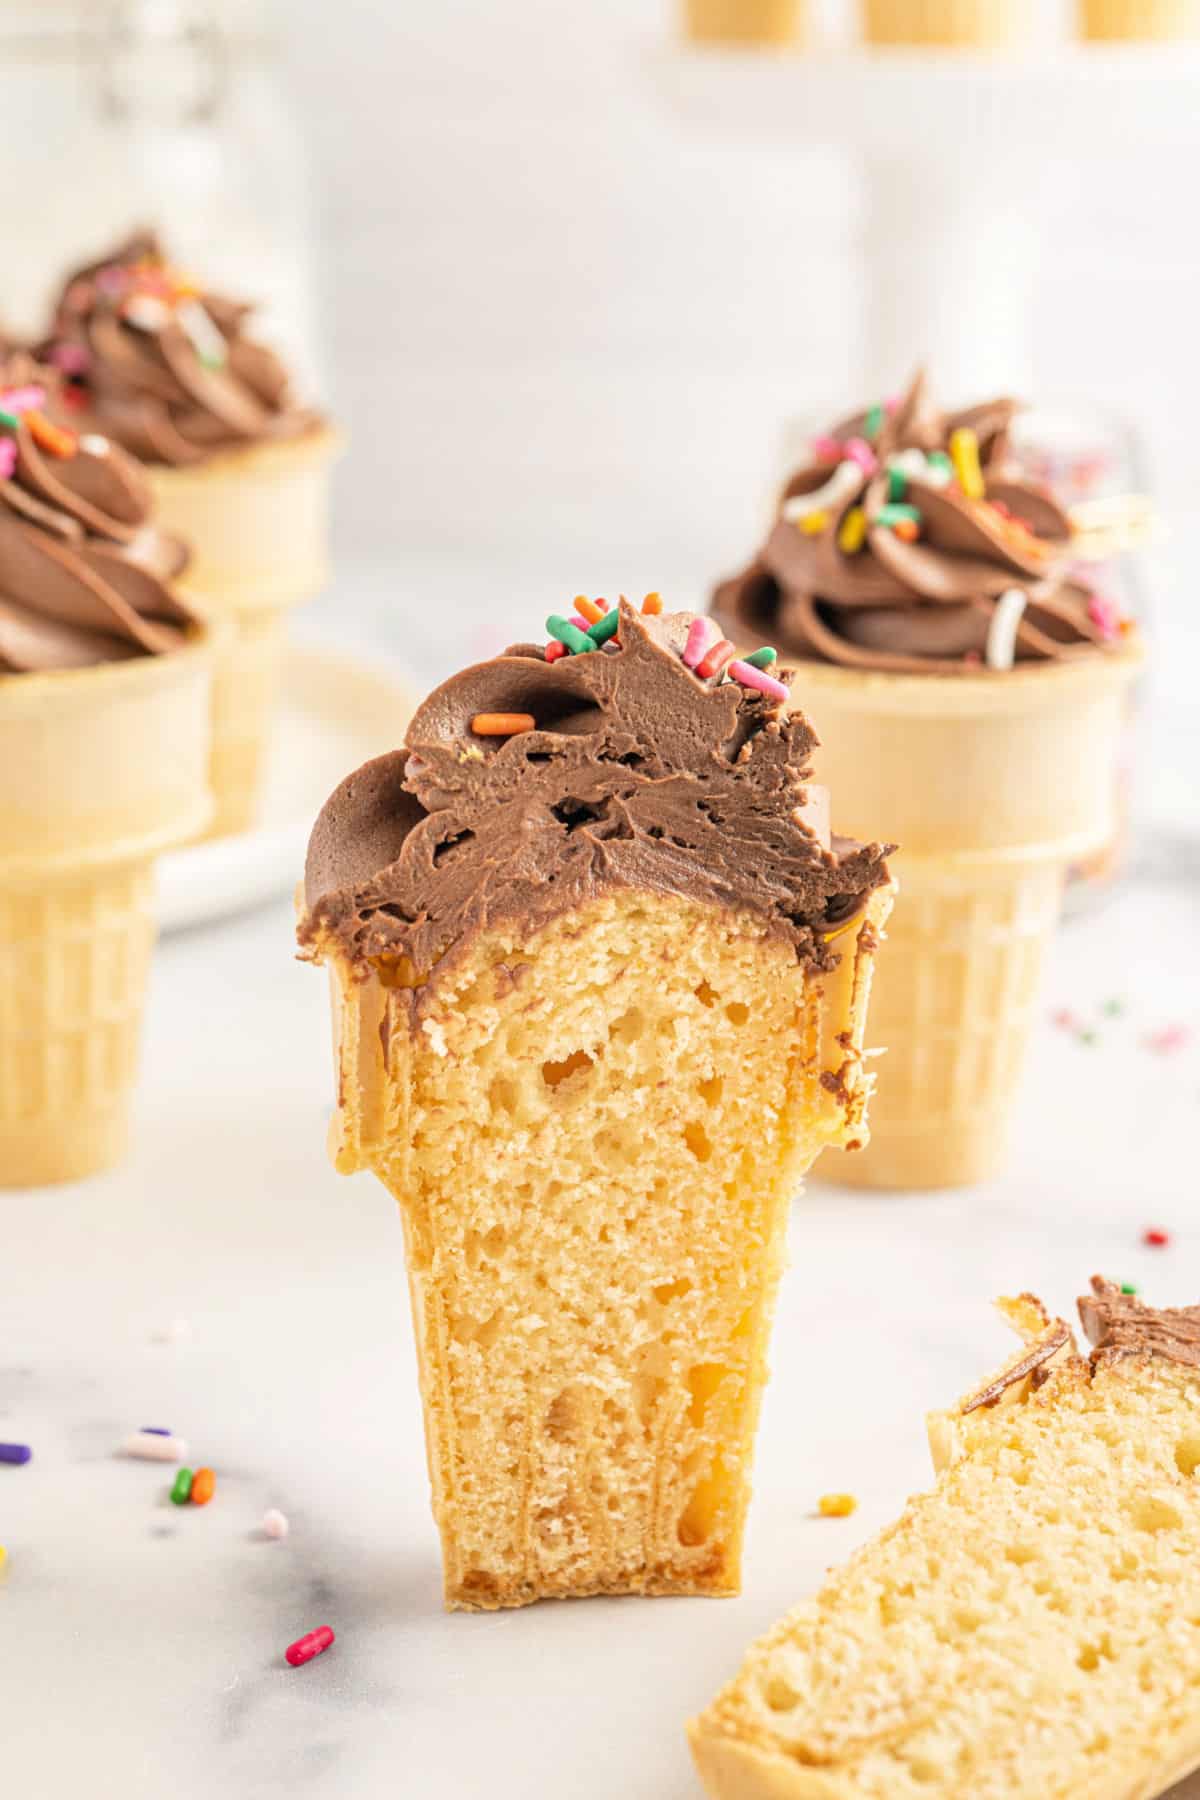
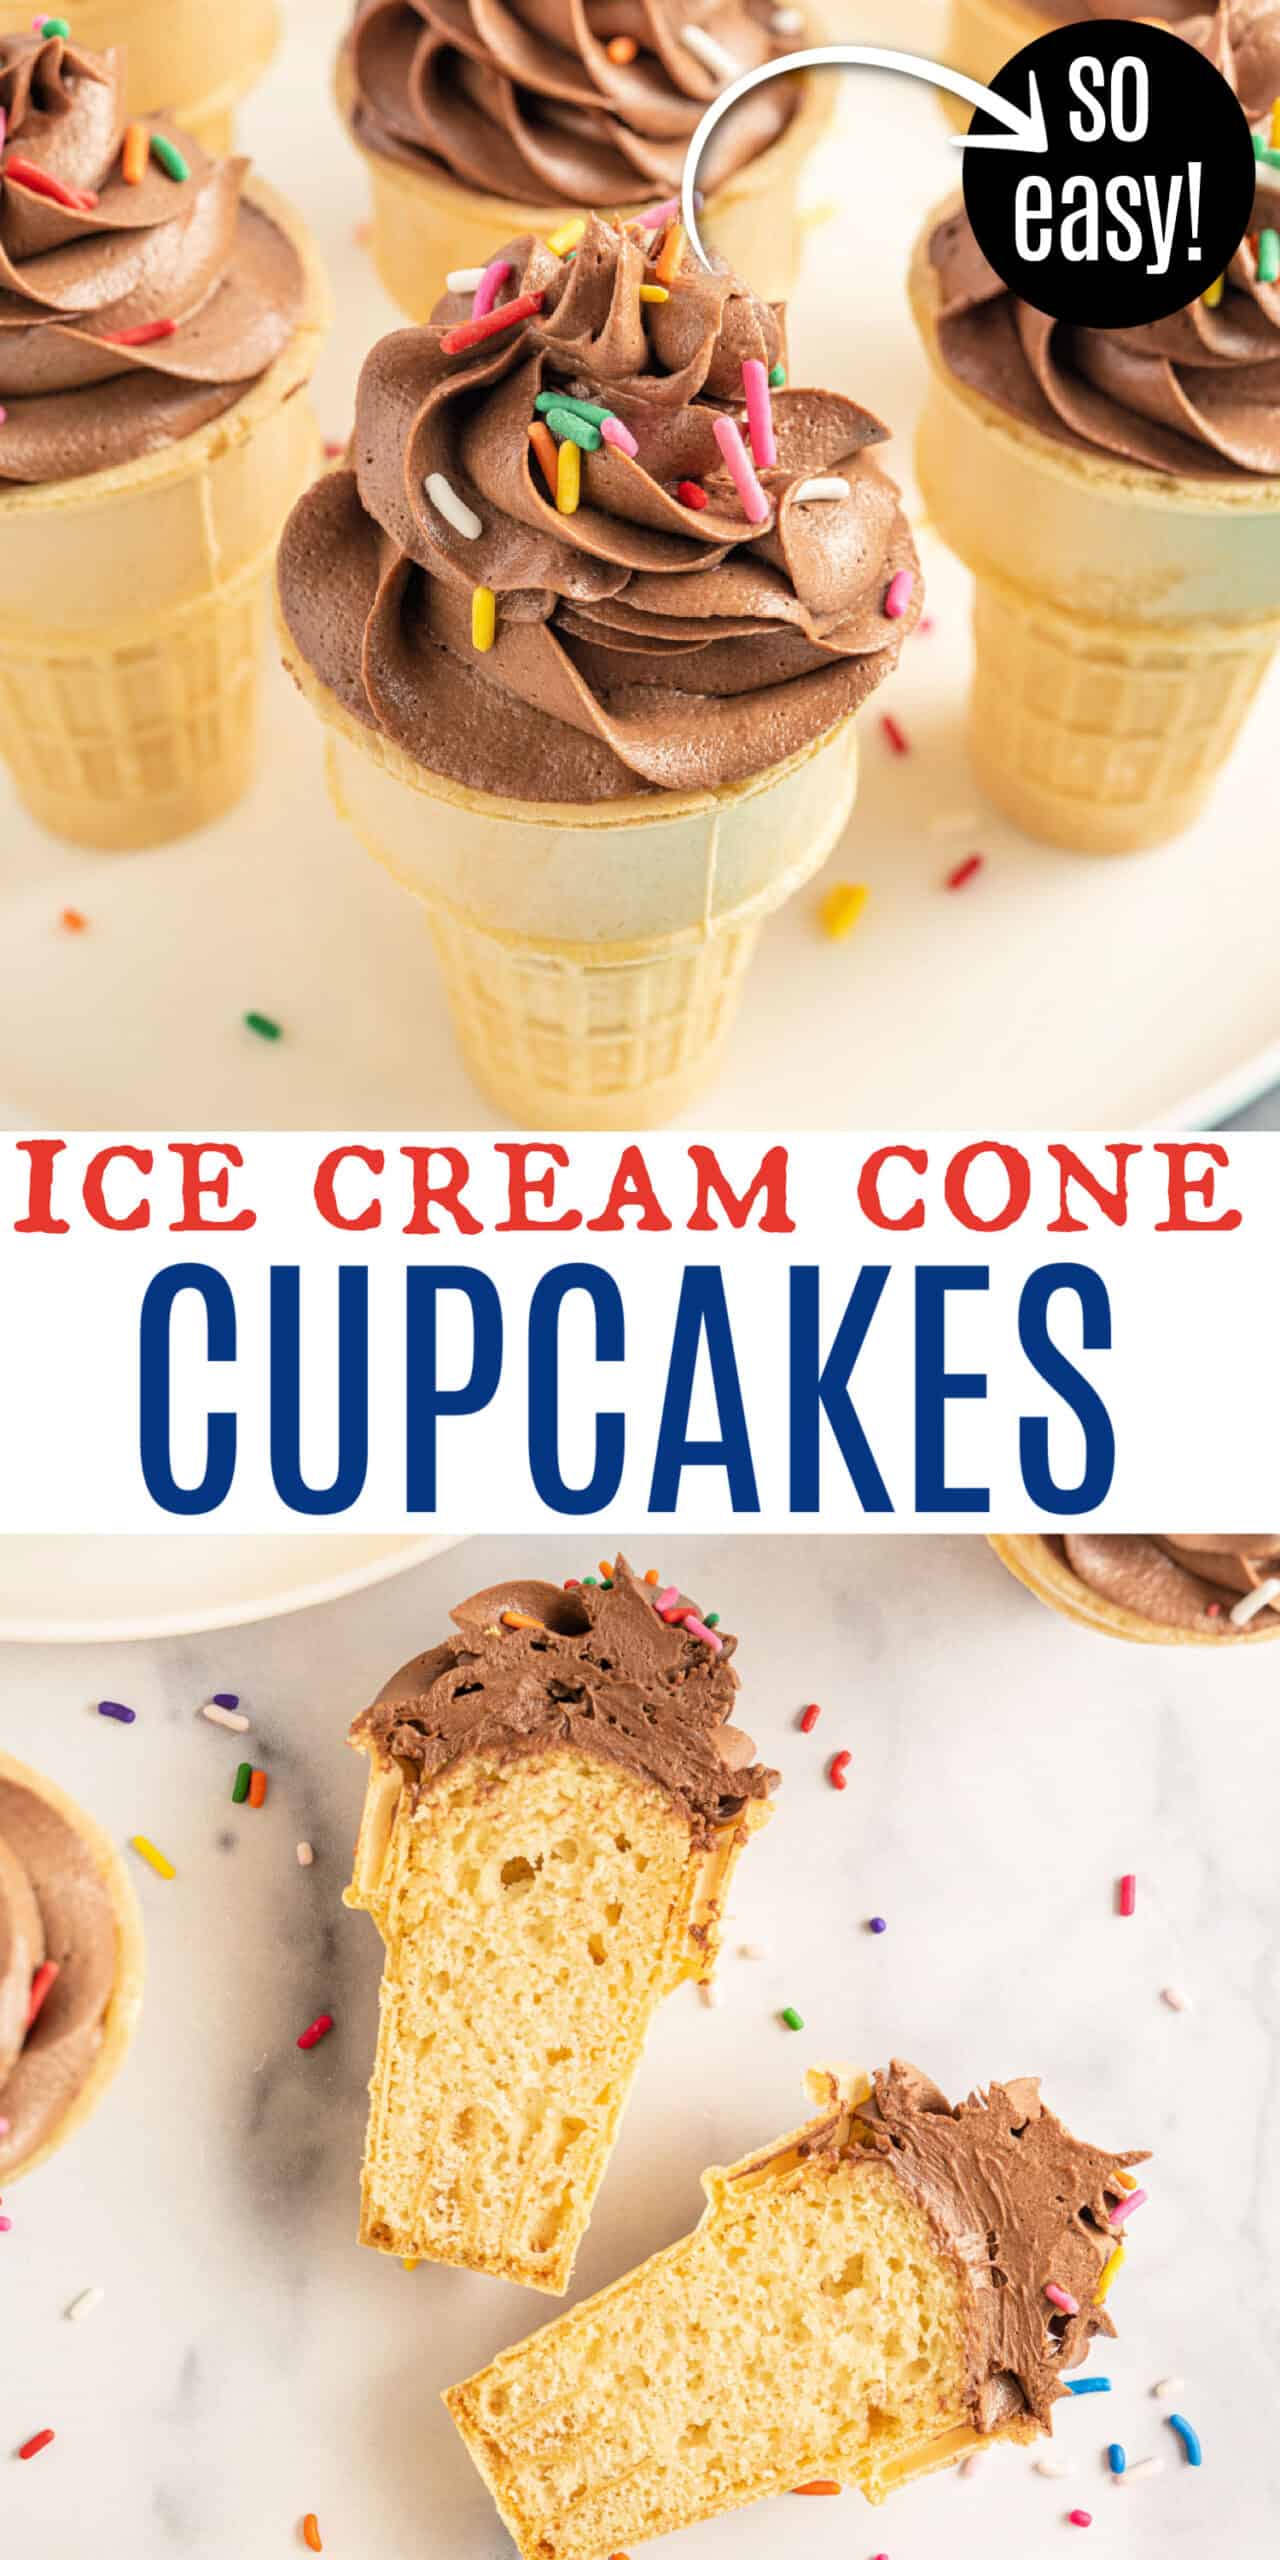
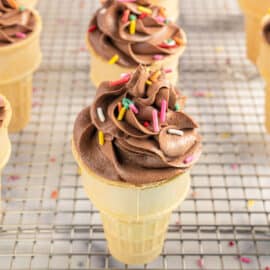
A crisp cone shell filled with a fluffy vanilla cupcake topped with plenty of rich chocolate frosting. Everyone will be reaching for one of these!
- These cupcakes bake up super moist.
- They have a soft crumb that can hold a huge swirl of frosting.
- The cupcakes are covered in the creamiest chocolate frosting!
- The recipe makes 22 cupcake cones, so these are perfect for serving a crowd!
Imagine the excitement you’ll see in people’s eyes when you show up with a batch of these fun cupcakes! Use our chocolate vanilla twist frosting for an even more fun topping!
Don’t leave your pup out of the celebrating! Make a batch of dog ice cream treats so they can cool off too.
What You’ll Need
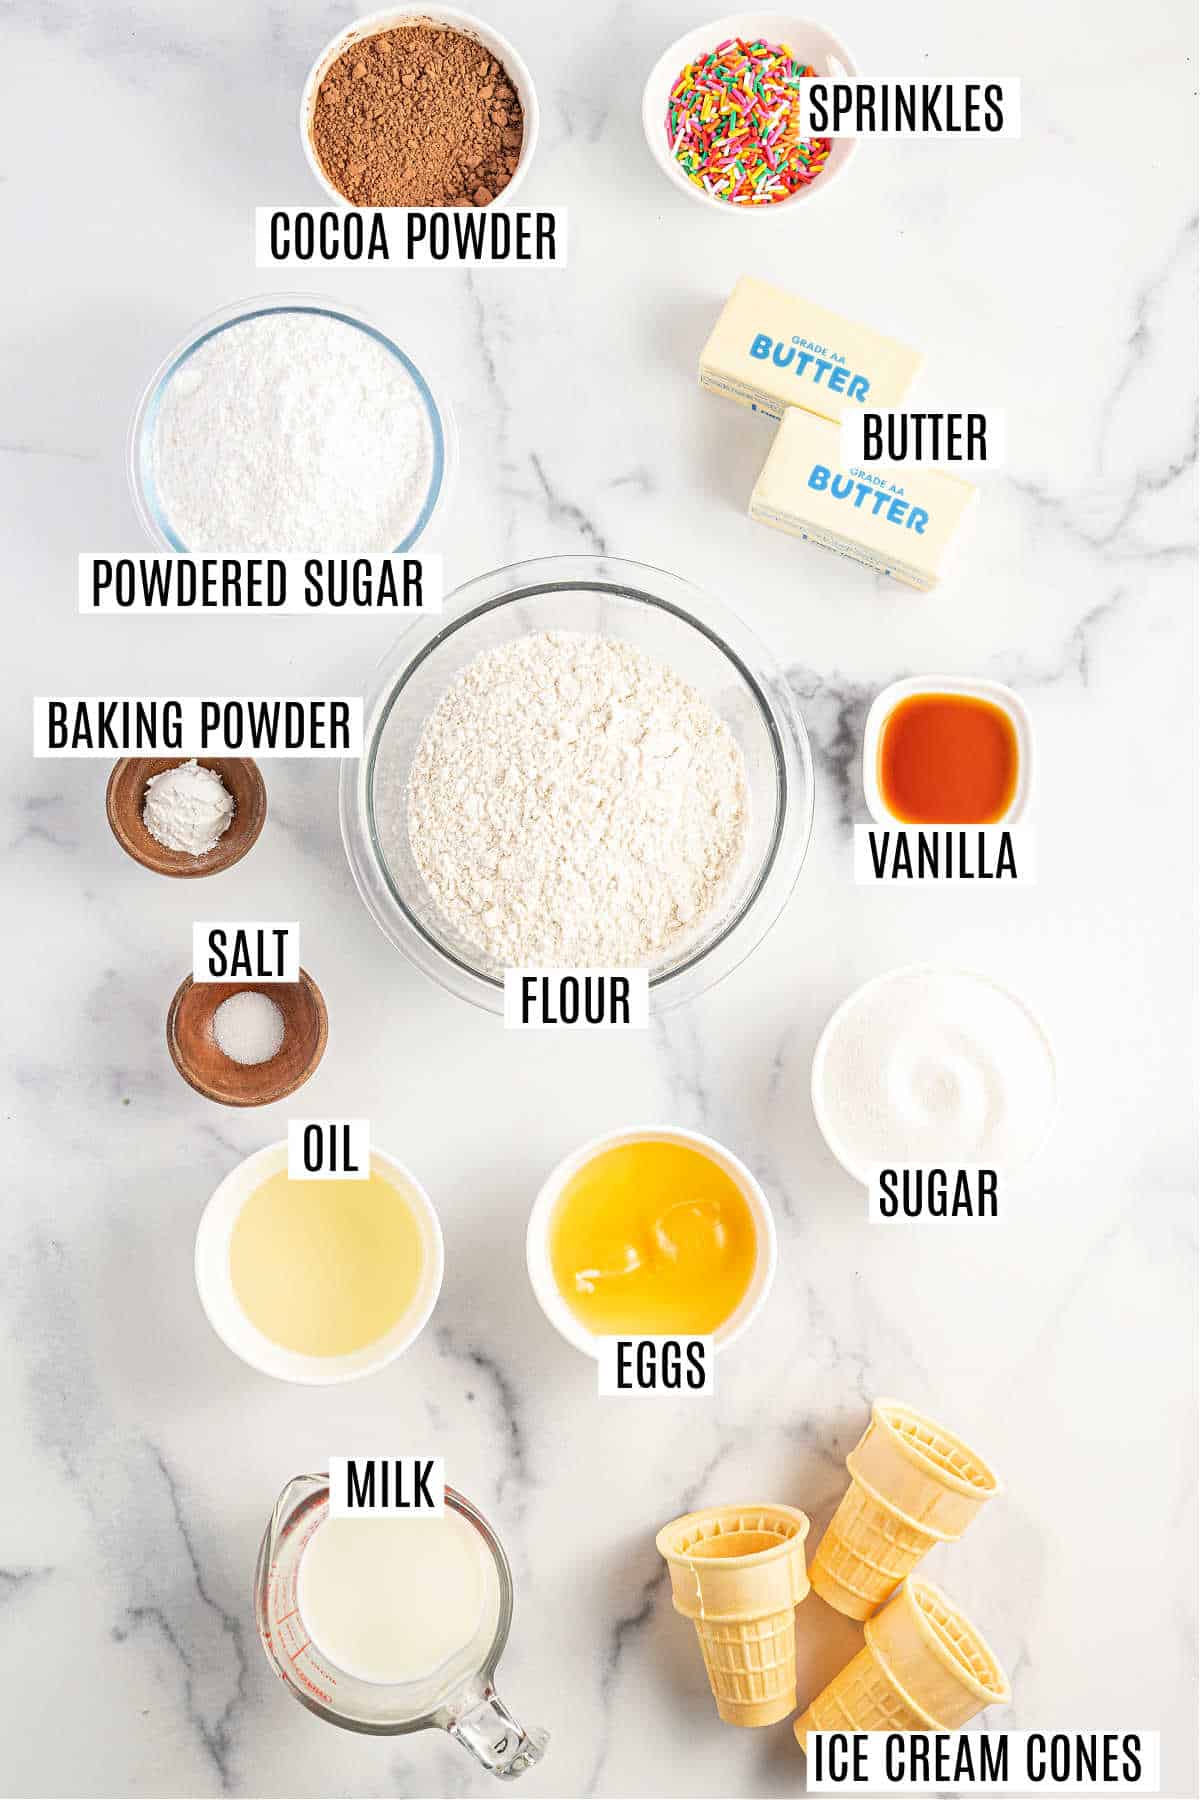
- Ice Cream Cones – You want to buy the cake style ice cream cones. And be sure to get the ones with the flat bottoms so they stand up nicely for baking.
- All Purpose Flour – This is needed to give structure to the cupcakes. Be sure you know how to measure flour properly!
- Vegetable Oil – Using oil in cupcakes helps them stay super moist for days and gives them a dense, but not tough, texture.
- Vanilla Extract – Use pure vanilla extract, not imitation, for best flavor. Or make your own vanilla extract to really take your baked goods to the next level!
- Milk – Use whole milk or replace with buttermilk for a little more tang in your cupcake! Try my buttermilk substitute if you don’t have any on hand.
PRO TIP: Swap out the homemade cupcake for a boxed cake mix. Delicious easy results.
Easy Instructions
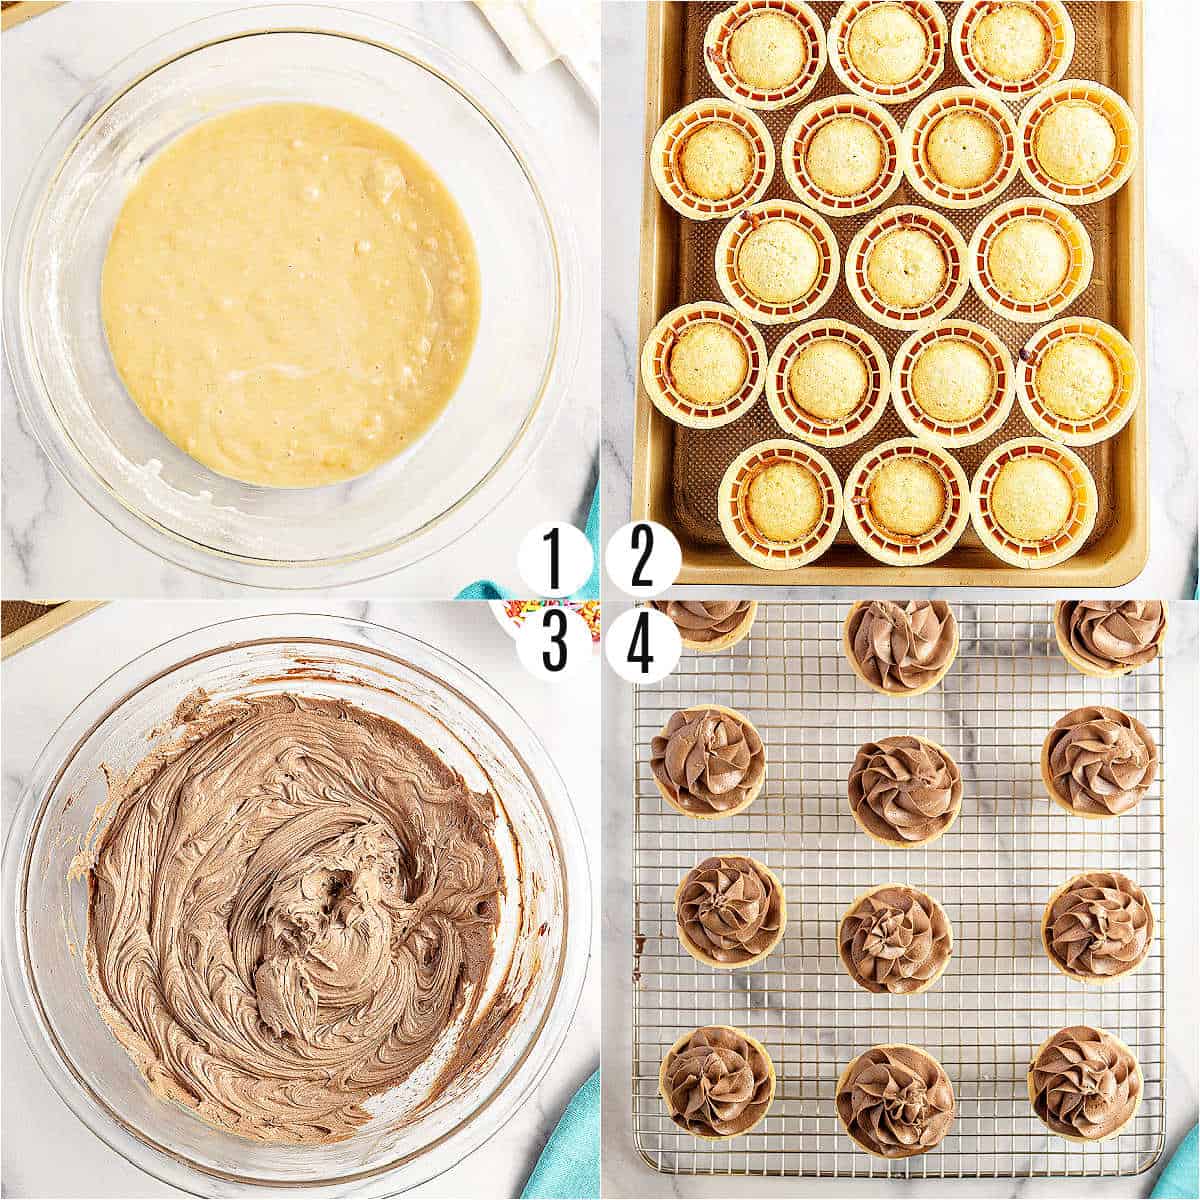
STEP 1. Make cupcake batter. Combine flour, baking powder and salt in a medium bowl. In a separate bowl, whisk oil and sugar until fluffy. Add in eggs and vanilla extract. Fold in the dry ingredients then add milk and beat until thick and smooth.
STEP 2. Bake the cones. Place the ice cream cones in a 9×13 baking pan. Spoon about 1 1/2 to 2 Tablespoons batter into each cone, until halfway full. Bake the cones at 350 degrees Fahrenheit for 25-28 minutes, until a toothpick inserted into the center comes out clean. Cool completely.
STEP 3. Make the frosting. Beat the butter until pale in color, about 2-3 minutes. Add in cocoa powder, salt and powdered sugar then beat in the milk until desired consistency.
STEP 4. Garnish. Add the frosting to a piping bag then pipe onto cooled cupcakes. Top with sprinkles, if desired, and enjoy!
Tips and Tricks
- Feel free to swap out the homemade cake batter for your favorite cake mix to make this recipe even easier and quicker.
- Room temperature eggs for the cake batter and butter for the frosting help achieve the perfect texture, so be sure to let them sit out for a bit.
- The ice cream cones should stand up on their own when you pack them into the 13×9 baking pan. You can also place a sheet of foil over the pan and cut holes to keep the cupcakes standing up.
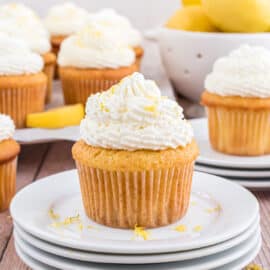
- You can change up the frosting and make a vanilla frosting or try these with a lemon whipped cream frosting. Our marshmallow frosting is a delicious topping as well.
- Chocolate cupcake flavor would be equally delicious. Or serve a combination of both!
- Birthday toppings: For birthday parties, garnish the ice cream cone cupcakes with sprinkles and stick a candle in the center.
Recipe FAQs
Spoon the frosting into a piping bag with a tip and use it to frost the cupcakes. Or you can fill a ziploc bag with the frosting, snip off one corner of the bag and use it to pipe frosting. You can also use a flat spatula to frost the cupcakes if desired, but the swirls of frosting make the cupcakes look so pretty!
Store the cupcakes in an airtight container at room temperature for up to 5 days.
Yes, you can make the cupcakes in the cones and let cool. Store until ready to serve, the make the frosting and pipe it onto the cupcakes.
More Cupcake Recipes
See all Cupcake recipesPin this now to find it later
Pin It
Ice Cream Cone Cupcakes
Ingredients
For the Cupcakes
- 22 cake ice cream cones the kind with the flat bottoms
- 2 cups all-purpose flour
- 2 teaspoons baking powder
- ¼ teaspoon kosher salt
- ¼ cup vegetable oil
- 1 cup granulated sugar
- 2 large eggs room temperature
- 2 teaspoons vanilla extract
- ½ cup whole milk
For the Frosting
- 1 cup unsalted butter softened
- 3 ½ cups powdered sugar
- ½ cup unsweetened cocoa powder
- ¼ teaspoon kosher salt
- ¼ cup whole milk
- sprinkles optional
Instructions
- Preheat oven to 350 degrees. Place cake ice cream cones upright in 13×9 baking pan (some people use a muffin pan, find what works for you). Set aside.
- In a medium bowl, combine flour, baking powder, and salt. Set aside.
- In a mixing bowl, whisk oil and sugar until fluffy. Add in eggs and vanilla extract.
- Fold in dry ingredients. Add milk and beat for about 1 minute, until thick and smooth.
- Spoon batter (or use a small cookie scoop) into the cones, until halfway full (about 1 1/2-2 Tablespoons of batter). Bake cupcakes for 25-28 minutes, until a toothpick inserted into the center comes out clean.
- Cool cupcake cones completely before adding frosting.
- For the frosting, beat butter until pale in color, about 2-3 minutes. Add in cocoa powder, salt, and powdered sugar. Beat in milk until desired consistency.
- Transfer chocolate frosting to a piping bag or ziploc bag with a large star tip. Pipe frosting onto cooled cupcakes, add sprinkles if desired.
Notes
- To save time, you can swap out the homemade cake batter for your favorite cake mix.
- Store cupcakes in airtight container at room temperature for up to 5 days.
- The ice cream cones should stand up on their own when you pack them into the 13×9 baking pan. You can also place a sheet of foil over the pan and cut holes to keep the cupcakes standing up.

I can’t wait to try several of your recipes. They are so well written, explained & detailed and the notes at the end are so helpful. Best and easiest website to follow. So glad I stumbled on you. I wasn’t going to sign up but after reading your recipes I just had to. Thank you so much for the hints, pictures, step by step, everything.
Thank you so much 🙂
These look so amazing! I remember having them at parties when I was a child. Sadly I’ve never made them for my family yet. Will definitely be making them soon before they move away for University this fall.
Thanks for posting this.