I’ve created THE ULTIMATE Rice Krispie Treat Flavor Guide. Everything you need to know about How to Make Rice Krispie Treats with all the fun flavors and styles!
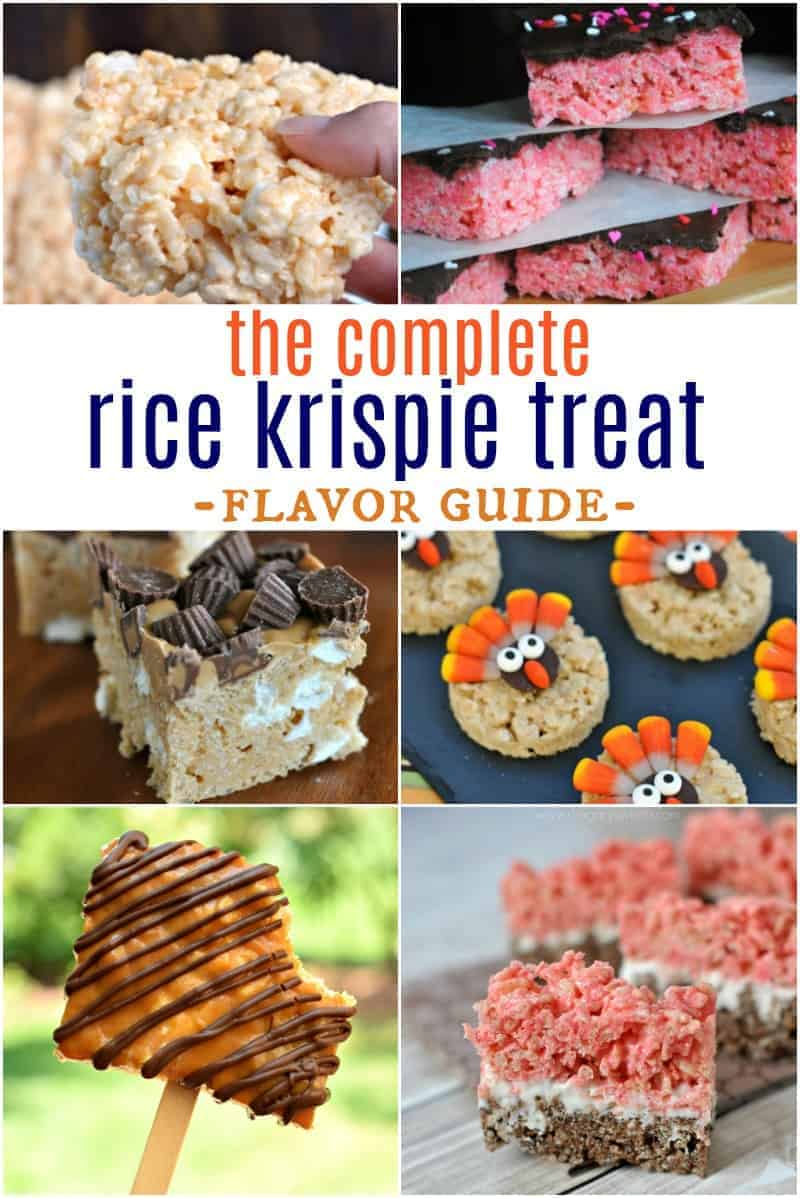
All the Rice Krispie Treats
You guys know how much I love candy, cake and brownies. But the real way to my heart is through an ooey-gooey rice krispie treat.
Once or twice (or maybe more) I’ve been known to eat an entire pan of rice krispie treats before my kids got home from school. I don’t really recommend doing this –I’ve made myself sick from doing it, but I just have no willpower when it comes to rice krispie treats!
I have made dozens of types and flavors of rice krispie treats over the years, so I decided to compile what I think of as the Ultimate Rice Krispie Treat Guide for you.
Let’s talk about how to make rice krispie treats and how to change the flavors for the seasons!
Tips and Tricks
Seems pretty straightforward, right? After all, they’re probably one of the first things most kids learn to make with their parents.
But I have 6 tips for making and enjoying the PERFECT Rice Krispie Treats. They’re small tweaks that make a big difference between hard, brick-like bars and soft, ooey gooey rice krispie treat perfection.
- TIP 1: Line the baking dish with parchment paper. This way you don’t have to worry about extra butter on your fingertips, or the other extreme of your bars sticking to the pan!
If you make sure there is extra parchment paper coming up the sides, you can even use it like a sling to lift them out of the pan.
- TIP 2: Use fresh marshmallows. Seriously, they make a difference. Don’t grab that bag that’s been in your pantry for months and months thinking it will be okay since you are melting them. It won’t be okay.
- TIP 3: Add my secret ingredient: VANILLA EXTRACT. Not imitation vanilla, but PURE VANILLA extract. It makes a difference in creating the illusion that you’re using homemade marshmallows.
- TIP 4: Toss in some extra whole mini marshmallows with your cereal. This adds a whole dimension of chewiness!
- TIP 5: DO NOT (I repeat) DO NOT press these bars into your pan firmly. Using your fingertips, GENTLY press them in just until they are spread out. The harder you pack them in, the harder they are when it’s time to eat them!
Remember, we’re going for soft and chewy treats, not rice krispie bricks!
If the treats are sticking to your fingers when you’re trying to press them in the pan, run your hands under cold water. Shake off the excess water, and while your hands are wet, press them gently. Works like a charm!
- TIP 6: Store in an airtight container for two days. It’s the perfect amount of time for them to stay soft and chewy. But if they last that long, I’d be shocked!
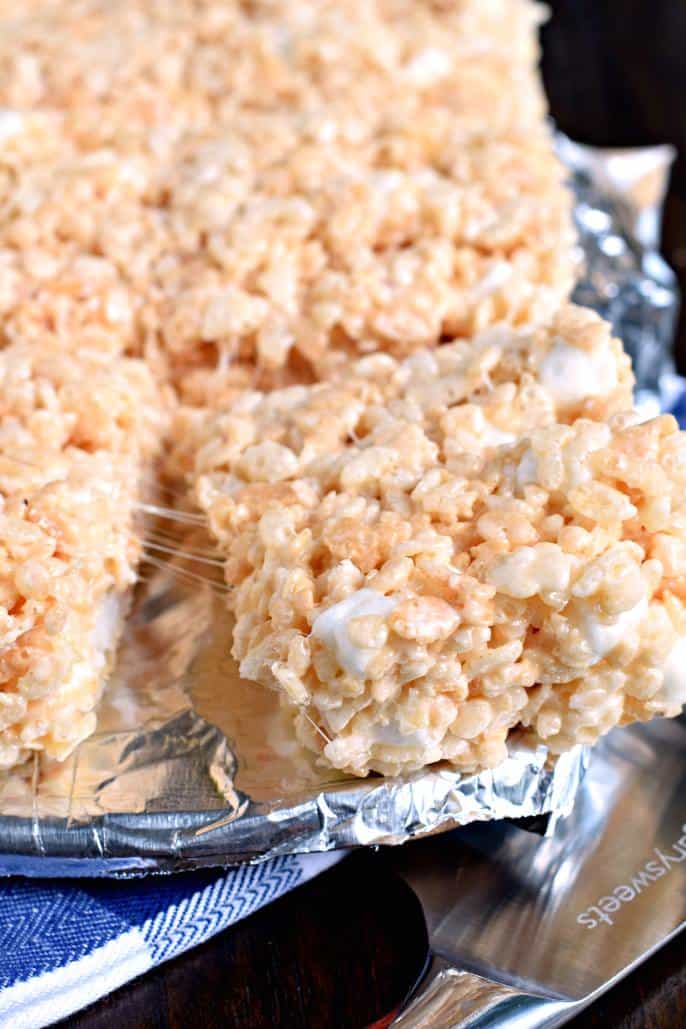
Scroll down to get my Perfect Rice Krispie Treats recipe! Now let’s talk customization…
Customization and Flavor Fun
As much as I enjoy a classic rice krispie treat, I think it’s really fun to change up the flavors for different seasons and celebrations.
I have 5 easy and fun ways to customize your rice krispie treats.
By using one or more of these tricks, you can make almost any flavor you like!
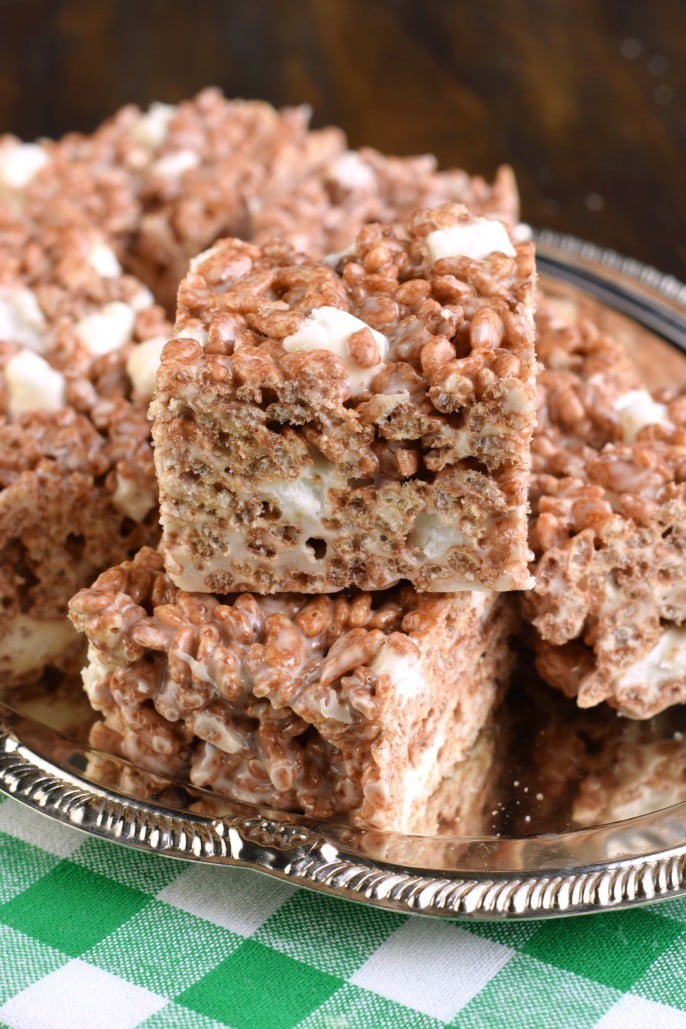
Use different cereal
I know, they’re called rice krispie treats for a reason. But you can replace some or all of the rice krispies for a totally different texture and flavor!
Try using Cheerios, Corn Flakes, Golden Grahams, Fruit Loops or even Chex, just to name a few.
You can even make Cocoa Krispie Treats to have a chocolate flavored twist!
Make a fun batch of Lucky Charms Treats for St.Patricks Day!
Flavored marshmallows
Did you know that they make all sorts of flavored marshmallows?
That’s right, you don’t have to just use vanilla marshmallows! Flavors ranging from strawberry and peppermint to pumpkin spice and gingerbread can make fun additions to your rice krispie treats.
Use them in place of the melted marshmallows or in place of the whole marshmallows mixed in with the cereal.
Add instant pudding mix or JELL-O
I really love using instant pudding or gelatin to add flavor and color to all sorts of recipes. You can do the same for rice krispie treats!
Just mix in the powdered pudding mix or gelatin with your melted marshmallow mixture before folding in the cereal. Voila! Flavored rice krispie treats with very little effort.
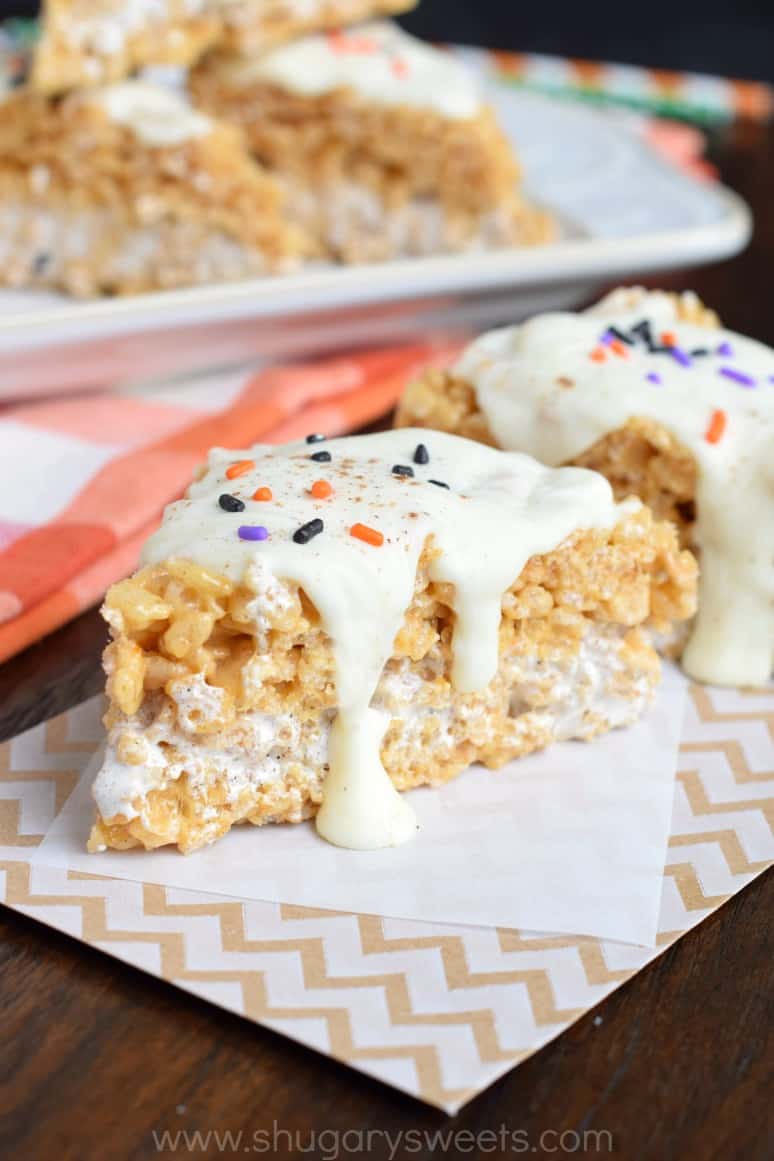
I love using banana cream pudding mix for Banana Rice Krispie Treats, pistachio pudding mix for Pistachio Rice Krispie Treats with Dark Chocolate, cherry gelatin for Cherry Rice Krispie Treats with Dark Chocolate, or pumpkin spice pudding mix for Pumpkin Spice Rice Krispie Treats.
Stir in some fun mix-ins
There are all kinds of things you can stir into rice krispie treats to add fun flavor and texture.
Anything from candy and spices to nut butter or biscoff spread is fair game!
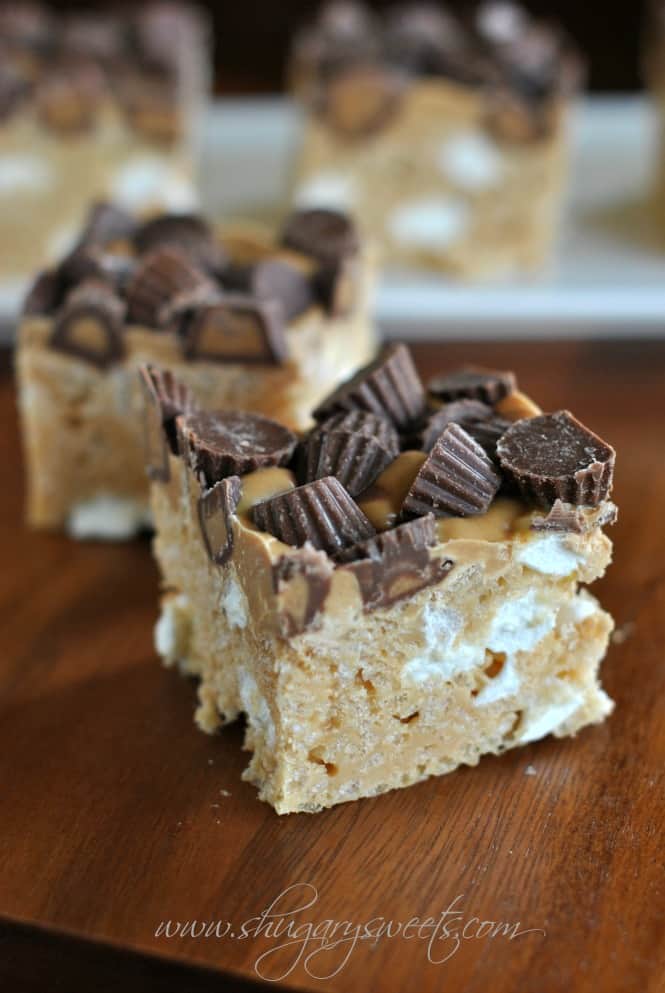
I like to add creamy biscoff spread to make Biscoff Rice Krispie Treats, mini peanut butter cups to make Fluffernutter Rice Krispie Treats, peanut butter and mini chocolate chips for Avalanche Krispie Bars, and espresso powder, pure pumpkin and pumpkin pie spice for Pumpkin Spice Latte Rice Krispie Treats.
Get creative with decorations
The best part of rice krispie treats is that you can decorate them for any season or celebration!
Try cutting them into fun shapes with cookie cutters (spray the cutter with no-stick spray first) or decorating the tops with chocolate, candy melts, or even frosting. And don’t forget sprinkles!
I love using candy melts, mini marshmallows and candy eyeballs to make my Mint Chocolate Chip Rice Krispie Treats look like Frankenstein’s monster for Halloween. Or some spooky Spiders as a fun easy Halloween treats. You can even make these cute Mummy Rice Krispie Treats!
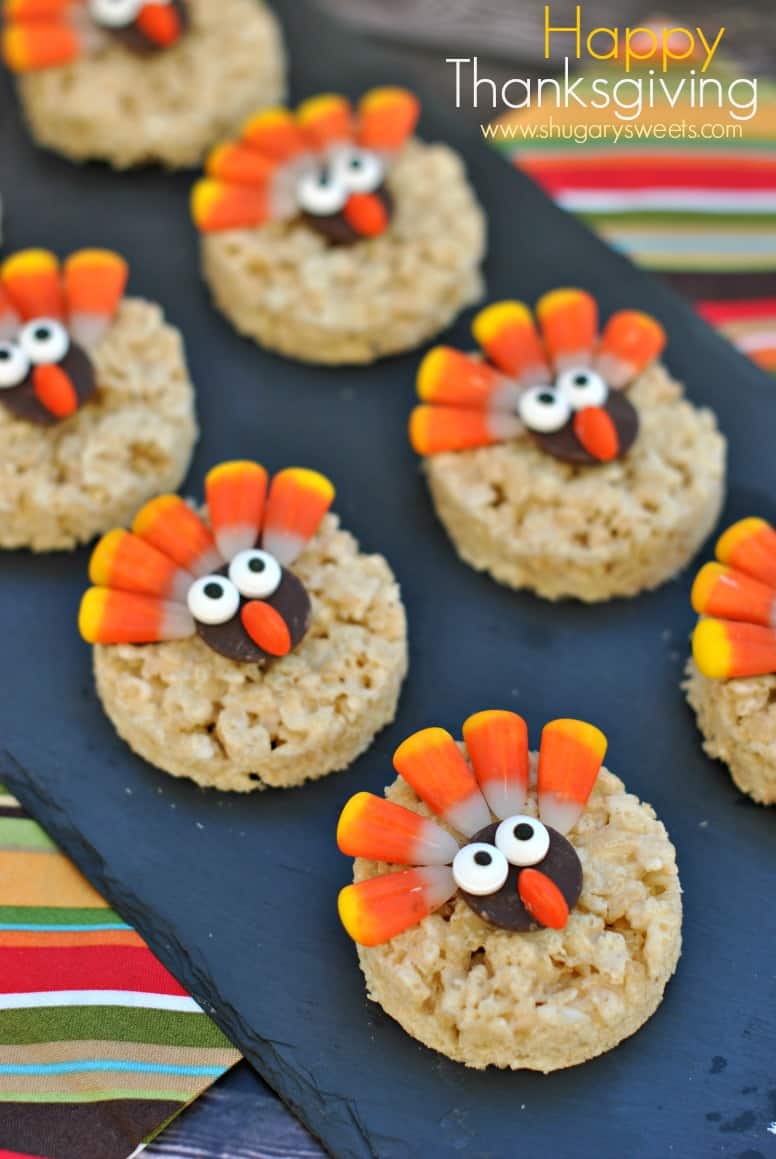
Cut treats into circles and decorate with chocolate wafers, candy corn and candy eyes to make Turkey Rice Krispie Treats. Don’t forget to try our pumpkin pie rice krispie treats next!
Slice treats into triangles and decorate with melted white chocolate and rainbow chips to make Christmas trees or melted milk chocolate, pretzel pieces, red hots and candy eyes to make reindeer like I did with my Holiday Scotcheroos.
For Easter you can make these adorable Easter Rice Krispie Treat nests. Pipe in some chocolate buttercream and chocolate eggs for a fun holiday treat.
Whether you love the traditional rice krispie treat or have a craving for something a little different, there are so many ways to make this classic treat perfect for you and your family.
What flavor will you make first??
PS. Don’t forget to make a batch of scotcheroos next!
More How To Guides:
- Impress your friends by learning How to Make Macarons, perfectly soft every time!
- Want to learn How to Make Vanilla Extract? You will never go back to store bought again!
- Learn How to Make Hot Cocoa Bombs at home! Add some from scratch Homemade Marshmallows on top!
- Use this recipe to easily learn How to Cut Watermelon in 3 different ways!
Pin this now to find it later
Pin It
Rice Krispie Treats Recipe
Ingredients
- 6 Tablespoons salted butter
- 16 ounce bag mini marshmallows divided
- 1 teaspoon pure vanilla extract
- 6 cups rice krispies cereal
Instructions
- Line a 9-inch square baking dish with parchment paper. Set aside.
- In a large saucepan, melt butter over medium heat. Once melted, add in all but 1 cup of the marshmallows. Reduce heat to low and continue stirring until completely melted.
- Remove from heat and stir in the vanilla. Add the cereal and the remaining 1 cup of marshmallows and gently stir until combined.
- Pour into the prepared baking dish. Press GENTLY with your fingertips just until completely spread out (the harder you pack them in, the harder they are to eat).
- Allow to set, about 1 hour. Cut and enjoy!
Notes
- How many marshmallows do I need? One 16 ounce bag of marshmallows is about 8-9 cups. You’ll melt all but one cup of the marshmallows in the butter, reserving the last cup for adding with the cereal.
- Line a 9-inch square baking dish with parchment paper. This way you don’t have to worry about extra butter on your fingertips, or the other extreme of your bars sticking to the pan! Use binder clips to help the parchment paper stay in place.
- Use fresh marshmallows. Seriously, they make a difference. Don’t grab that bag that’s been in your pantry for months and months thinking it will be okay since you are melting them. It won’t be okay.
- Add my secret ingredient. VANILLA EXTRACT. Not imitation vanilla, but PURE VANILLA extract. It makes a difference in creating the illusion that you’re using homemade marshmallows.
- DO NOT (I repeat) DO NOT press these bars into your pan firmly. Using your fingertips, GENTLY press them in just until they are spread out. The harder you pack them in, the harder they are when it’s time to eat them!
- The trick to pressing them in your pan without sticking to your hands is to run your fingers in water, shake off the excess, and press. Voila. No sticking!
- Store in an airtight container for two days. If they last that long, I’d be shocked!
- Make these gluten free by choosing a crispy rice cereal labeled Gluten Free (and check your marshmallow labels too just in case).
- Can you freeze rice krispie treats? YES! I slide them on a parchment paper lined sheet into a ziploc freezer bag. Thaw on counter until soft again!


Hi! These are just amazing and they didn’t make it throughthe day!
I have a Rice Krispie hint thst i hope you might find useful. I press them into the pan with a spatula that was sprayed with vegetable spray. It helps the cleanup go quickly.
I think I have to may need to make more of these Heavenly bites tomorrow!
Thank you for sharing your recipes!
I
Thanks so much Aimee! These were awesome. I also had a happy accident and walked away for a second and returned to browned butter. Oh my gosh! Extra caramely deliciousness. Good work on this recipe!
Wow are these awesome!
I hadn’t made these treats since the 1990’s. I found this recipe posted and it sure seemed that the recipe had been researched and experimented with until the best outcome was achieved. And, YES, these are the BEST! Soft and gooey, airy, yummy. Thank you for sharing your trials and pearls. These were so good that I won’t wait another 30 years to make them again. YUM!
These Rice Crispie treats are really good. The only tip I would give is to maybe put in less butter. I think 4 tbsp is more than enough, otherwise, these are delicious.
Thank you for the recipe! It’s SOOOOOO YUMMMY!!!! I have to admit, I was nibbling while gently pressing the mixture into the pan. I forgot to wet my fingers with water. 🤦🏻♀️ Thanks again!
I am getting ready to make these. How much much more do I need to add to make it fit a 9 x 13 pan? These sound so delicious and I can’t wait to make a big batch!
They are so easy, but so good. They are addictive. The kids are my grandsons birthday fought over them. I made a playstation controller out of them. Covered it in chocolate and used candy for the details. Making them again for the fourth of July.
I made this Rice Krispie Treat recipe today. It is the best recipe I have used. I have always liked extra marshmallows in mine, so it’s perfect for me. The add of vanilla is genius! Thank you.
I did make 1.5 times the recipe and used a 9X13 pan. the squares turned out the right height! Thank you for the great recipe.
I added some almond extract and used chocolate rice krispies.
I buttered a 9″x13″ Pyrex pan (bottom and sides) with some of the leftover butter, then buttered my hands. I had someone else pour the mix in the pan and flattened it with buttered hands, pausing to rebutter my hands when it got sticky. After it cooled, I used an ulu knife to cut them into pieces.
Me nether
I have not taste the final product. But I can say I had a few tastings… and I can’t wait for everyone to try.
Love the wet finger tip trick & not packing tightly! Thank you!!!
Perfect for a spring break / pandemic family activity my daughter and I legitimately just made these …they are still cooling and I already pinched a few chunks…smh I’m definitely squeezing in another work out later 💪🏾
These rice crispy treats really are perfect. Easy to shape, absolutely delicious, best texture, doesn’t stick to your teeth like others. Perfect recipe.
Oh my goodness! These treats were absolutely delicious! The recipe was very easy to follow and I loved the addition of the vanilla. Thank you so much for posting this. Your blog is wonderful and it’s great to get to know you through your posts! Will be sharing this recipe on my social media feeds 🙂
I’ll never make them another way – adding the extra whole marshmallows is a game changer – these turned out perfect
5
so other than me messing up the recipe by trying to make more than I should have and I ended up throwing off the amount of the ingredients needed this was absolutely amazing and so delicious. I couldn’t even get it out of the mixing bowl and in to the pan without eating about half of it first!!! it was absolutely delicious of course I added some extra marshmallows because I like mine super marshmallowy but this was an awesome recipe!!!
Within minutes of my fiance randomly pining for some “rice krispies treats” made with the newest cereal he’s discovered (Post Dunkin Caramel Macchiato 🤤 it’s actually amazing) and also complaining that we have no butter (I found the stick of butter in the freezer, right in front of my face lol and because I’ve been craving hot chocolate during pregnancy we magically have a fresh bag of mini marshmallows on hand 🙌) we have these babies cooling on the kitchen counter… can’t wait to dig in! I love the addition of vanilla extract to the traditional recipe and not melting all the marshmallows… definitely think these will be gone before the morning!!! 🤣🙏💕 thanks for the recipe!!!
Has anyone tried using Fruity Pebbles with the fruity mini marshmallows?? They would be so fun for Easter!