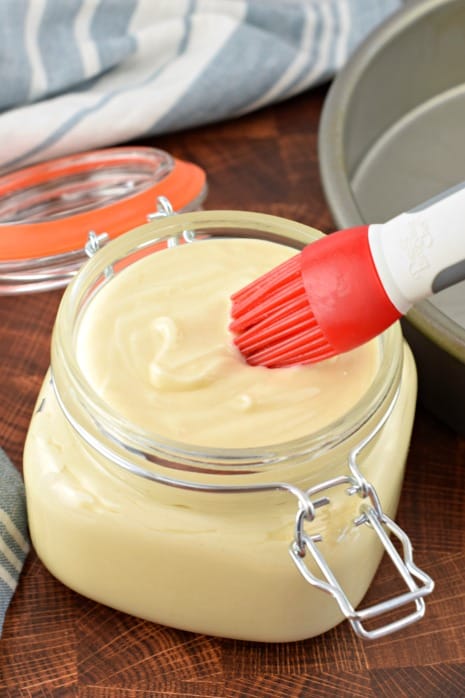
This magical Homemade Cake Release paste is the perfect addition to your kitchen basics. Every baker loves a secret in their kitchen, and this simple recipe is used by professionals everywhere!
Whether you’re baking cakes or making brownies, we love using this homemade cake release in place of baking spray.
Why This Recipe is Best
You’ve made the perfect cake. It’s soft, it’s moist, it’s perfectly browned, it has a nice bounce to it…but it sticks to the sides of the pan and falls apart when you try to take it out.
How do you get cakes to release perfectly from the pan every time?
There are several methods for a good release. However, I have a favorite no-fail homemade cake release recipe that I use for every single recipe that turns out a beautiful cake every single time. Some of the methods you may have used in the past include:
- Non-stick pan – A non-stick pan definitely helps a cake release, but even a high quality non-stick pan won’t perfectly release a cake every single time without fail.
- Baking spray – Ever since Pam was invented baking sprays have been helping cooks and bakers to have good release, and less mess. But if you miss even a tiny spot then your cake will not release properly. And it’s easy to get the spray on parts of your kitchen you didn’t intend to, such as the back of your stove, or on canisters sitting on the counter.
- Butter or oil – Buttering or oiling the sides of pans is a method that has been around ever since modern baking began. It can definitely work, but for some reason it is not fool-proof.
What is Homemade Cake Release
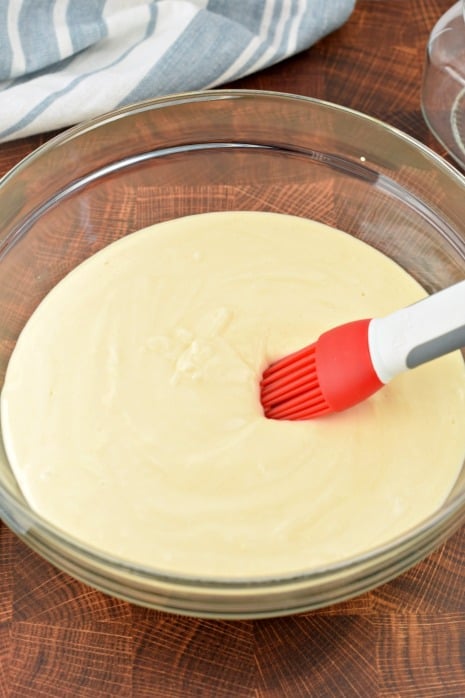
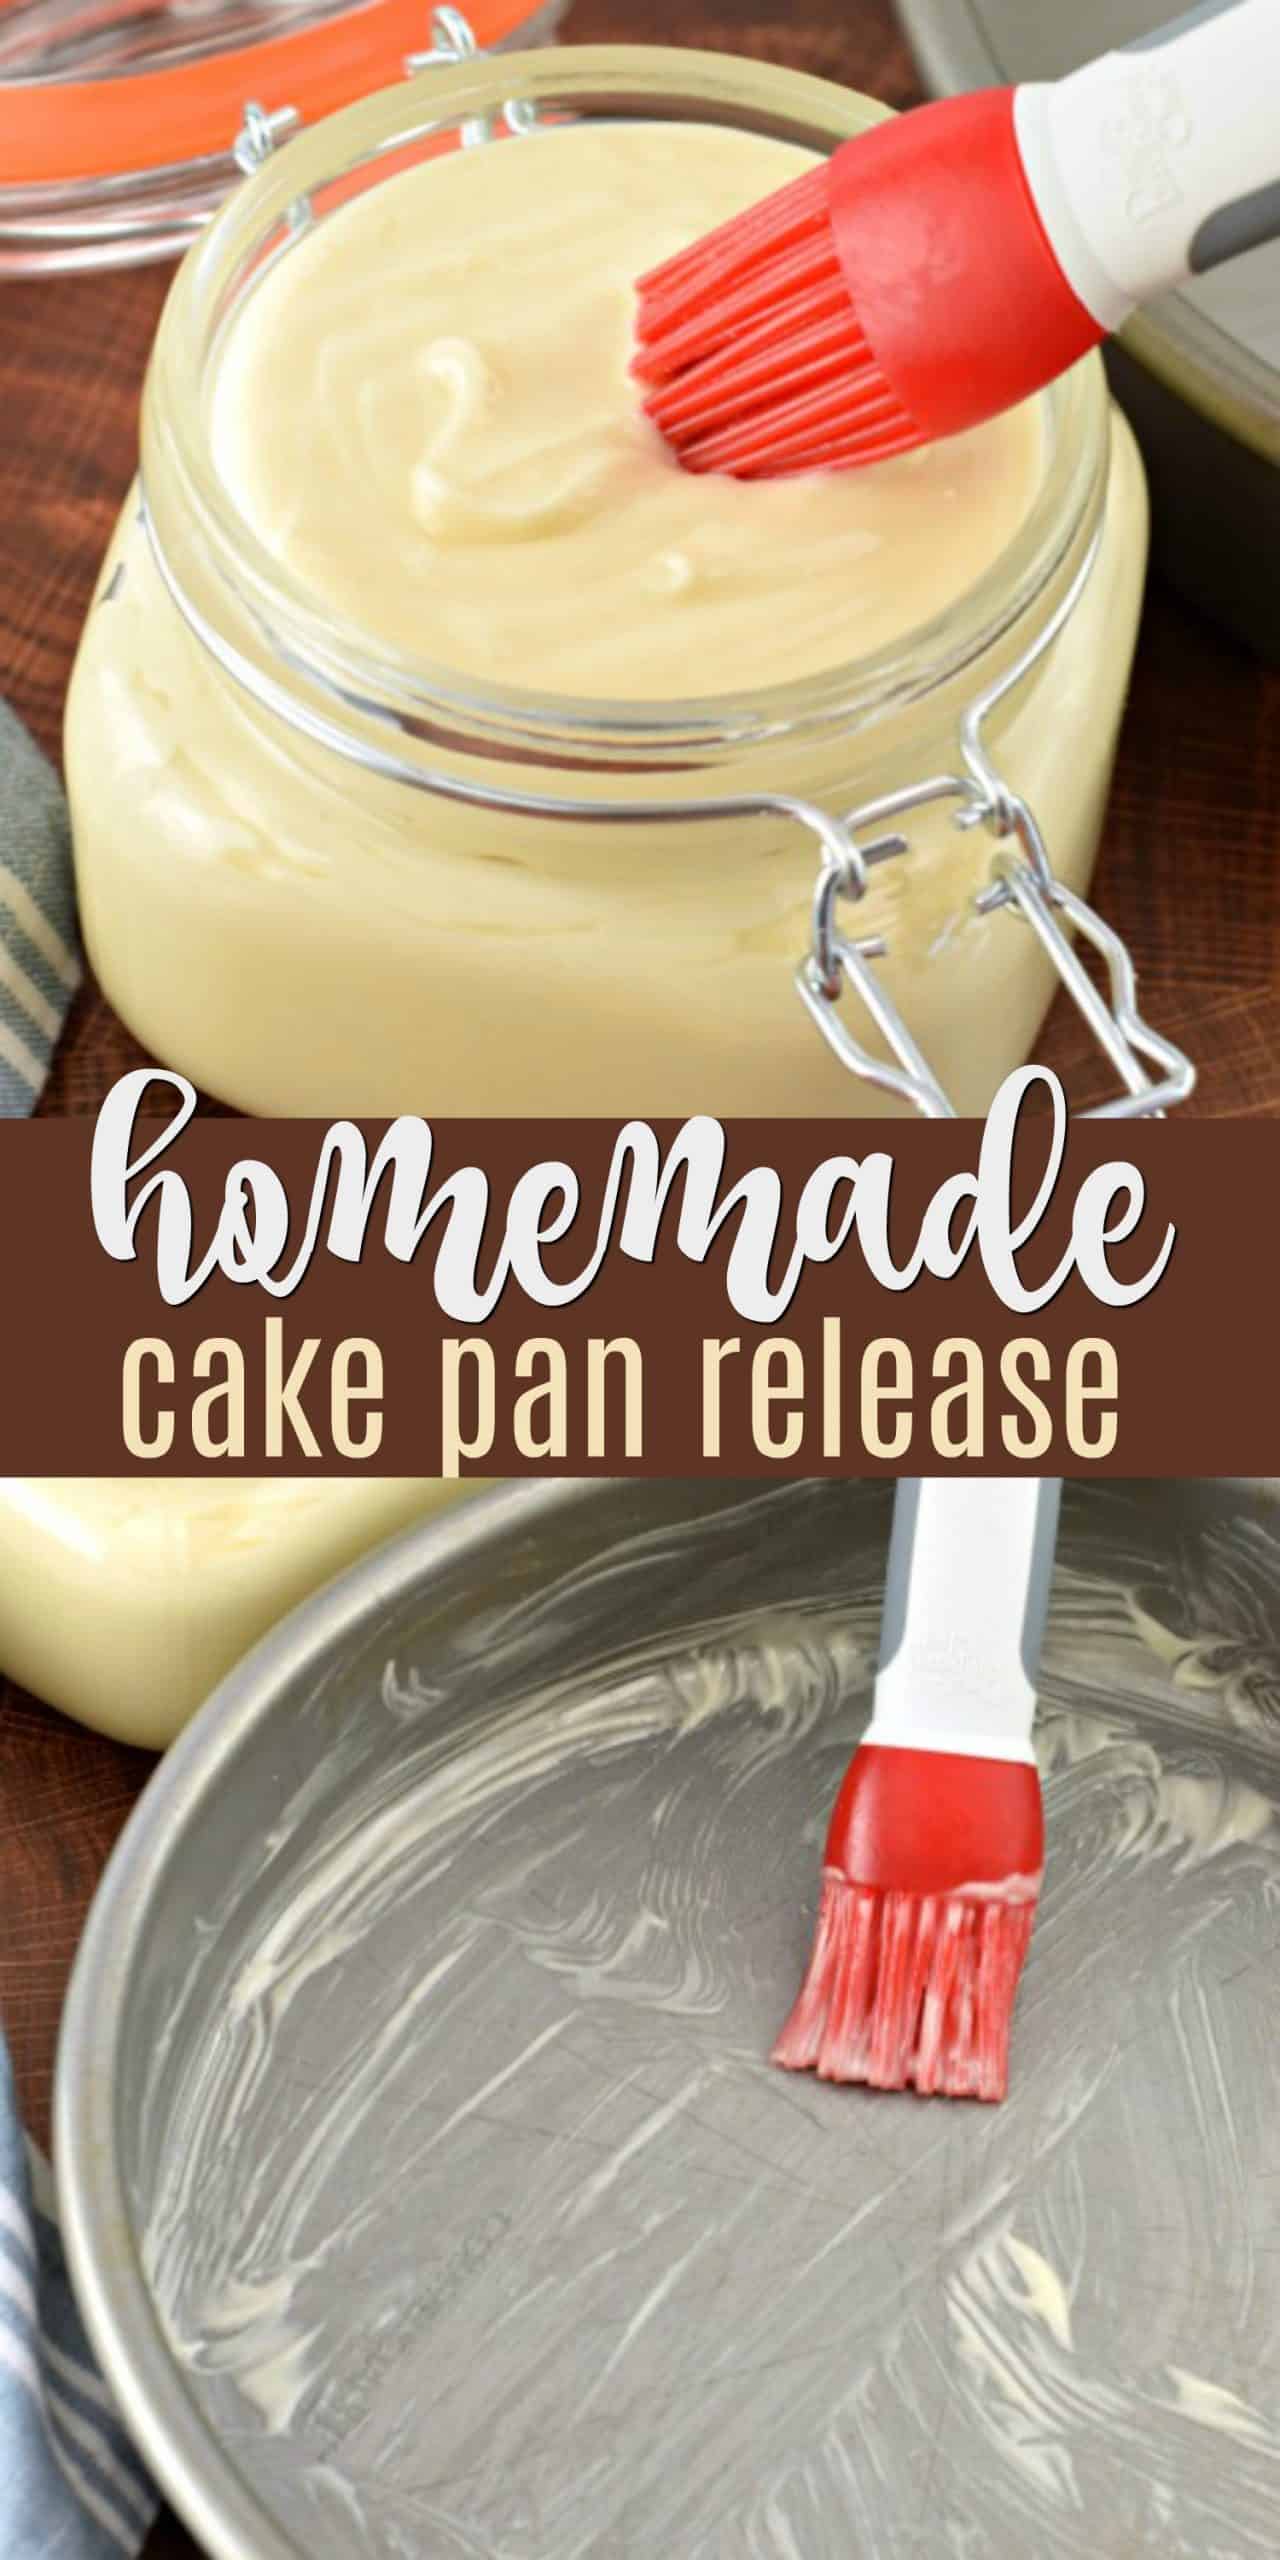
It’s a paste made from equal parts flour, oil, and Crisco (shortening).
Mix up the Homemade Pan Release in a bowl. Make sure to completely incorporate all the ingredients.
- FLOUR. You will use all-purpose flour for this homemade cake release recipe.
- OIL. For the oil I like to use any light flavored oil that you have on hand would work. Vegetable oil is what I usually choose to work with.
- SHORTENING. Although you can buy generic shortening and other brands, I prefer Crisco brand. It is a consistent good quality. I use it in enough baked goods that I tend to always have it on hand.
Crisco comes in pre-measured sticks similar to butter sticks that are easy to use as well as the familiar canisters.
I usually use the Butter flavored Crisco to add a little buttery flavor to the baked goods, and because then I can use the rest of the tub in my homemade chocolate chip cookies!
How to Make Homemade Pan Release
You can mix up the paste by hand, using a whisk, or you can use an electric mixer to get the job done.
An electric mixer will make the Homemade Pan Release a little fluffier because more air will be incorporated in, but either method of mixing will work.
How to Store Cake Release {GOOP}
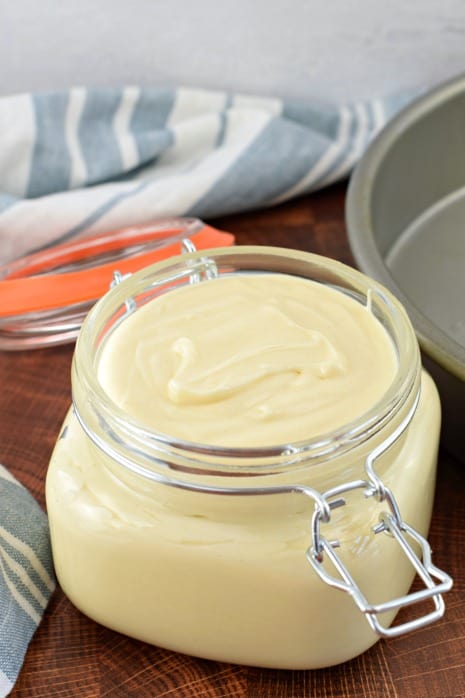
After mixing place your Homemade Pan Release in an airtight container. A mason jar is the perfect container for this, but any airtight container would work.
Keep Homemade Pan Release in the refrigerator. If you leave it on the counter too long and the ingredients begin to separate just mix it back together and place back in the fridge.
How long will Homemade Pan Release keep?
- As long as you keep it in the fridge, Homemade Pan Release will stay good for up to 6 months.
How do I use Homemade Pan Release?
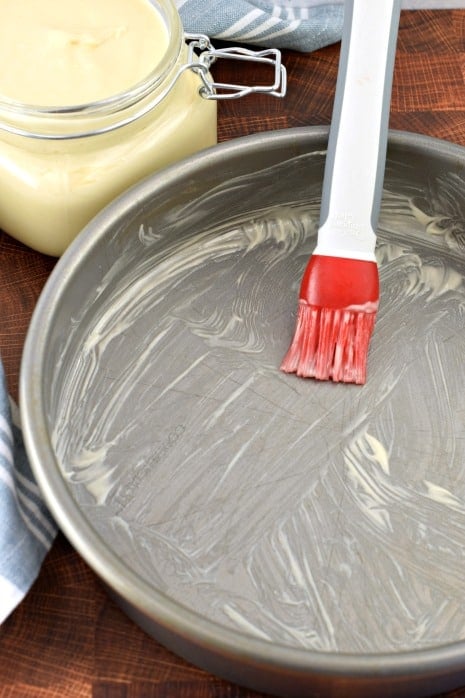
- Coat your pan with Homemade Pan Release up to the point that you are planning on filling it. You can use a pastry brush, or if you don’t have a pastry brush you can use your fingers or a paper towel. Evenly apply the paste, making sure coat every surface your batter will be touching.
- I use several dips in the paste for one cake pan.
Can I use Pan Release on more than cakes?
- Absolutely! Use Pan Release on muffin tins, bread pans, and for any other recipe that calls for baking spray, greased pans, or similar.
More Baking Basics
- How to Measure Flour
- How to Make Cinnamon Sugar
- How to Measure Sugar
- How to Soften Butter
- Homemade Whipped Cream
Pin this now to find it later
Pin It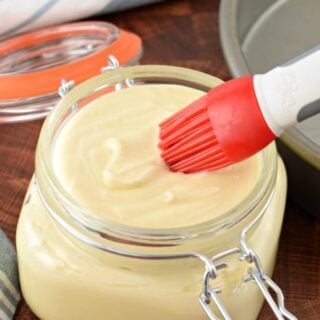
Cake Release
Ingredients
- 1 cup Crisco shortening
- 1 cup vegetable oil
- 1 cup all-purpose flour
Instructions
- Thoroughly mix together shortening, oil and flour.
- Store in airtight container in fridge
- Use in cake pans, muffin tins, and loaf pans for perfect release of baked goods.
Notes
- As long as you keep it in the fridge, Homemade Pan Release will stay good for up to 6 months.
- Coat your pan with Homemade Pan Release up to the point that you are planning on filling it. You can use a pastry brush, or if you don’t have a pastry brush you can use your fingers or a paper towel. Evenly apply the paste, making sure coat every surface your batter will be touching.
- I use several dips in the paste for one cake pan.
Nutrition
The perfect method of releasing cakes from their pans completely without fail every single time.


This is exactly what I came here to find out. Lol as I am a health nut and do not use anything except real butter
Tried and true. I’ve been using this since 1977.
Thank you for this recipe and comments. This is definitely a game changer. I have several pans that are not non-stick and have had issues in the past with cakes, breads, or bars sticking. I just made several mini muffin cakes and a triple layer carrot cake without anything sticking using this recipe to coat my pans. Amazing results!
I have just learned about this and I would like know can butter bee used instead of Crisco or shortening? Or partially hydrogenated lard? Thank you!
This is a game changer! I use it for anything that would stick in a pan. Thanks!
This my first time making this my question is
Is it normal to have some lumps in it I mixing it by hand or should have I used a mixer
Best stuff ever and helps cut down on nasty aerosols
.