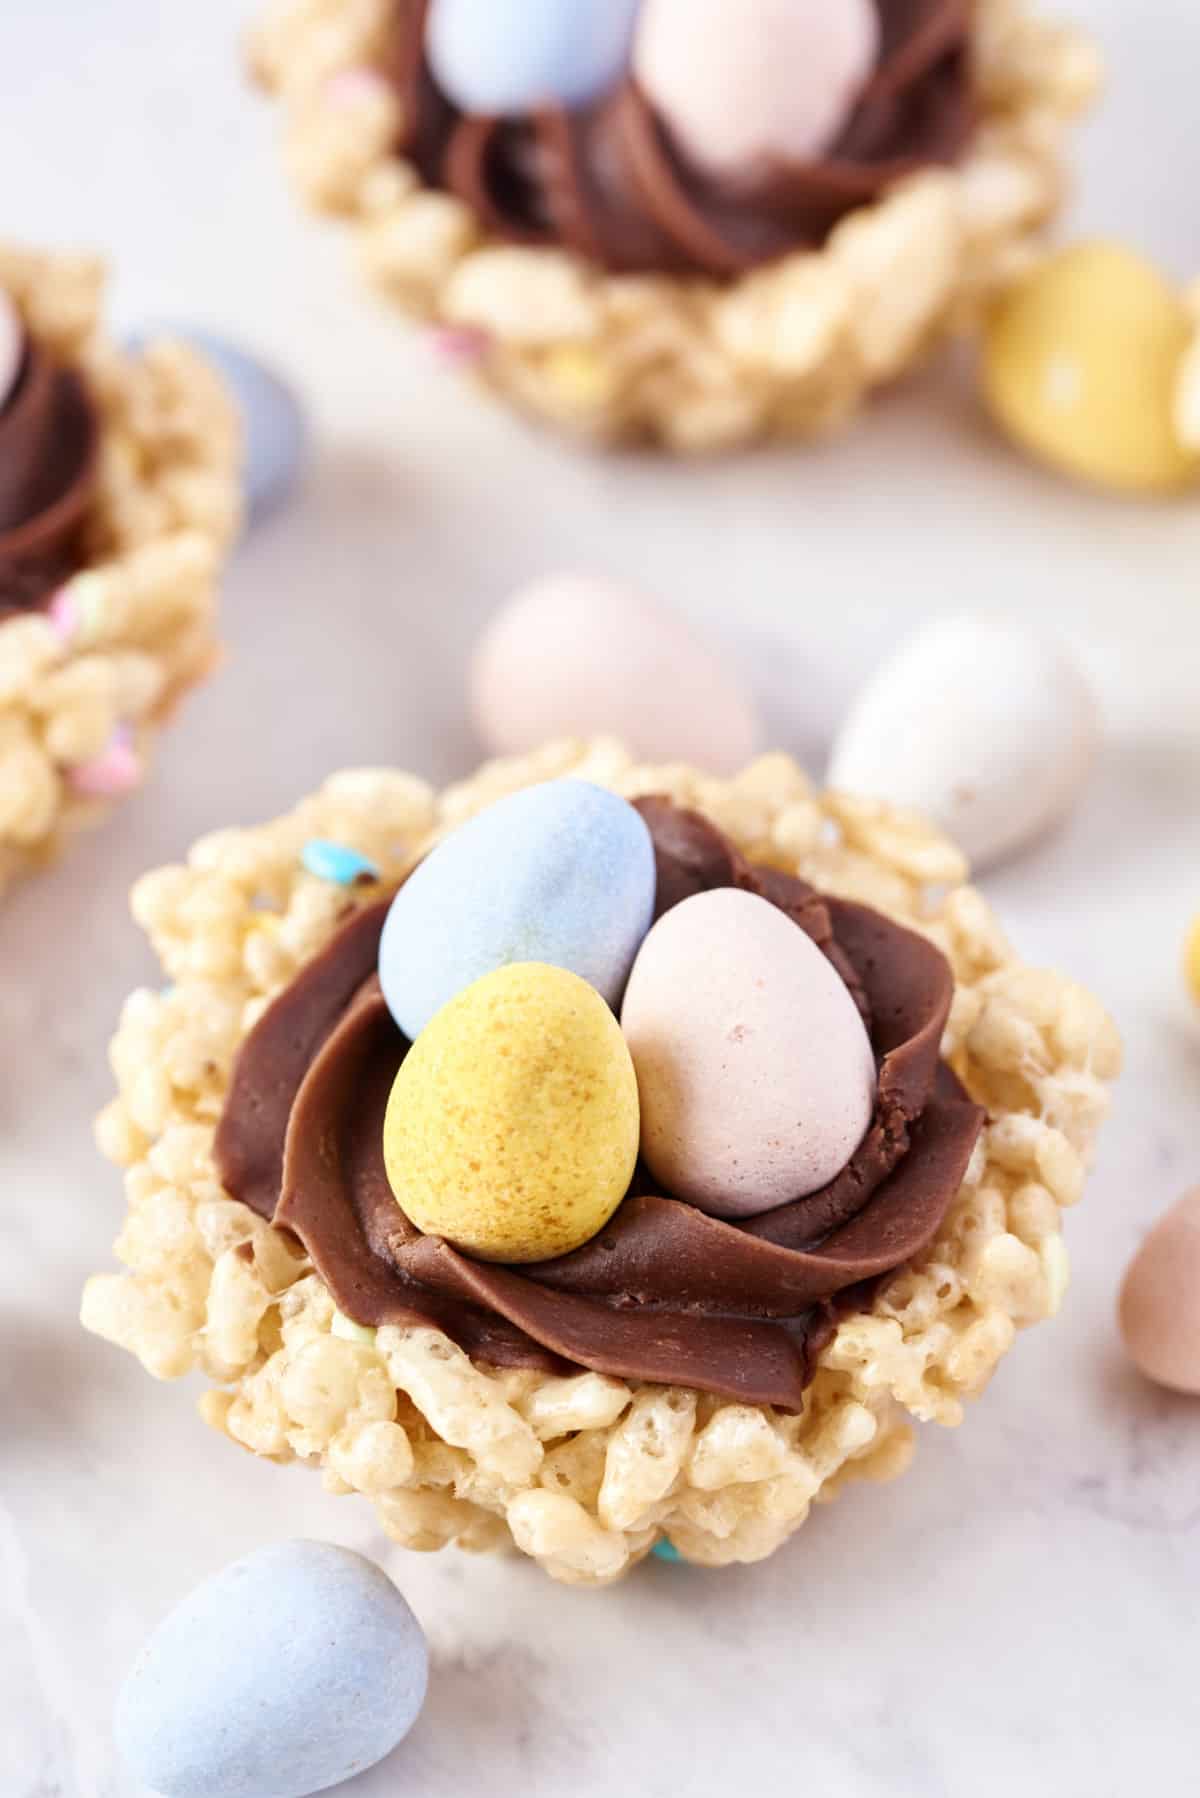
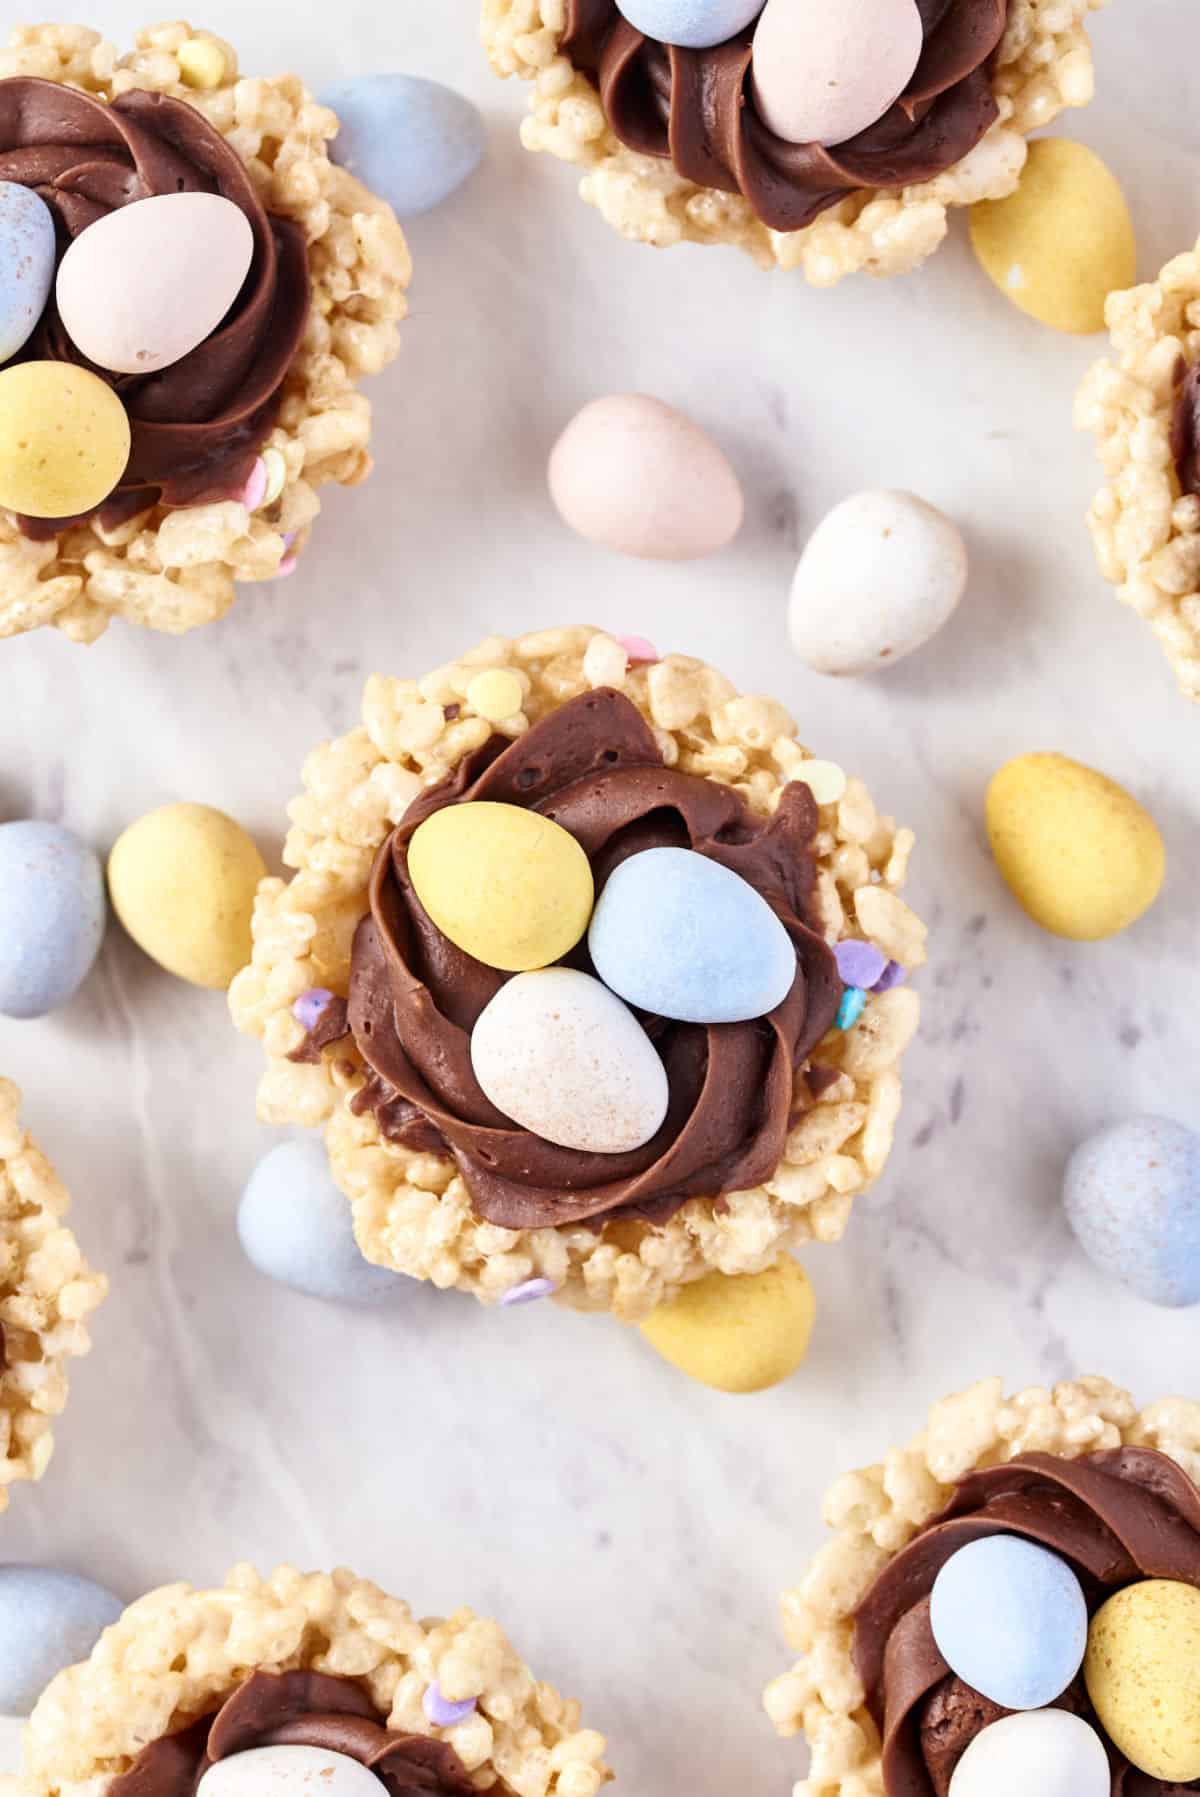
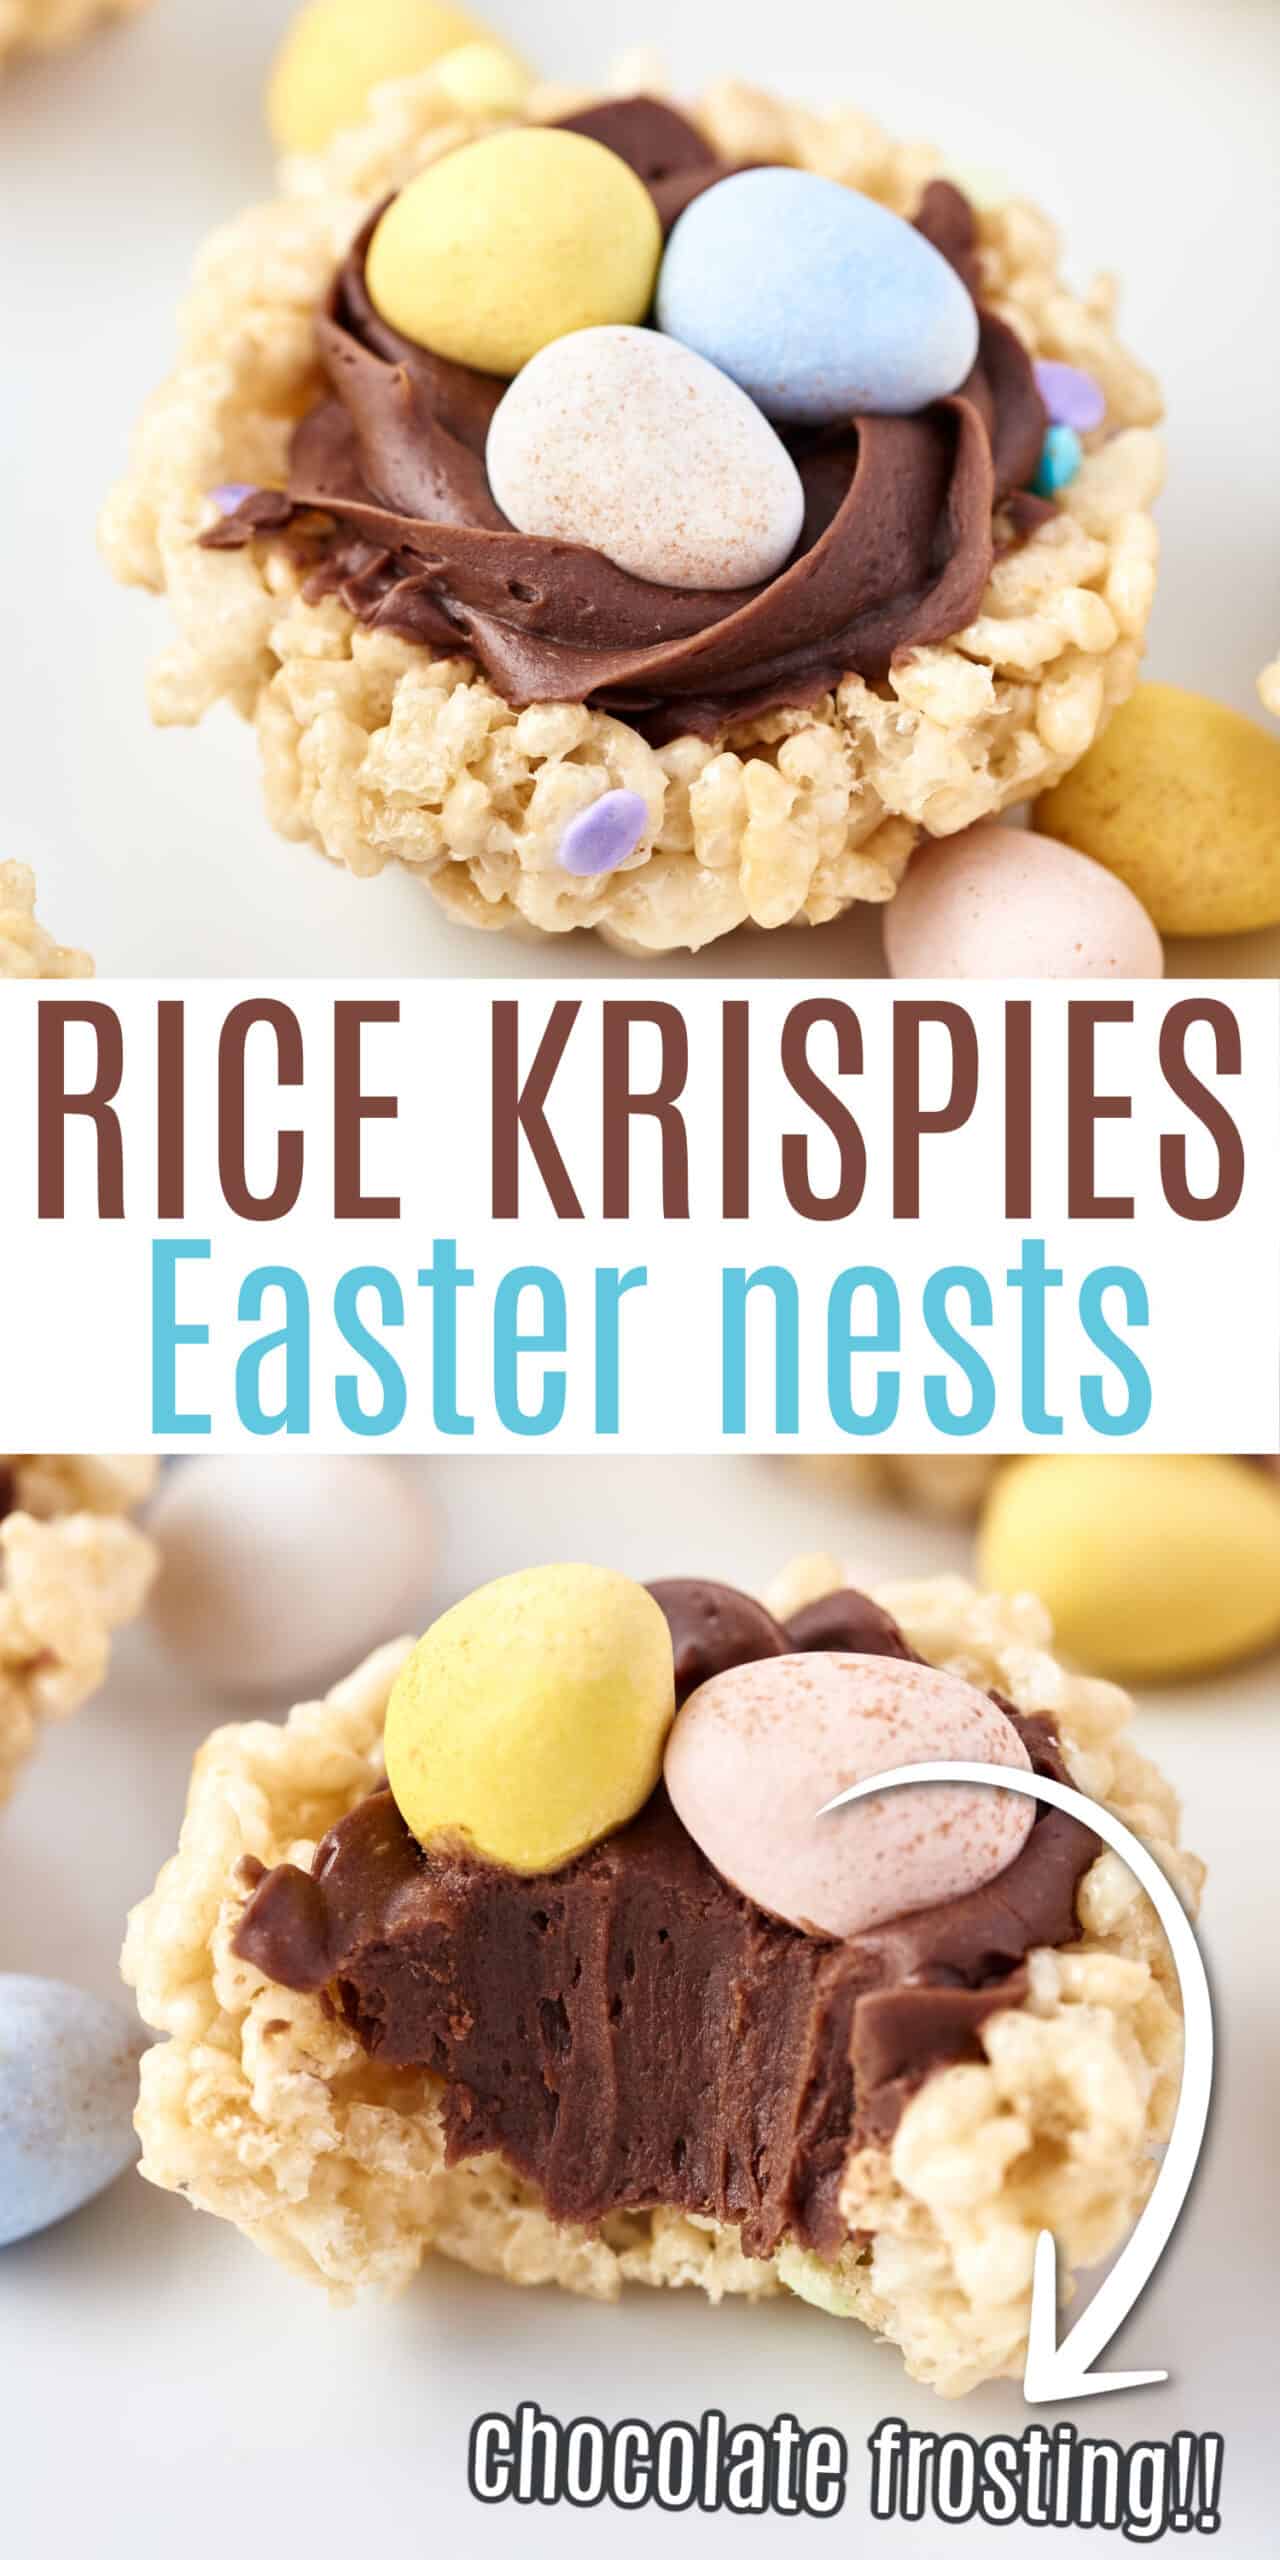
Easter Rice Krispie Treats shaped like bird’s nests! A few chocolate egg candies and a swirl of chocolate frosting make these perfect for spring time. Put them in your Easter baskets or bring them to a party to share.
How adorable are these Rice Krispie Treats? I turned my favorite dessert into nests to celebrate Easter! For Christmas we made these fun and festive Christmas tree rice krispie treats!
Why this Recipe Works
Did you know Rice Krispie Treats are so easy to press into different shapes?
You could make regular krispy treats and add a PEEP on top like I did with these Easter Rice Krispie Treats.
This time, I wanted an equally cute treat–but with CHOCOLATE.
Making them look like nests is so easy. Just set them up in a mini tart pan for a beautiful round shape.
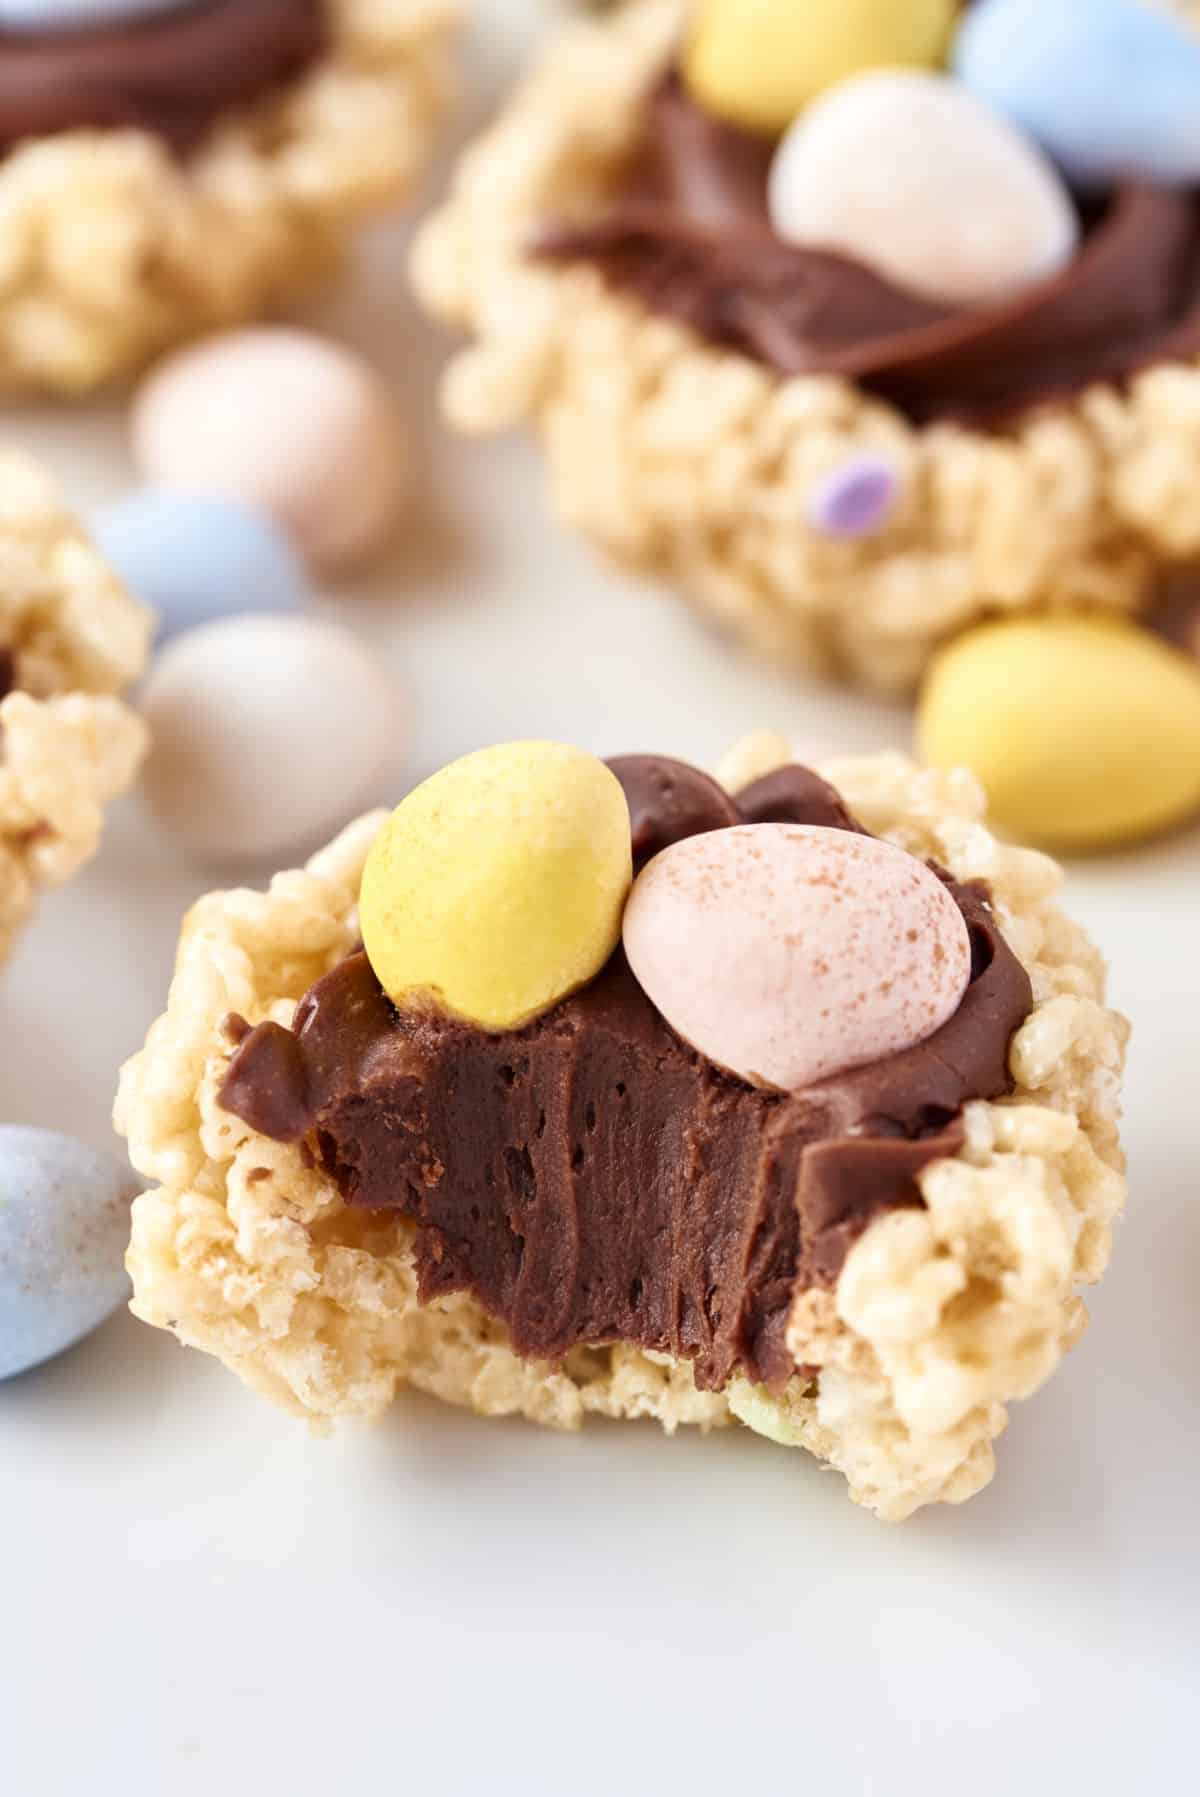
I created a circle of chocolate frosting on top, then nestled three chocolate eggs in the center. Add pastel sprinkles on top for extra flair.
You’ll love these bright and cheery Easter Rice Krispie Treats Nests!
Ingredient Notes
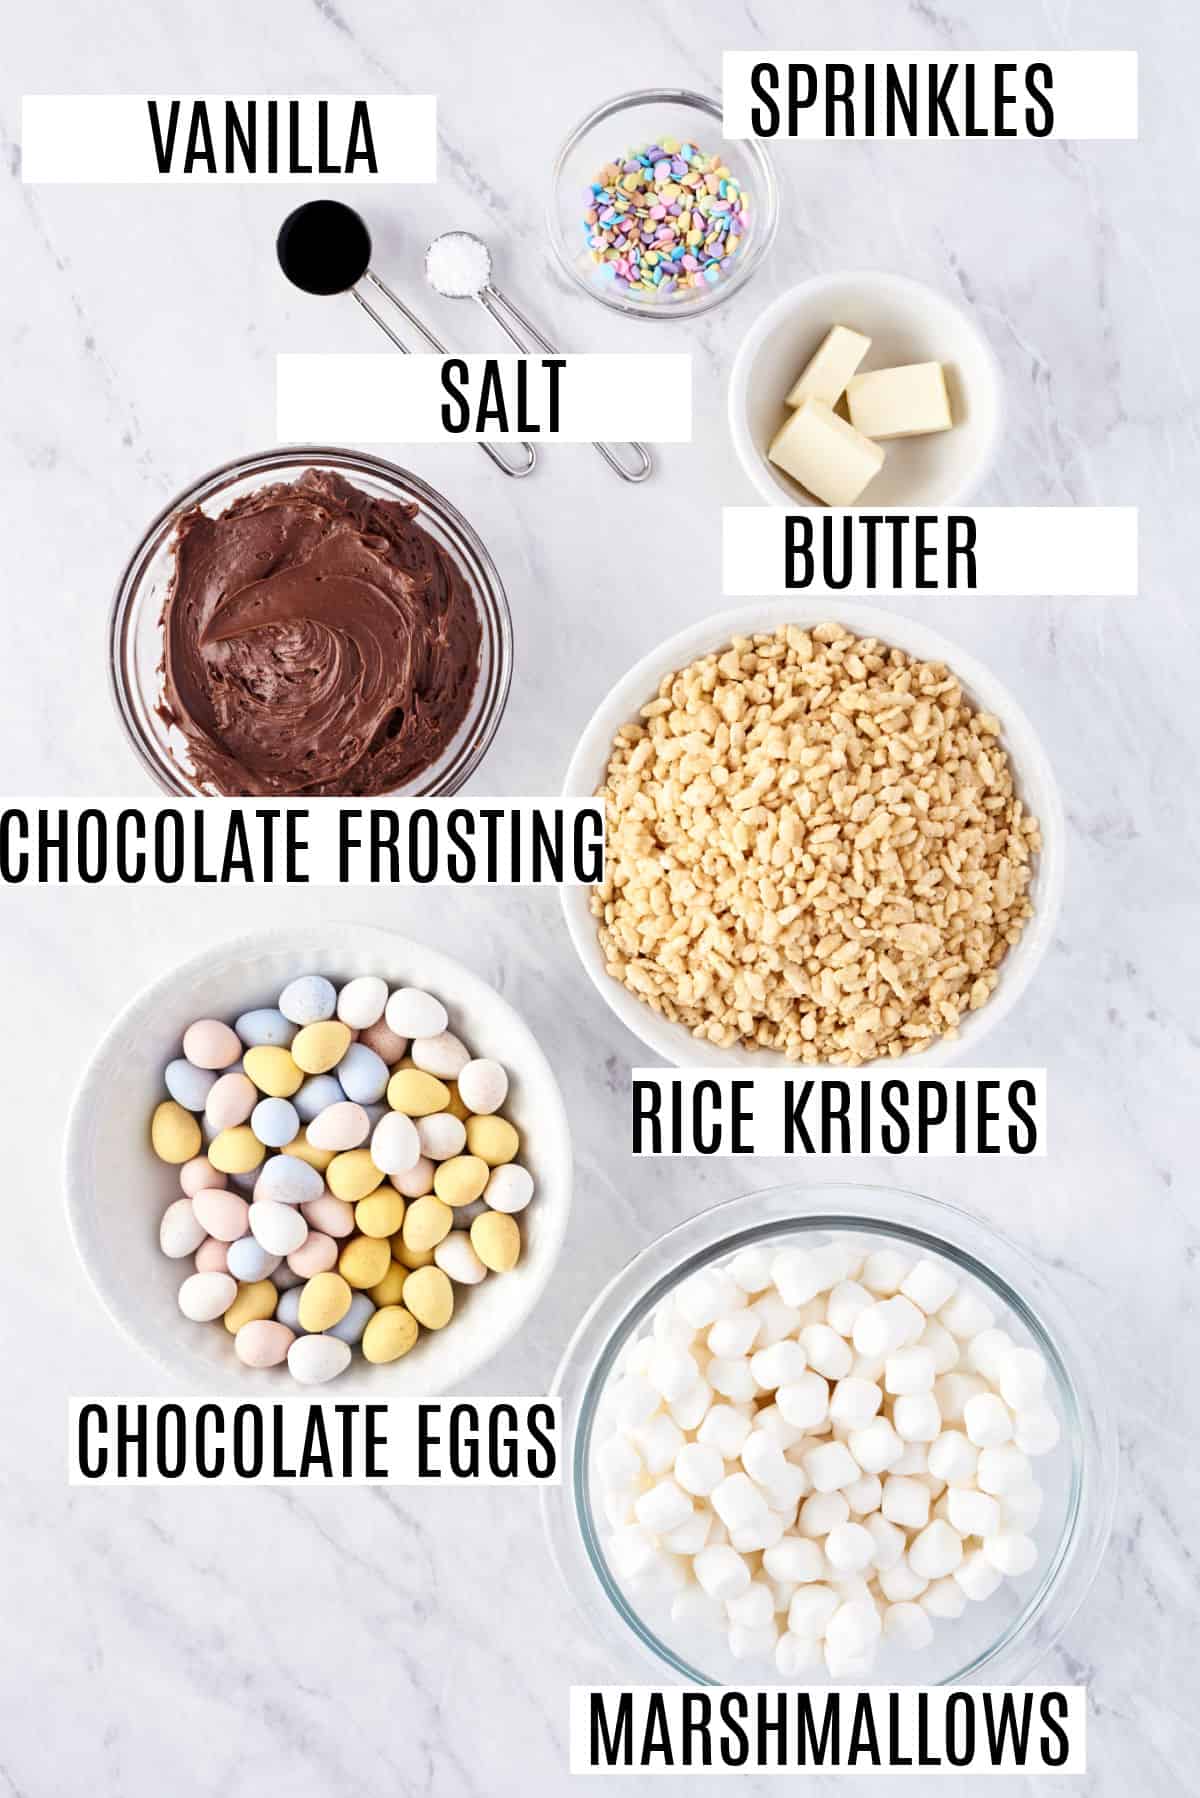
- Mini marshmallows. The fresher the better!
- Chocolate frosting. My Chocolate Buttercream Frosting Recipe tastes delicious on these treats. Canned frosting is fine too.
- Vanilla. Use my Homemade Vanilla Extract for amazing vanilla flavor.
- Chocolate egg candies. Cadbury mini eggs and Hershey’s chocolate eggs are perfect. The pastel colors look best! You could even use M&M’s if needed.
How to Assemble
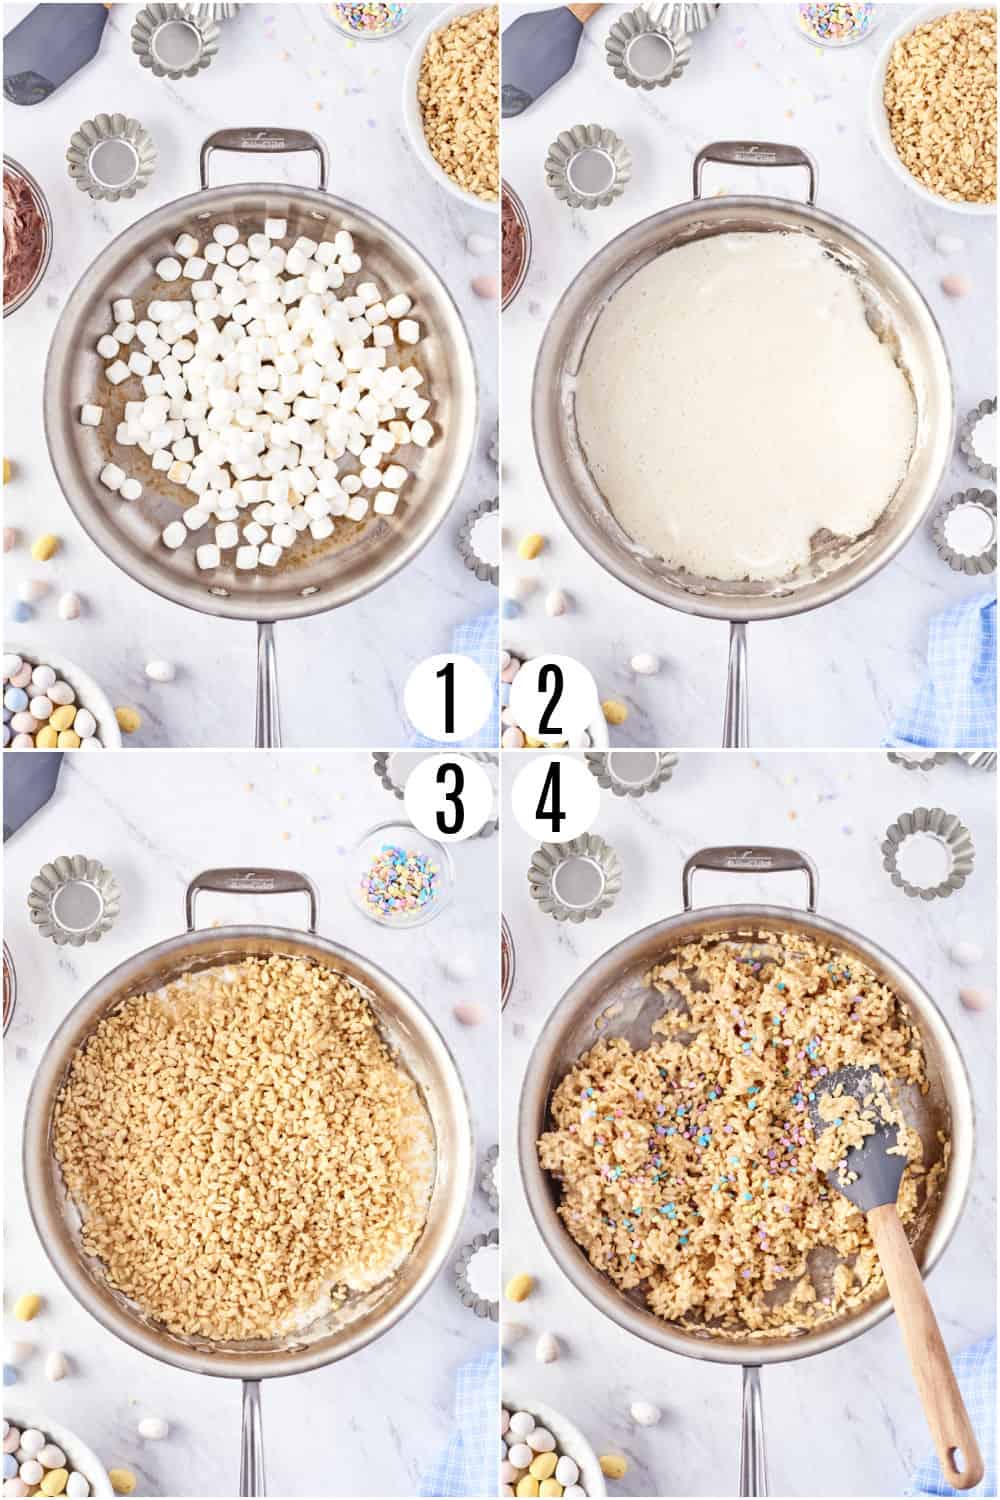
Start by making homemade rice krispie treats. Melt butter. Add marshmallows and melt. Add vanilla & salt. Add cereal and sprinkles.
Shape. After making the rice krispie treats mixture, you’ll shape them into “nests” before they set.
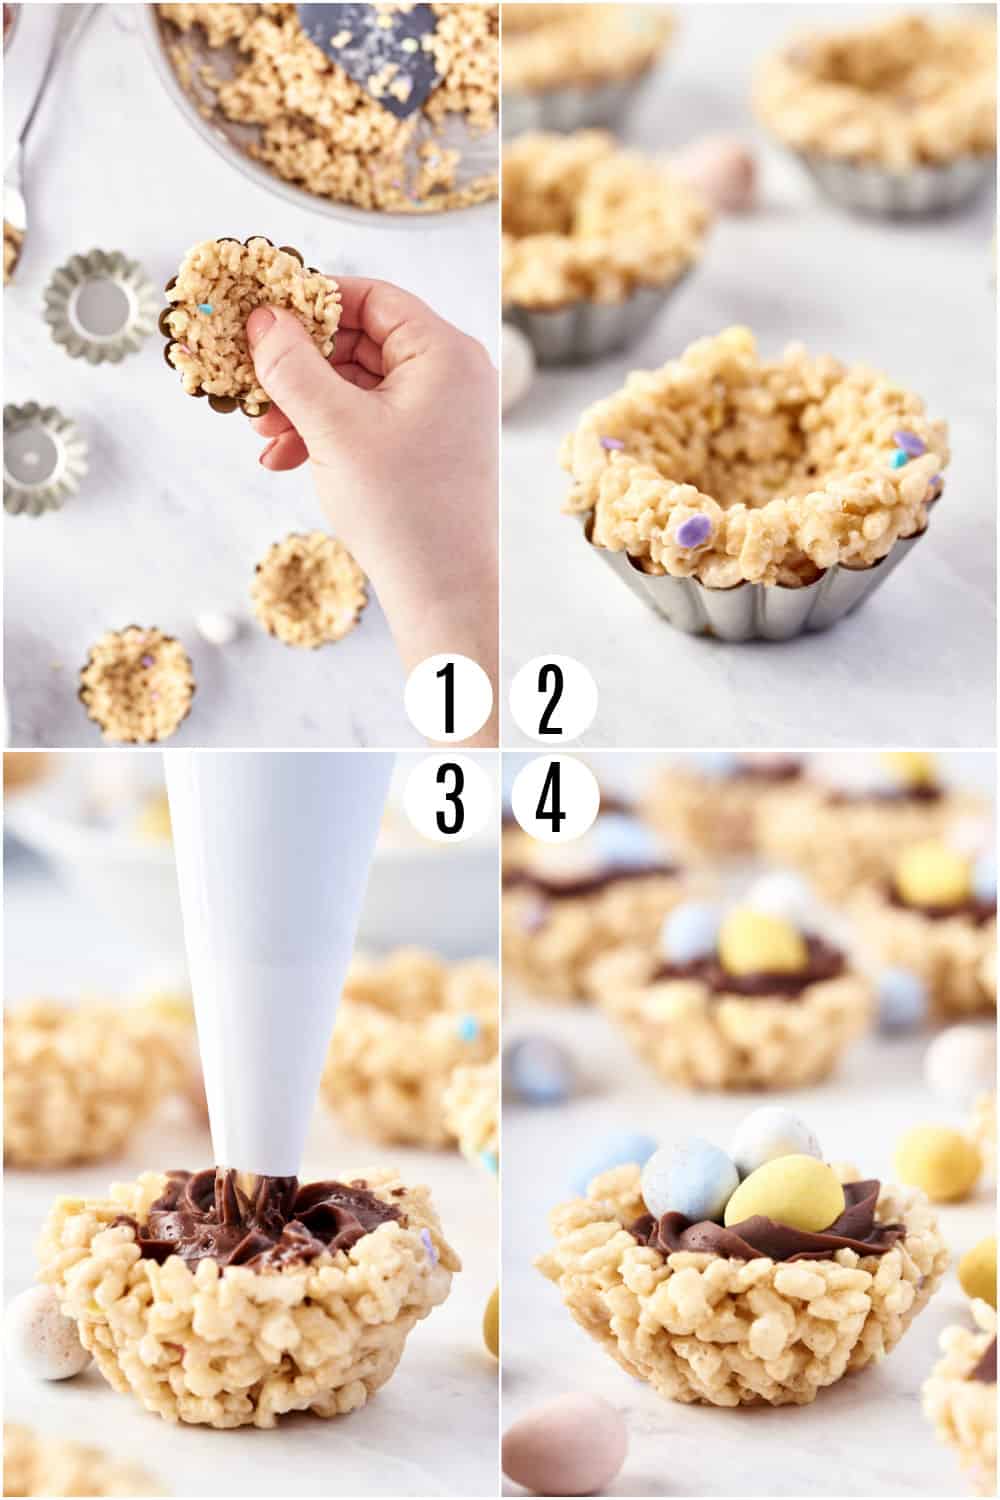
Press the mixture equally into greased mini-tart pans. Use a spoon to make an indentation in the center of each treat. Pinch up the sides with your fingers to make a nest shape.
No mini-tart pans? No problem. Use a mini muffin pan instead!
Frost. Once the nests are cooled, pipe a swirl of chocolate frosting into the center divet. Top each one with 3 egg candies.
Serve and enjoy!
Tips and Tricks
- What frosting tip to use. We used an open star 1M frosting tip to pipe the buttercream.
- Green frosting variation. For more bright color, add a drop of green food coloring to vanilla frosting, instead of using chocolate.
- PRO TIP. Run your spoon and fingers under water before pressing the treats. This prevents the treats from sticking to your fingers and spoon!
Recipe FAQs
Yes, you can make these treats in a mini muffin pan or cupcake pan instead. Using a mini muffin pan makes about 24 Rice Krispie Treats Nests. If you use a full sized cupcake pan, you’ll get about 6 – 8 nests.
Easter Rice Krispie Treats can be stored at room temperature in an airtight container. Enjoy within 24 hours for freshest taste.
Any sprinkles work well here! Pastel colored jimmies, nonpareils or even round confetti style sprinkles are beautiful in these.
If your treats are hard, you may have pressed them into the pan too much. Don’t push too hard when adding the batter to the pan. The harder you press, the harder and tougher your finished treats will be. These should be soft and chewy with ribbons of marshmallow in every bite.
If your ingredients are stale, your finished treats will taste stale too. Make sure to use FRESH cereal and marshmallows in this recipe. It makes a big difference!
More Easy Easter Desserts
Pin this now to find it later
Pin It
Easter Rice Krispie Treat Nests Recipe
Ingredients
- 2 Tablespoon unsalted butter
- 3 cups mini marshmallows about 5 oz
- 1 teaspoon vanilla extract
- ¼ teaspoon kosher salt
- 3 cups Rice Krispies cereal
- Sprinkles optional
- 2 cups chocolate frosting
- 48 chocolate egg candies
Instructions
- Spray mini-tart pans with non-stick butter spray and set aside.
- Add butter to a large saucepan over medium-low heat. Allow the butter to melt for about 30 seconds, and then add mini marshmallows and stir with spatula.
- Once the mixture has melted remove from heat and add in the vanilla extract and salt.
- Pour in the Crispy Rice Cereal and combine evenly using the rubber spatula.
- Once combined, top with Easter sprinkles (optional) and give it another quick mix.
- Scoop the mixture into the pans using the spatula and a spoon. Then, using either your fingers or the spoon to push down into the pan and pinch the sides, creating a nest shape.
- Allow the nests to cool inside the pans.
- Once cooled, pipe chocolate frosting in the center using an open star 1M piping tip, and top with 3 chocolate egg candies.
Notes
- PRO TIP: Before spooning the treats into the tart pans, quickly run the spoon under water to keep the marshmallow mixture from sticking to it. You can do the same with your fingers to prevent stickiness.
- Mini Muffin Pans- If you don’t have enough mini tart pans, you can create the marshmallow mixture nest shape in a mini muffin pan or full size cupcake tin. Just note that if you use the mini muffin pan they will make about 24 nests, and if you make the full size version, you'll only get about 6-8 nests. You could fill the full size cupcake tin only halfway up, which would give you a more manageable size nest.
- Chocolate Frosting- feel free to whip up our favorite Chocolate Buttercream Frosting (you'll only need about half a batch). Or a 16oz tub of canned frosting will work too.
- Vanilla Frosting- you could also use a vanilla frosting and tint it a pastel green if you prefer.
- Storage: Keep these treats in an airtight container for up to 3 days. They are best served within the first 24 hours.
- Marshmallows- fresh is best! You'll need about half of a 10oz bag of marshmallows, roughly 3 cups.
Nutrition
More Rice Krispie Treat Recipes
See all Rice Krispie Treats recipesBeautiful color, delicious chocolate and lots of gooey marshmallows. These nests are the BEST Rice Krispie Treats for Easter!


I made these for a family gathering. It was a big hit and I will be making these from now on.
My teens are going to love this recipe! So excited to make these with my daughter! Looks so yummy and scrumptious!
Rice krispies are a favorite of ours, but adding the frosting & eggs makes them even better & more a hit!! Love how quick they are!
These are just so adorable and SO easy to make! Thank you!