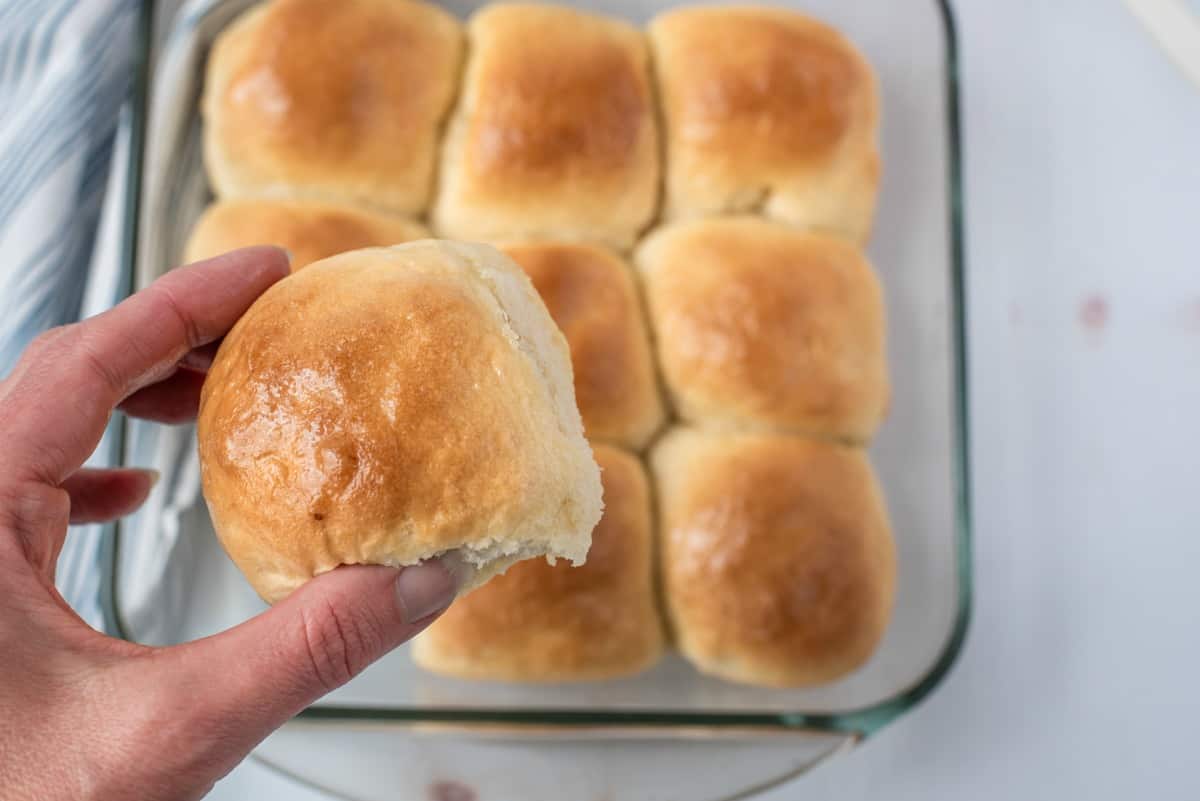
Nothing beats the taste of homemade Dinner Rolls! Try this soft, buttery, and very easy yeast roll recipe to complete your next family dinner.
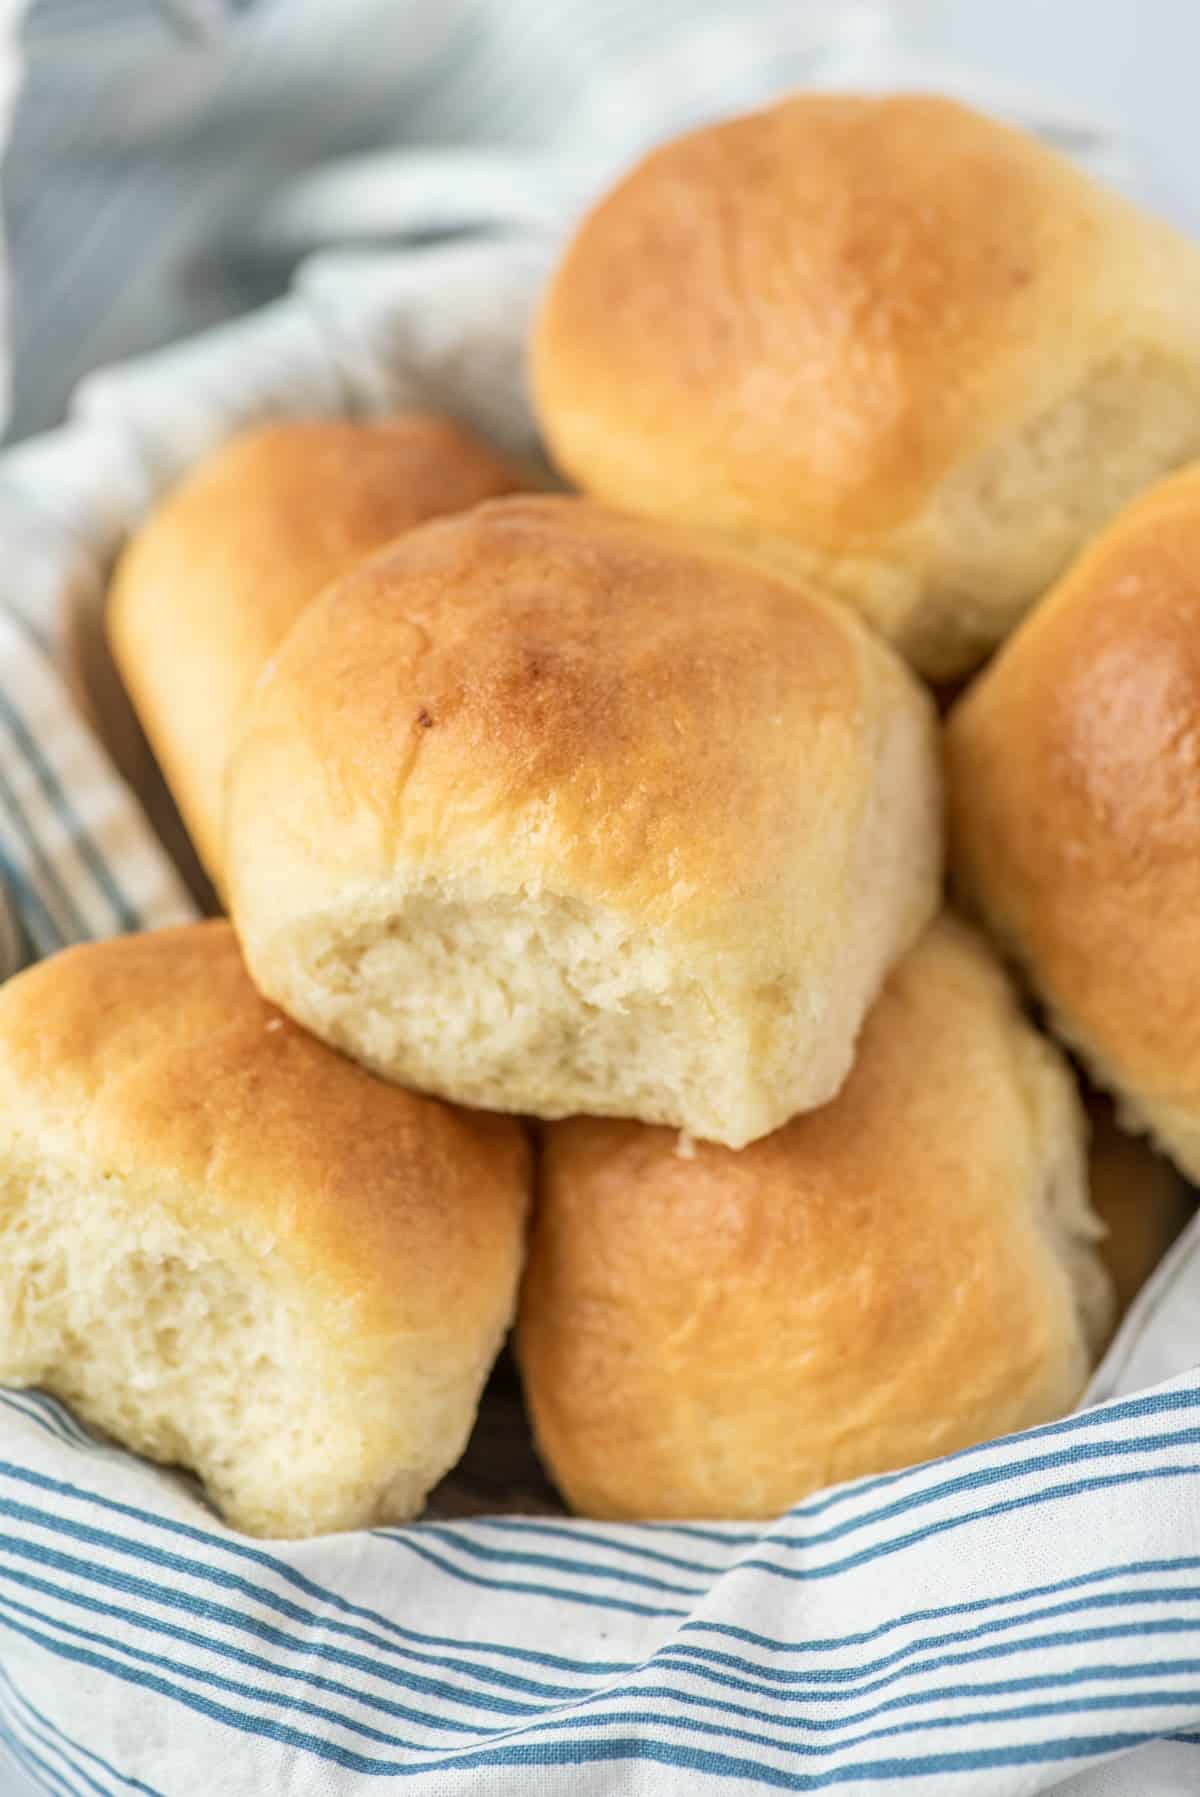
These fluffy dinner rolls pair perfectly with mom’s Pot Roast recipe and Instant Pot Pork Chops in a creamy mushroom sauce!
Does anything smell better than fresh baked yeast rolls?
I’ve been known to choose a restaurant simply for the quality of its dinner rolls. When the server plops a basket of hot rolls on the table, heaven help anyone who tries to stop me from grabbing one right away.
I can’t think of any meal that isn’t automatically improved with a warm fluffy dinner roll spread with melting butter.
Dredged through potato soup or served with baked ziti, fluffy dinner rolls are a must on our table.
This dinner rolls recipe will have you baking your own fresh yeast rolls at every possible opportunity. They are an obvious addition to a holiday table but they’re easy enough to make for any occasion, even if that occasion is just “Thursday night.”
Don’t be afraid of Yeast
These rolls are light and fluffy with just the teeniest hint of sweetness.
Don’t be scared of using yeast. Make sure you choose “active dry yeast.”
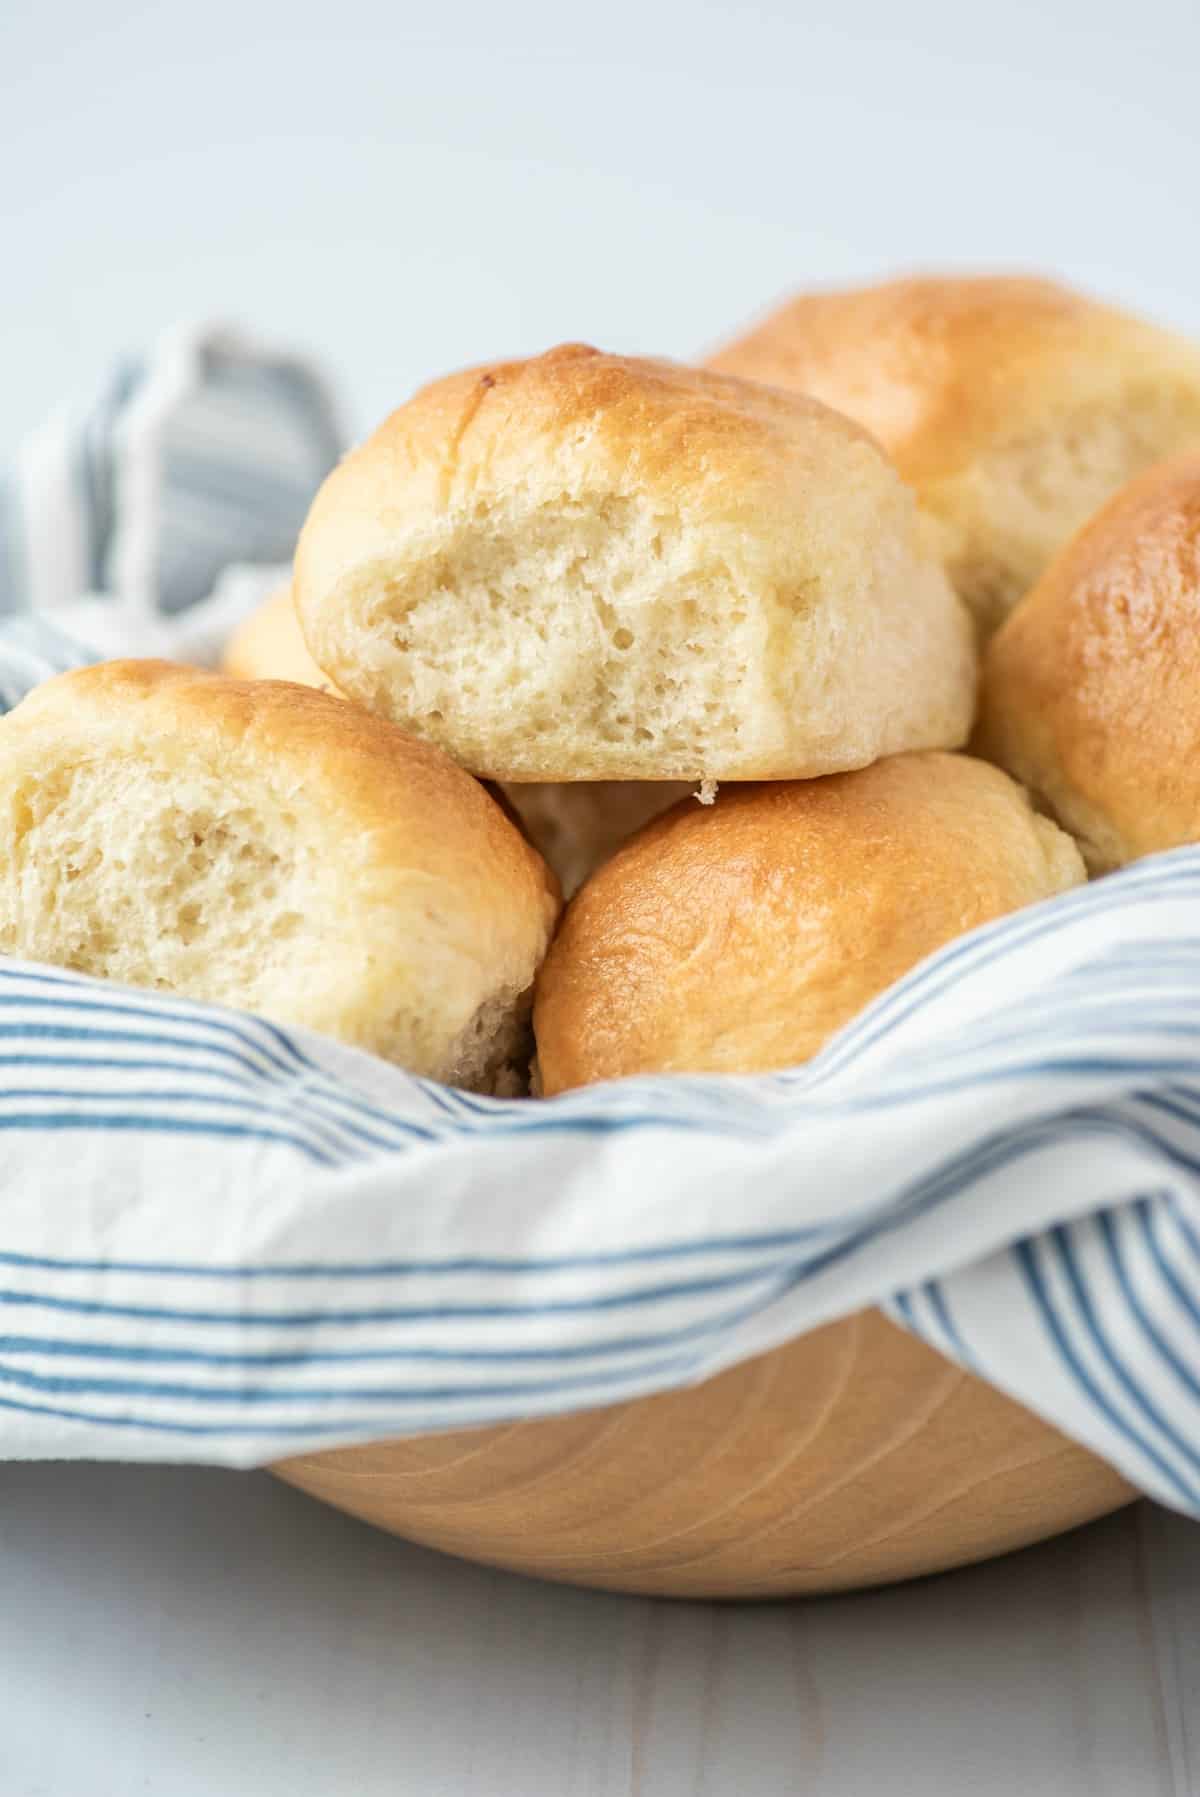
Made with a yeast dough and brushed with melted butter before baking in the oven, these buttery dinner rolls prove that the simplest baked goods are sometimes the best.
While this dinner rolls recipe involves a few steps and a bit of rising time, you can prep everything ahead of time and keep the dough in the fridge until ready to use.
The baked rolls freeze beautifully, too, so you can have delicious yeast rolls with dinner at the drop of a hat. For an easy loaf of bread, use my simple no knead artisan bread recipe next.
Ingredient Notes
Here’s what you’ll need to make this yeast rolls recipe:
- Active dry yeast – Not bread machine yeast or instant yeast
- Warm water – It should be the temperature of a mild bath. Not too hot but warm to the touch.
- Sugar
- Unsalted Butter – You’ll put some in the dough and reserve some to melt and brush on top of the rolls before they bake.
- Milk
- Kosher salt
Step by Step Instructions
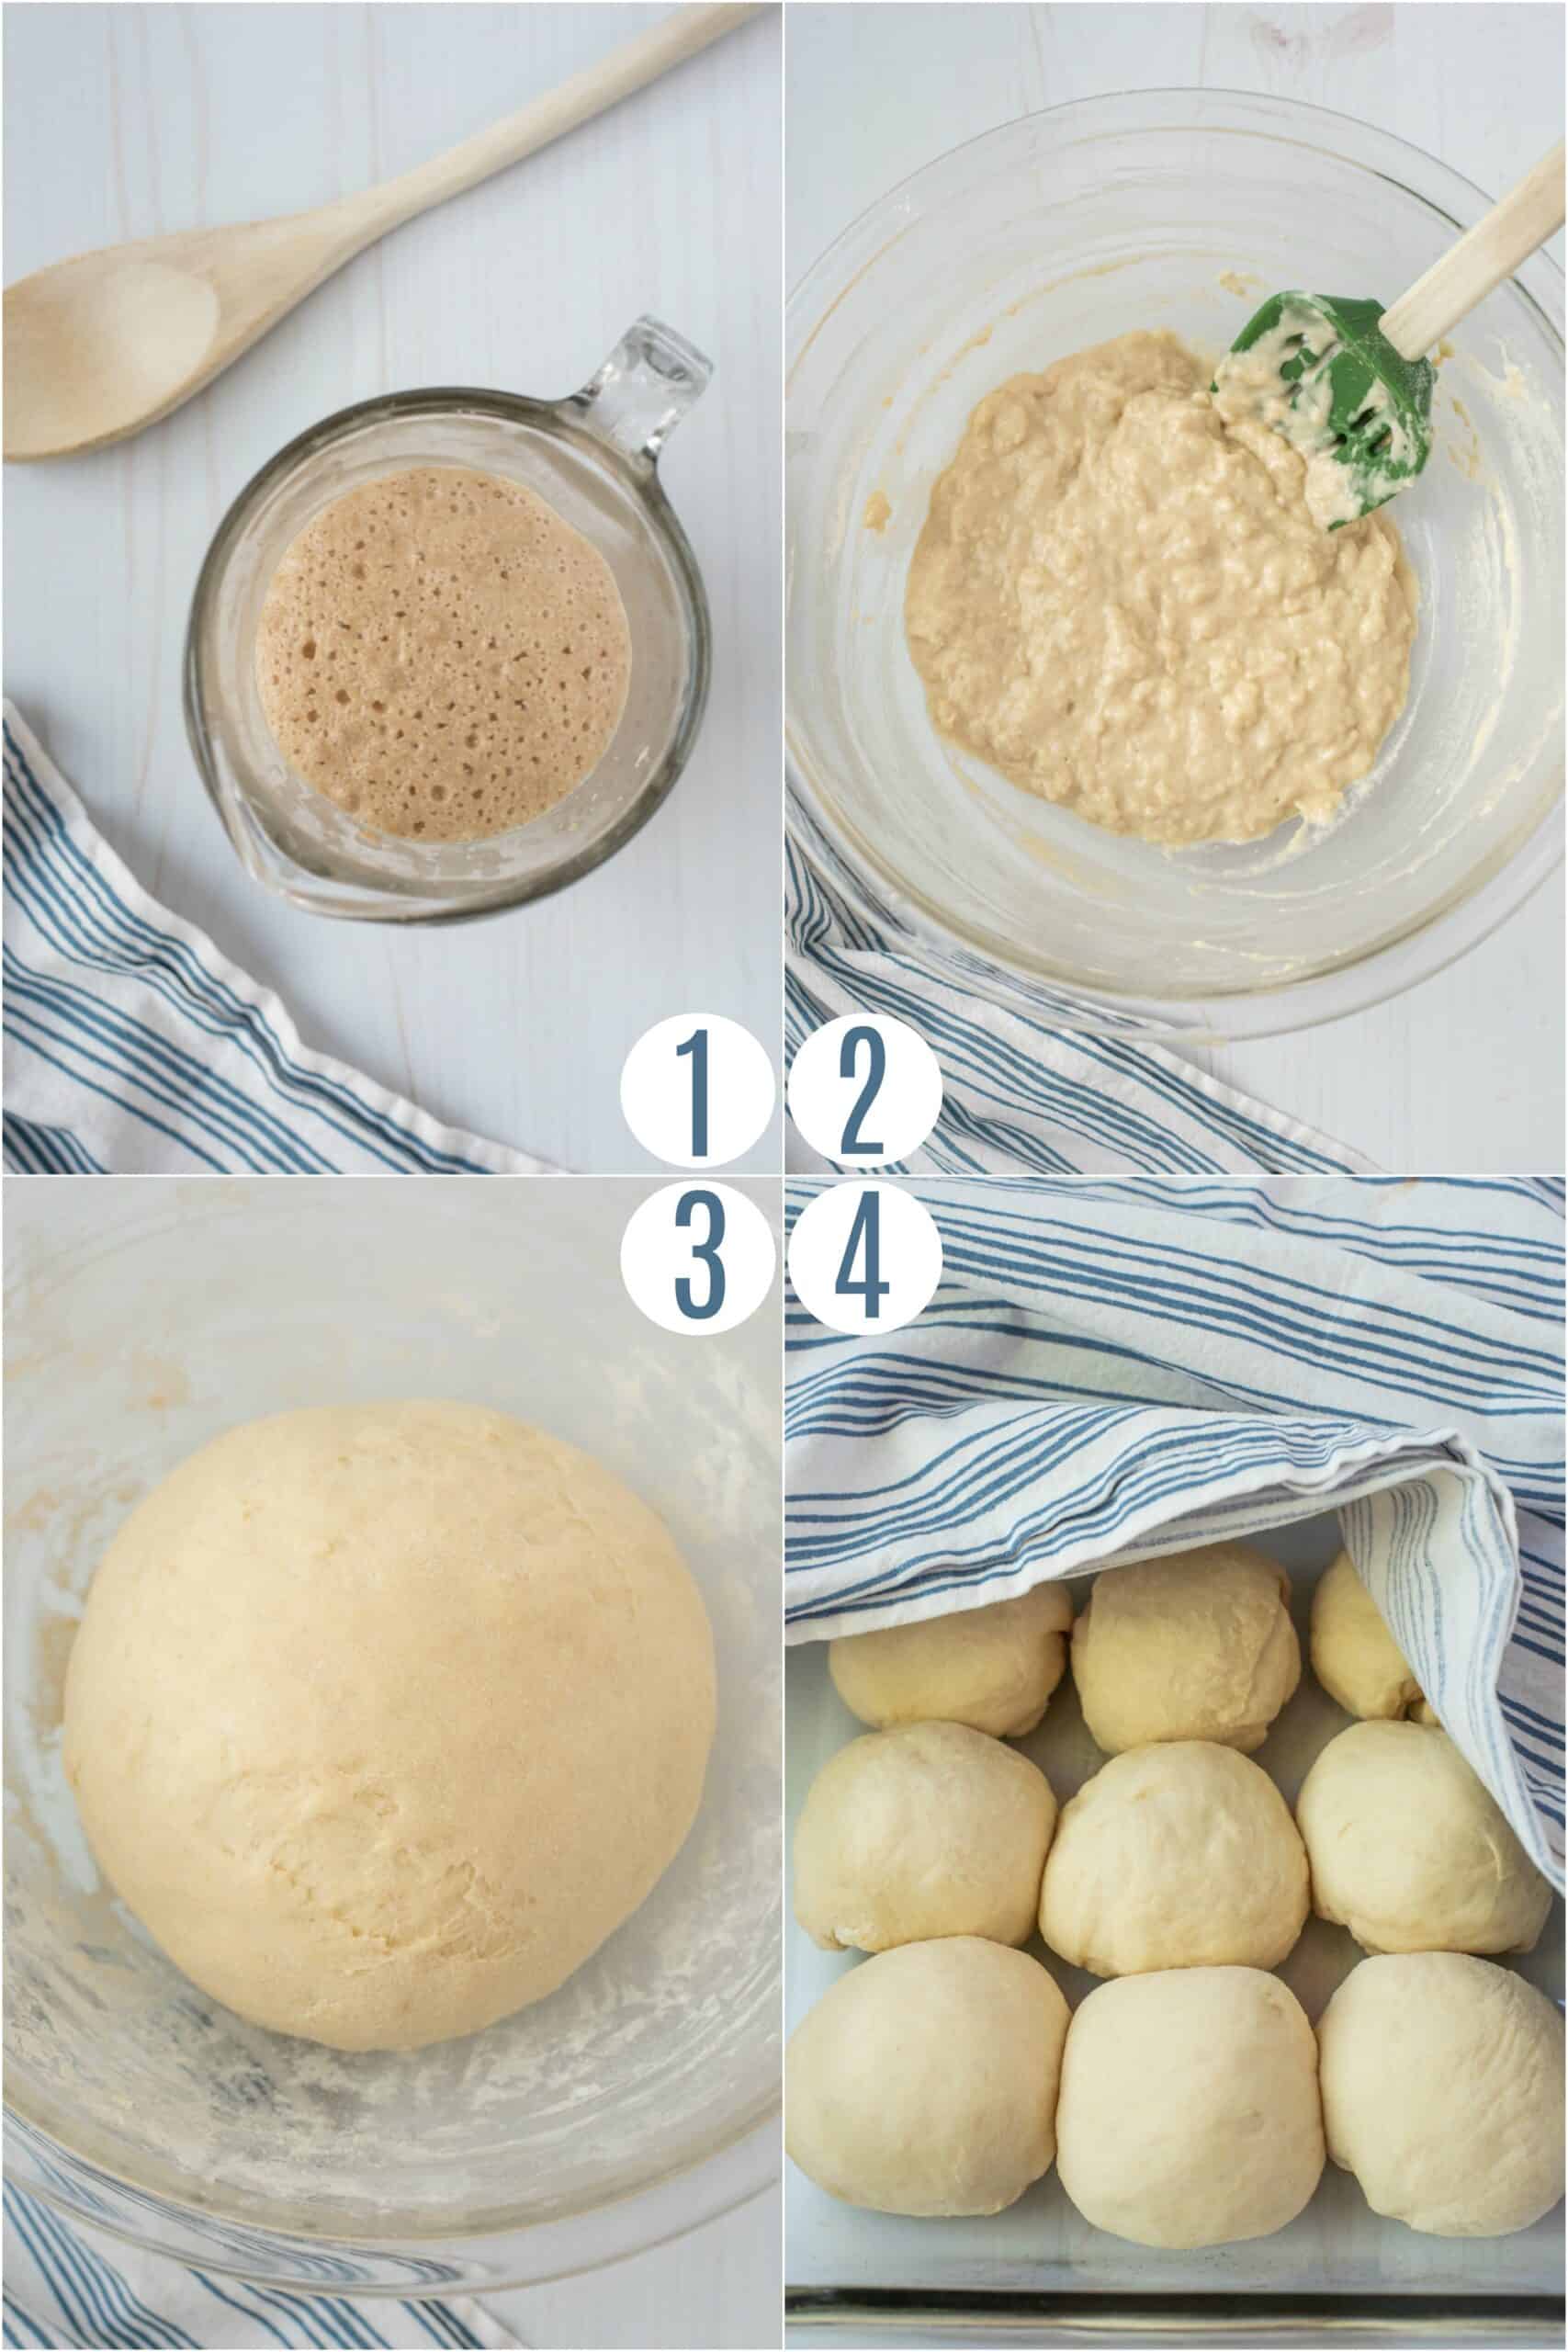
Proof the yeast
Combine warm water with sugar and yeast in a small bowl or glass measuring cup. Allow to proof for about 10 minutes. The yeast should look a bit foamy or bubbly. If it doesn’t, throw it out and try again with a fresh package of yeast.
Make the dough
Warm the milk and butter in a small saucepan on the stove over low heat, until butter is melted and temperature is around 110°F. Add this to the flour and salt. Beat with electric mixer or by hand until well combined.
Add in ¼ cup more flour and the yeast mixture and again mix until well combined. Continue mixing in ¼ cup flour at a time until a soft ball of dough forms.
Knead dough into a ball.
Knead with hands, or dough hook attachment on stand mixer, until smooth and elastic – about 5 to 7 minutes. Place dough in bowl and cover and let rest for 20 minutes.
Let the rolls rise
Place dough on well floured surface and divide into 9 equal-sized pieces. Roll each piece into a ball and place in a well greased 9” cake round or 9×9” baking dish.Cover and allow to rise until doubled in size, about 45 to 60 minutes.
Butter and Bake
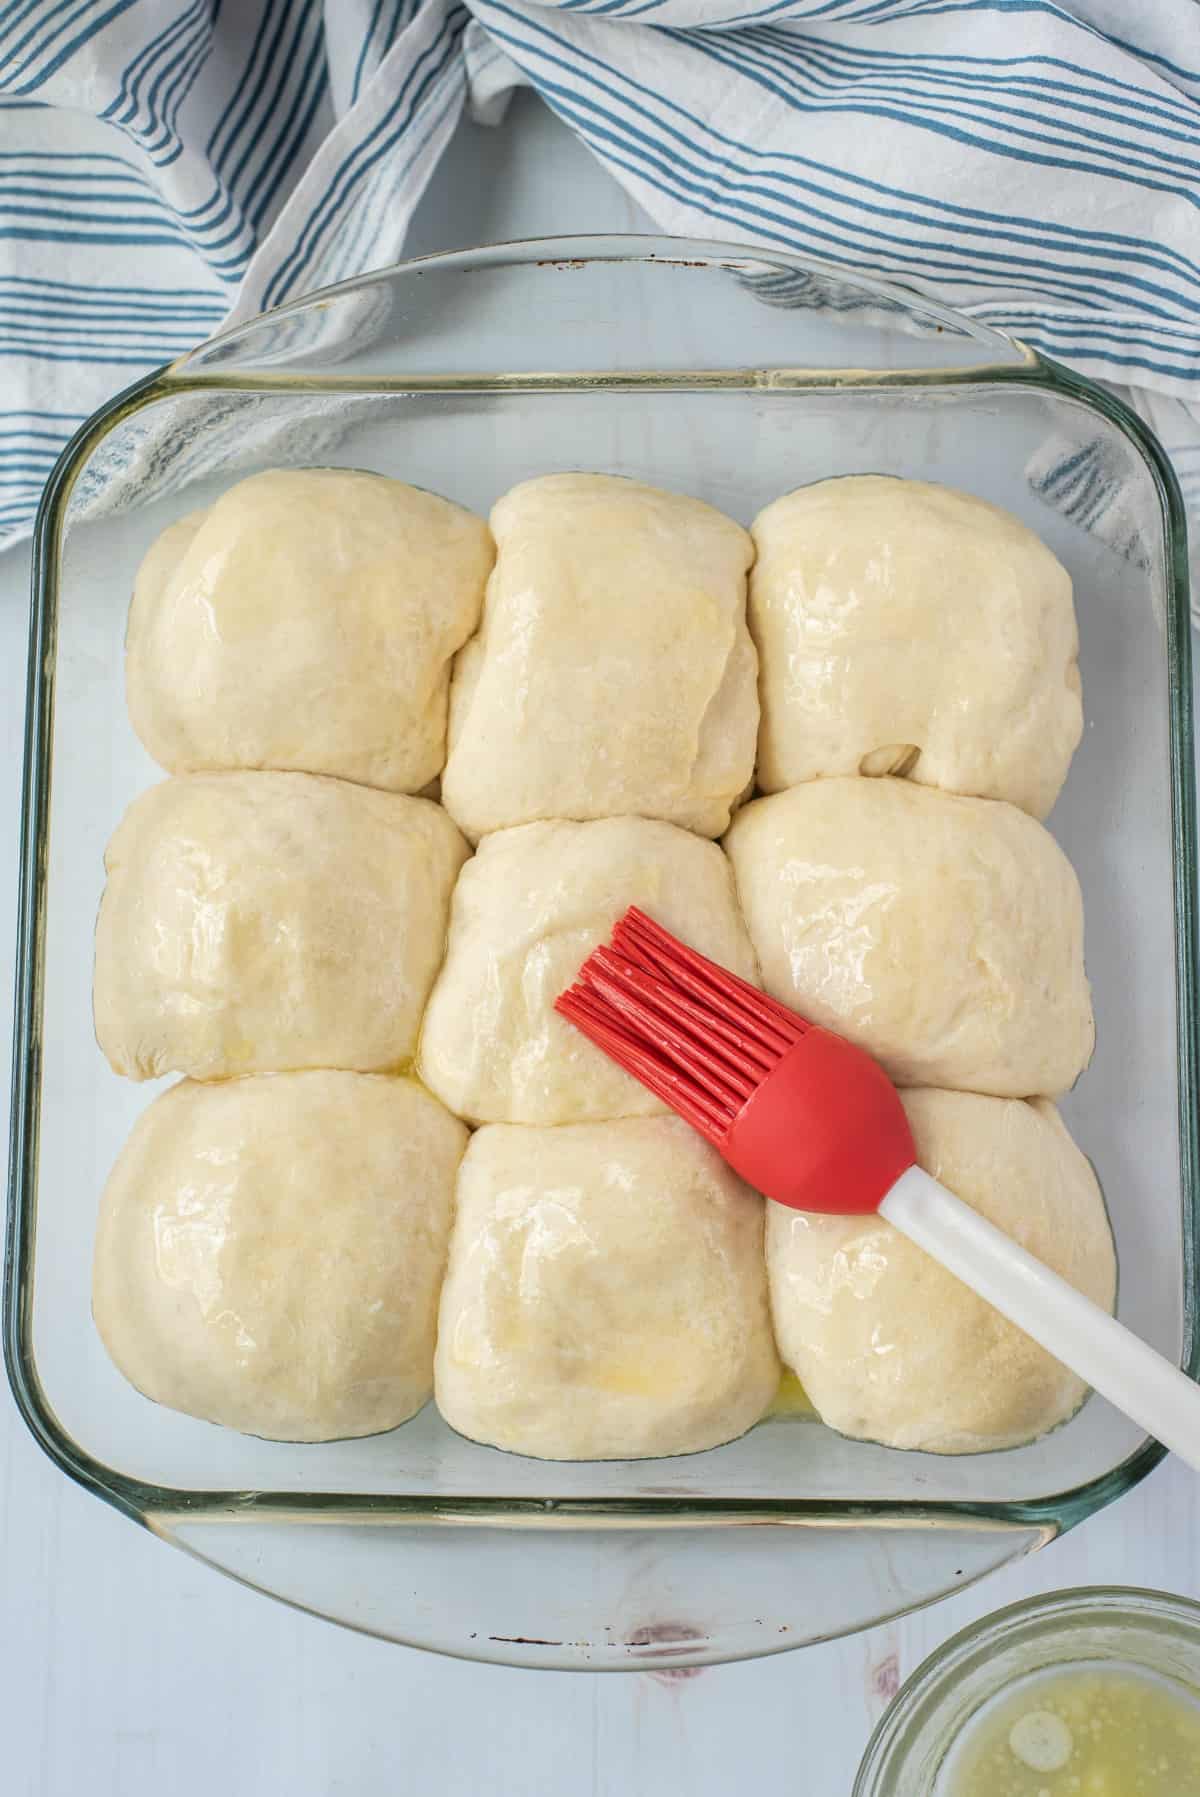
While the rolls are rising, preheat the oven to 375 F. When risen, brush the tops of the rolls with melted butter, then bake for 20 minutes or until the tops of the rolls are golden brown.
Remove from the oven and let the rolls cool in the pan for about 20 minutes. Brush again with more butter, if desired.
PRO TIP: Add garlic salt to melted butter for an irresistible garlic bread style roll.
Yeast Tips
When it comes to any kind of yeast bread, including yeast rolls, keeping the yeast alive and active while the bread rises and bakes is vital. For this yeast to work best, the liquid ingredients should be warm but not hot.
It’s easy to accidentally get the milk too hot here, so be sure to keep a careful eye on it when it’s on the stove.
It needs to be warm, but if the liquid is too hot it can kill the yeast, thus making it not rise your bread.
For best results, use a kitchen thermometer and do not add to the dough until it is cooler than 120°. To be on the safe side, I remove it from heat just before it reaches 110.
More Tips and Tricks
- You may not need the entire amount of flour for your dough. Stop adding when the dough forms a ball and is still slightly sticky. You will use a bit more flour when kneading.
- A stand mixer with the dough attachment is the quickest and easiest way to work the dough. Kneading helps activate the gluten so the rolls get fluffy and soft on the inside. If kneading by hand, be sure to knead until the dough can stretch quite a bit without breaking.
- To divide dough into rolls evenly sized, use a kitchen scale to weigh them.
- Store rolls covered in an air-tight container for up to 3 days. However, the fresher the better!
- Use leftover dinner rolls as sliders in my French Dip sliders recipe!
More Easy Sides for Dinner
- With this perfectly spiced Homemade Applesauce, you will never go out to buy it again!
- Beer Bread is simple and yeast free! So easy to make and still so fluffy! Try it now!
- Make this fresh Watermelon Salad to brighten up your meal!
- Rice a Roni is the perfect side dish at your dinner table! Pair it with chicken, beef, whatever you want!
- Make this easy cheesy Hashbrown Casserole if you want some true comfort food!
Love this recipe? Please leave a 5-star 🌟🌟🌟🌟🌟 rating in the recipe card below & a review in the comments section below!
Pin this now to find it later
Pin It
Dinner Rolls Recipe
Ingredients
- ⅓ cup warm water
- 1 Tablespoon granulated sugar
- 2 ¼ teaspoon or one packet active dry yeast
- 2 cups all-purpose flour divided
- 1 teaspoon kosher salt
- ½ cup milk
- 2 Tablespoons unsalted butter plus more for melting on top
Instructions
- Combine warm water with sugar and yeast in a small bowl or glass measuring cup. Allow to proof for about 10 minutes.
- In a large mixing bowl, combine 1 cup of flour with the salt.
- Warm the milk and butter in a small saucepan on the stove over low heat, until butter is melted and temperature is around 110°F. Add this to the flour and salt. Beat with electric mixer or by hand until well combined. Add in ¼ cup more flour and the yeast mixture and again mix until well combined. Continue mixing in ¼ cup flour at a time until a soft ball of dough forms.
- Knead with hands, or dough hook attachment on stand mixer, until smooth and elastic – about 5 to 7 minutes. Place dough in bowl and cover and let rest for 20 minutes.
- Place dough on well floured surface and divide into 9 equal-sized pieces. Roll each piece into a ball and place in a well greased 9” cake round or 9×9” baking dish.
- Cover and allow to rise until doubled in size, about 45 to 60 minutes.
- Brush tops of rolls with melted butter, and bake at 375°F for 20 minutes, until golden brown on top. Remove from oven and allow to cool in pan for 10 minutes. Brush again with melted butter if desired. Serve warm.
Notes
- Be sure not to get the milk too hot. It needs to be warm, but if the liquid is too warm, it can kill the yeast, thus making it not rise your bread. Use a kitchen thermometer and do not add to the dough until it is cooler than 120°.
- You may not need the entire amount of flour for your dough. Stop adding when the dough forms a ball and is still slightly sticky. You will use a bit more flour when kneading.
- To divide dough into rolls evenly sized, use a kitchen scale to weigh them.
- Store rolls covered in an air-tight container for up to 3 days. However, the fresher the better!
Nutrition
Don’t wait another minute before trying this delicious and easy dinner rolls recipe!


These are the perfect roll to go with any dinner! they are super easy and delicious!
I usually don’t add rolls to dinner because it’s just too much work but these were so easy to make! My kids are already asking for them for dinner tomorrow too.
It was so good!! This is such an easy to follow recipe!