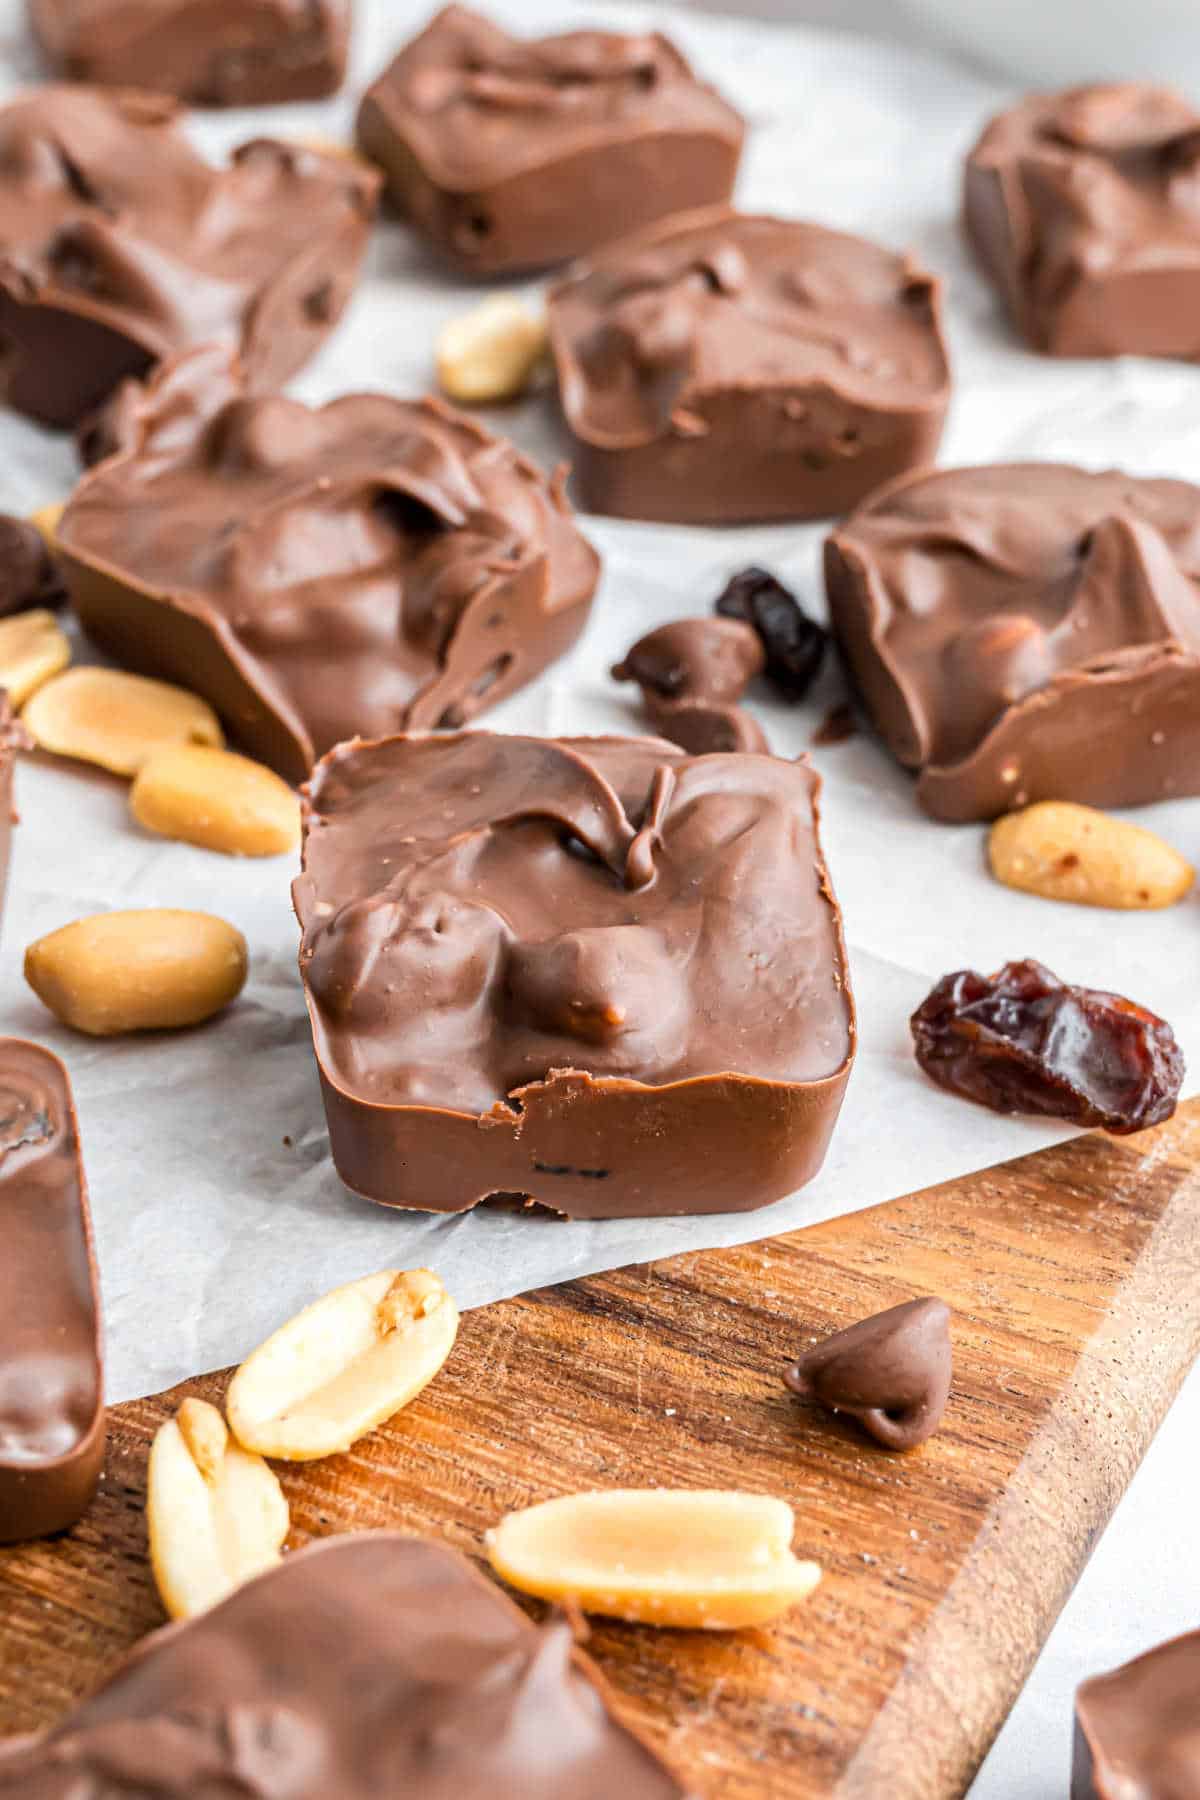
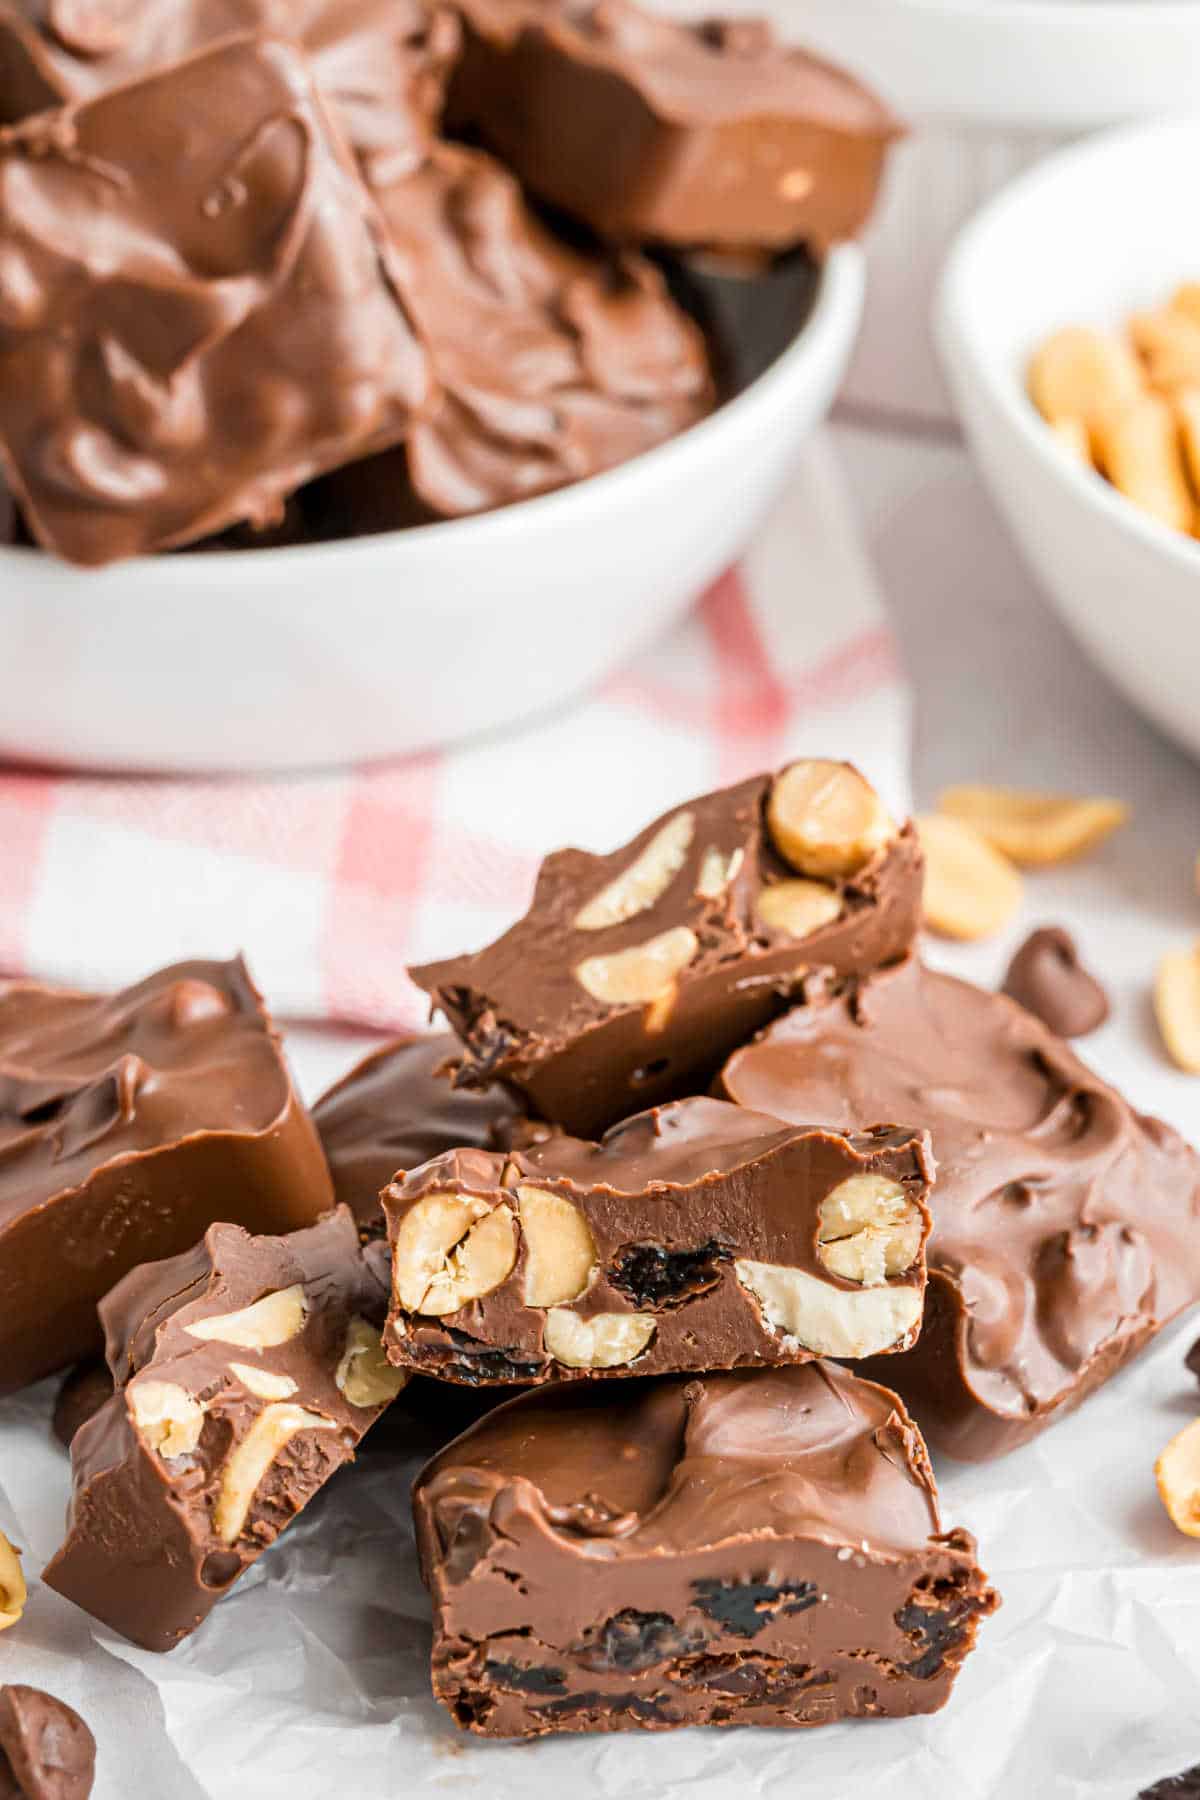
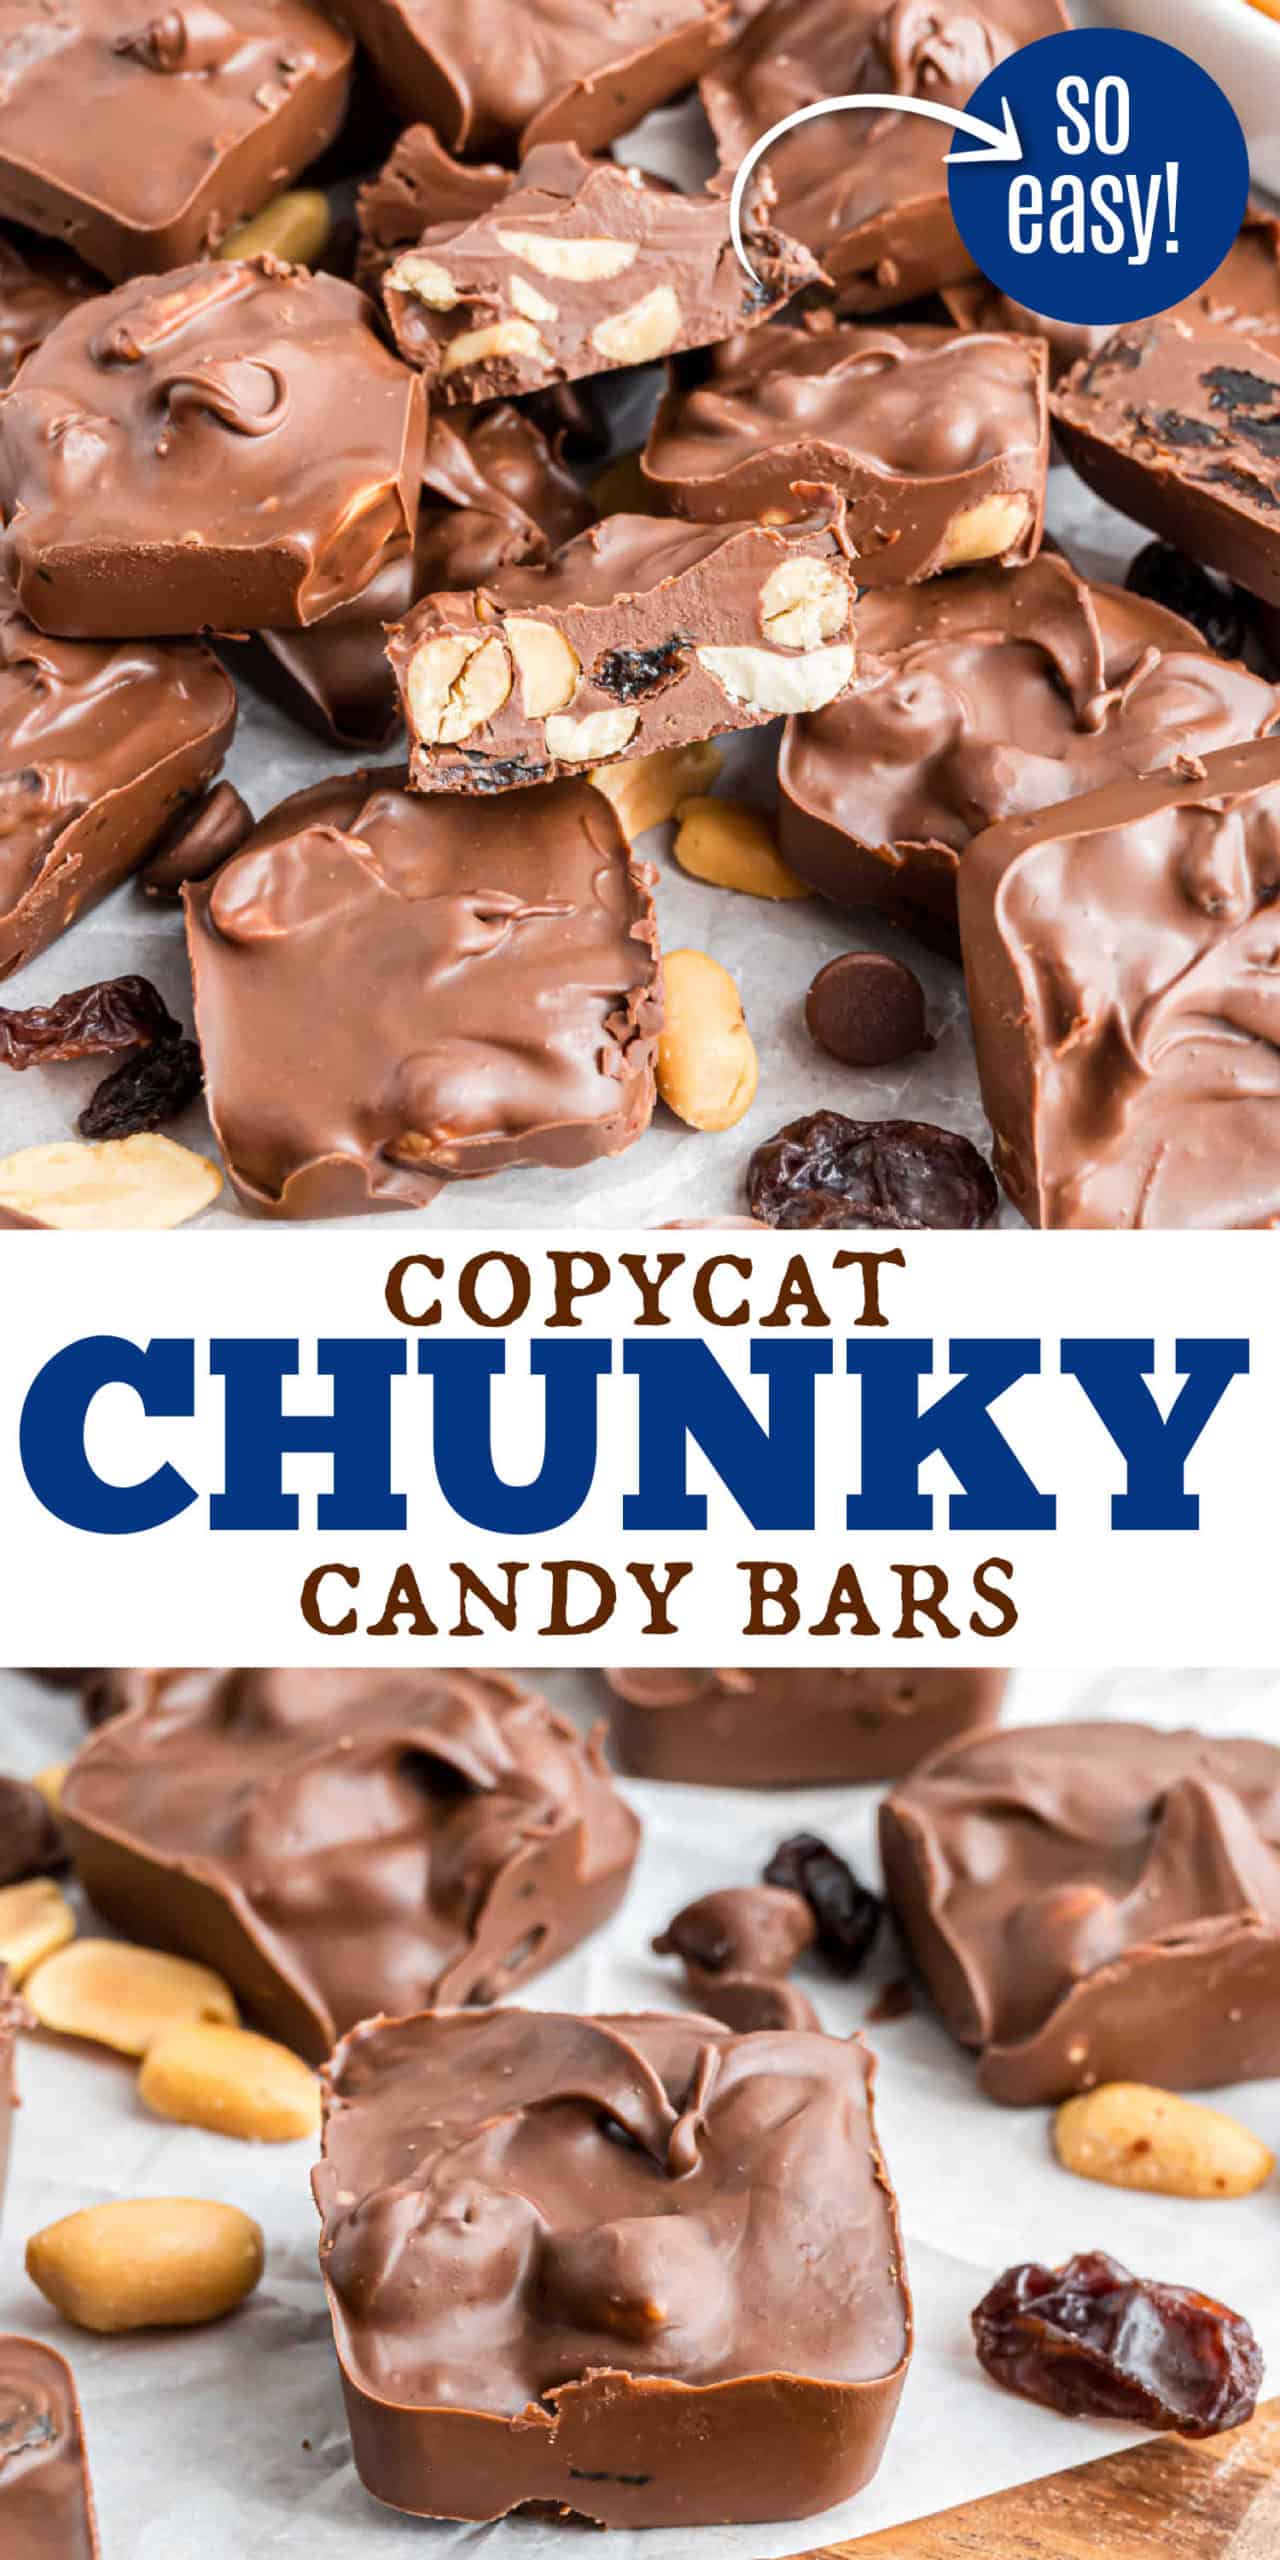
These homemade Chunky Candy Bars are loaded with salty roasted peanuts, raisins, and rich chocolate in every bite and they’re super simple to put together.
I remember choosing this big silver wrapped candy in the checkout lane while grocery shopping. I had to recreate it!
Aimee’s Recipe Notes
Taste: Sweet and nutty.
Texture: Chewy from the raisins, smooth chocolate, and a nut crunch.
Ease to Make: No bake treat, made in minutes.
Top Tips:
- Make ahead and store in the fridge for a longer shelf life.
- Use your favorite mix-ins for added flavor variety.
- Use the brownie pan or a square dish for making this candy.
Making homemade candy does not have to be hard. My easy peanut butter cups are the perfect example of an easy candy treat. And today’s old fashioned candy is right there.
No need for a thermometer, there’s no melted sugar involved, and you don’t even need to know what the soft ball stage is to make these easy, delicious candy bars.
Think of these Chunky Bars as a cluster of nuts, fruit, and chocolate. They have a chewy and crunchy texture. Making them is just a matter of melting chocolate and stirring everything together!
Here’s why you’re going to love this recipe:
- Salty nuts contrast the sweet raisins, creamy chocolate with crunchy peanuts and chewy dried fruit—it’s absolute perfection.
- It’s also easy to customize these chunky candy bars with your favorite ingredients.
- Making these Chunky candy bars at home is quick and easy. They’re great for bake sales and tucking into tins of your favorite Christmas candies.
Want to try more homemade candy recipes? This Homemade English Toffee Recipe is one of my favorites. Crock Pot Candy and chocolate nonpareils are also incredibly easy candy recipes to try!
Only Five Ingredients
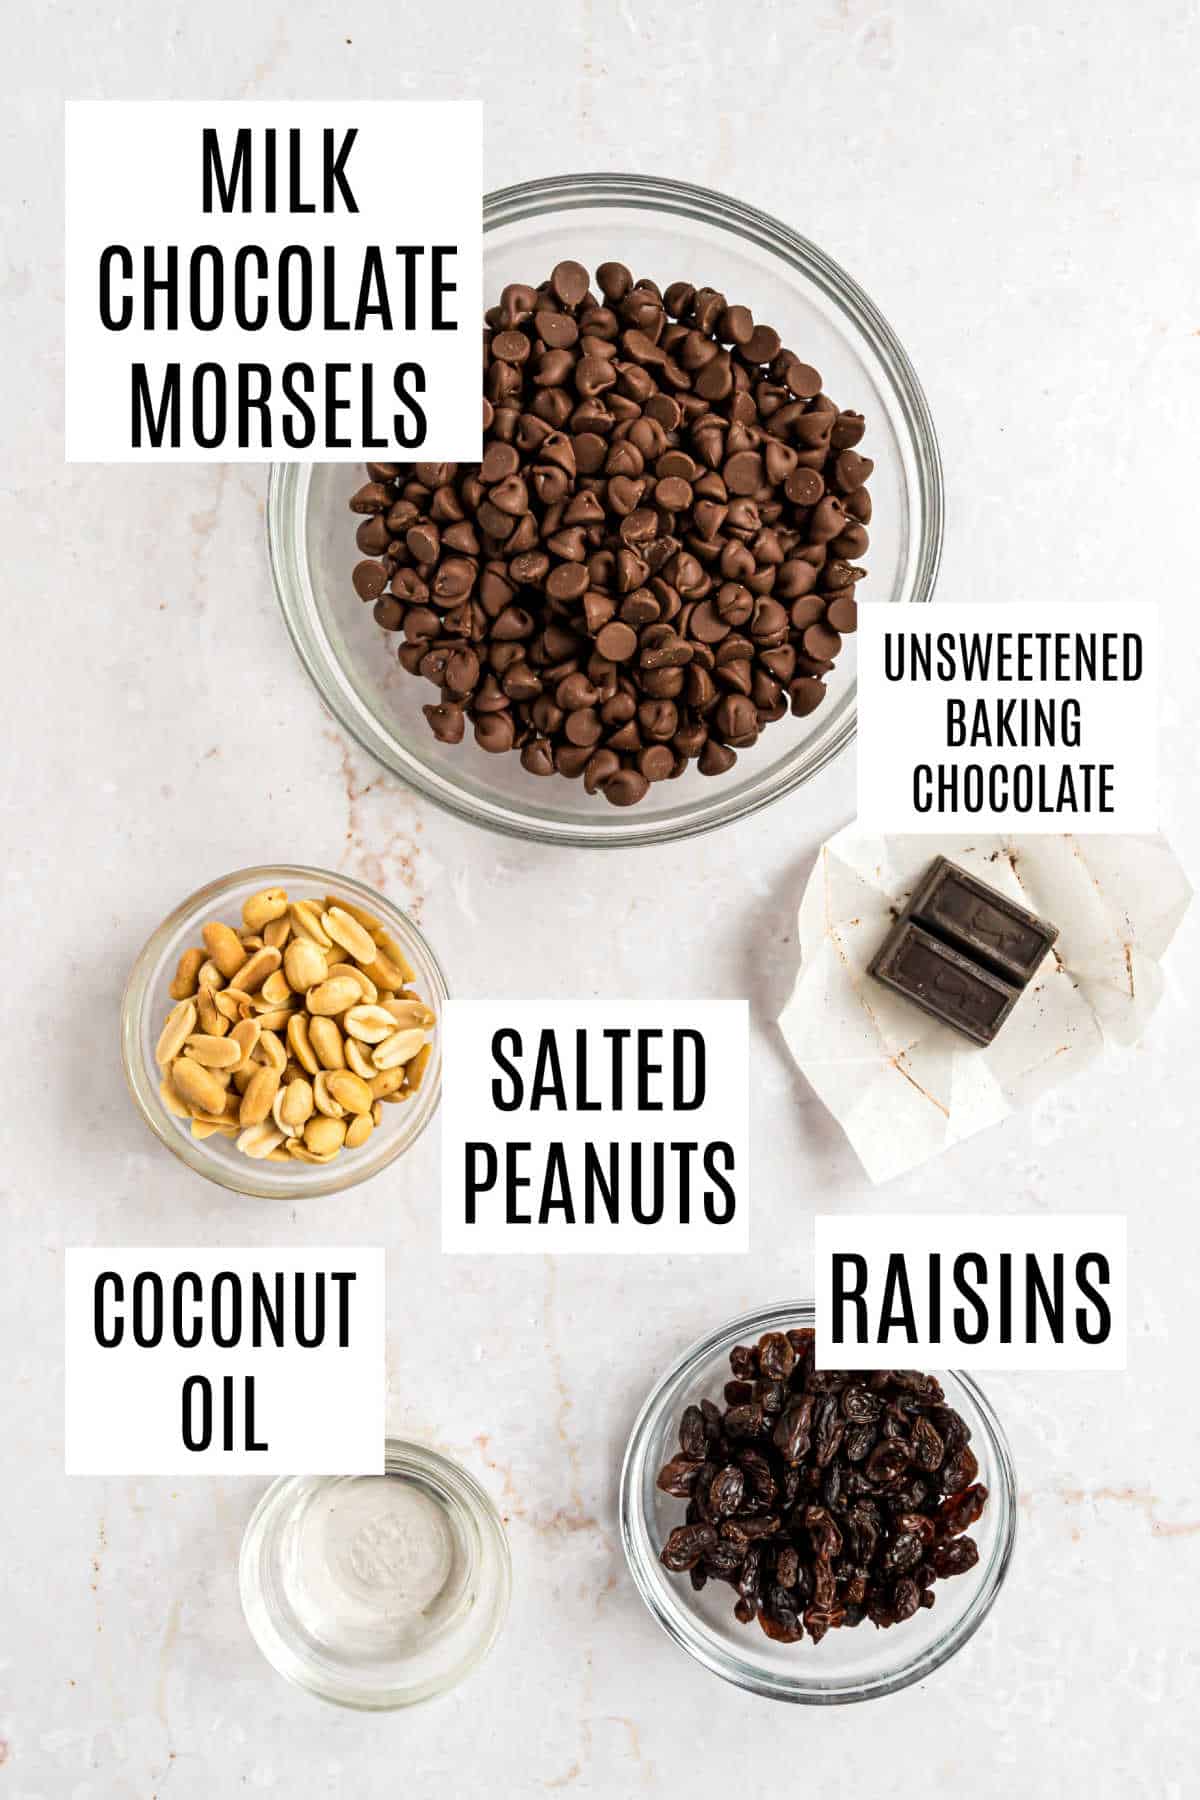
The full ingredient list is in the recipe card below, but here are some important things to note.
- Chocolate – You’ll need milk chocolate morsels and unsweetened baking chocolate.
- Coconut oil – This makes the chocolate smoother, shinier, and gives it an irresistible melt-in-your-mouth quality.
- Salted peanuts – I love the contrast between salty roasted peanuts and raisins! Swap out for cashews or almonds for a nutty twist.
- Raisins – If you’re not a fan, another dried fruit can be swapped in. Dried cherries and craisins are delicious alternatives.
How to Make Chunky Candy Bars
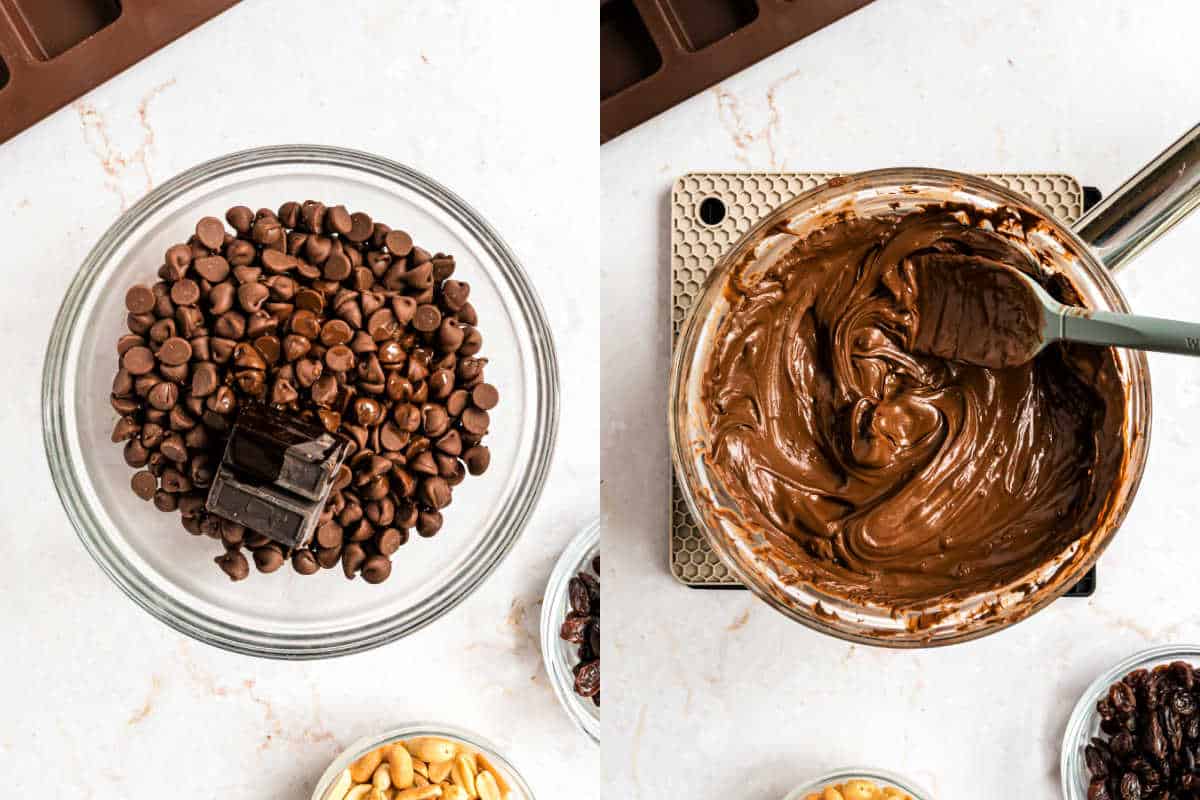
Melt the Chocolate: Add the two types of chocolate and coconut oil to a warm double boiler. Stir until the chocolate is completely melted, then remove from heat.
Add the Mix-Ins: Stir the peanuts and raisins into the chocolate.
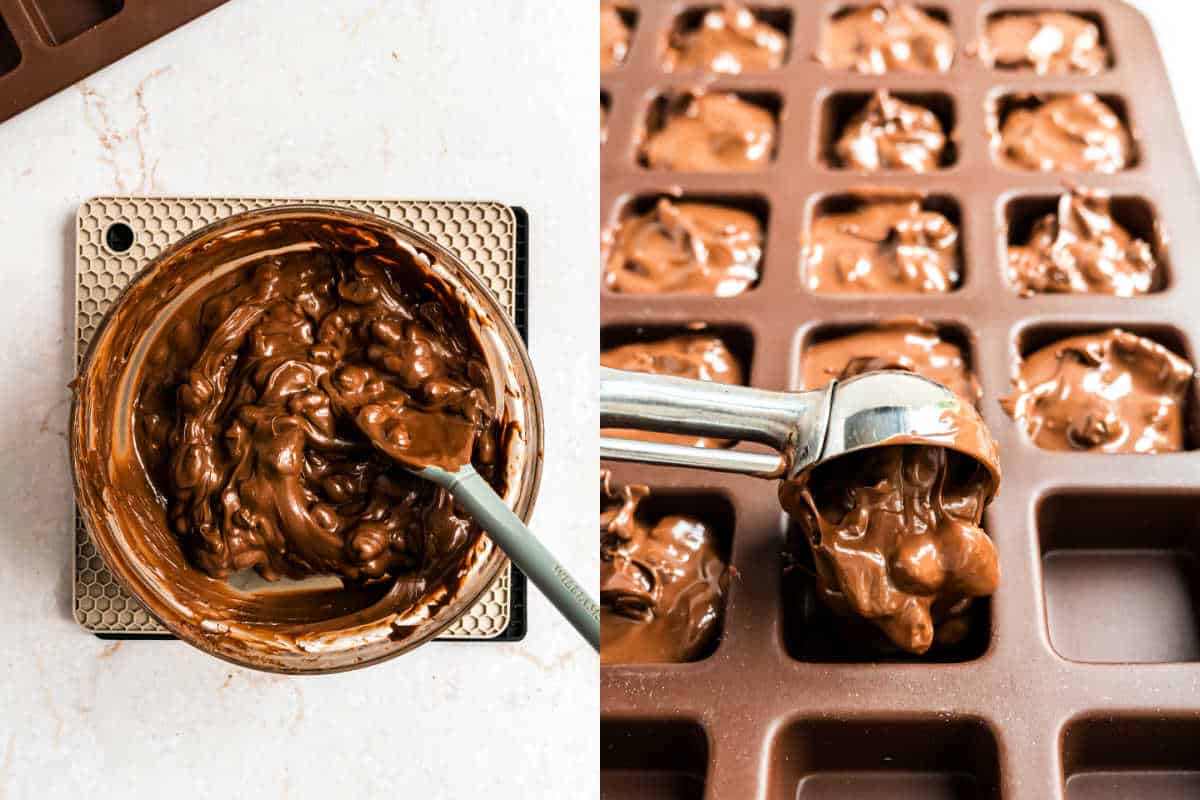
Form the Candy Bars: Drop a tablespoon of chocolate into the cavities of a silicone brownie mold until you’ve used all of the chocolate mixture.
Set: Let the chocolate bars set at room temperature for 30 minutes, or in the refrigerator for 15 minutes.
Finish: Remove the Chunky candy bars from the molds and store in an airtight container at room temperature for up to 2 weeks.
Tips and Tricks
- I like to use a silicone brownie pan because it’s the perfect size and shape for homemade Chunky candy bars and the soft silicone makes it easy to pop out the bars once they’ve set.
- Alternatively, you can use a square baking dish with parchment paper and pour the chocolate mixture into that. Once it sets, pull the parchment out of the pan, transfer it to a cutting board, and use a sharp chef’s knife to cut it into bars.
- If you’d like, you can use dark chocolate instead of milk chocolate. I like to use milk chocolate because that’s what’s in store-bought Chunky candy bars.
More Homemade Candy Recipes
- These Homemade Turtles Candy start with a pecan base, add freshly melted buttery soft caramel, and then covered in melted chocolate. These 3 ingredient bites are a must-have!
- White Trash Candy tastes so much better than it sounds! Add salty sweet snacks to a bowl, pour over melted white chocolate, enjoy!
- This impressive Cool Whip Candy tastes like a 3 musketeers but even better! This homemade candy only takes 3 ingredients too!
- This southern classic, Divinity Candy is made of a soft chewy vanilla treat, packed with candied pecans!
- To make Pretzel Candy, grab some pretzels and some Hershey Kisses and enjoy! Simple treat, simply delicious!
My Cookbook is Here!
- 5 categories of delicious treats!
- Full page photos for EVERY recipe.
- QR codes with every recipe to receive BONUS recipes!
- 35 mouth-watering, expert tested recipes!
Pin this now to find it later
Pin It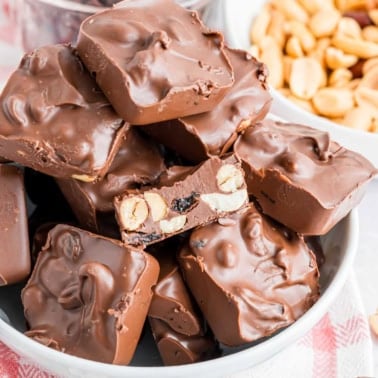
Chunky Candy Bars Recipe
Ingredients
- 1 bag 11.5 ounce milk chocolate morsels
- 1 ounce unsweetened baking chocolate
- 1 Tablespoon coconut oil
- ½ cup salted peanuts
- ½ cup raisins
Instructions
- Using a double boiler method, bring a small saucepan with 1-inch of water to a boil. Place a double boiler, or glass bowl, that fits on top of the saucepan over the water.
- Add milk chocolate, unsweetened chocolate, and coconut oil to the warmed double boiler. Stir continuously until chocolate is melted and smooth. Remove from heat.
- Add in peanuts and raisins, stirring until combined,
- Using a 1 Tablespoon scoop, drop a dollop of chocolate into the cavity of a silicone brownie mold (see notes below). Repeat until all the chocolate has been evenly divided into the mold.
- Allow chocolate to set at room temperature for about thirty minutes, or place in the refrigerator for 15 minutes to speed set the chocolate.
- Once firm, pop each piece of candy out of the silicone cavity and store in an airtight container at room temperature for up to 2 weeks.
Notes
- I love using a silicone mold brownie pan, like this one on Amazon. You can also use a 9-inch square baking dish lined with parchment paper if you prefer.
- Dark chocolate can also be substituted for milk chocolate. However the original Chunky Candy bar is a milk chocolate treat.
- Store candy in an airtight container at room temperature for up to 2 weeks.
- For a twist on flavor, swap out the raisins for other dried fruits.

OPEN WIDE FOR CHUNKEYS
What silicone pan did you use? I have found some on Amazon but was not sure which to order. Thank you for your answer.
Hi Linda, the one I use is linked to on Amazon in my recipe card 🙂
Thank you, I overlooked the notes section.
Can you just put on parchment paper.
You can drop dollops onto a piece of parchment paper, they won’t hold their iconic square shape, but they will still taste amazing.
I haven’t made this yet but I know it’s going to be wonderful to give out as gifts at Christmas.