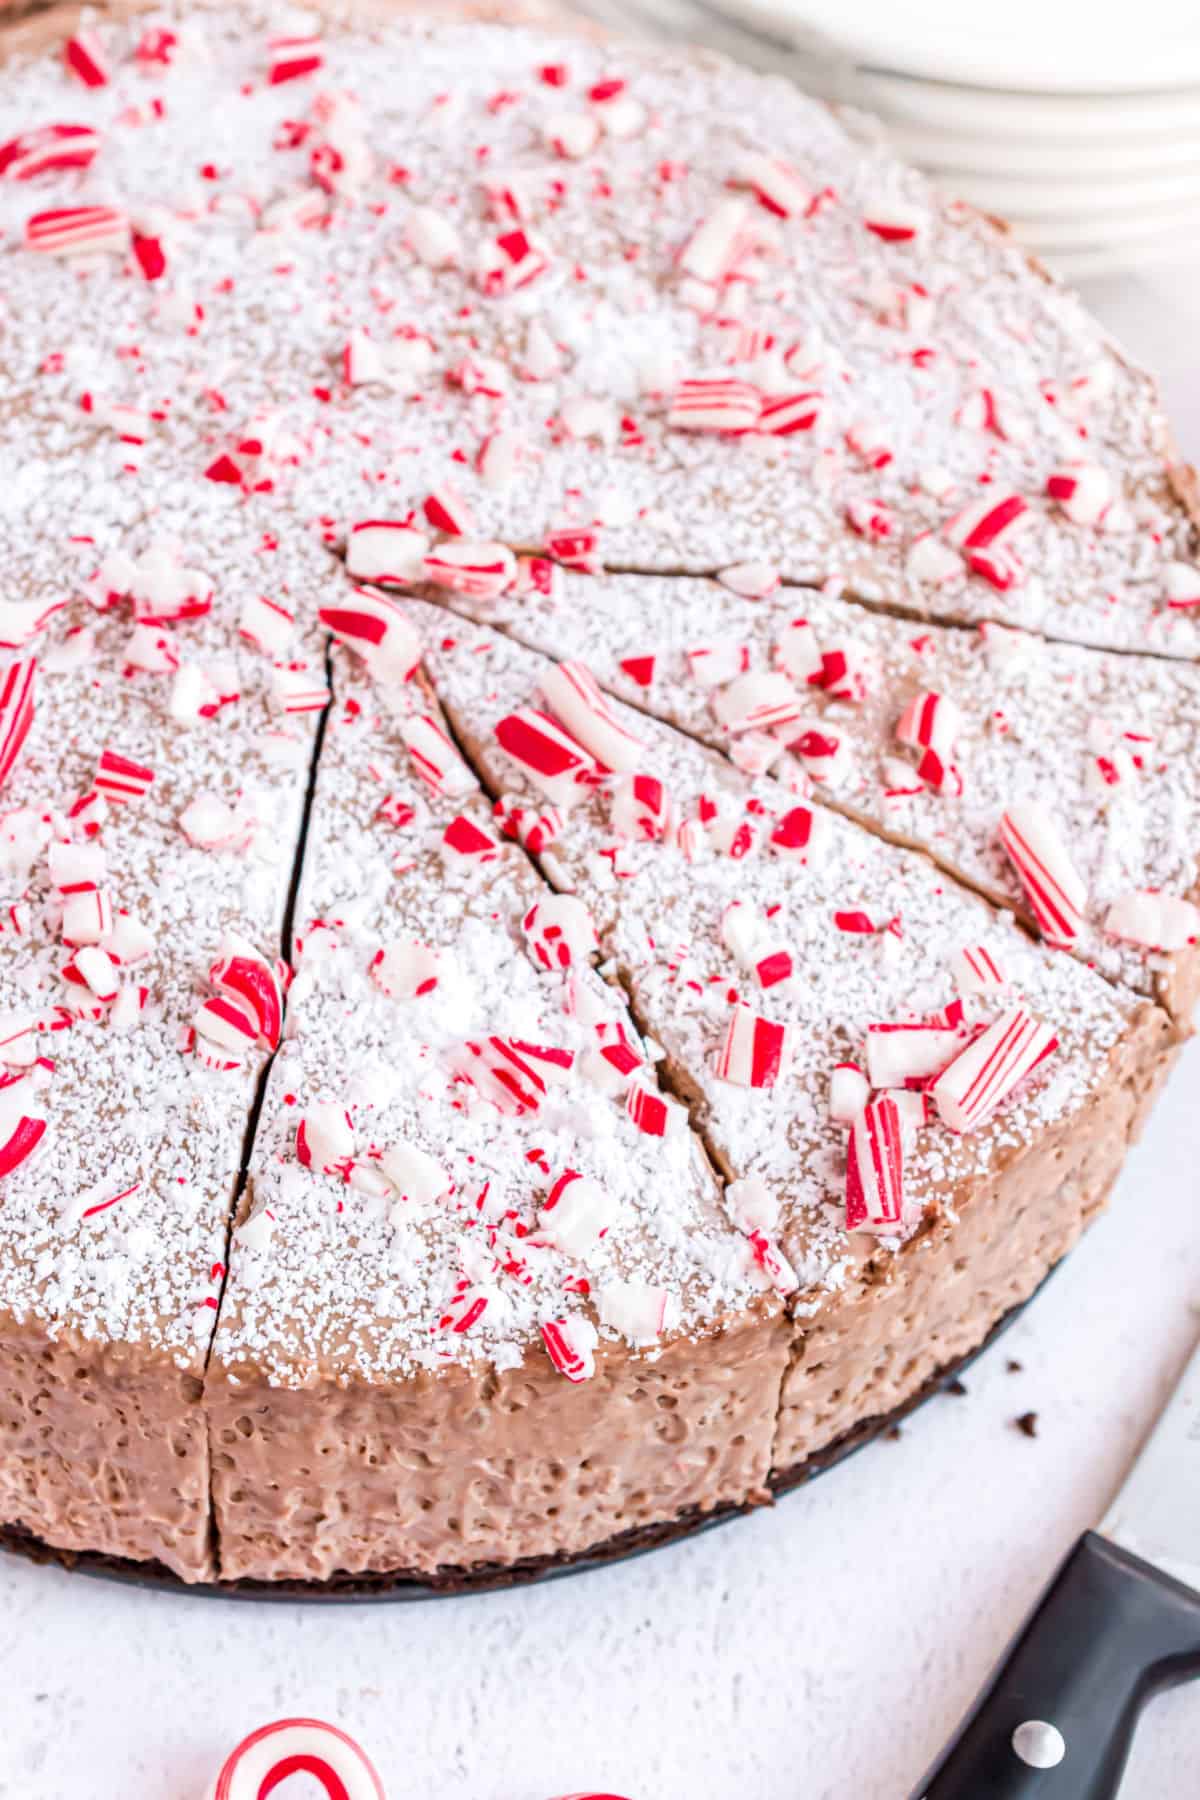
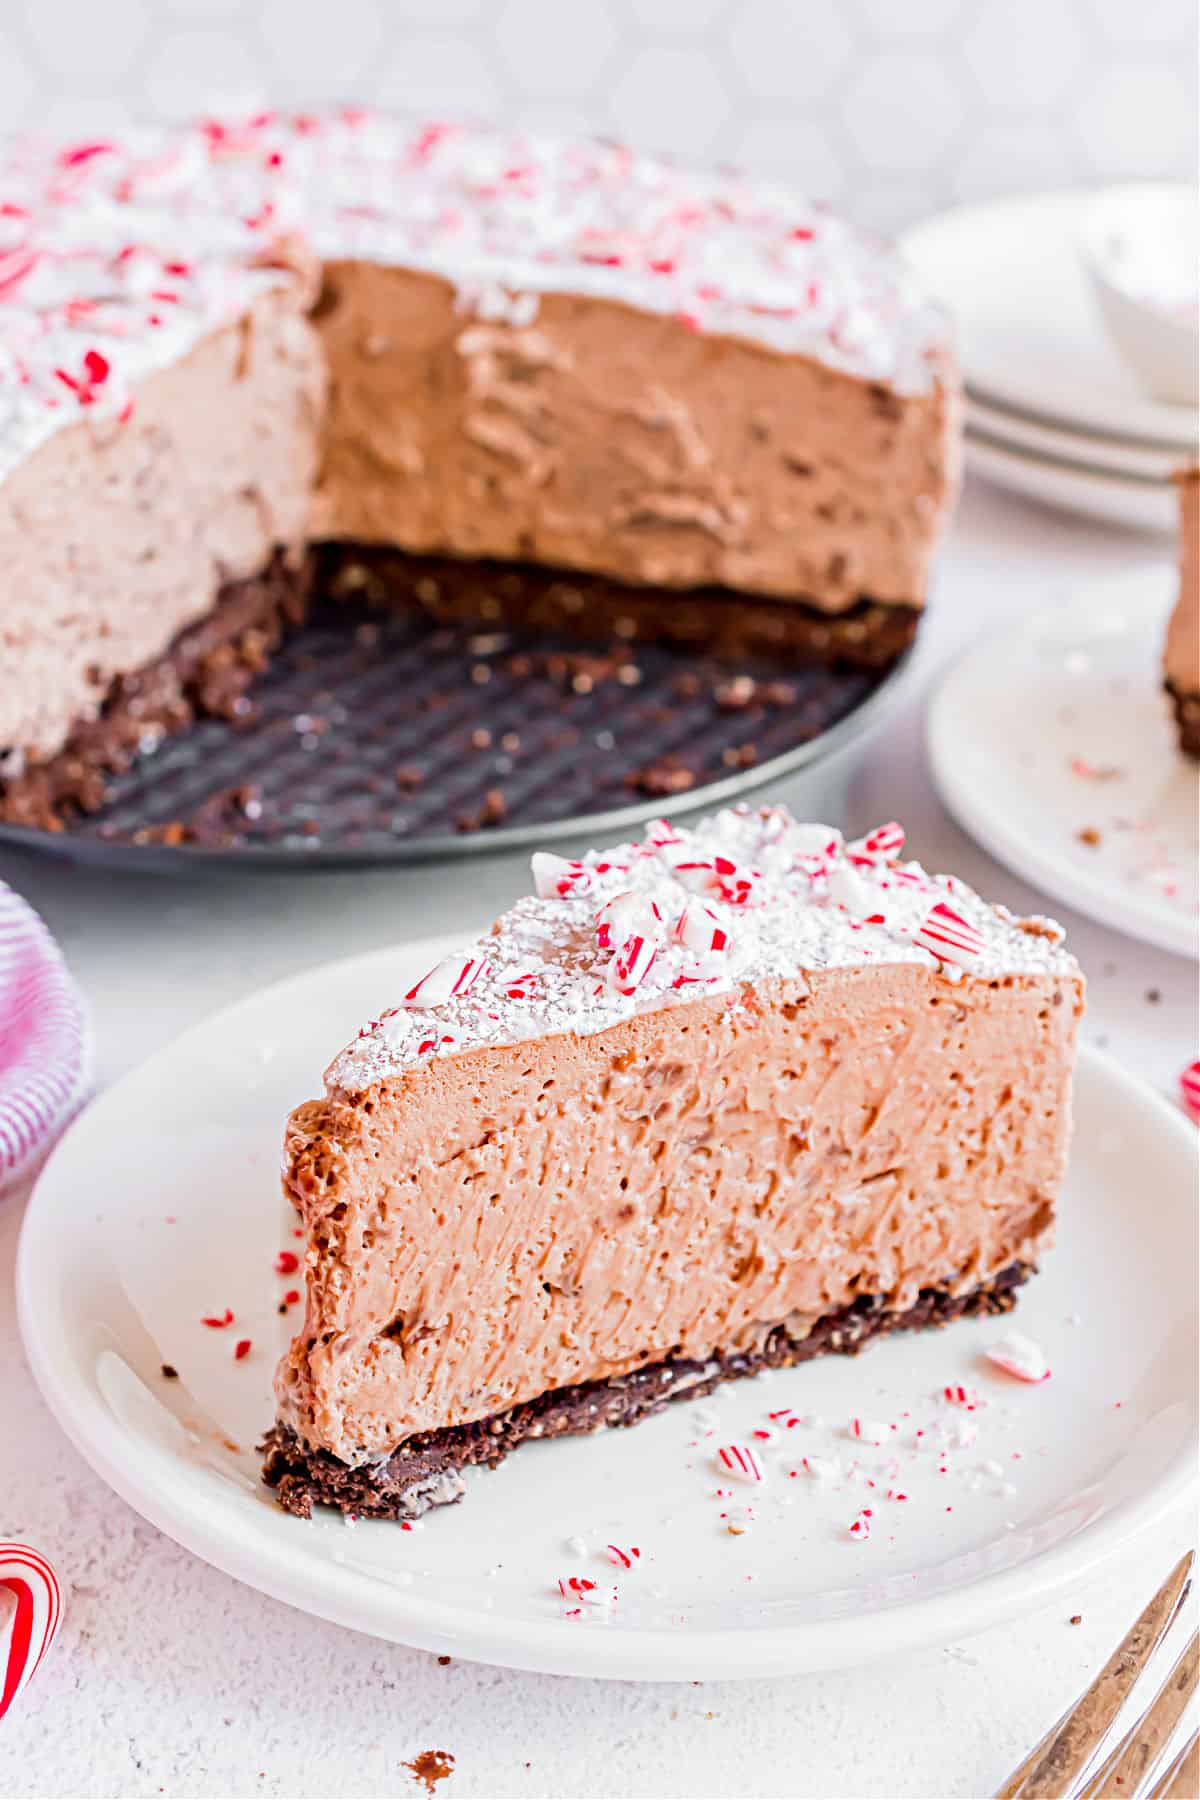
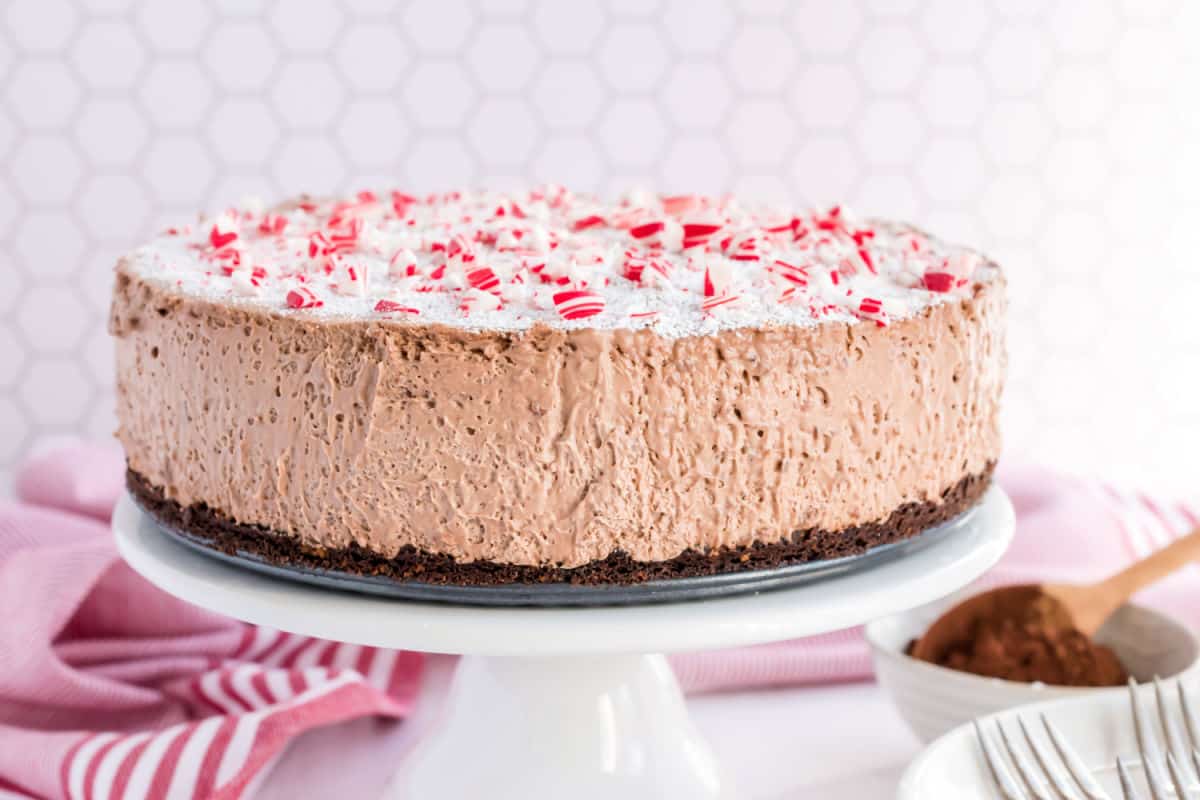
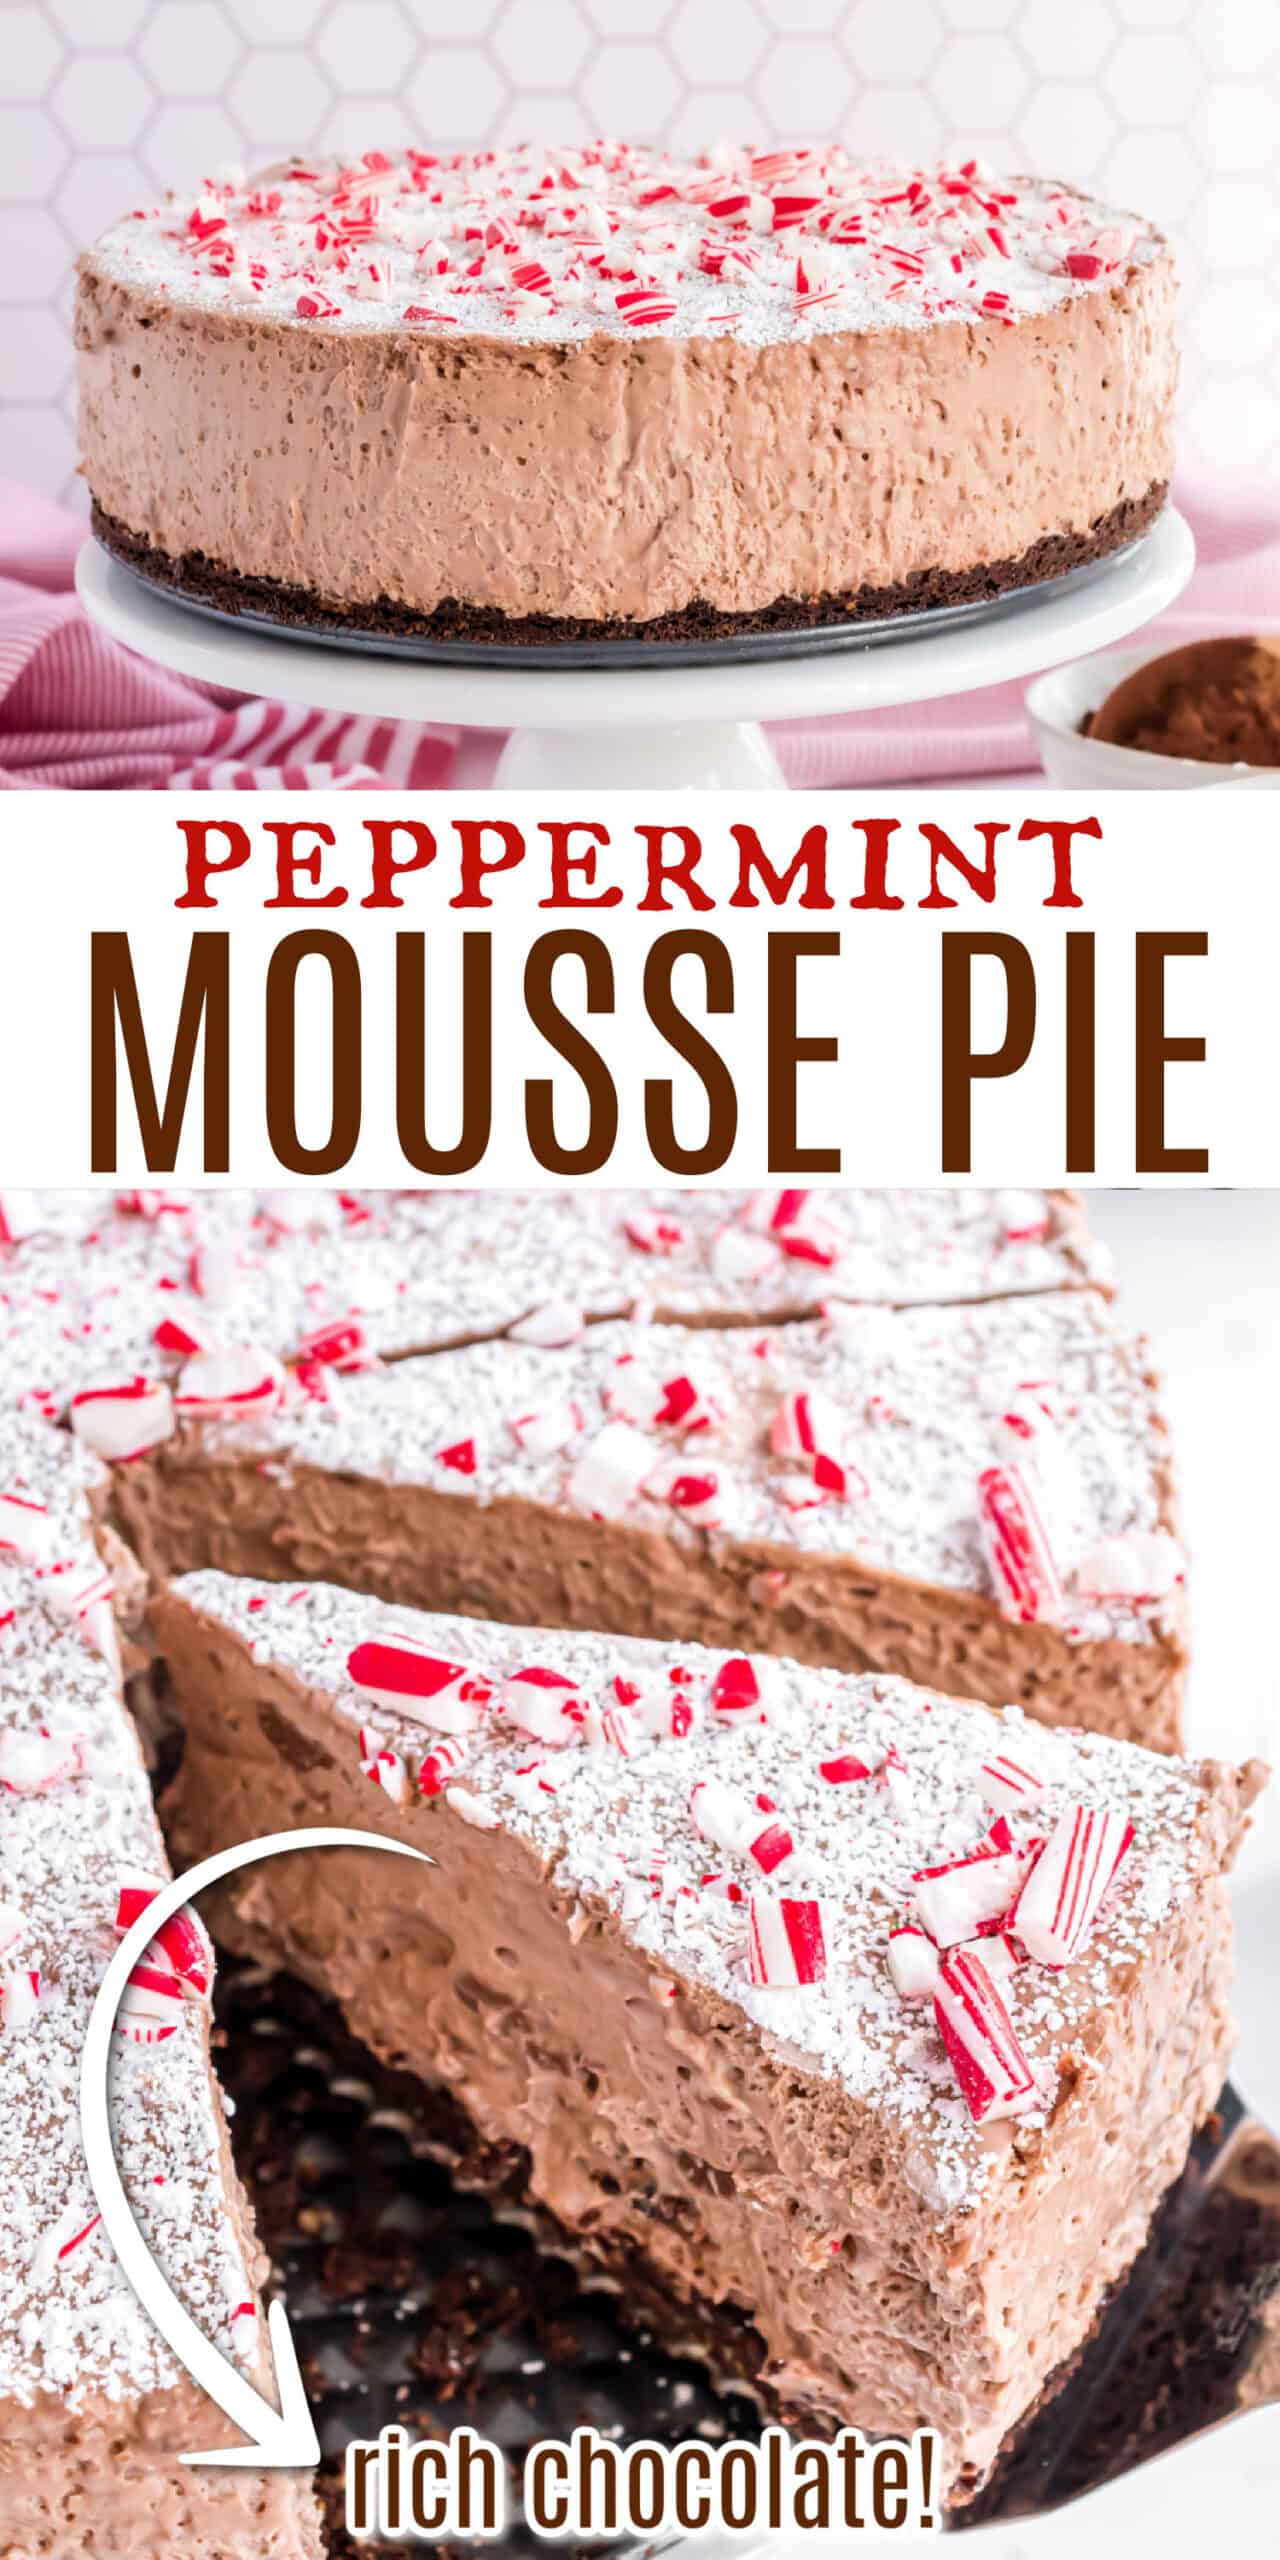
Rich and decadent Chocolate Peppermint Mousse Pie is the holiday dessert of your dreams! A creamy nutella mousse filling is served over a chocolate hazelnut crust with a crushed candy cane topping.
If you like chocolate and peppermint together, give these Peppermint Dark Chocolate Meringue Cookies a try this winter too. Our readers love this easy chocolate peppermint shortbread cookie!
Why This Recipe is Best
When it comes to making desserts for the holiday, it’s hard to resist classic Christmas cookies and Christmas candy.
However, sometimes you want something impressive, that is so flavorful and worth the time to make it!
- Chocolate and peppermint. We can’t enough of this flavor pairing especially at Christmas time! Hint: our chocolate peppermint grahams are amazing too.
- Easy mousse pie. The hardest part of this recipe is the patience you need wait for the mousse to chill!
- Festive and fun. This candy cane covered pie stands out from the crowd of the usual holiday dessert suspects.
- Make ahead dessert. It stores well in the fridge or even the freezer!
Love peppermint? Use our easy no bake recipe for peppermint krispie treats for a festive dessert without the fuss.
Ingredient Notes
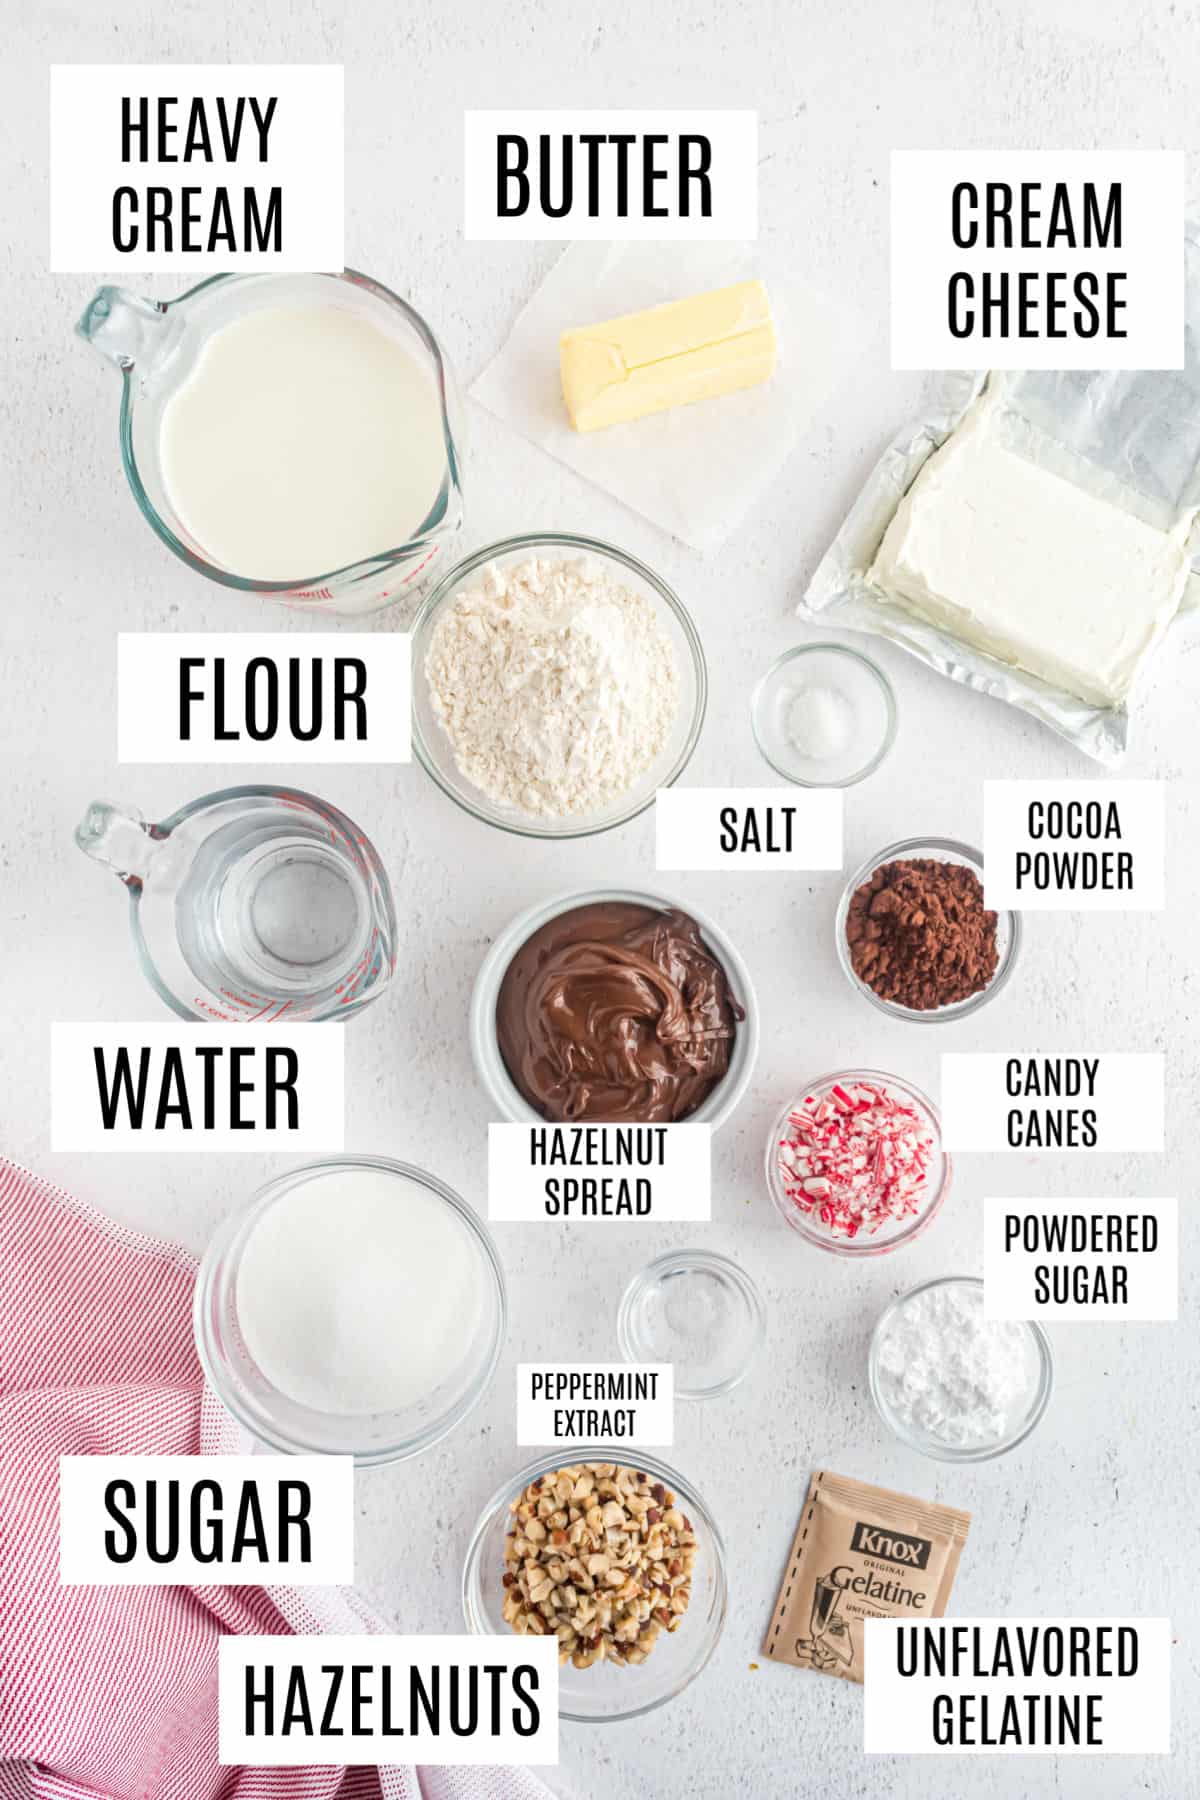
- Dark cocoa powder – For best flavor, we recommend using the best quality cocoa you can. Ghirardelli and Hershey’s Special Dark are two great options. Cheaper brands don’t deliver nearly the same depth of chocolatey flavor without leaving a bitter taste.
- Chocolate hazelnut spread – Blending a spread like Nutella into the mousse makes it twice as rich and decadent!
- Unflavored Gelatin – You’ll add it to cold water to “bloom” before incorporating it into the filling. Gelatin gives this soft pie filling its structure and shape.
- Peppermint Extract – We recommend pure peppermint extract (not imitation flavoring) to give this chocolate pie a minty touch.
Step by Step Instructions
Combine the ingredients for the crust.
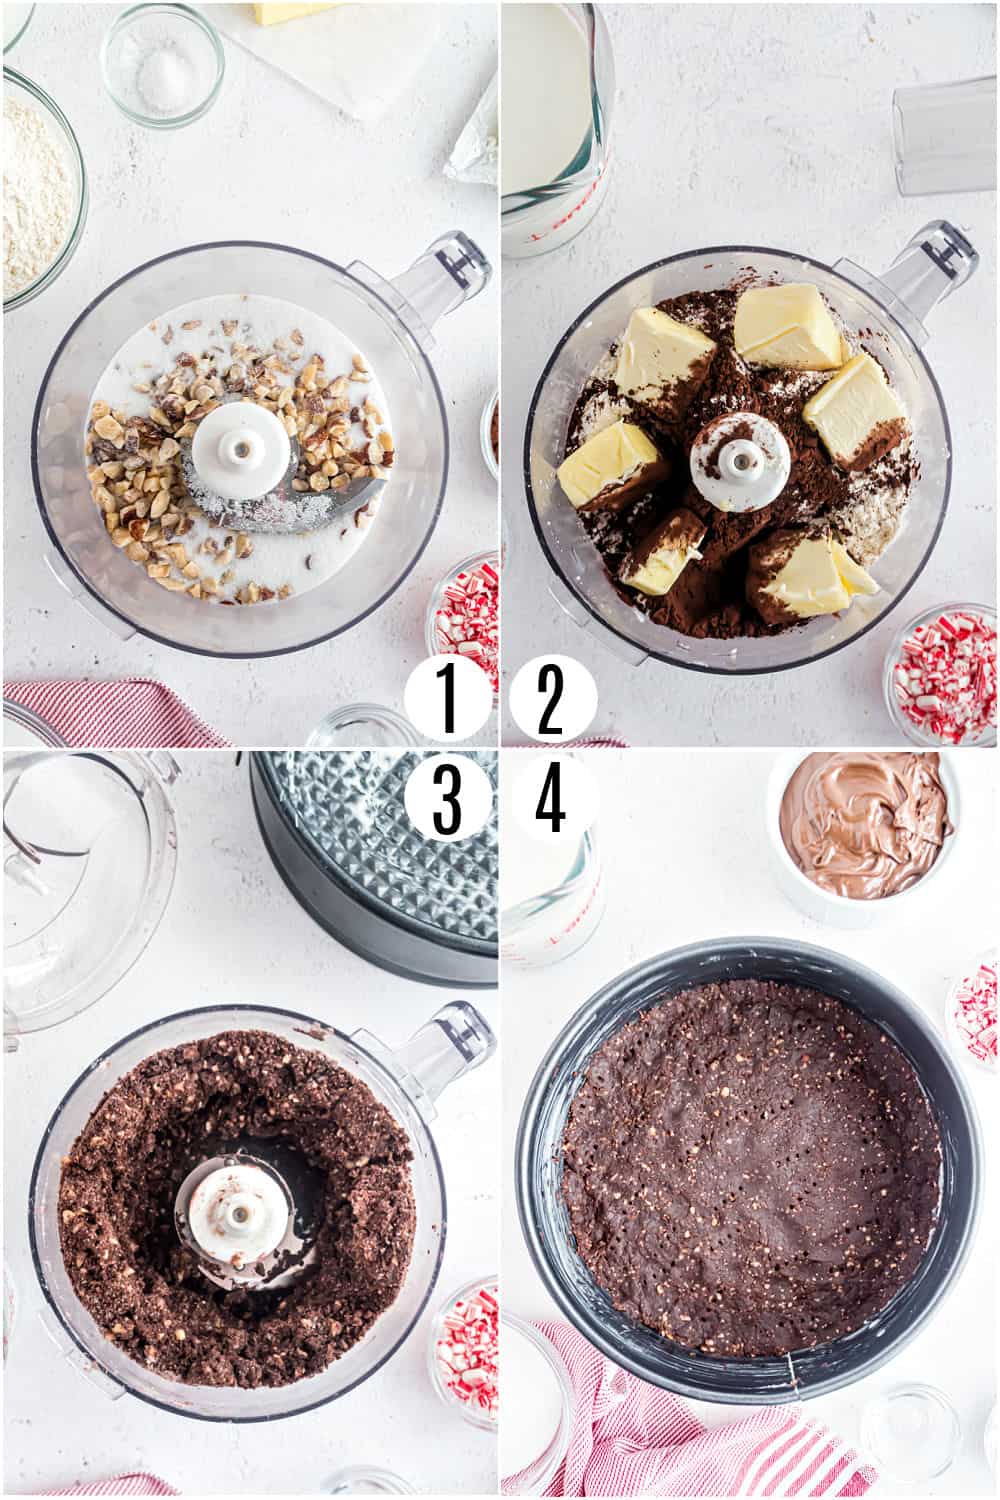
Use a food processor to finely grind hazelnuts with granulated sugar. Now add cocoa powder, flour, kosher salt and softened butter. Pulse until the ingredients are well blended.
Bake the crust.
Press the crust mixture into the bottom of a spring form pan. Bake for about 18 minutes. Let the crust cool completely.
Bloom the gelatin.
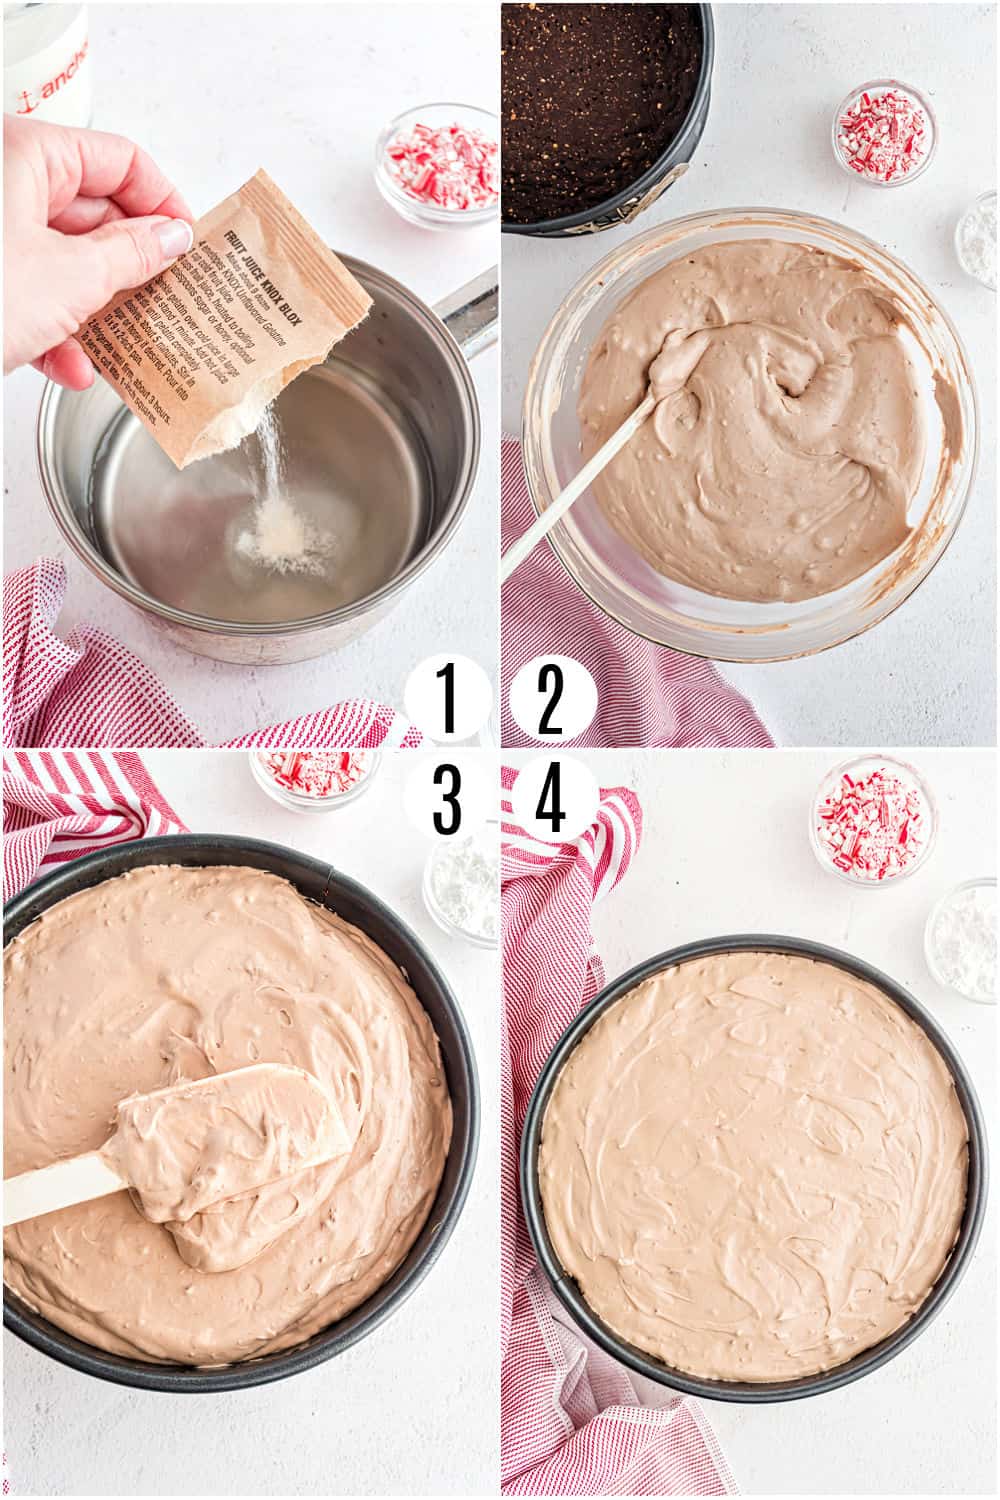
While the crust is cooling, sprinkle gelatin powder over a sauce pan of cold water. Let it “bloom” for 2 minutes, then bring the sauce pan to low heat, whisking the gelatin until it’s completely dissolved into the water.
Make the chocolate mousse filling.
Now it’s time for the best part! Beat together your chocolate hazelnut spread, cream cheese, and peppermint extract. Add the gelatin and continue to beat well with an electric mixer until the mixture is smooth and combined.
In a separate bowl, beat heavy cream with sugar to form soft peaks. Fold in the cream cheese mixture to form a mousse.
Assemble.
Pour the mousse over the cooled hazelnut crust. Refrigerate the chocolate peppermint mousse pie for at least 3 hours.
Sprinkle the top of the chilled pie with crushed candy canes and powdered sugar before serving.
Tips and Tricks
- Removing pie from the pan: Run a plastic knife around the inside edges of the spring form pan before sliding off the sides.
- Use a cold bowl: Heavy cream will form peaks much more efficiently and consistently if you whip it in a cold metal bowl. I like to place the bowl in the freezer for a couple of minutes before making this mousse filling.
- Grease your pan: Rub about 1 tablespoon of butter along the bottom of your spring form pan to prevent the crust from sticking.
Recipe FAQs
This chocolate peppermint mousse pie can be prepared up to 2 days before serving, if stored in the refrigerator. Stored in the freezer, this pie stays good for 4 weeks! Thaw frozen mousse pie in the fridge before serving.
Yes, you can use a standard 9-inch round pan to make this recipe. You can slice and serve it right out of the pan, it will just be a little trickier.
Blooming is an essential step for many recipes incorporating gelatin. To bloom gelatin, you add the powder to cold water and let it sit for several minutes. The powder will begin to increase in size as it absorbs the water. The blooming step helps the gelatin dissolve more easily as its heated.
Easy Pie Recipes
See all Pies and Tarts recipesPin this now to find it later
Pin It
Chocolate Peppermint Mousse Pie
Ingredients
For the Crust
- 1 Tablespoon unsalted butter
- ½ cup hazelnuts chopped
- ¼ cup granulated sugar
- ¾ cup all-purpose flour
- 3 Tablespoons unsweetened dark cocoa powder
- 6 Tablespoons unsalted butter softened
- ¼ teaspoon kosher salt
For the Filling
- ½ cup cold water
- 1 envelope unflavored gelatin
- 1 cup chocolate hazelnut spread Nutella
- 8 ounces cream cheese softened
- 1 ½ teaspoons peppermint extract
- 3 cups heavy whipping cream
- ⅔ cup granulated sugar
For Garnish
- 3 Tablespoons powdered sugar
- ¼ cup crushed peppermint candy canes
Instructions
- Grease a 9-inch springform pan with 1 tablespoon butter; set aside.
- In a food processor, pulse hazelnuts with granulated sugar until finely ground. Add flour, cocoa powder, softened butter, and salt. Continue to pulse until well blended. Press into bottom of pan. (Mixture may be crumbly; use hands to press into pan in an even layer.) Poke with fork.
- Bake in a 375 degree oven for 18 to 20 minutes. Cool completely.
- In a small saucepan, add cold water to pan. Sprinkle with gelatin and allow to bloom (absorb water) for 2 minutes. Heat saucepan on low and whisk gelatin water for several minutes until completely absorbed and dissolved. Remove from heat.
- In mixing bowl, beat chocolate hazelnut spread, cream cheese, and peppermint extract. Add gelatin to cream cheese mixture. Beat on medium high for 2 to 3 minutes, scraping down sides of bowl as necessary. Set aside.
- In a cold mixing bowl, beat heavy cream with sugar until soft peaks form. Fold in cream cheese mixture. Pour over cooled crust and refrigerate for 3 hours or overnight.
- To remove springform pan, use plastic knife and run along edges. Remove sides of pan.
- When ready to serve, sprinkle with powdered sugar and crushed candy canes.
Notes
Nutrition
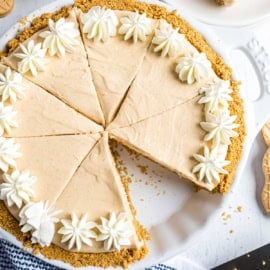
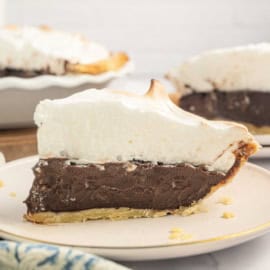
This Chocolate Peppermint Mousse Pie makes a perfect finish to any holiday meal or special occasion!



I am so happy I found this recipe! I made it for my husband’s birthday and it was a hit! Thank you!
Amazing recipe!
Not only did this pie come out looking beautiful but it tasted AMAZING too!! I wanted it all to myself!
This mousse pie was amazing, so festive and easy to make, perfect for any December day
It’s so gorgeous Aimee!
Not at all nerve-wracking 😉 It looks like you hit it out of the park with this fluffy pie. Love! Pinned. Headed over to get the recipe.
Aimee, this pie looks amazing!! ANd what a fun experience! I’m heading over to vote now!! 🙂
This looks so light and fluffy yet completely decadent. In other words, I need a slice…or 10.
Yum! That looks decadent and delicious. I love chocolate and peppermint – so festive. Thanks for sharing!
How could anyone NOT vote for your pie??! It looks so silky and light and beautiful and festive!!!
I followed link and voted for you as well. Looks delish. I do have a question on BHG the step on adding the peppermint extract is missing. When and where is it added, thanks!
haha! Good catch. You add the extract to the chocolate hazelnut and cream cheese mixture. Beat it in with those ingredients 🙂 Thanks for the vote!
Woo hoo! That looked like such a fun couple of days! Of course I will vote for this amazing looking dessert!!!
I not only copied the recipe, I voted for you & I so hope you win!!!!!! this recipe is fantastic & so perfect for the holidays
Thank you 🙂