Cherry Hand Pies are shaped like Christmas trees for the holiday season! You only need five ingredients to make festive hand pies with a flaky crust and juicy filling.

Have you tried my Pumpkin Hand Pies yet? They have a walnut glaze that makes them even tastier. These Apple Hand Pies are a favorite for the holidays too.
Why this Recipe Works
Cookie cutters aren’t just for sugar cookies! I love using my holiday cookie cutter collection to give desserts like these mini cherry pies an extra festive look.
And if you don’t want our shortcut tips, use our cherry pie recipe instead!
- Five ingredient hand pie recipe.
- Flaky, buttery crust.
- Beautiful holiday tree shape.
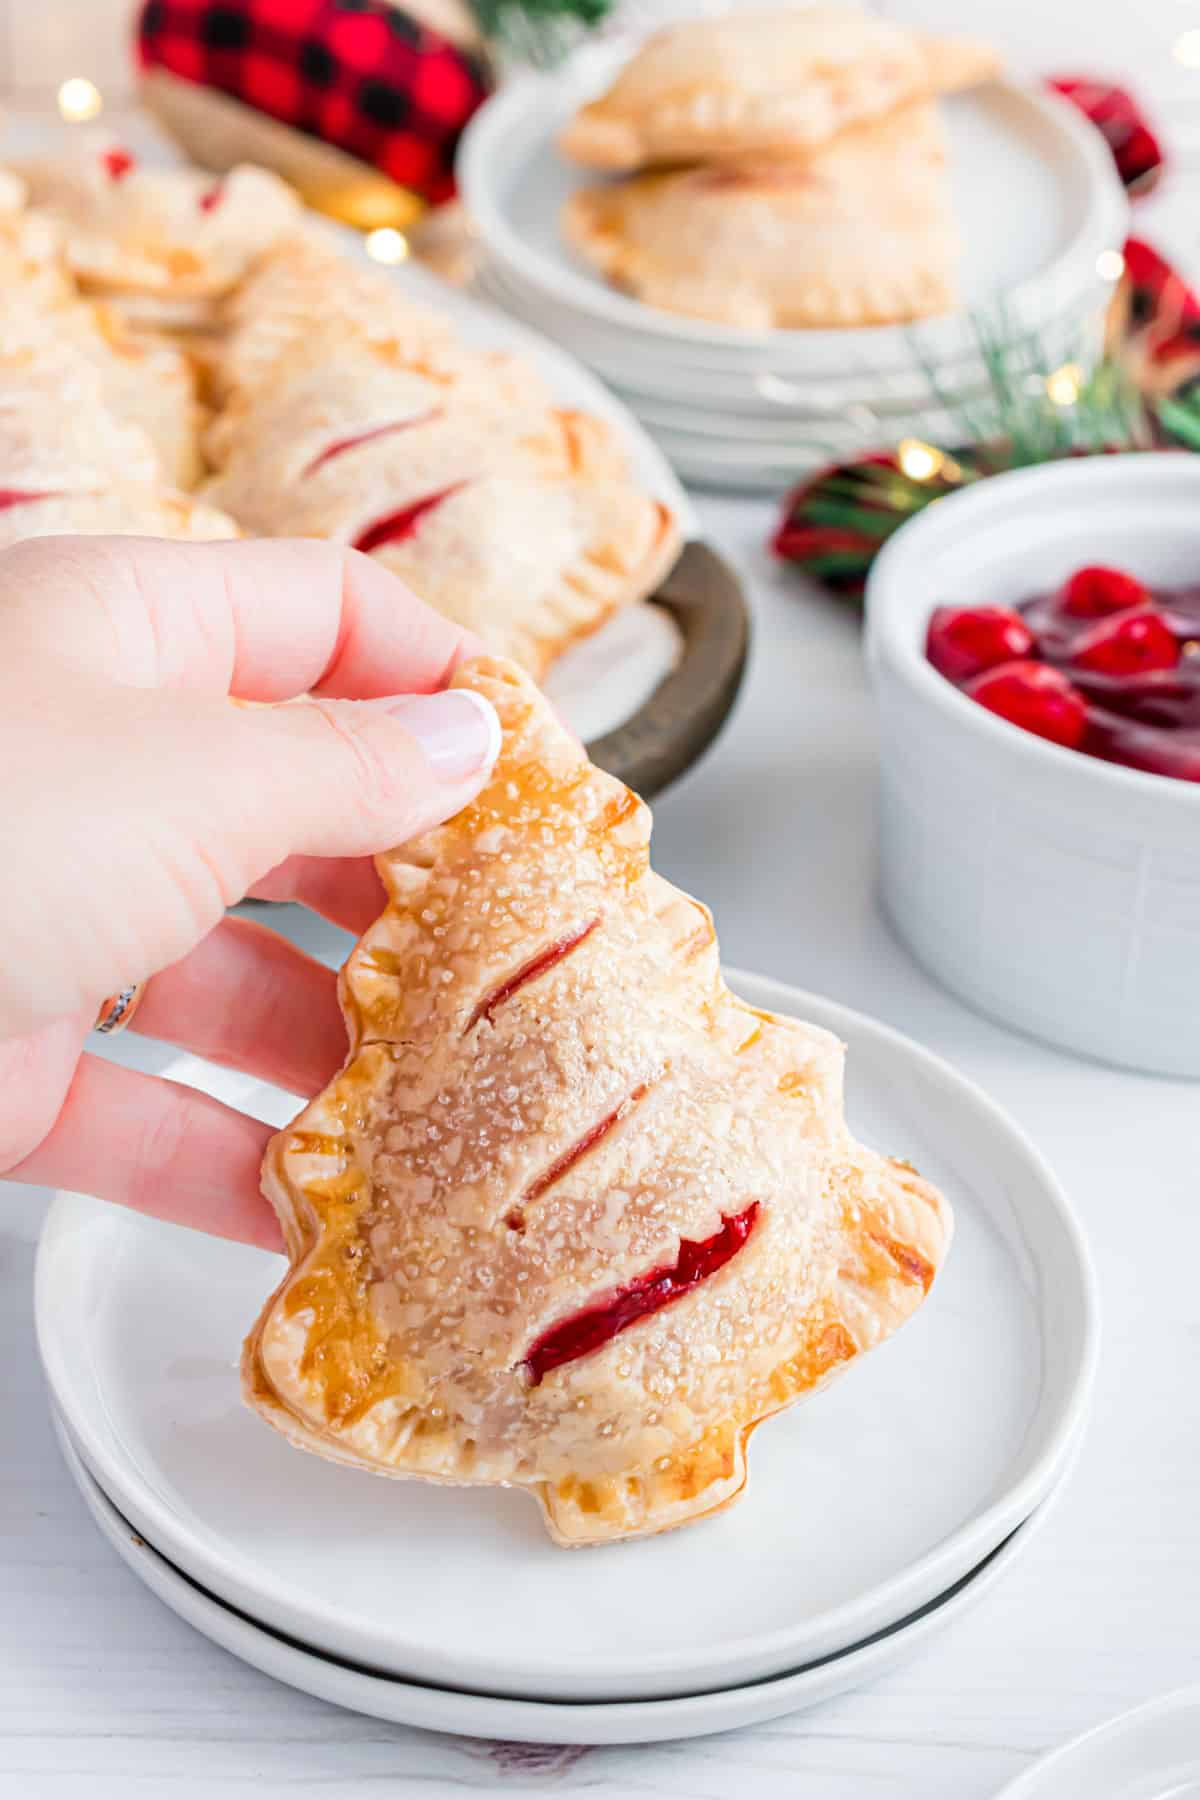
- A dusting of coarse sugar makes them look picture perfect.
It takes just a bit more effort to turn these Cherry Hand Pies into mini Christmas trees. And it’s well worth it!
Of course, if you’re short on time, you can skip the special tree shape and roll the crust into circles like I do in this Peach Hand Pies recipe. Either way, you’ll have amazing homemade Cherry Hand Pies ready to impress your dinner party guests!
Ingredient Notes
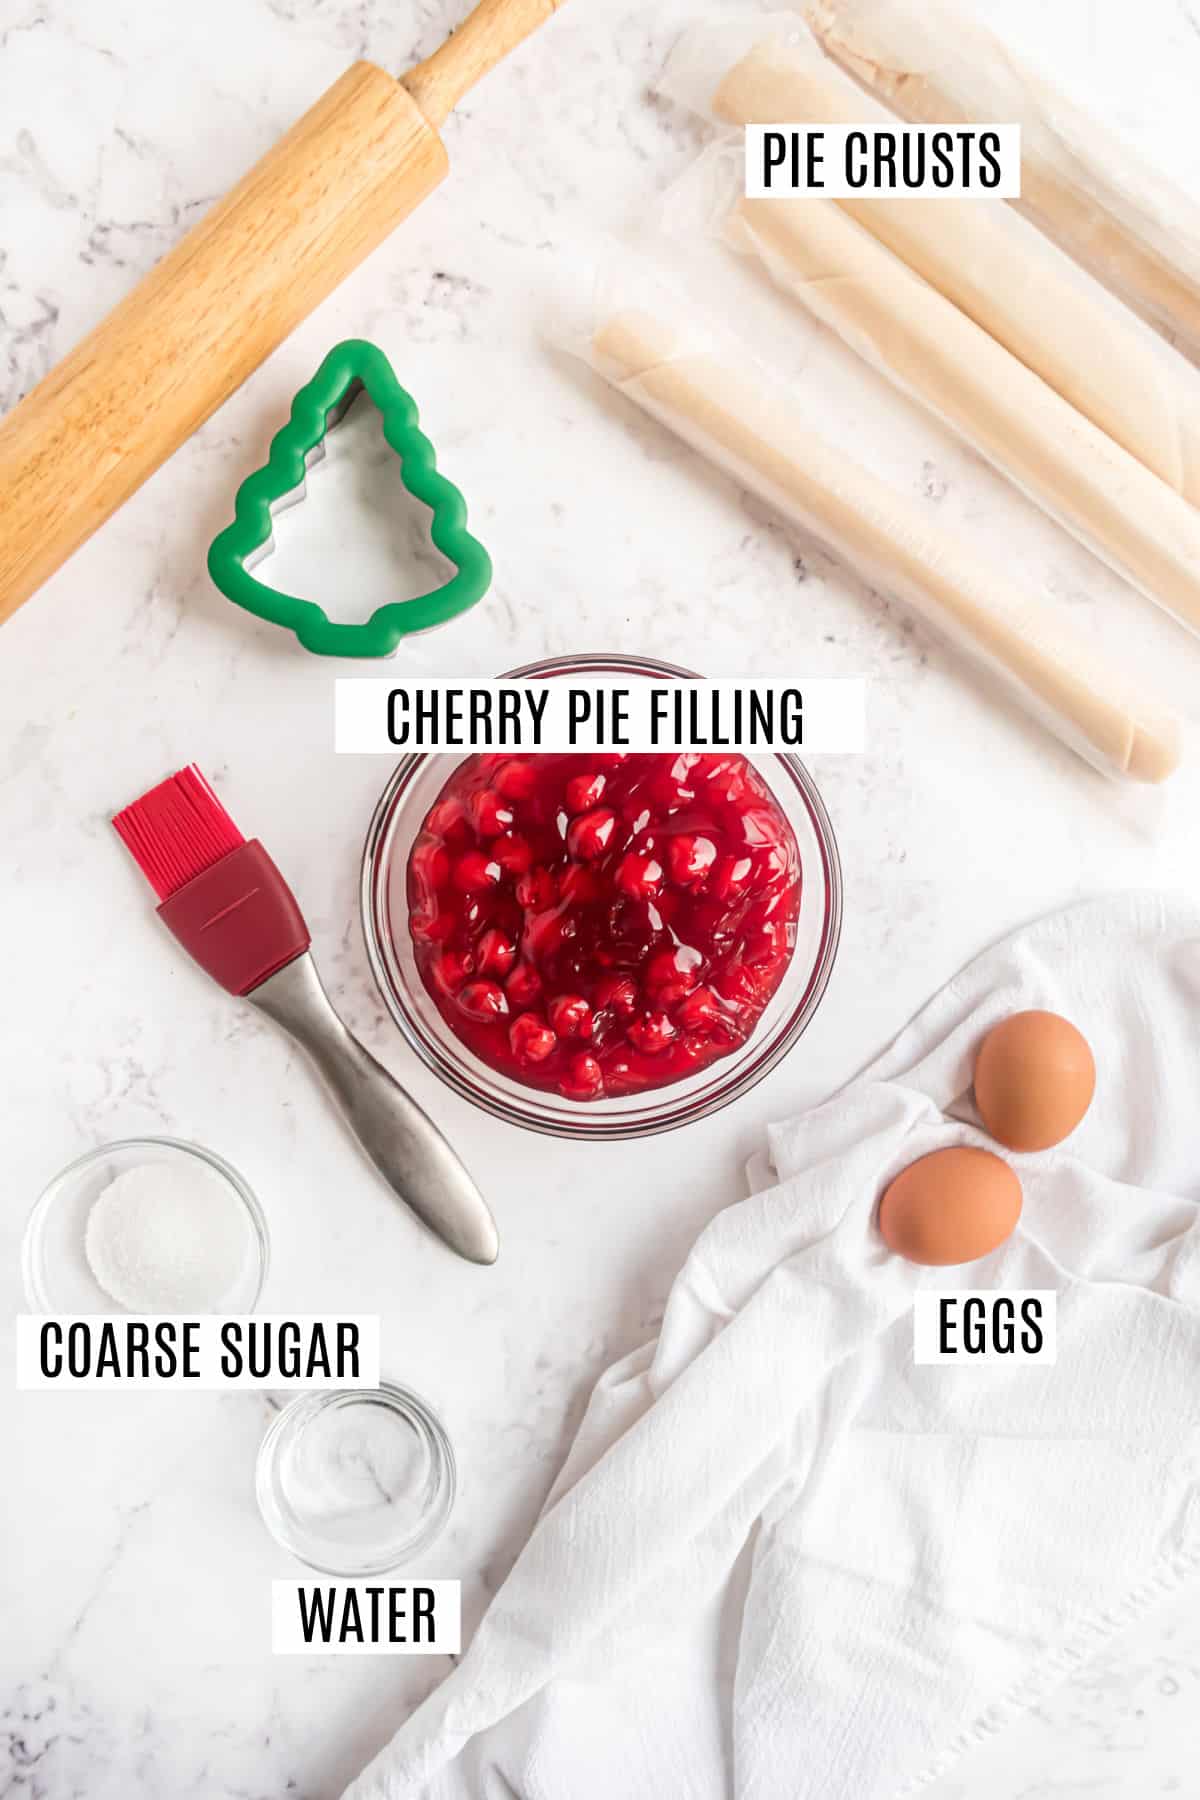
Refrigerated pie crust – For consistency and great flavor, I love using store bought crust in my hand pies! Homemade Pie Crust works well too, just make sure to make enough. You’ll need 6 full crusts for this recipe.
Eggs – Brushing the tops of pies with beaten egg and water before baking gives them a gorgeous golden brown color.
Pie Filling- so many options! I use cherry pie filling (you can use homemade or canned). Obviously blueberry pie filling would work great too.
Sanding sugar – This is optional but we love the sweet crackle and snow-dusted appearance it gives the cherry hand pies!
Easy Instructions
Roll and shape the pie crust:
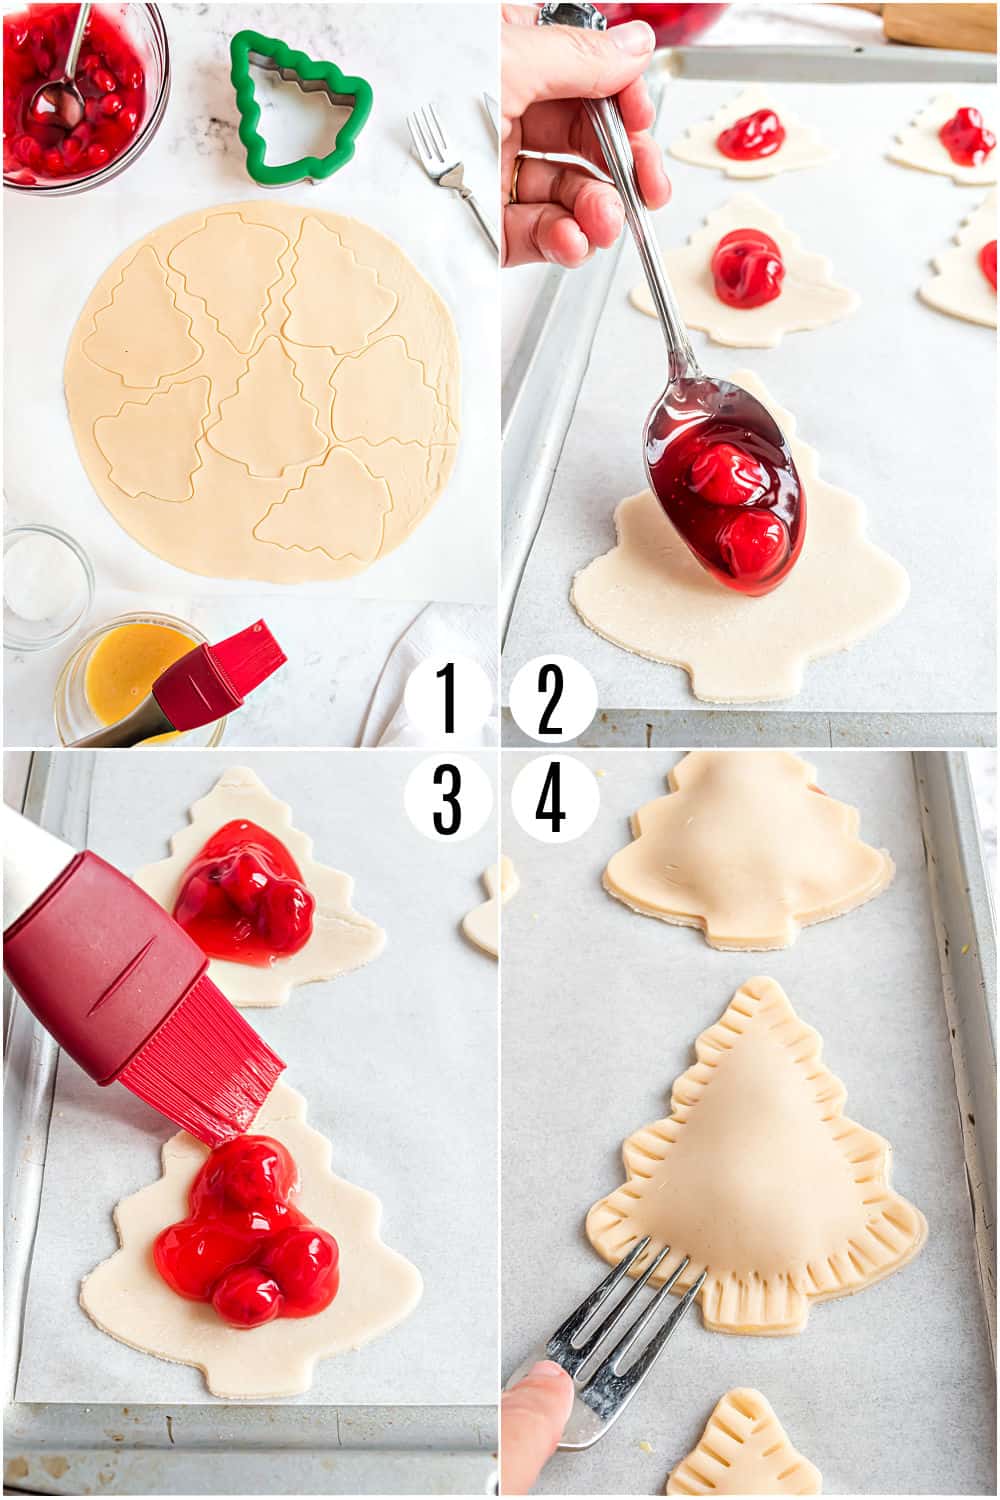
Roll out one pie crust until it’s about 1/4 inch thick. Use a tree shaped cookie cutter to cut 7 trees out of the crust.
Repeat with the remaining crusts. Save the excess from each crust to roll out and cut once all the ready made crusts have been cut.
Fill hand pies:
Place half the pie crust trees on a baking sheet lined with parchment paper. Spoon cherry filling into the center of each one.
Seal:
Use a pastry brush and brush the edges of the pie crust with the egg wash.
Top filling with the remaining tree crusts. Lightly press the edges together but be careful not to press down on the filling!
Use the tines of a fork to pinch the seams of the crust together.
Bake:
Make 3 slits in the top center of each hand pie. Brush with egg wash and sprinkle with coarse sanding sugar.
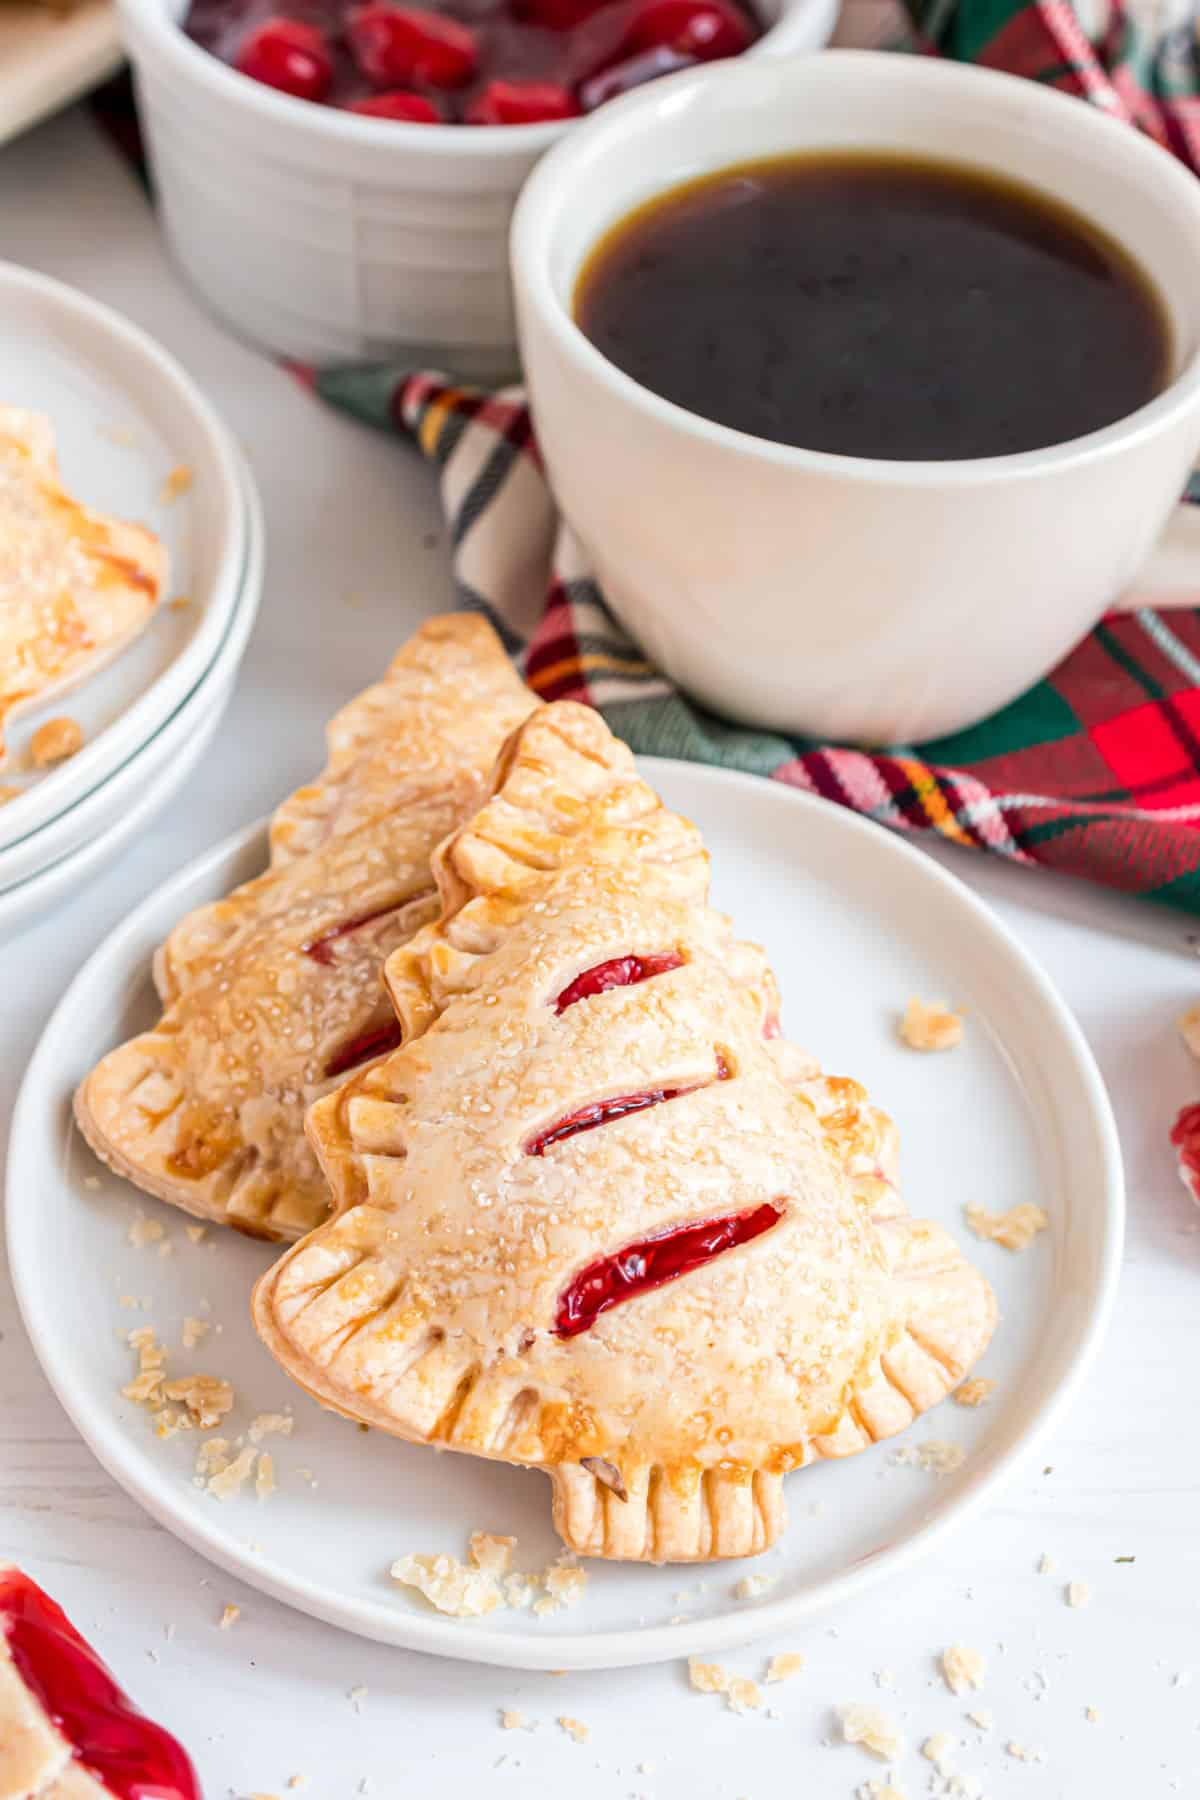
Bake for 20 minutes or until the Cherry Hand Pies are golden brown.
Let hand pies cool. They taste great served warm or at room temperature!
Tips and Tricks
- Remove the pie crust from the fridge 15 minutes before rolling. Letting it come to room temperature softens the crust so it’s easy to roll without tearing.
- Don’t use too much filling. Each hand pie one only needs about a tablespoon of filling–otherwise the cherry may seep out the sides.
- Brush the borders around the filling with egg wash before adding the top crust to make it easier to seal the edges.
- Add some almonds like I did with these cherry almond hand pies! So tasty.
Recipe FAQs
Of course, this Christmas Tree hand pie recipe is delicious with just about any flavor filling! Apple, peach and berry fillings would all taste delicious here.
Cherry Hand Pies taste best if eaten the same day they are made. Keep them covered at room temperature the first day. After that, transfer the hand pies to the refrigerator to store for up to 3 days.
Yes, this hand pie recipe is freezer friendly. I prefer to freeze them after baking. Place the hand pies you want to freeze on a single layer on a baking sheet. Put them in the freezer just until frozen. Then, transfer the hand pies to individual freezer bags. Keep frozen and enjoy within 2 months.
Holiday Pies
See all Pies and Tarts recipesPin this now to find it later
Pin It
Cherry Hand Pies
Ingredients
- 3 boxes refrigerated pie crust 2 crusts each box
- 1 can cherry pie filling 21 ounce
- 2 large eggs
- 2 Tablespoons water
- Coarse sanding sugar optional
Instructions
- Preheat oven to 350 degrees F. Thaw the refrigerated pie crust, according to package directions.
- Line a large cookie sheet with parchment paper. Set aside. In a small bowl, whisk eggs with water, for egg wash, set aside.
- Using a rolling pin, roll out one thawed pie crust, ensuring there are no cracks or holes. The crust should be between ¼” and ⅛” thick.
- Use a 3-4 inch holiday tree cookie cutter to cut out about 7 trees. Save the excess crust. Repeat with all the remaining pie crusts, saving the excess crusts from each roll. When all the ready-made pie crust has been used, and all that remains is the excess, combine it all and roll it out, the same thickness as the original crusts, to complete the remaining hand pies.
- Place trees on the parchment lined baking sheet and spoon about 1 – 1 ½ Tablespoons of cherry pie filling into the center of each tree. Brush the border around the filling with egg wash.
- Gently place the trees over the top of the filling. Starting at the trunk, lightly press the edges together, making sure not to press down on the filling.
- Using the tines of a fork, press the seams together, working around the outline of the tree. Using a sharp knife, make a few slits in the top crust for venting. Brush the top crusts with remaining egg wash and sprinkle with coarse sanding sugar, if desired.
- Bake for 20-25 minutes or until golden brown. Transfer to a cooling rack. Serve warm or at room temperature.
Notes
- Remove the refrigerated pie crust from the package and let it sit, at room temperature, for about 10-15 minutes. This will make the crust much easier to work with and roll out without tearing. Homemade pie crust will also work great. You’ll need SIX crusts total.
- Feel free to use any flavor pie filling, or try our homemade cherry pie filling or blueberry pie filling instead.
- STORAGE: These are best eaten the same day they are made. However, you can store them covered, at room temperature, the first day. Then store them in an airtight container in the refrigerator for up to 3 days after that.
- To freeze a baked hand pie, place them on a baking sheet, in a single layer, and put the sheet in the freezer, just until the pies are frozen. Then, place them in individual freezer bags for up to 2 months. Thaw in the refrigerator and serve at room temperature.





Is it possible to use puff pastry instead of pie crust ?
What a fun treat to make at Christmas, especially since my hubby loves cherries!!🎄
I made these using canned cherry pie filling…the flavor was nasty! Some type of aftertaste in the cherry filling. I made them again using homemade apple pie filling and they were a hit. The pies are are cute…but I would not use canned filling.
I made these time consuming tree cherry pies. They are worth the time and delicious.
Aimee-I made the trees with your apple hand-pie filling. A few adjustments: I made the filling the night before. Also, I packed them with more filling. They were so delicious! My tree cookie cutter made cookies that were too big, but perfect for a tree-pie!
LOVE it 🙂
These are so cute.
Looks great! Iplan to give this a try for Christmas this year.