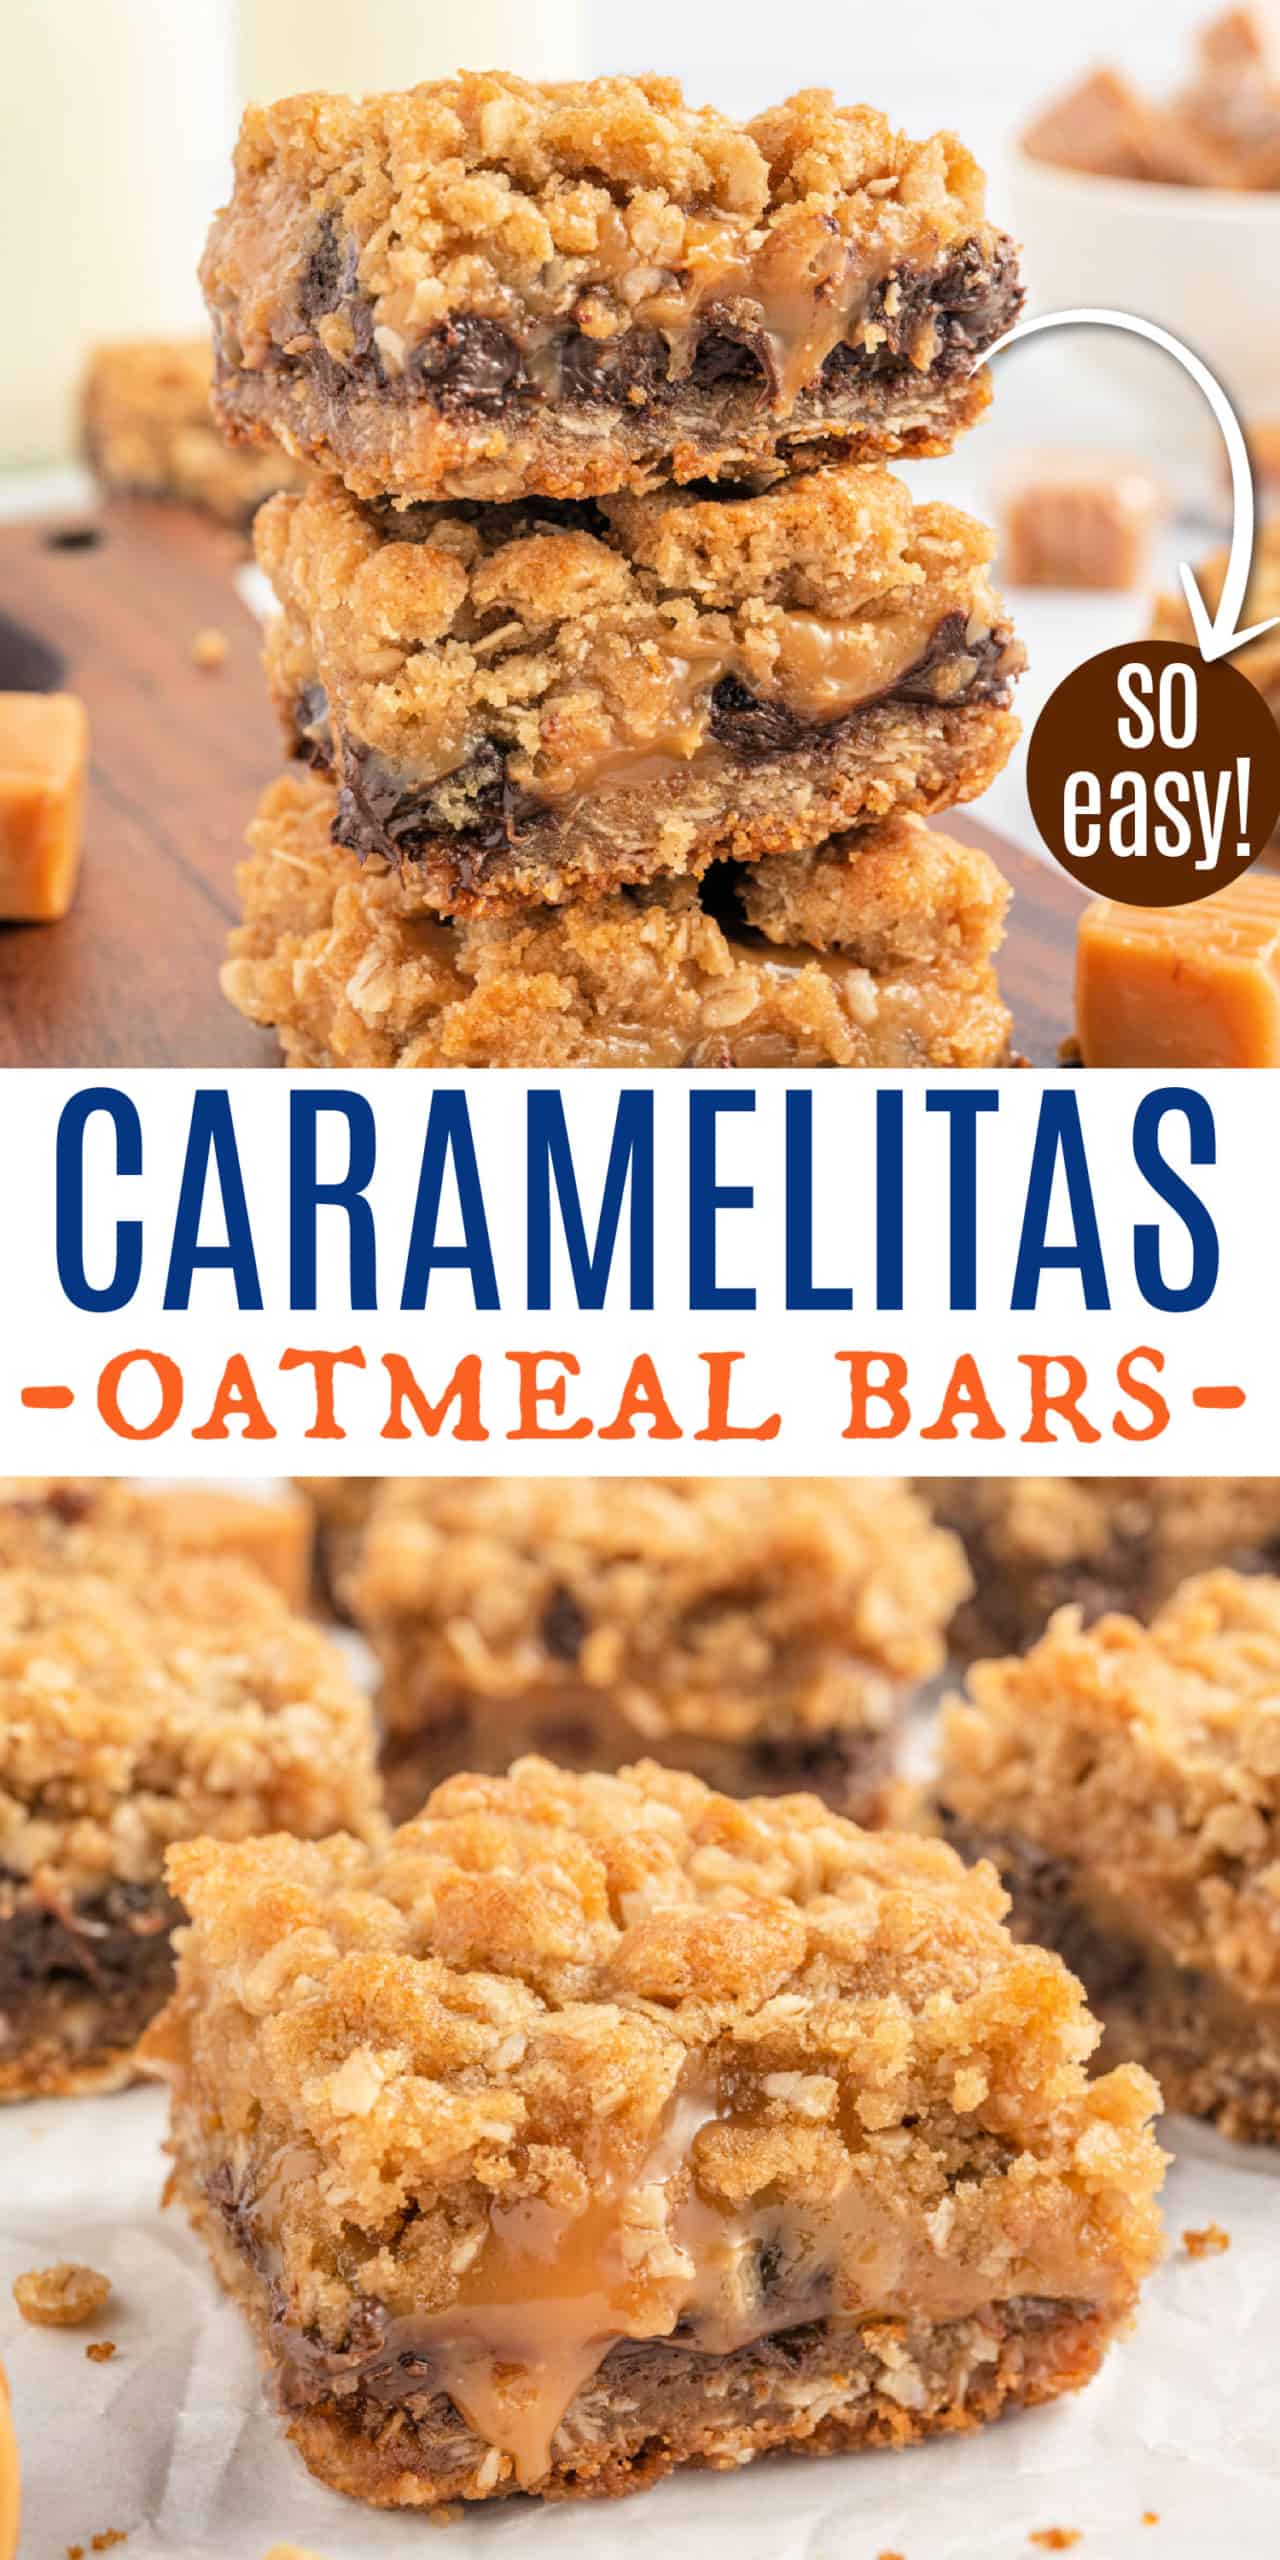
Caramelitas are a seriously scrumptious cookie bar recipe made with oats and a decadent layer of caramel and chocolate inside. These unforgettable cookie bars are easy to make and freezer-friendly.
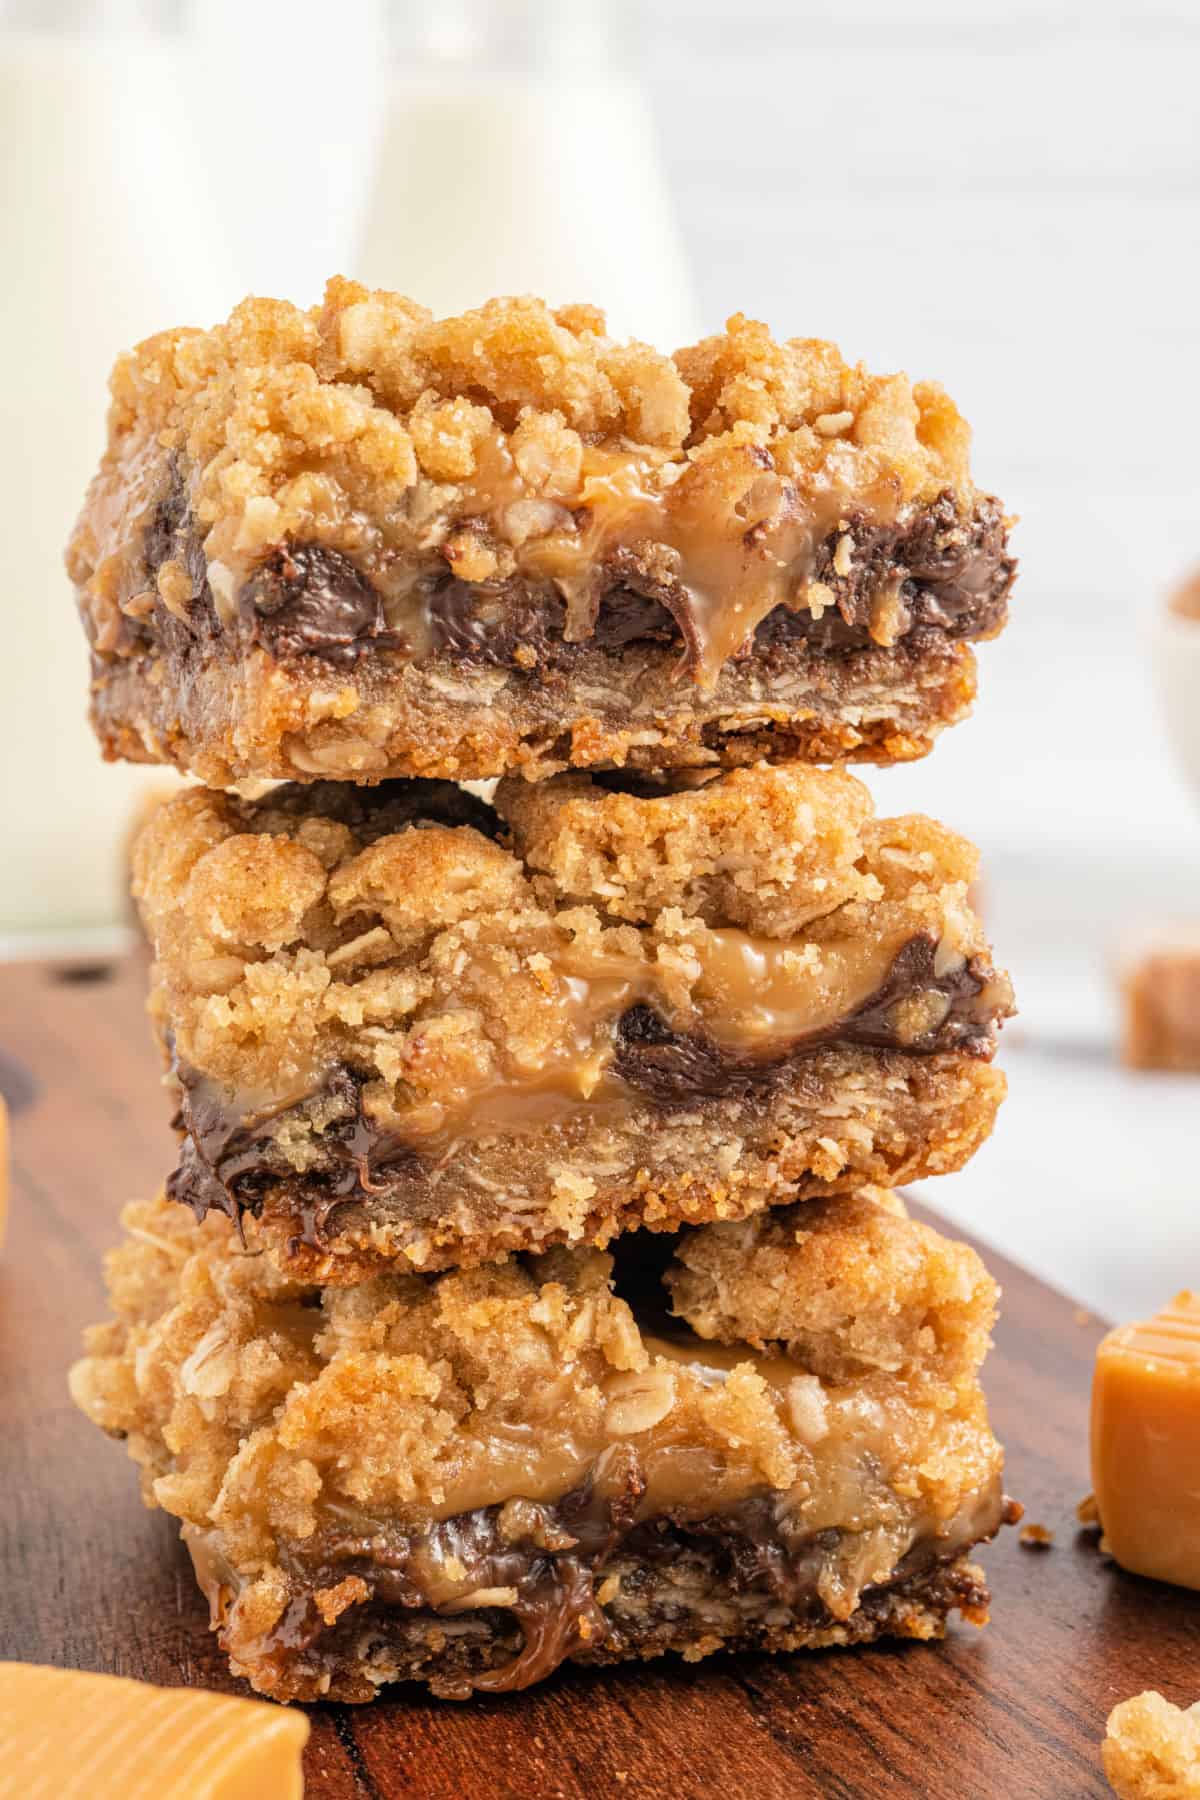
Why Caramelitas Work
I’ve always loved the combination of salty-sweet flavors with chewy and gooey textures that you’ll get with this recipe.
For instance, our salted caramel brownies are always a crowd pleaser. And today’s cookie bars have a little resemblance to our favorite revel bars (if you have tried those)!
- The recipe is easy to scale up and freezable. Make a double batch to feed a large group, or make a stash in the freezer for later.
- Enjoy them as a quick grab-and-go snack by storing bars individually wrapped in the fridge or freezer.
- Oats in the crust add a chewy texture, making these bars more satisfying than your average cookie.
- The creamy caramel layer is made from real caramels, so you don’t have to worry about cooking sugar with a thermometer.
Our favorite oatmeal cream pies are also a hit with readers who love caramelitas. But be sure to give our chewy oatmeal chocolate chip cookies a try next!
Ingredient Notes
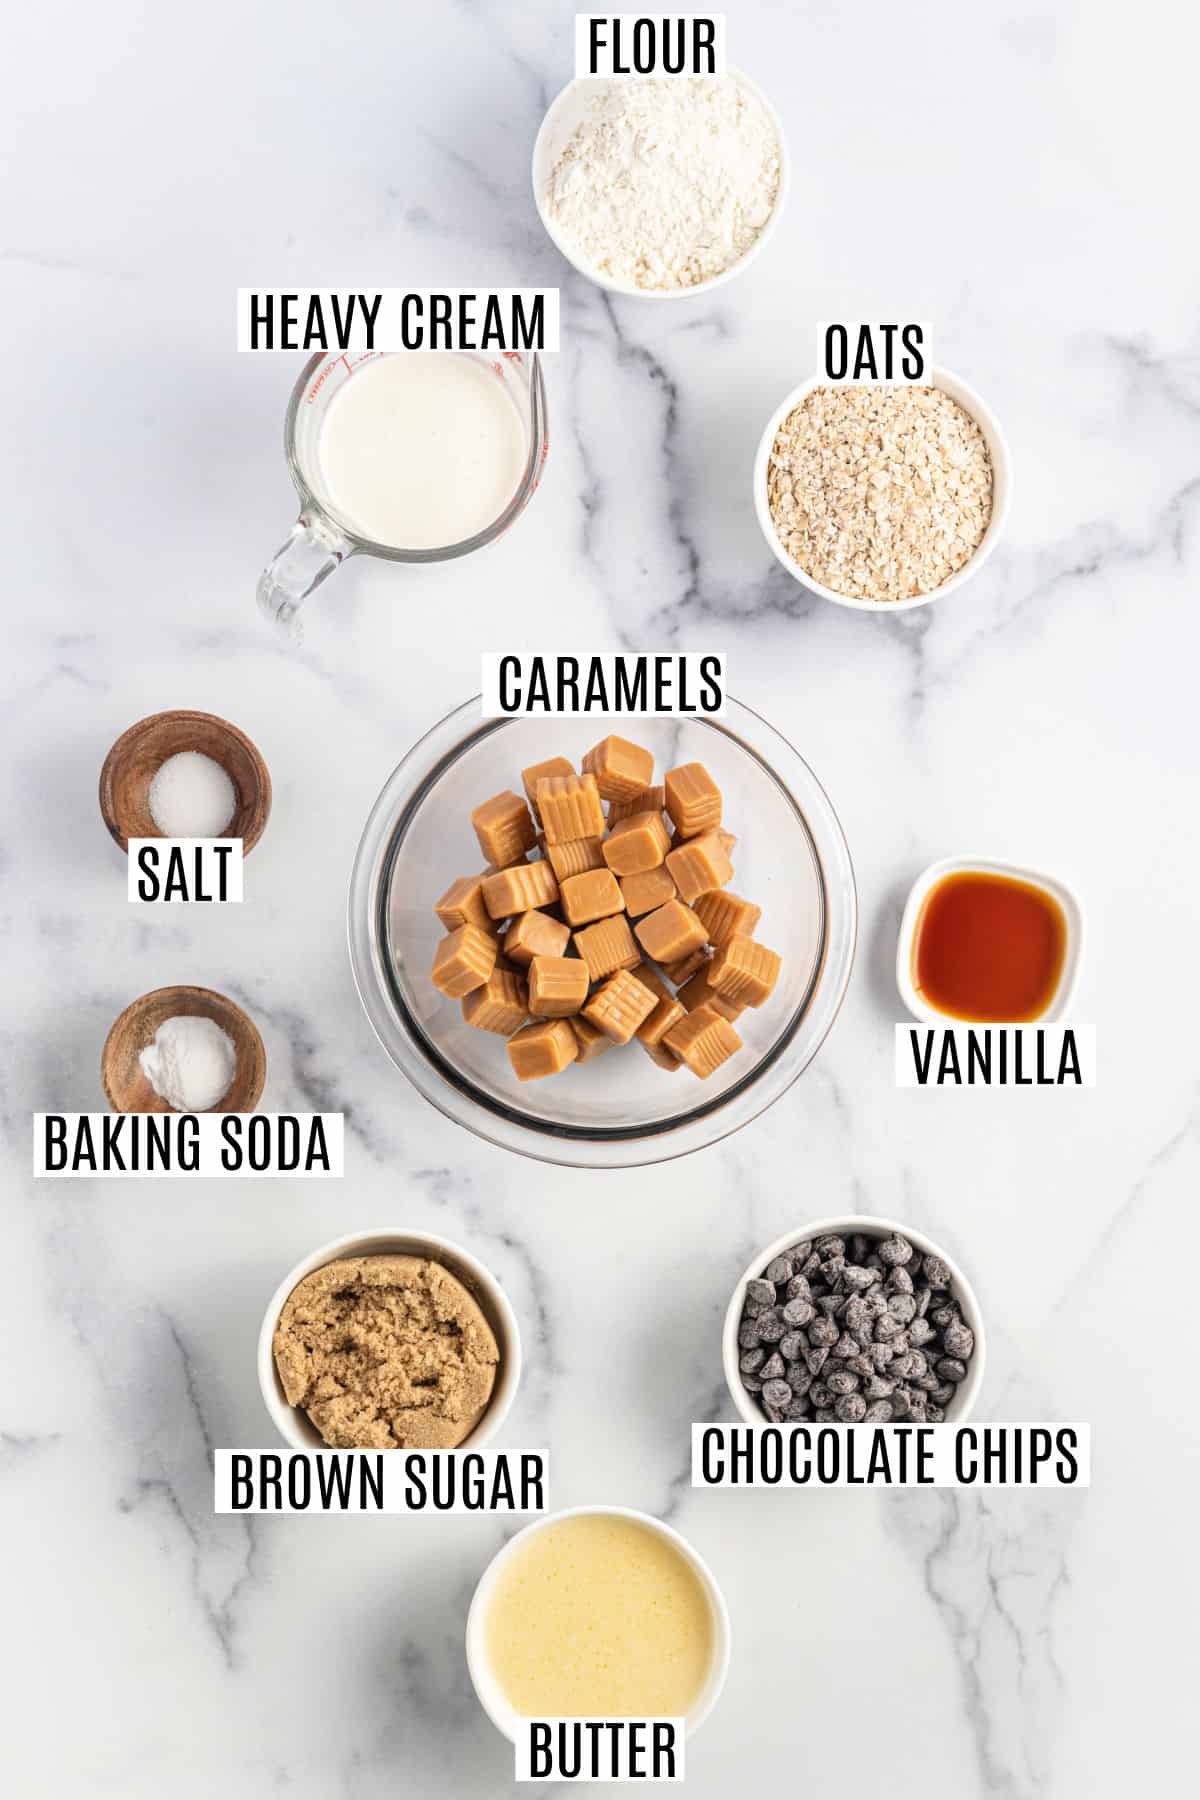
- Old-Fashioned Oats – Rolled oats add great texture and a touch of heartier flavor to the cookie crust and crumble topping. Avoid using steel cut oats in this recipe.
- Caramel Candies – These are melted with cream to create an easy caramel filling. Our homemade caramels would be delicious here.
- Semi-Sweet Chocolate Chips – The chips create a delectable layer of chocolate under the caramel. No melting is required!
- Unsalted Butter – Adds richness to the cookie bar layer. Use the unsalted kind, or reduce the salt in the recipe by half.
- Light Brown Sugar – Creates a soft and chewy cookie layer.
- Heavy Whipping Cream – Thins out the caramel filling to the perfect consistency.
- Vanilla Extract – Adds fragrant vanilla flavor to the cookie bar. Pure vanilla extract or our homemade vanilla extract is what you’re looking for here.
- All-Purpose Flour – Provides structure to the cookie layers.
- Baking Soda – Helps the cookie layer rise so it’s nice and crumbly.
- Kosher Salt – Enhances the flavors and balances the sweetness.
Easy Instructions
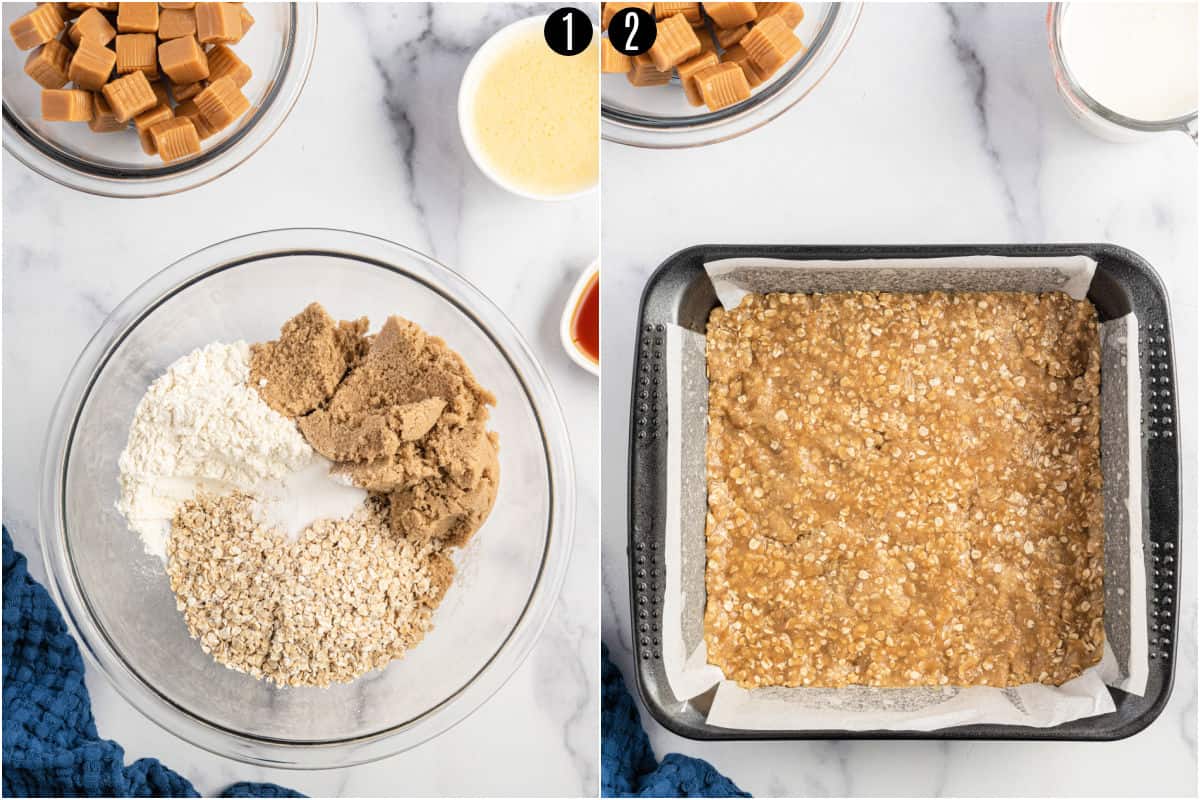
Prepare the crust.
- Combine the flour, oats, baking soda, and salt in a large bowl. Pour in the melted butter, stirring until just mixed.
- Scoop half of the oat mixture into the bottom of the pan, pressing it out evenly to make the bottom crust. Bake for 10 minutes.
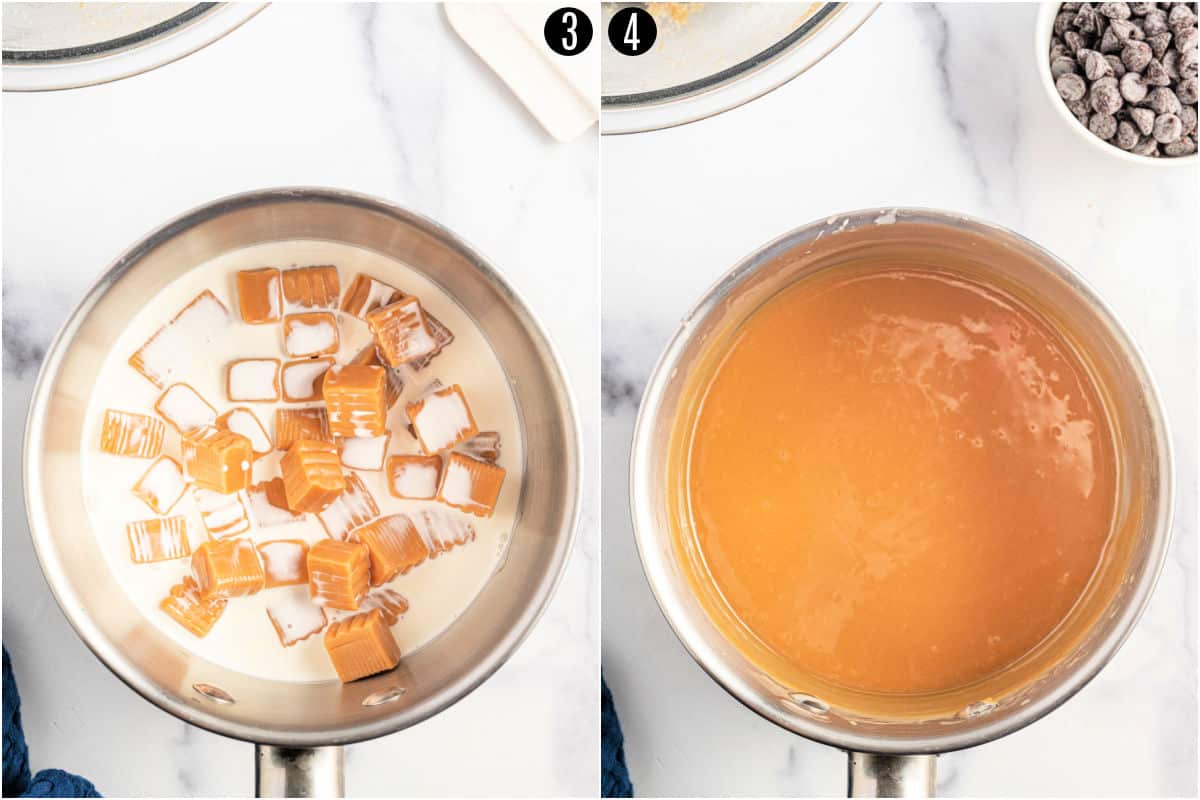
Make the caramel filling.
- Warm the heavy cream and unwrapped caramels in a small saucepan on medium heat.
- Stir constantly until the caramels are melted, and the sauce is creamy. Then remove from heat.
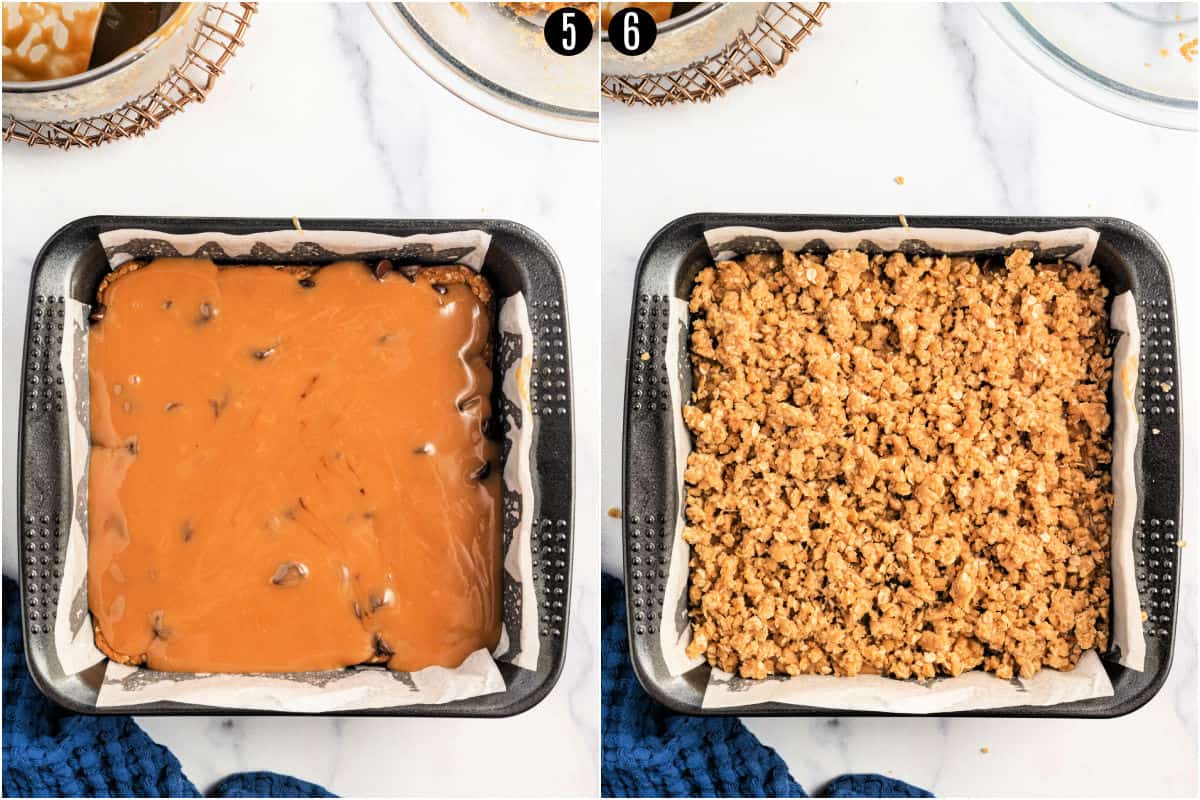
Layer the toppings.
- Once the crust is done, sprinkle it immediately with chocolate chips while it’s hot. Then pour the caramel sauce over the chips.
- Crumble the remaining oatmeal cookie dough over the filling to evenly cover the top. Bake, cool, and slice.
Tips and Tricks
- Parchment makes it easy. Don’t skip lining the baking pan with parchment paper. It makes removing the bars from the pan easier and helps with cleanup.
- Let the butter cool before using it. For the best cookie dough texture, let the melted butter cool for a few minutes before using it.
- Keep stirring the caramel sauce. To avoid burning the caramel, stir the sauce mixture constantly while heating it. A wooden spoon is a good tool for the job.
- Press the crust into the edges, too. For nice outside edges on your bars, make sure you’ve pressed the bottom crust into all the edges and corners of the pan before baking it.
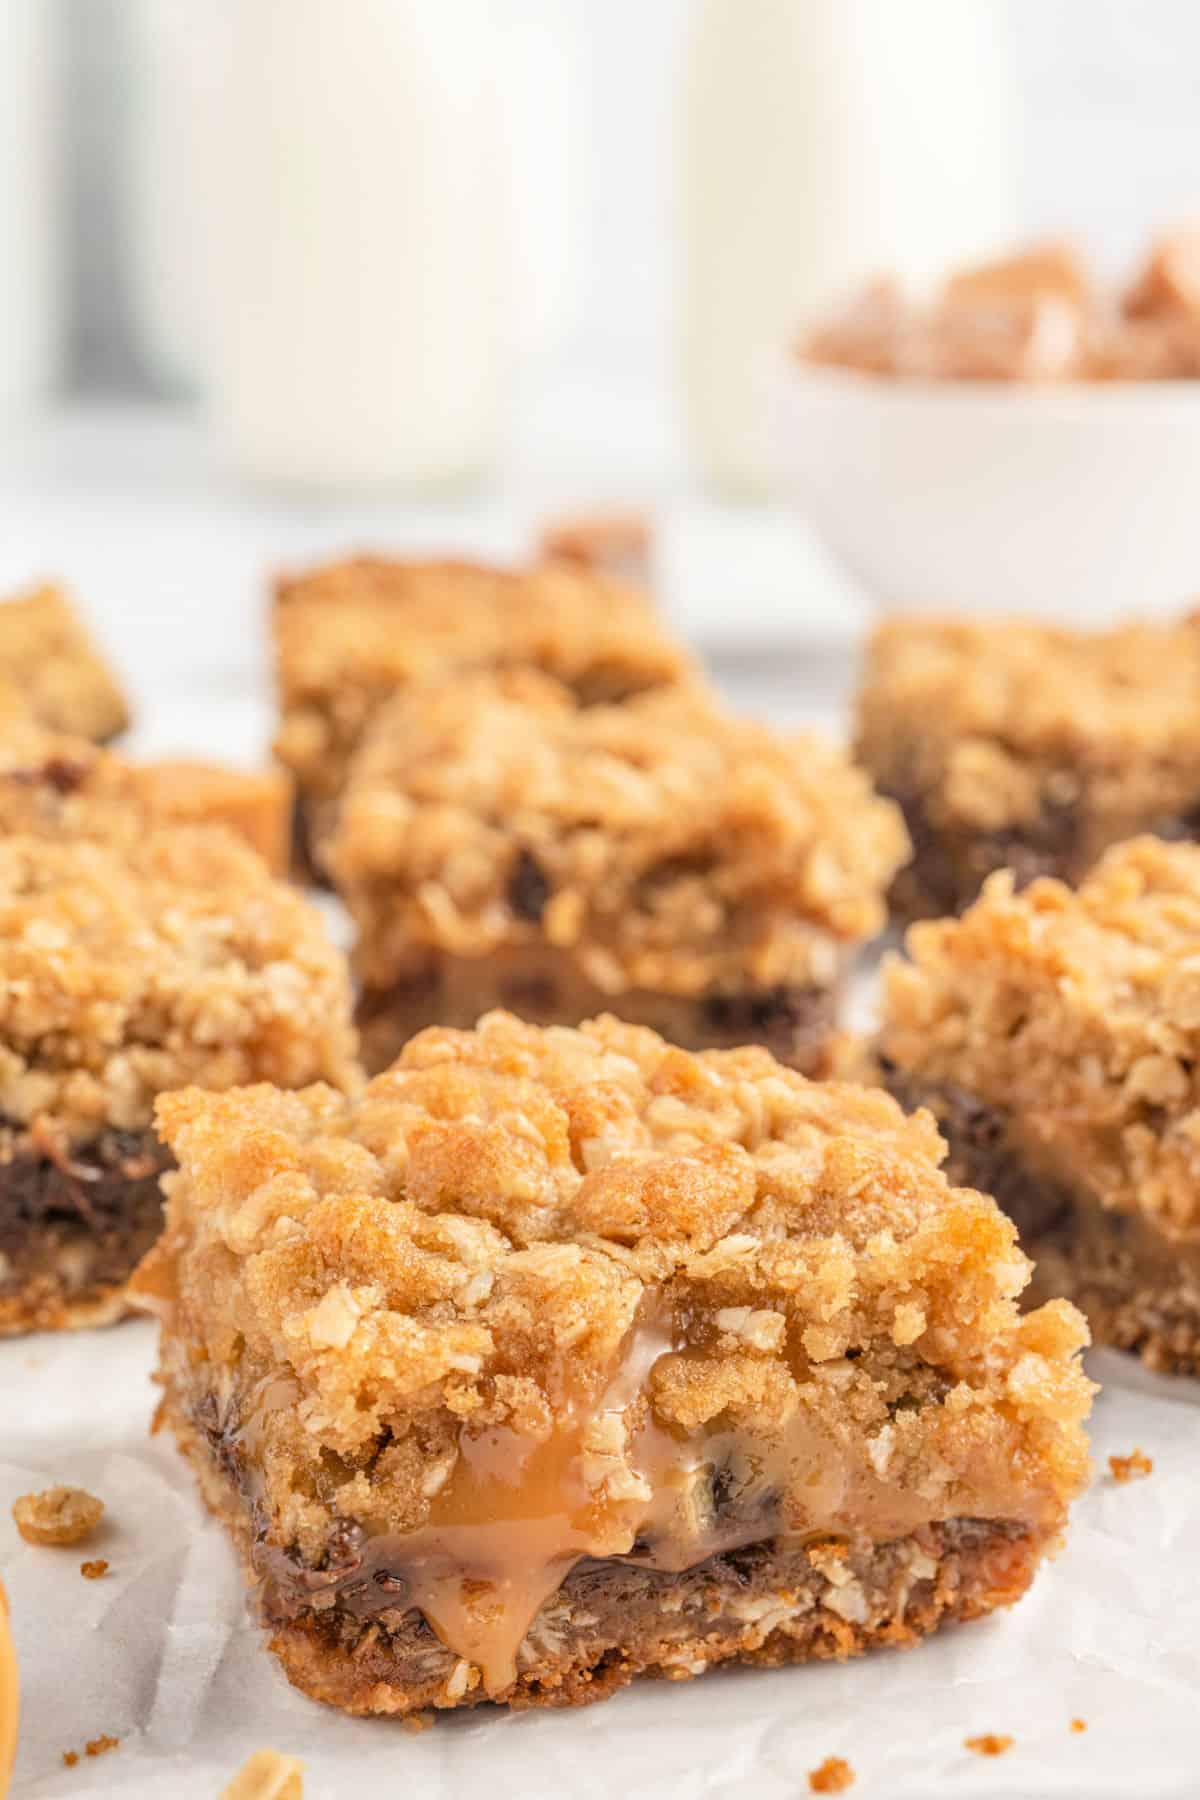
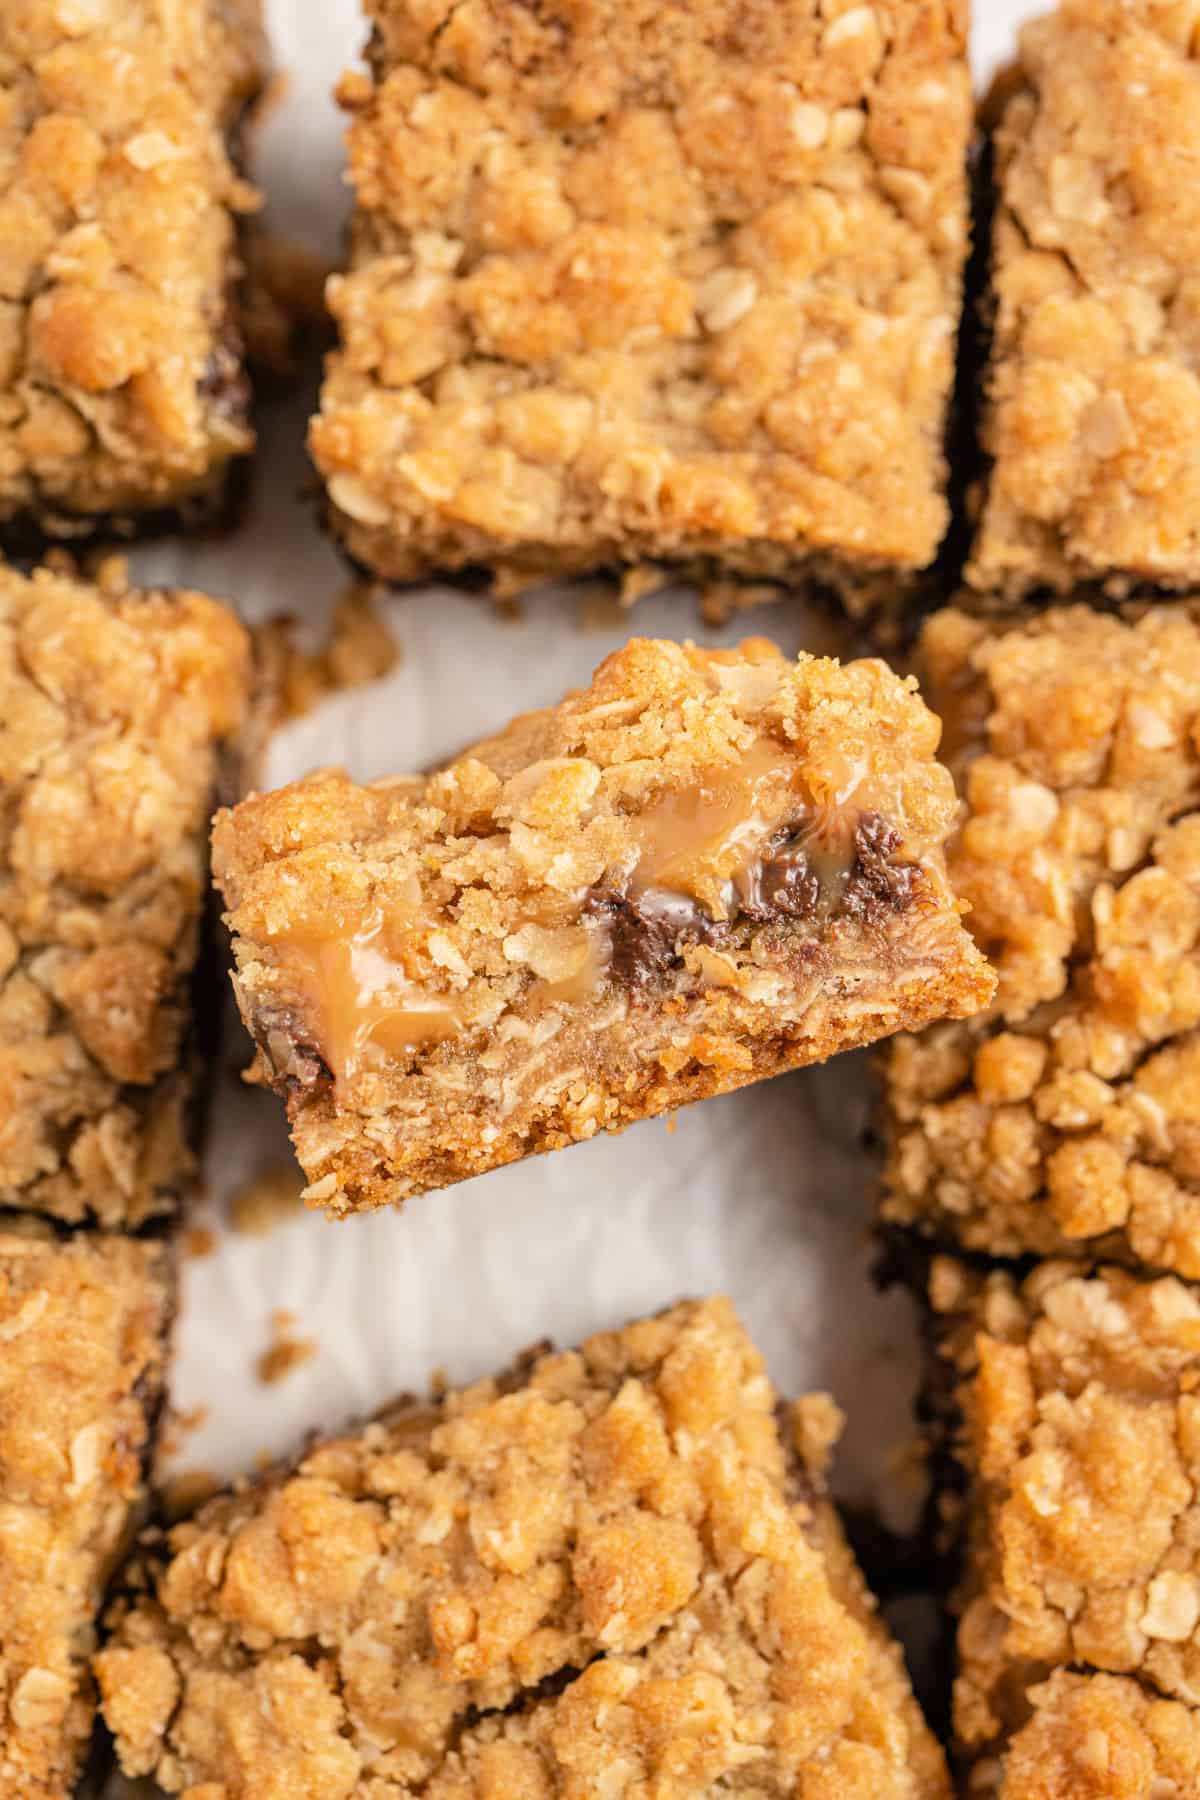
- Cool before cutting. Allow the caramelitas to cool completely before slicing them for neat and clean cuts. Remove the bars from the pan by lifting the parchment paper, and transfer them to a cutting board.
Serving Suggestions
These bars are divine, just as they are. But if you want to go the extra mile, here are a few suggestions that have worked for me.
You can’t go wrong with serving my Homemade Vanilla Ice Cream or Chocolate Ice Cream over caramelitas. Or crumble them over the top with Homemade Chocolate Syrup and your favorite toppings for an incredible sundae experience.
Don’t have an ice cream maker? I’ve got you covered with a No-Churn Vanilla Ice Cream recipe.
Recipe FAQs
Store caramelitas in an airtight container at room temperature. They’ll stay fresh about 3 days.
Freeze caramelitas in an airtight container for up to 3 months. To avoid freezer burn, they can be wrapped in plastic or aluminum foil before storing. To thaw them, leave them out overnight at room temperature.
Yes, these would be delicious with chopped pecans or walnuts. They can be layered on top of the chocolate chips just before adding the caramel sauce.
Feel free to use your favorite dark chocolate or milk chocolate instead of semi-sweet in this recipe. Just don’t use baking chocolate because you want it to be sweetened.
More Easy Dessert Recipes
- If you love cookies, our magic cookie bars are gooey and delicious! Readers love our indulgent slutty brownies (quite a name for a rich, layered brownie)!
- 7 Layer Bars are packed with coconut, chocolate, pecans, and butterscotch! Try these for your next weeknight snack!
- Soft and chewy, these Lemon Brownies are full of zesty lemon flavor!
- Berry Crumble is all of the flavors of a pie, but none of the hassle! Crunchy, crumbly, scrumptious!
- Rich and full of flavor, this Impossible Coconut Pie has a delicious custard, with coconut and nutmeg!
- Cool Whip Cookies are light and airy with a soft, chewy texture! Make them festive by adding some food coloring!
Pin this now to find it later
Pin It
Caramelitas
Ingredients
- 1 cup all-purpose flour
- 1 cup old fashioned oats
- 1 cup light brown sugar packed
- 1 teaspoon baking soda
- ½ teaspoon kosher salt
- 12 Tablespoons unsalted butter melted
- 2 teaspoons vanilla extract
- 38 caramels unwrapped (11 ounce bag)
- ⅔ cup heavy whipping cream
- 1 cup semi-sweet chocolate chips
Instructions
- Preheat oven to 350 degrees F. Line an 8 or 9-inch square baking dish with parchment paper. Set aside.
- Combine the flour, oats, brown sugar, baking soda and salt in a large mixing bowl. Pour in melted butter and vanilla, stir just until combined. Spoon half of the oat mixture into the bottom of the baking dish, pressing evenly into the bottom of the pan. Bake for 10 minutes.
- Combine unwrapped caramels with heavy whipping cream in a small saucepan. On medium heat, stir constantly until caramels are melted and sauce is creamy. Remove from heat and set aside.
- When cookie batter is done baking for ten minutes, remove from oven. Sprinkle immediately with chocolate chips then pour the caramel sauce over the chips.
- Add remaining half of the cookie dough to the top of the baking dish, crumbling it with your hands until it even covers the top of the caramel.
- Bake caramelita bars for an additional 15-18 minutes, until edges are brown and top is golden brown. Cool completely, then slice into bars.
Notes
- Store caramelitas in an airtight container at room temperature for up to 3 days.
- Freeze in airtight container for up to 3 months. Thaw overnight at room temperature.
- To make clean cuts, be sure to allow caramelita bars to cool completely.
- Let the butter cool before using it. For the best cookie dough texture, let the melted butter cool for a few minutes before using it.
- Keep stirring the caramel sauce. To avoid burning the caramel, stir the sauce mixture constantly while heating it. A wooden spoon is a good tool for the job.
- Press the crust into the edges, too. For nice outside edges on your bars, make sure you’ve pressed the bottom crust into all the edges and corners of the pan before baking it.
- Cool before cutting. Allow the caramelitas to cool completely before slicing them for neat and clean cuts. Remove the bars from the pan by lifting the parchment paper, and transfer them to a cutting board.
- Parchment makes it easy. Don’t skip lining the baking pan with parchment paper. It makes removing the bars from the pan easier and helps with cleanup.
- See blog post for more recipe tips and tricks.

Do you think switching out flour for gluten free flour would work?
This recipe is very similar to one that I have made for years called Caramel Candy Bars. In the crust/topping it includes an egg and in the caramel mixture it just uses regular milk. Add to the chocolate chip layer chopped pecans. They’re some of my favorite bars to make. They are rich but so good!!
Hi Aimee, I made your Caramelitas and my family really like them. But when I was reading the recipe to my daughter I realized I didn’t add the vanilla. She said mom why didn’t you add the vanilla? I told her I followed the instructions but I don’t remember it saying anything about adding Vanilla and where to add it, so I looked it up again on your website and it don’t say anything about where to add it. My both my daughter’s say in the caramel mixture, I said no I think it would go in the bar’s. So who’s right?
It goes in the bars! I just updated it, good catch!