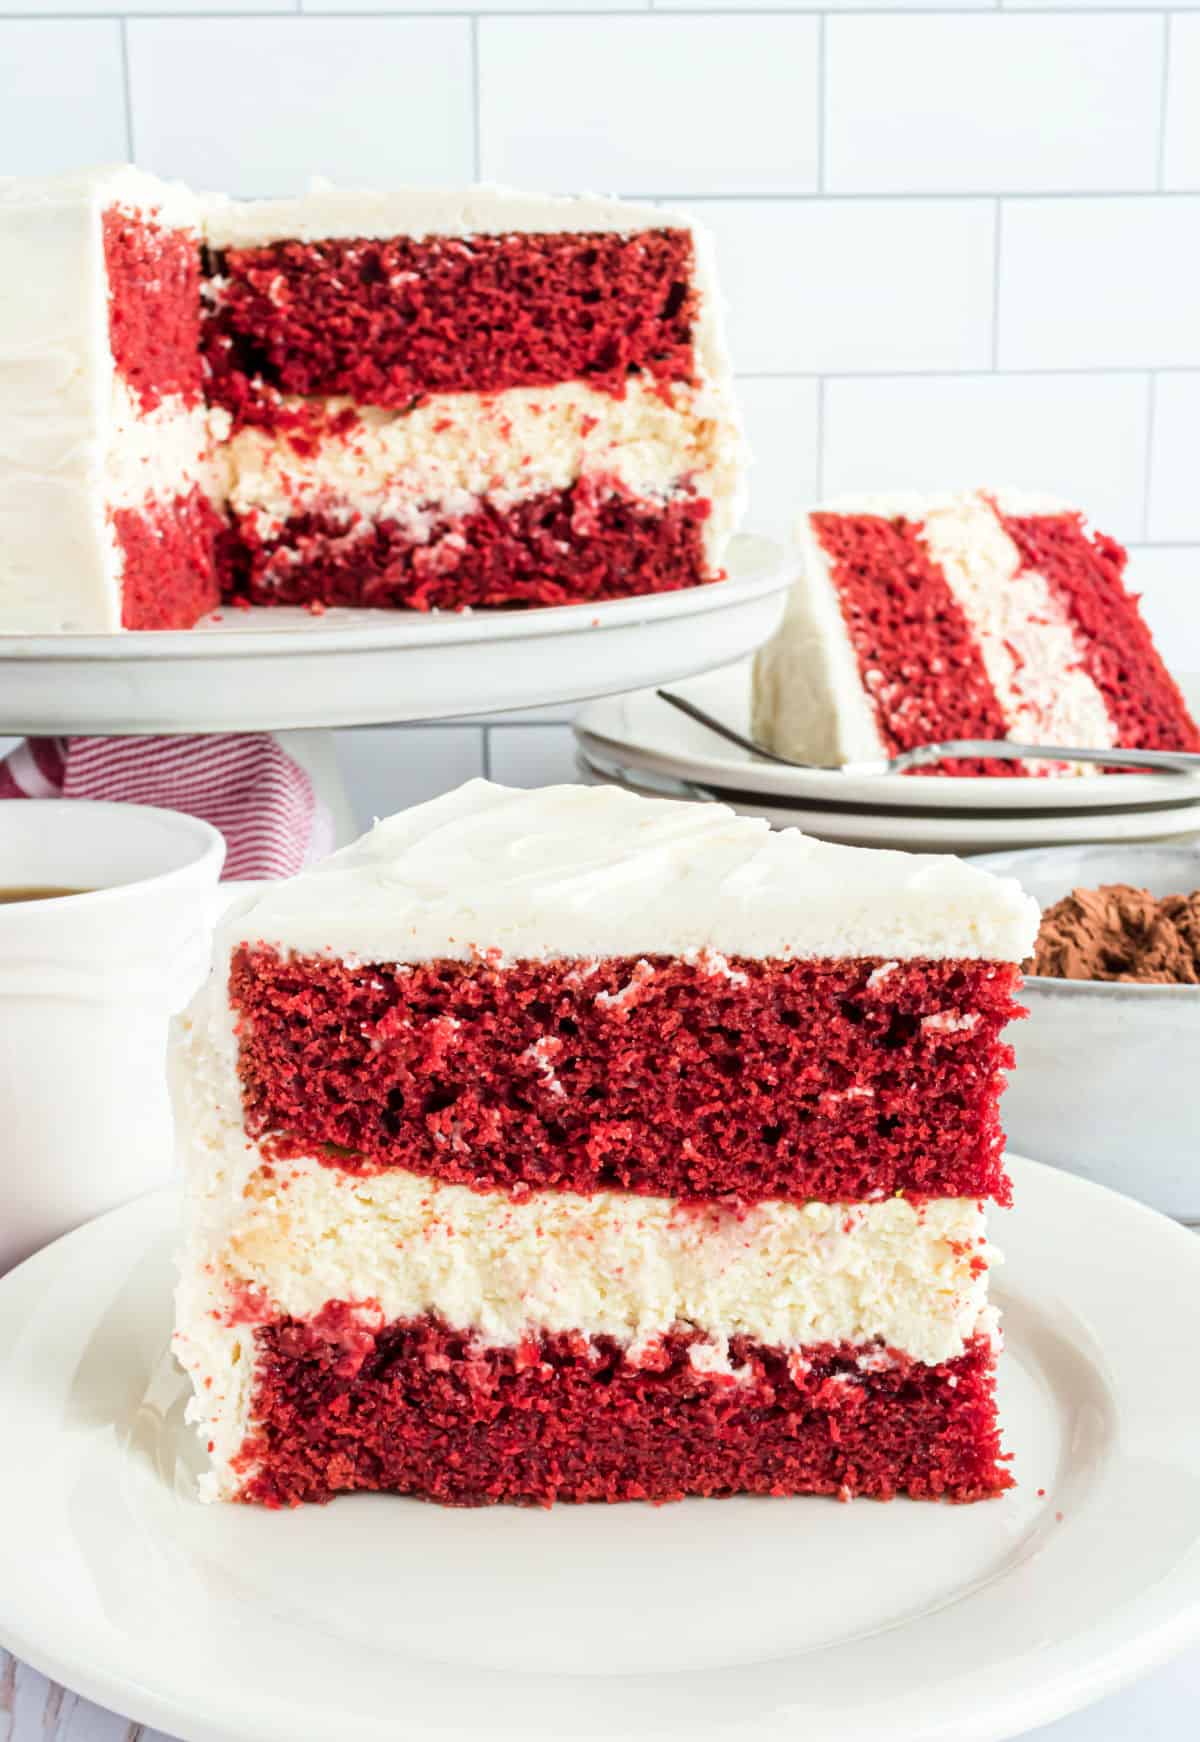
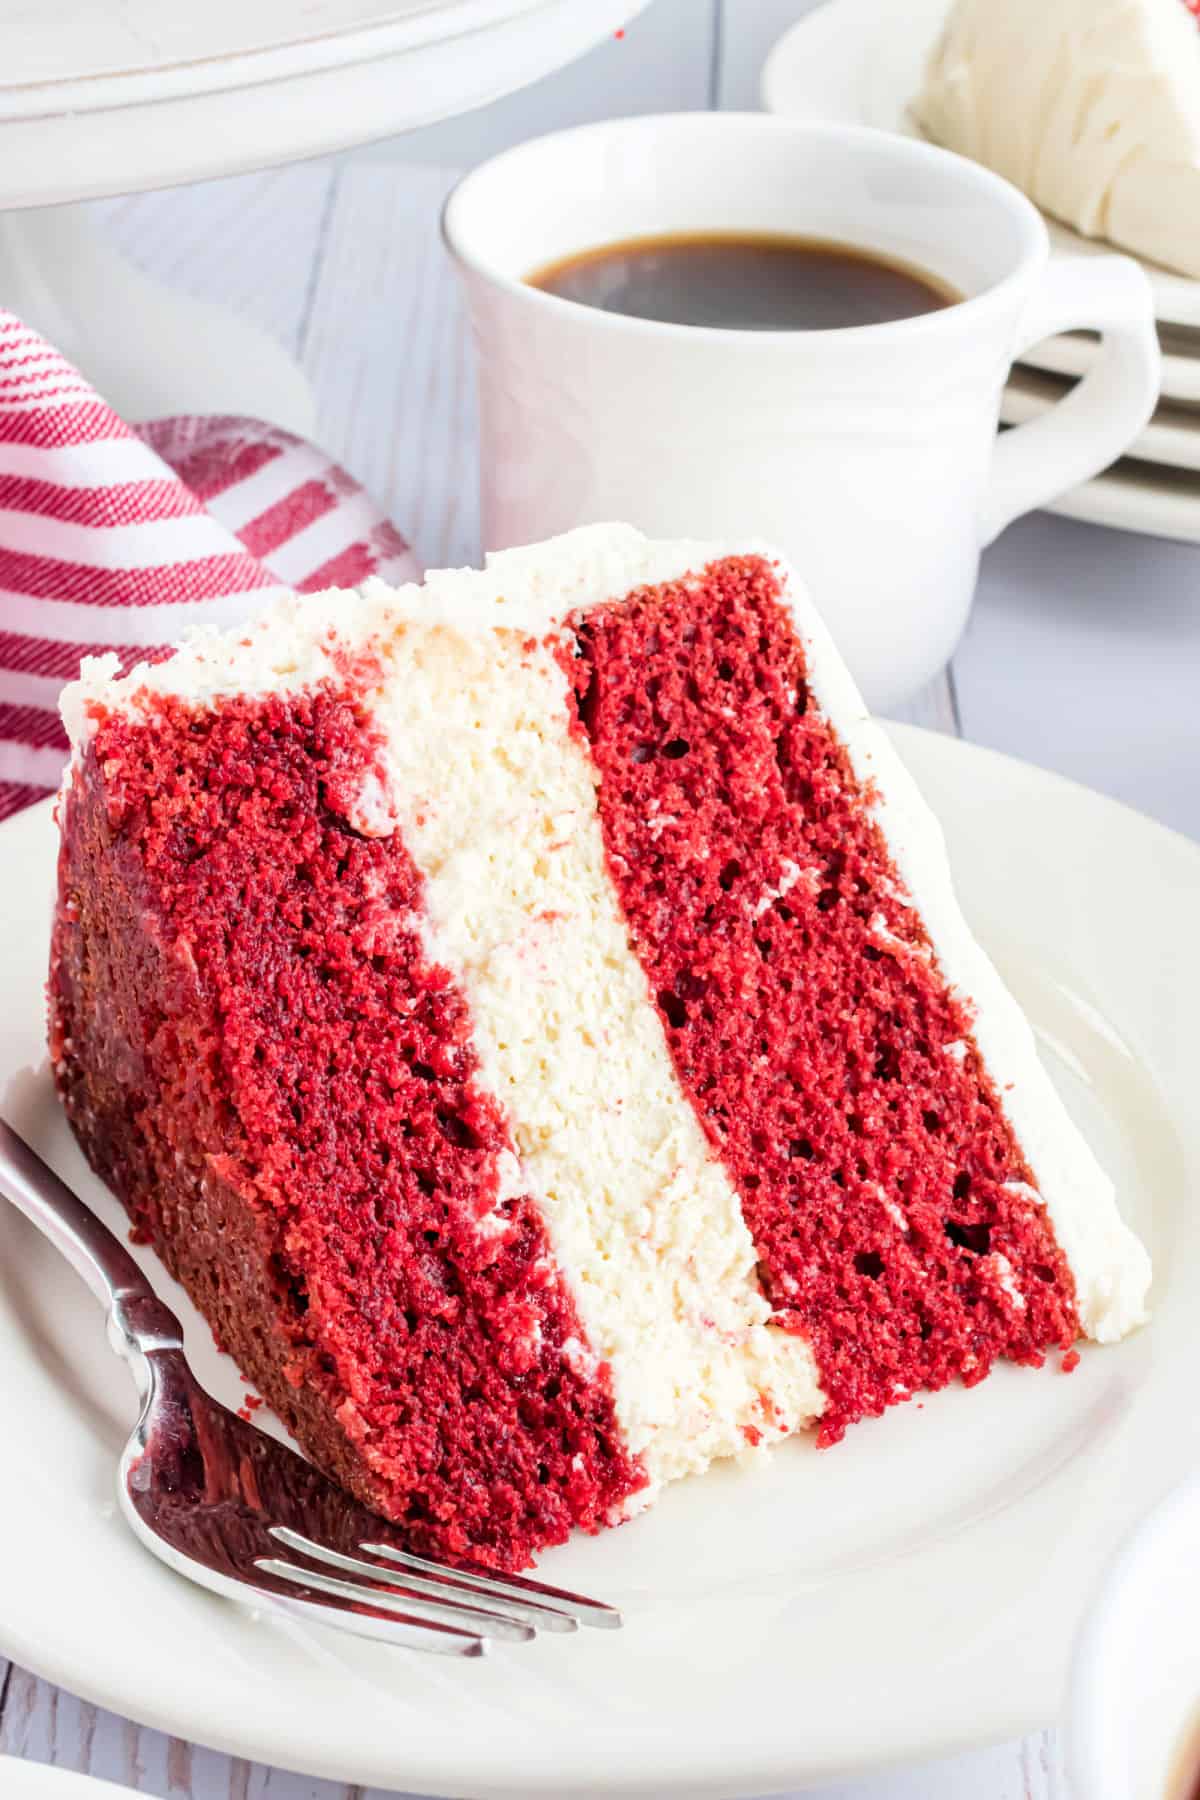
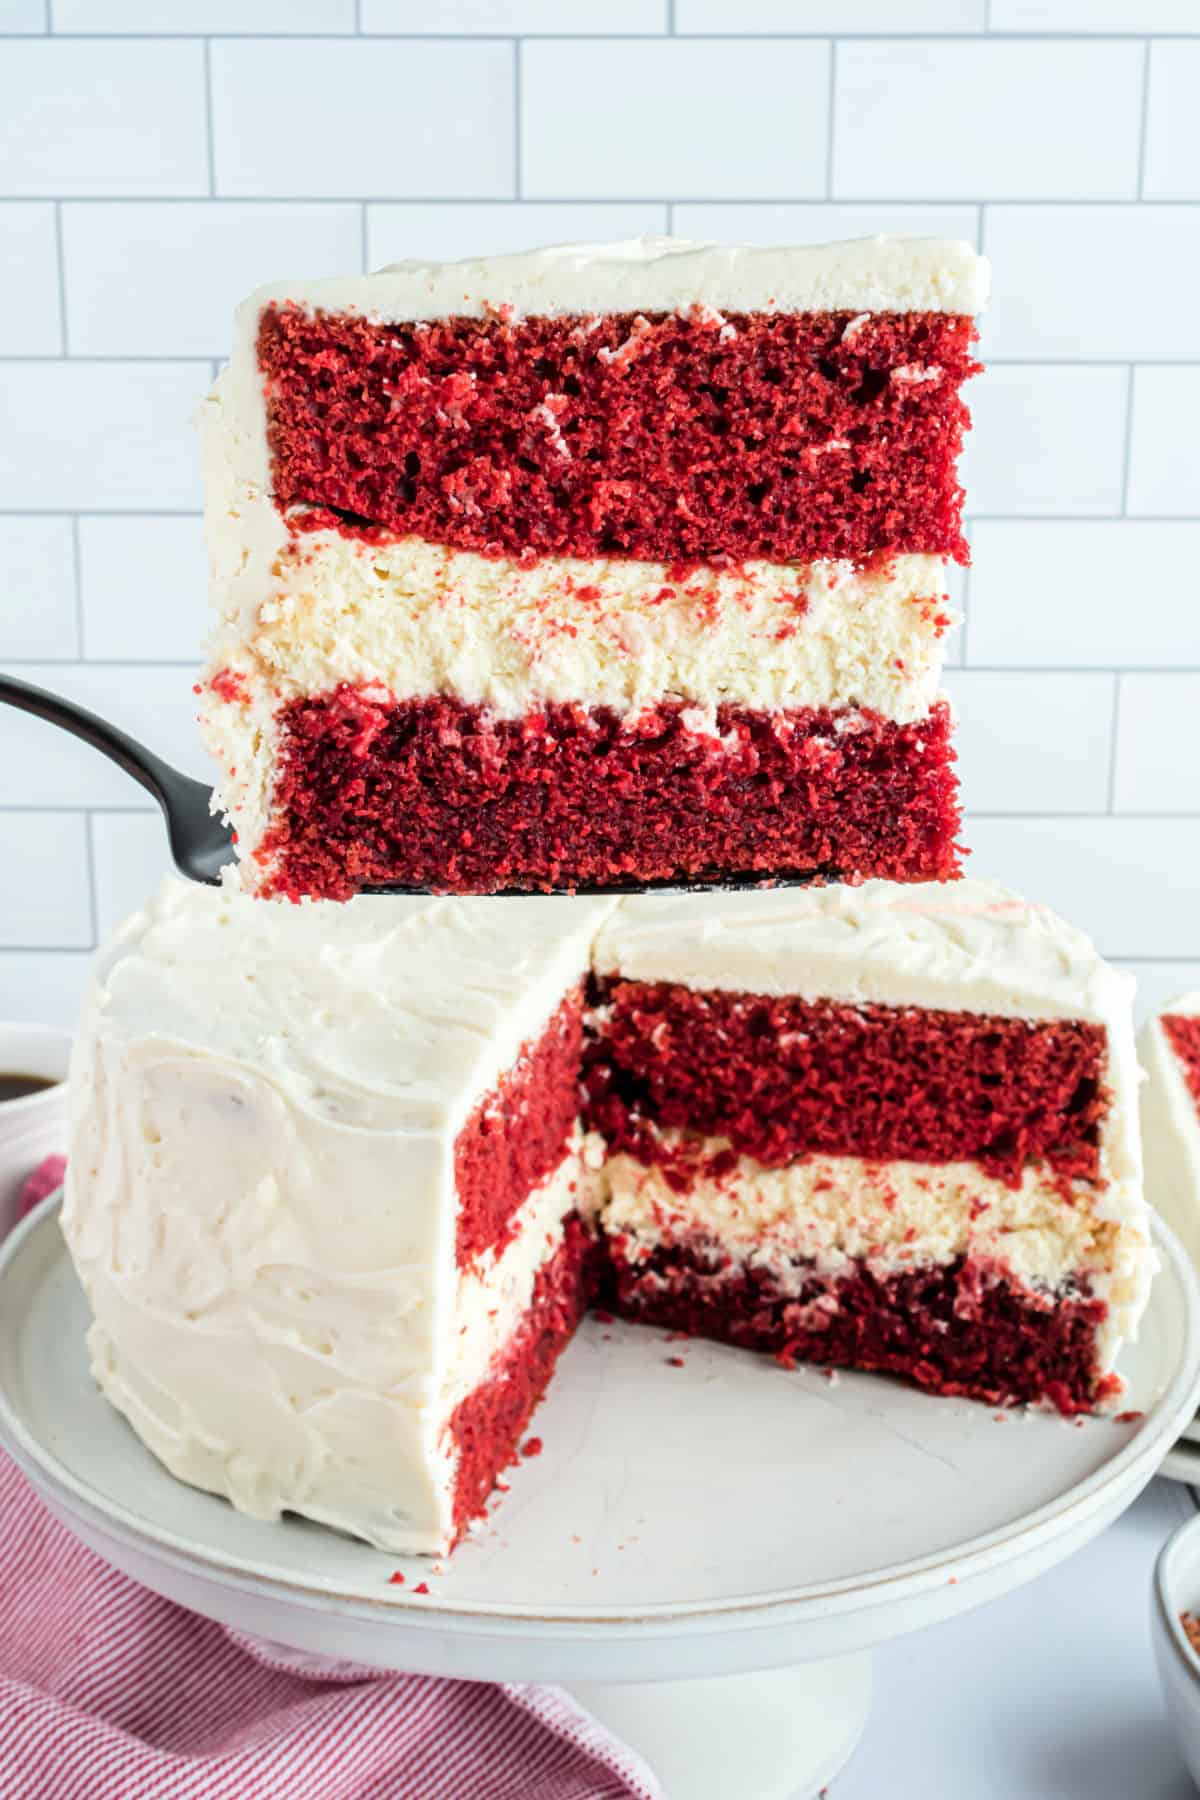
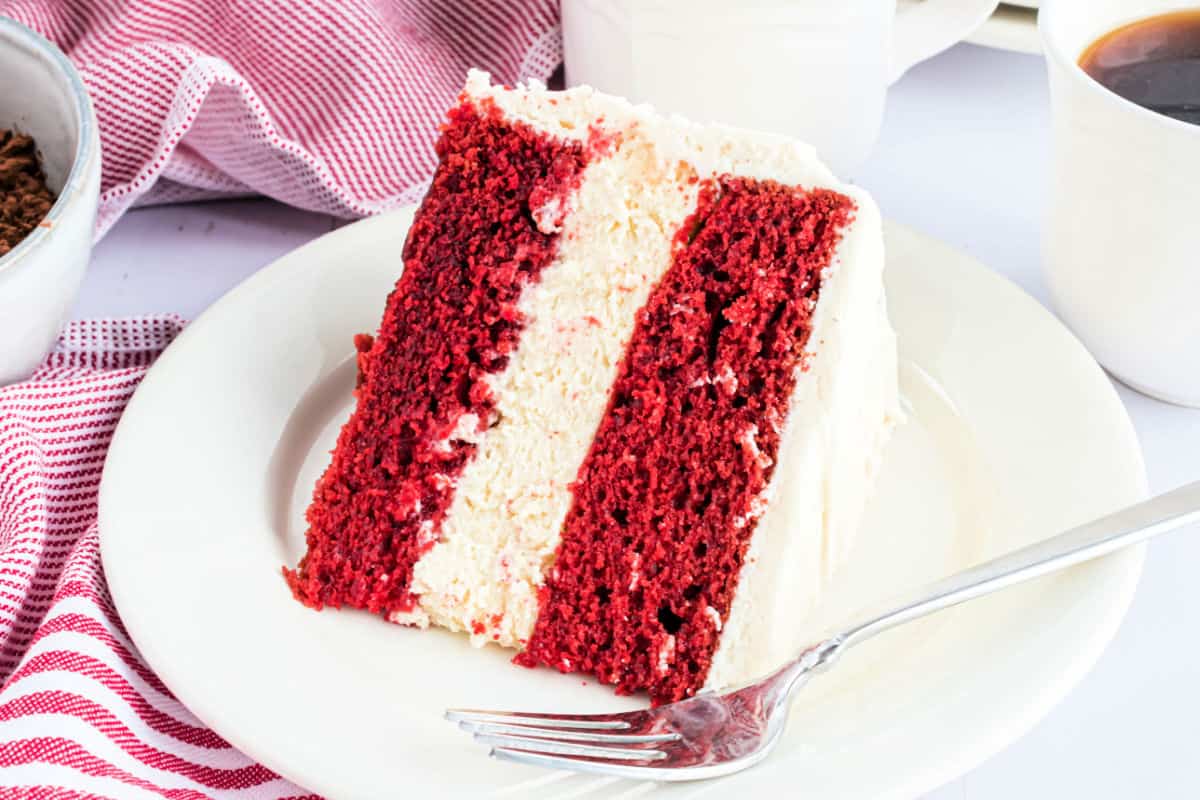
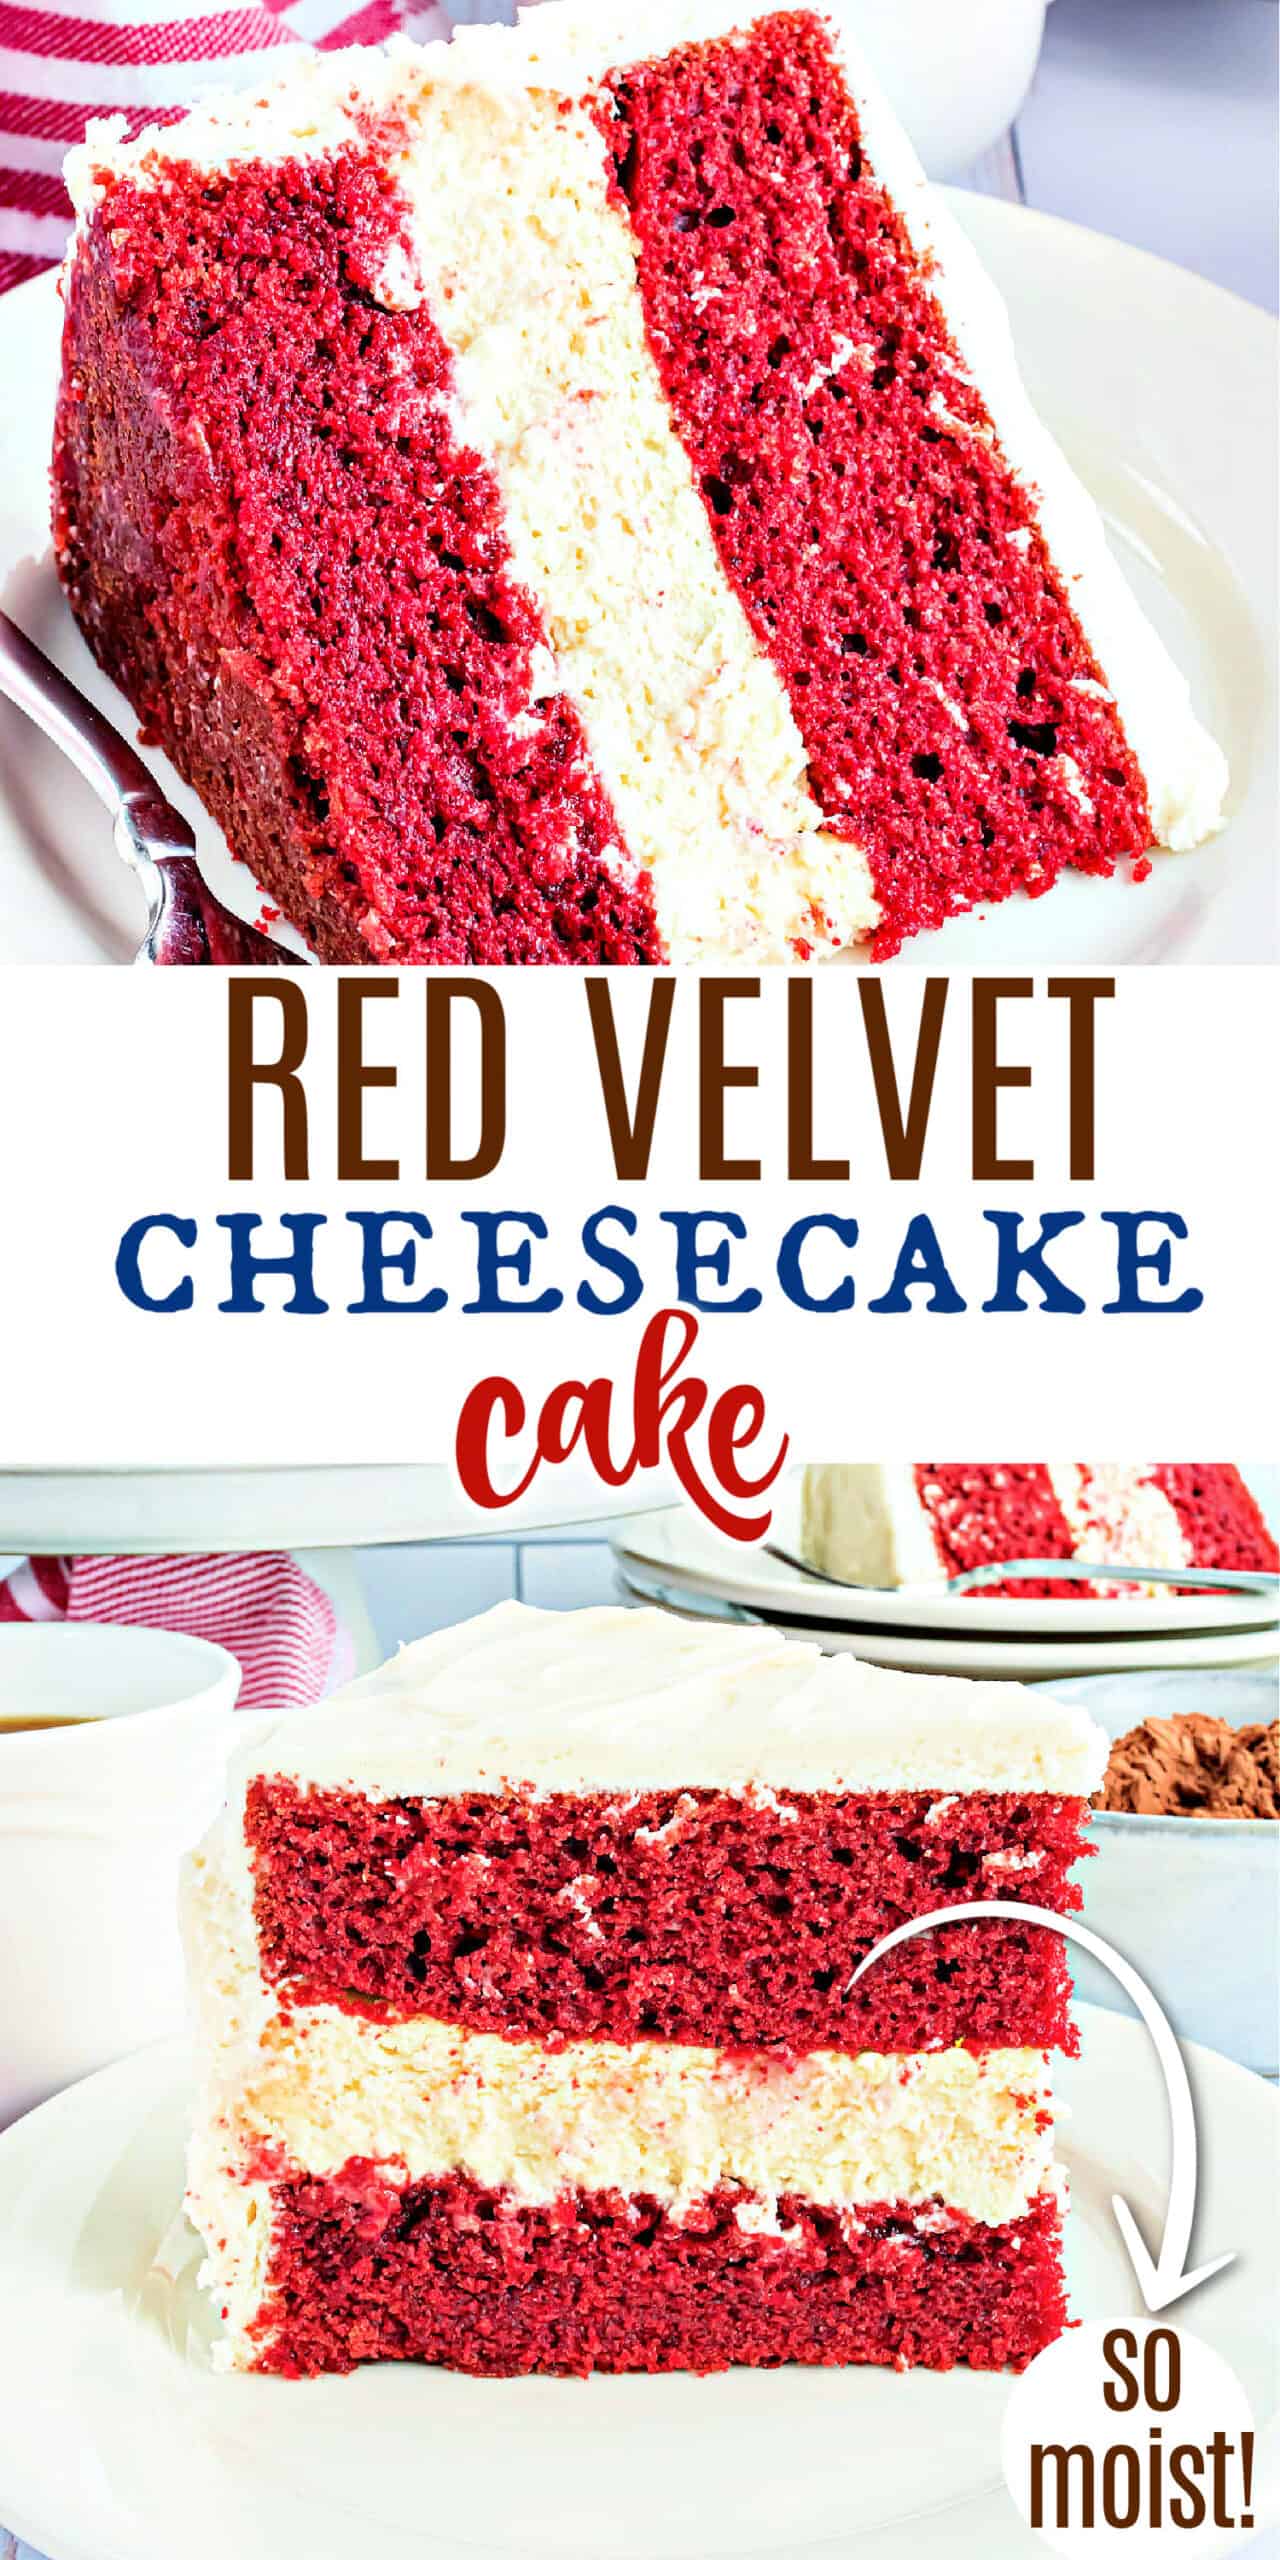
The BEST Red Velvet Cheesecake Cake recipe starts with two layers of homemade red velvet cake with a layer of cheesecake in the middle. Topped with delicious cream cheese frosting and white chocolate curls, you’ll want to make this cake for friends and family every holiday!
During the holidays, I love Eggnog Cheesecake Cake and Chocolate Peppermint Cheesecake Cake. But, I have even turned breakfast into dessert with Cinnamon Roll Cheesecake Cake! Which will you try first?
Cheesecake Factory Cake Idea
If you’re looking for an indulgent red velvet cake to top them all, here it is.
This Red Velvet Cheesecake Cake combines the best of both worlds. It’s topped with dreamy cream cheese frosting and white chocolate curls for a stunning finish.
Easy enough for a beginner to make, this recipe is sure to become a conversation piece at any holiday gathering.
We think this red velvet cheesecake cake is an especially great fit at Valentine’s day. The red color is brilliant and it tastes divine.
Here are a few reasons why this recipe works so well.
- It’s incredibly elegant. This may not be your every-week cake, but I bet it is the one you’ll come back to for holidays, birthdays and special events. Everything about it screams “you’re special.”
- For as fancy as it looks (and tastes), the hands on time to prep this cake it is totally manageable. Even if you’re a beginner, I’d recommend it.
- Between the fluffy red velvet, creamy cheesecake and light cream cheese frosting there is something for everyone. Or, if you’re like me, I love it all! Another reason I took a 2-in-1 approach with this cake.
Ingredient Notes
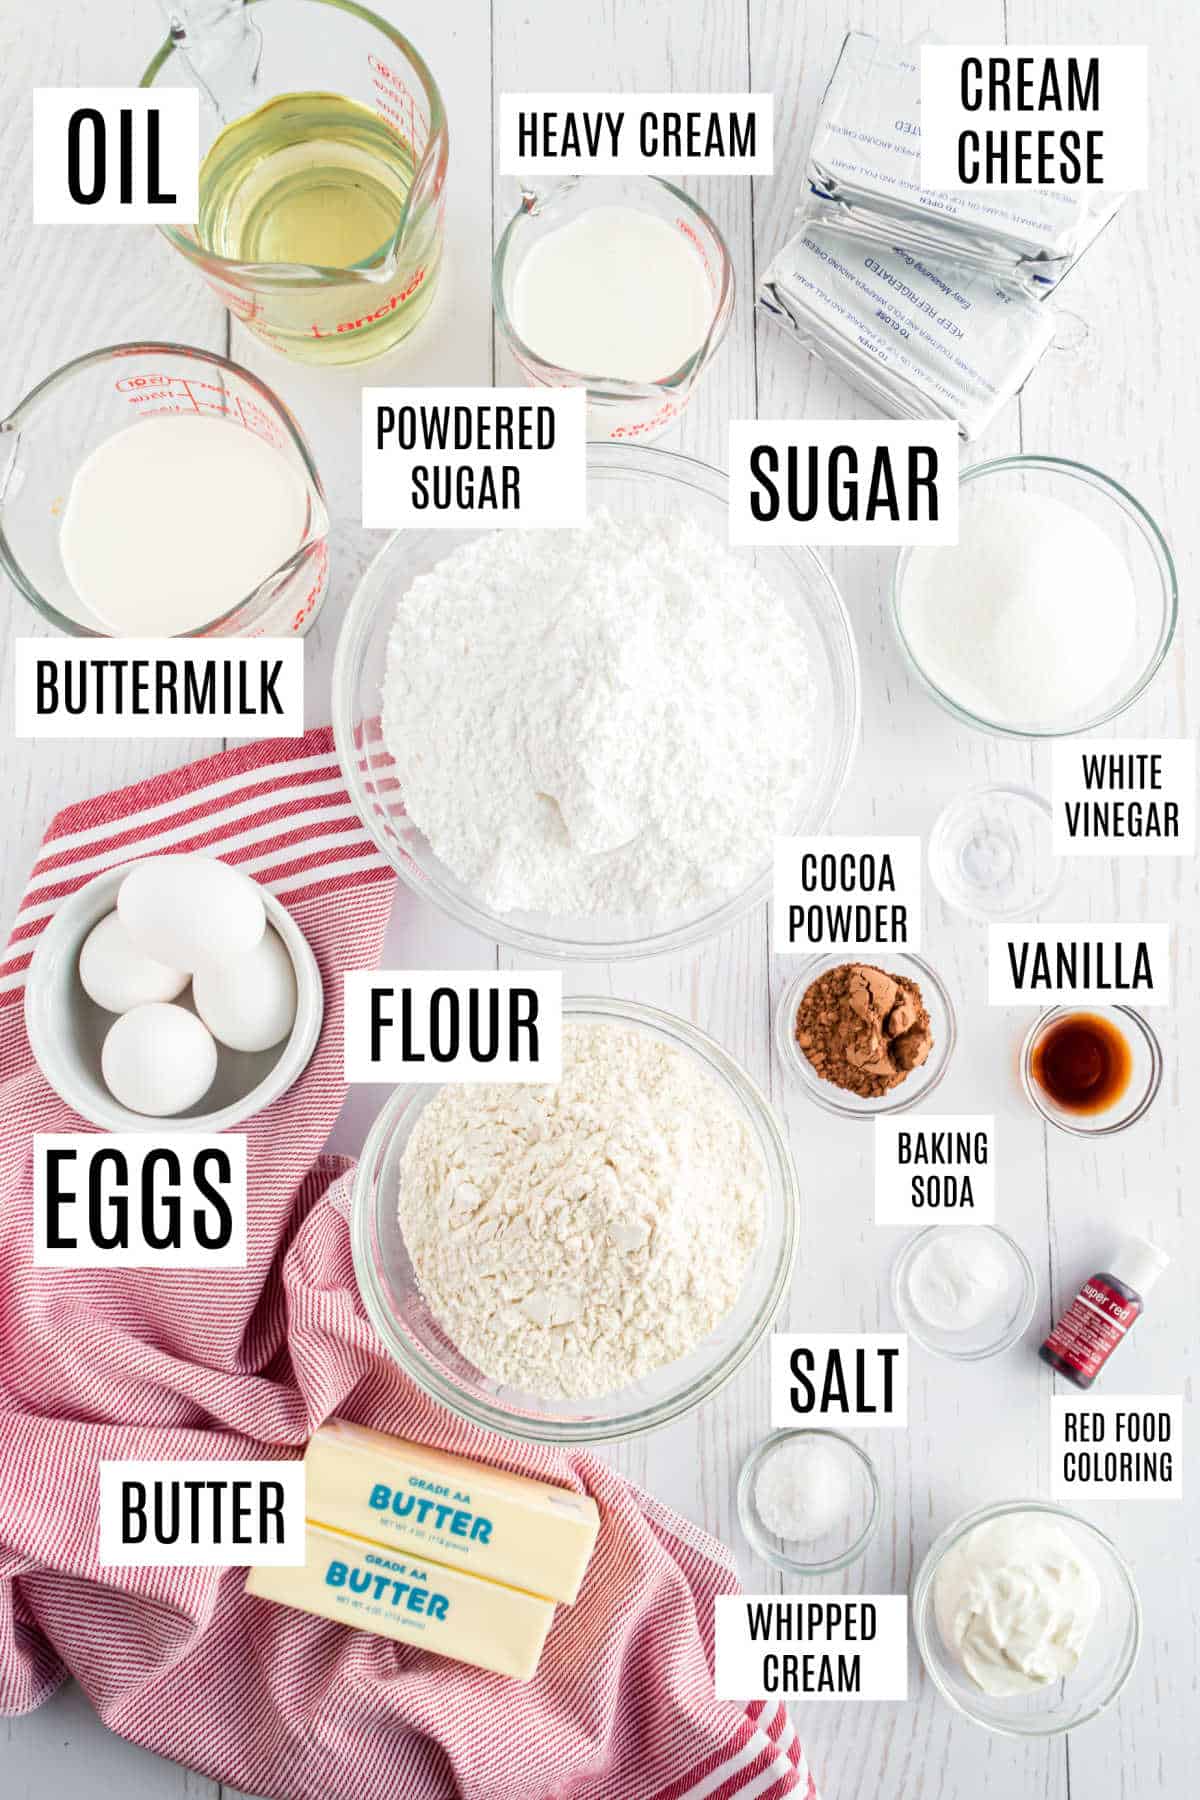
- Cream cheese – A crucial ingredient for the rich cheesecake and frosting. Be sure to choose the block style cream cheese, not the type that comes in a tub.
- Sour cream – Adds extra tanginess to the cheesecake.
- Red gel food coloring – Provides a concentrated red color to the cake. I use Americolor Super Red Gel Food Coloring.
- Unsweetened cocoa powder – Adds a touch of chocolate flavor to the cake.
- Buttermilk – Tangy buttermilk adds flavor to the cake and helps it rise higher. Use our easy buttermilk substitute if you don’t have any fresh on hand.
- Vegetable Oil – Vegetable oil adds richness and moisture to the cake.
- Eggs – Eggs bind the ingredients together and add richness.
- Vanilla extract– Choose pure vanilla, or make your own. We’ve got a delicious vanilla extract recipe you need to try soon.
- White vinegar – Activates the baking soda to help the cake rise.
- Kosher salt– Learn why we use kosher salt in baking!
- Unsalted butter – Blends with cream cheese for a rich, tasty frosting. Use our tips and tricks on how to soften butter quicky.
- Powdered sugar – Provides structure to the frosting, so it stays in place.
How to Make Red Velvet Cheesecake
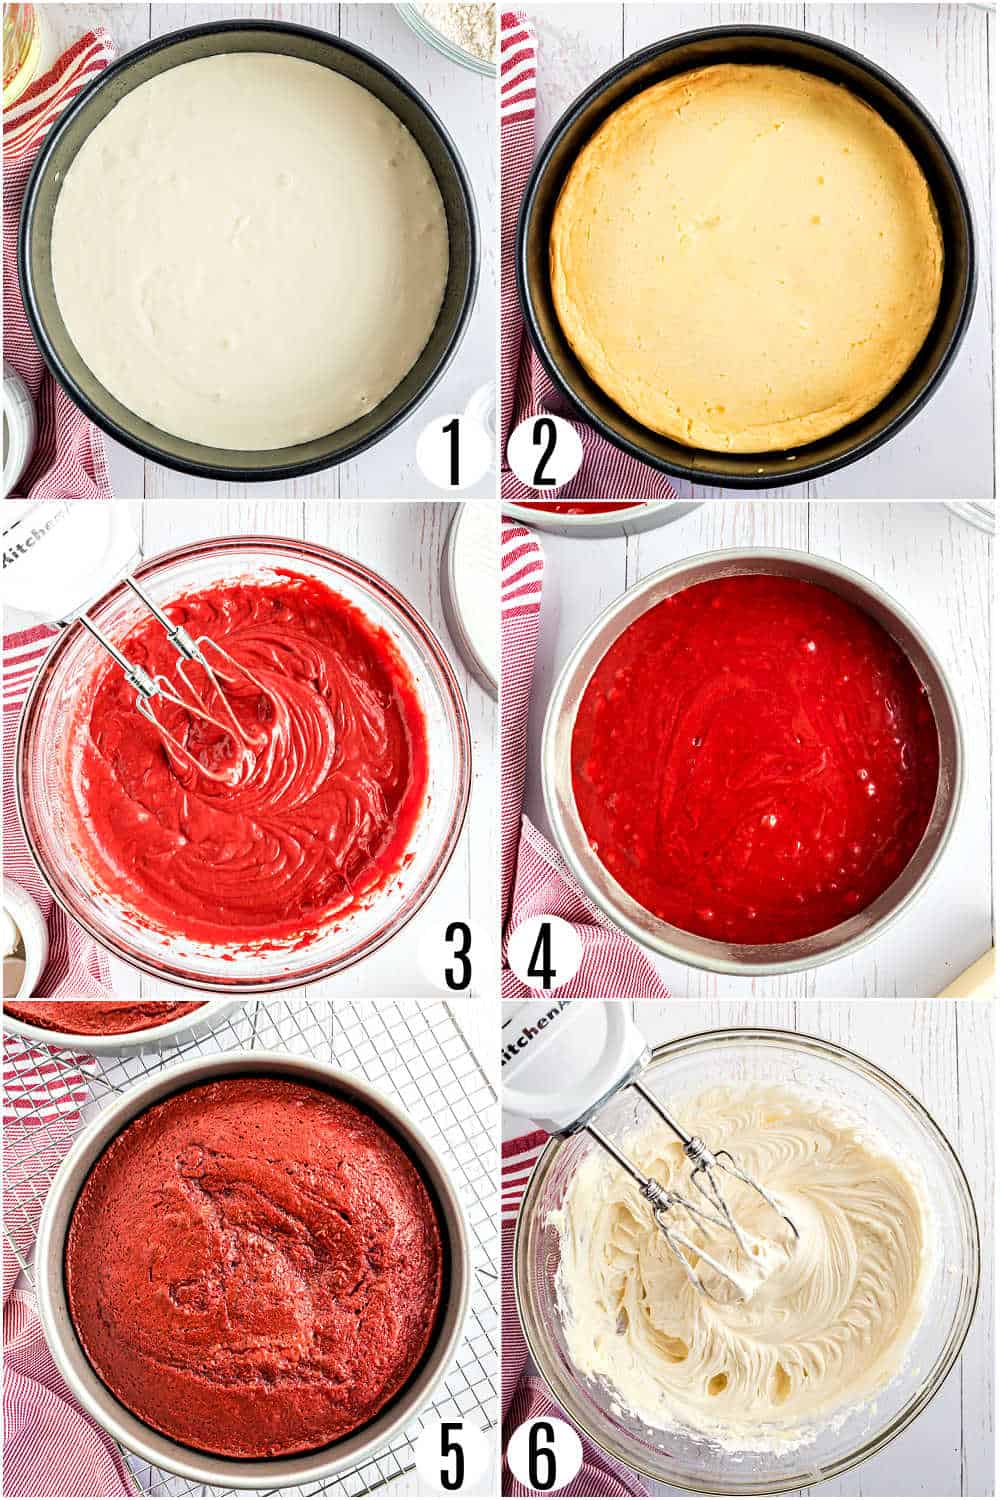
The secret to success with this recipe is planning your time wisely. There is no heavy lifting, just a little hands-on and time for each layer to cool between steps.
- Make your cheesecake the night before. Beat all of the ingredients together until they’re smooth, about 3 minutes. Pour this mixture into a pre-greased springform pan and bake for 45 minutes. Allow it to cool completely, and then freeze in plastic wrap overnight.
- Bake your cake the next morning. Batter takes less than 10 minutes, so begin preheating your oven to 350°F before you start. Whisk together the wet ingredients first. Then slowly mix in the dry ingredients. Divide the finished batter between two greased 9-inch cake pans, using a circle of parchment paper in the bottom of each. Bake for 32-34 minutes, then remove the pans to cool completely.
- Prepare the frosting. This should be done 10 minutes before you intend to assemble the finished cake. Fully combine the butter and cream cheese first. Then mix in the vanilla, powdered sugar, and heavy cream.
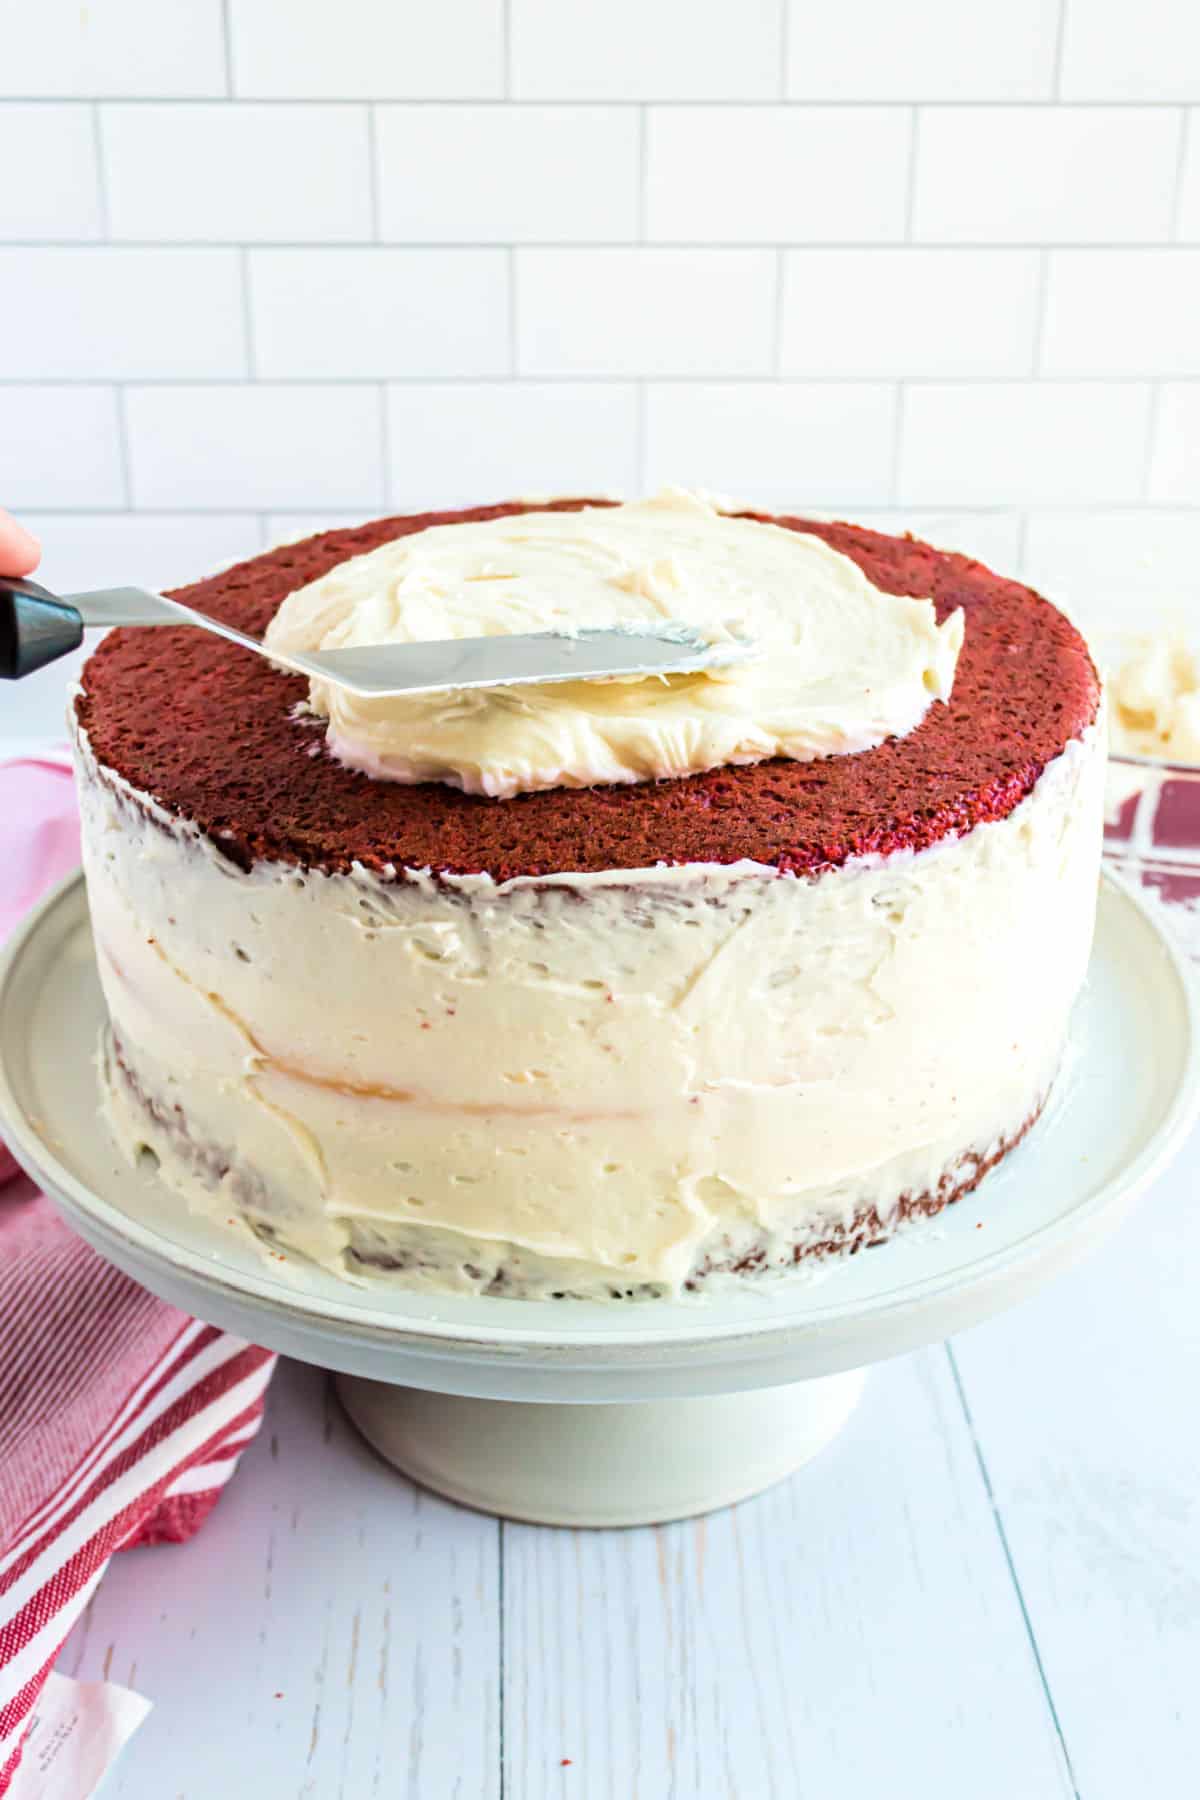
- Assemble the cake. Start with a single layer of red velvet on a cake stand. Top it with the frozen cheesecake, making sure to remove the parchment paper. Place the second layer of cake on top. Frost it generously, spreading an even layer with an offset spatula. Finish with white chocolate shavings on top. Refrigerate until ready to serve.
Tips & Tricks
- Be patient when assembling this cake. Carve out 15 minutes for this process, even though you’ll probably be done faster. Many-a-cake has been ruined by a hasty assembly. A patient mind and steady hand makes all the difference.
- When preparing the cake batter, remember that the vinegar and baking soda ingredients will leaven very quickly. It’s best to start with a pre-heated oven and greased cake pans standing by so that you can bake immediately.
- I only use gel food colorings because one drop goes a long way. Unlike other red velvet cakes that need tablespoons of food coloring, ½ teaspoon of red gel coloring gives a bright red color.
- Too much leftover cake? No worries! This is the perfect time to use my guide on how to freeze cake. Use my option for freezing cake slices.
More Red Velvet Recipes
Can’t get enough red velvet? Me either.
Most folks would stop with one red velvet recipe for their holiday party. But if you really want to “wow” your guests then you might consider doing a red velvet buffet. People will be talking about it for literal years. Here are a few good companion ideas.
- Start with my Red Velvet Cheesecake Brownies with a red brownie base and marbled cheesecake on top.
- Red Velvet Crinkle Cookies take the classic chocolate crinkle to a new level! If you’re more of a classic chocolate chip cookie fan, simple Red Velvet Cookies are chewy with white chocolate chips throughout.
- Finally, make the ultimate cookie for dipping in your coffee with gorgeous Red Velvet Biscotti dipped in white chocolate. Biscotti never looked better!
Recipe FAQs
Break this recipe up into two days for the best results. Make the cheesecake and cake layers one day. Freeze the fully-cooled cheesecake overnight and store the cooled, wrapped cakes at room temp. The next day, prepare the frosting and assemble the cake.
Thankfully, buttermilk is easy to substitute in a pinch. If you have milk and vinegar or lemon juice on hand, you can make your own buttermilk.
The cheesecake will continue to bake and set in the oven as it cools down, ensuring it’s cooked thoroughly and is safe to eat.
Because this cake has cheesecake inside, you’ll need to store it covered in the refrigerator at all times. It’s best served cold, but you can also let a slice sit at room temperature for 30 minutes before eating if you prefer.
More Cheesecake Cake recipes
- Salted Caramel Chocolate Cheesecake Cake is another perfect option during cooler fall weather.
- What’s not to love about this Chocolate Peanut Butter Cheesecake Cake? This stunning cake has layers of homemade chocolate cake and peanut butter cheesecake. Topped with a creamy peanut butter frosting and dark chocolate ganache, this cake is sure to satisfy that sweet tooth!
- Lemon Cheesecake Cake is topped with a sweet lemon buttercream frosting with two layers of moist lemon cake and a creamy cheesecake filling.
Pin this now to find it later
Pin It
Red Velvet Cheesecake Cake
Ingredients
For the cake
- 1 ¼ cup vegetable oil
- 1 ¼ cup buttermilk
- 2 large eggs
- 1 teaspoon vanilla extract
- 1 teaspoon white vinegar
- ½ teaspoon red gel food coloring
- 2 ½ cups all-purpose flour
- 1 ½ cup granulated sugar
- 1 teaspoon baking soda
- 1 teaspoon kosher salt
- 2 Tablespoons unsweetened cocoa powder
For the cheesecake
- 2 packages cream cheese, softened 8 ounce each
- ⅔ cup granulated sugar
- pinch of salt
- 2 large eggs
- ⅓ cup sour cream
- ⅓ cup heavy whipping cream
- 1 teaspoon vanilla extract
For the frosting
- 1 cup unsalted butter softened
- 8 ounce cream cheese softened
- 1 teaspoon vanilla extract
- 4 cups powdered sugar
- ¼ cup heavy cream
Instructions
- Start by making the cheesecake. Preheat oven to 325 degrees. Fill a large roasting pan with about one inch of water and place it in the lower 2/3 of the oven.
- Prepare springform pan by spraying pan with nonstick baking spray and line bottom (inside) with a circle of parchment paper.
- Beat cream cheese with granulated sugar for 2-3 minutes until creamy. Add in salt and eggs, one at a time, beating well after each addition. Beat in sour cream, heavy cream and vanilla.
- Pour into prepared 9-inch springform pan. Place pan in center of oven.
- Bake cheesecake for 45 minutes. Turn oven off and let cheesecake sit in oven for an additional 30 minutes. Remove and cool completely on counter.
- When cooled,remove springform pan and cover cheesecake with plastic wrap. Place cheesecake into the freezer for several hours or overnight.
- For the cake, in a mixing bowl, blend oil, buttermilk, eggs, vanilla, vinegar and food coloring until combined. Slowly add in dry ingredients.
- Pour cake batter into 9-inch cake pans that have been sprayed with baking spray and have parchment paper circles in the bottom. Bake in a 350 degree oven for 32-34 minutes, until toothpick comes out clean.
- Remove cakes from pan and cool completely.
- For the frosting, beat butter and cream cheese for several minutes. Add in vanilla, powdered sugar, and heavy cream. Beat for 3-4 minutes until fluffy.
- To assemble cake, place one layer of red velvet cake on a cake plate. Top with frozen cheesecake (make sure to remove parchment paper circles) and place second layer of cake on top. Frost generously. Refrigerate covered cake until ready to serve!
Notes
- Purchase this Americolor Super Red Gel Food Coloring. I use all gel food colorings because one drop goes a long way. I used only 1/2 teaspoon of red food coloring to get this bright red color, unlike many other red velvet cakes that need tablespoons of coloring!
- Be patient when assembling this cake. Carve out 15 minutes for this process, even though you’ll probably be done faster. Many-a-cake has been ruined by a hasty assembly. A patient mind and steady hand makes all the difference.
- When preparing the cake batter, remember that the vinegar and baking soda ingredients will leaven very quickly. It’s best to start with a pre-heated oven and greased cake pans standing by so that you can bake immediately.
- Plan Ahead. Break this recipe up into two days for the best results. Make the cheesecake and cake layers one day. Freeze the fully-cooled cheesecake overnight and store the cooled, wrapped cakes at room temp. The next day, prepare the frosting and assemble the cake.

This sounds so delicious! I need clarification please. The cheesecake recipe uses heavy whipping cream and the frosting uses heavy cream. Can heavy cream be used in the cheesecake batter instead of heavy whipping cream? Thanks!
They are the same, heavy whipping cream in US is same as heavy cream.
Would it be ok to make the cheesecake layer on Monday night and freeze til assembling the rest of cake on Wednesday noght
what kind of vinegar
By far the best dessert I have ever made. Everyone loved it. Mine was not as pretty as Aimee’s, but the taste was out of this world. Worth the time and effort.
Your recipes are awesome almost try follow all baking recipe with tips
Drooooling by the time I got to the bottom of this post!! Can’t wait to make and save on cheesecake factory with this delicious copycat
What a gorgeous color! I am saving this for Valentine’s Day!
This cake is utterly amazing. Love the layer of cheesecake in the middle. To die for!
Rave reviews every time I make this! Incredible to say the least.
I signed up to your website originally for the Keto Soup recipes not sweets. If I’m always going to receive sugar recipes then take me off your e-mail list. So far I’m very disappointed.
You can unsubscribe at any time. My website is called “Shugary Sweets” so you will receive dessert recipes!
This is such a beautiful cake. It’s perfect for Valentine’s Day!
What a delicious looking 2-in-one cake! And you’re right! It’s perfect for Valentine’s Day. I love to make cheesecake and the thought of adding it to the center of a cake is brilliant. I’m also going to have to look up those bake even strips. What a cool idea!
Hi there, I will be making this red velvet cheesecake cake for my husbands birthday. After reading the instructions I noticed that vinegar is called for. Please, what kind of vinegar?
I a rookie baker, and am a little intimidated…… is this a cake for a rookie?
White vinegar used
White vinegar used