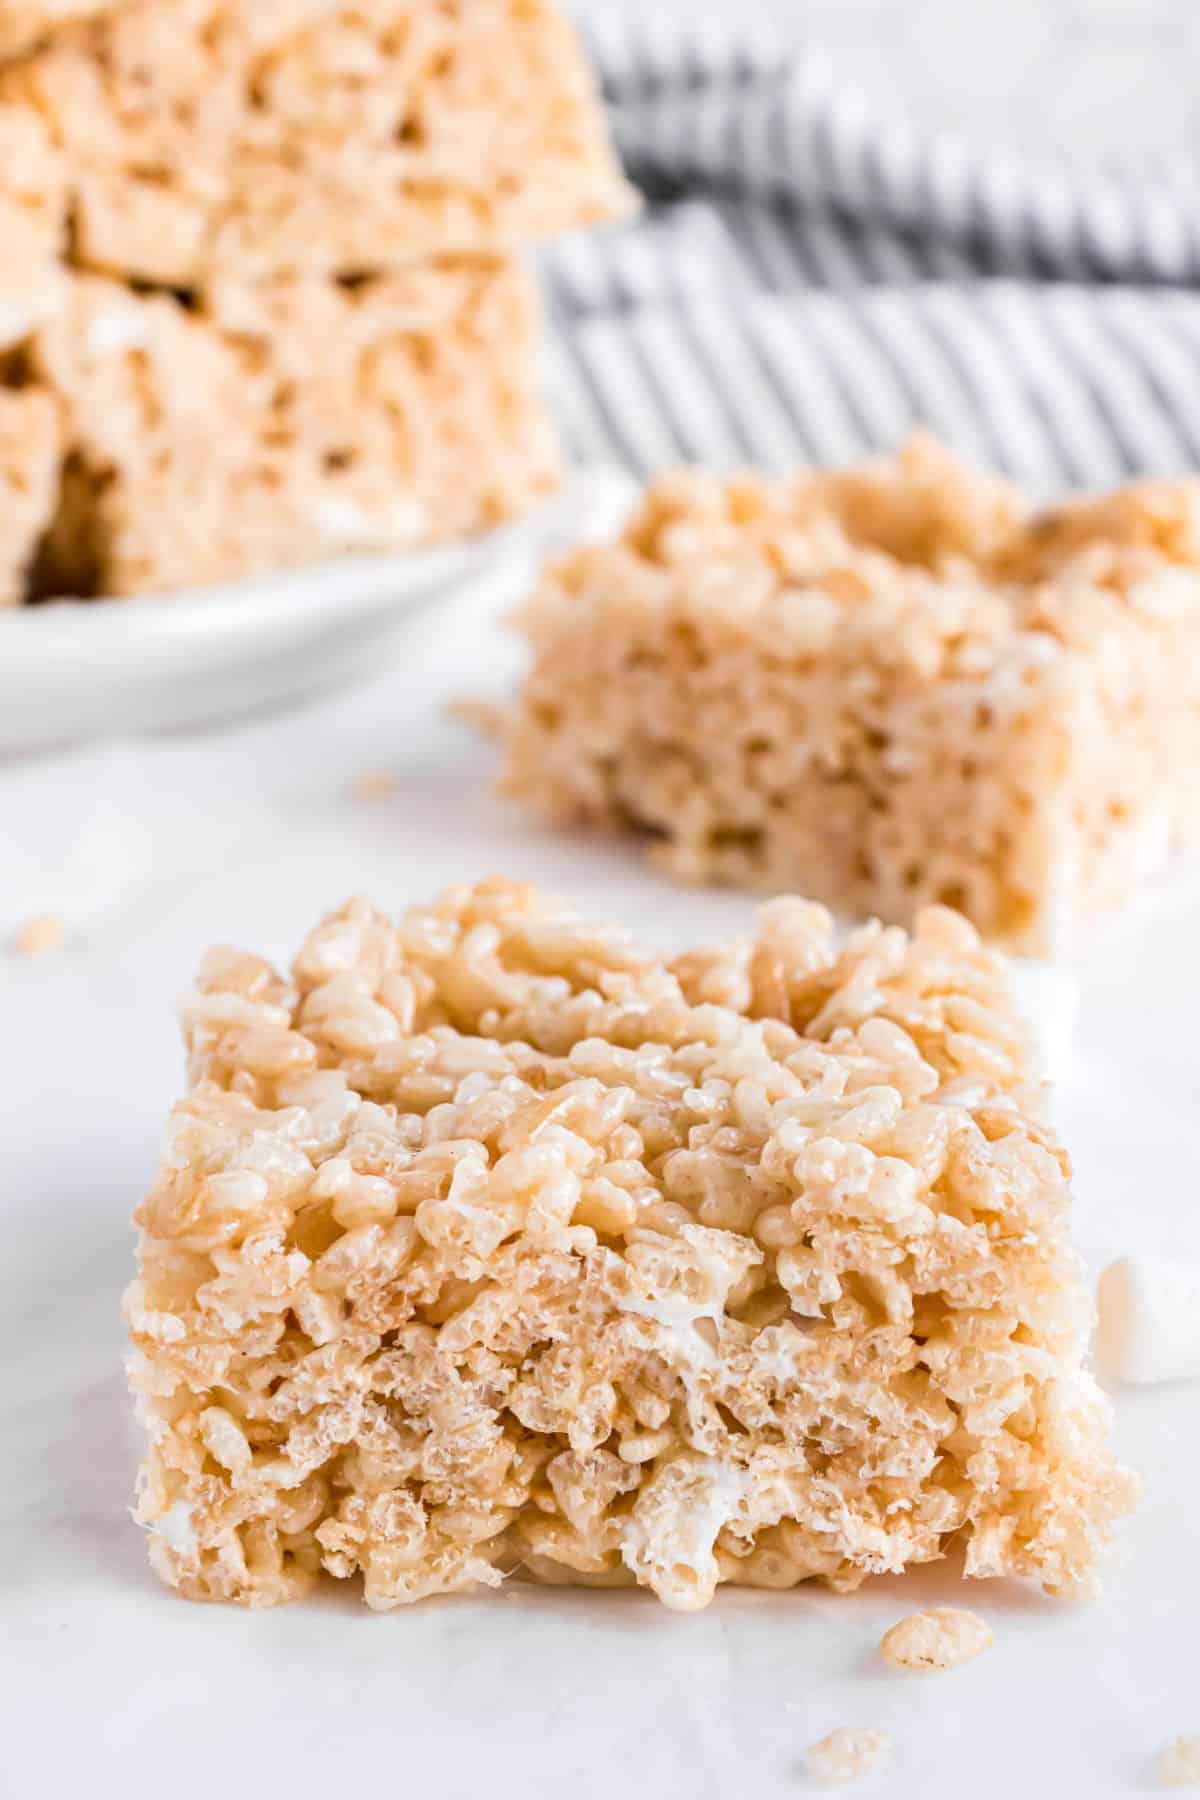
Get the secret tips and tricks to making the most PERFECT Rice Krispies Treats recipe. From using fresh butter and marshmallows to adding vanilla extract, this is my favorite dessert.
Love easy cereal treats? Try our recipes for homemade puppy chow (muddy buddies)! Or make a savory snack like this Taco Chex mix!
My Cookbook is Here!
- 5 categories of delicious treats!
- Full page photos for EVERY recipe.
- QR codes with every recipe to receive BONUS recipes!
- 35 mouth-watering, expert tested recipes!
The BEST Rice Krispies Treat Recipe
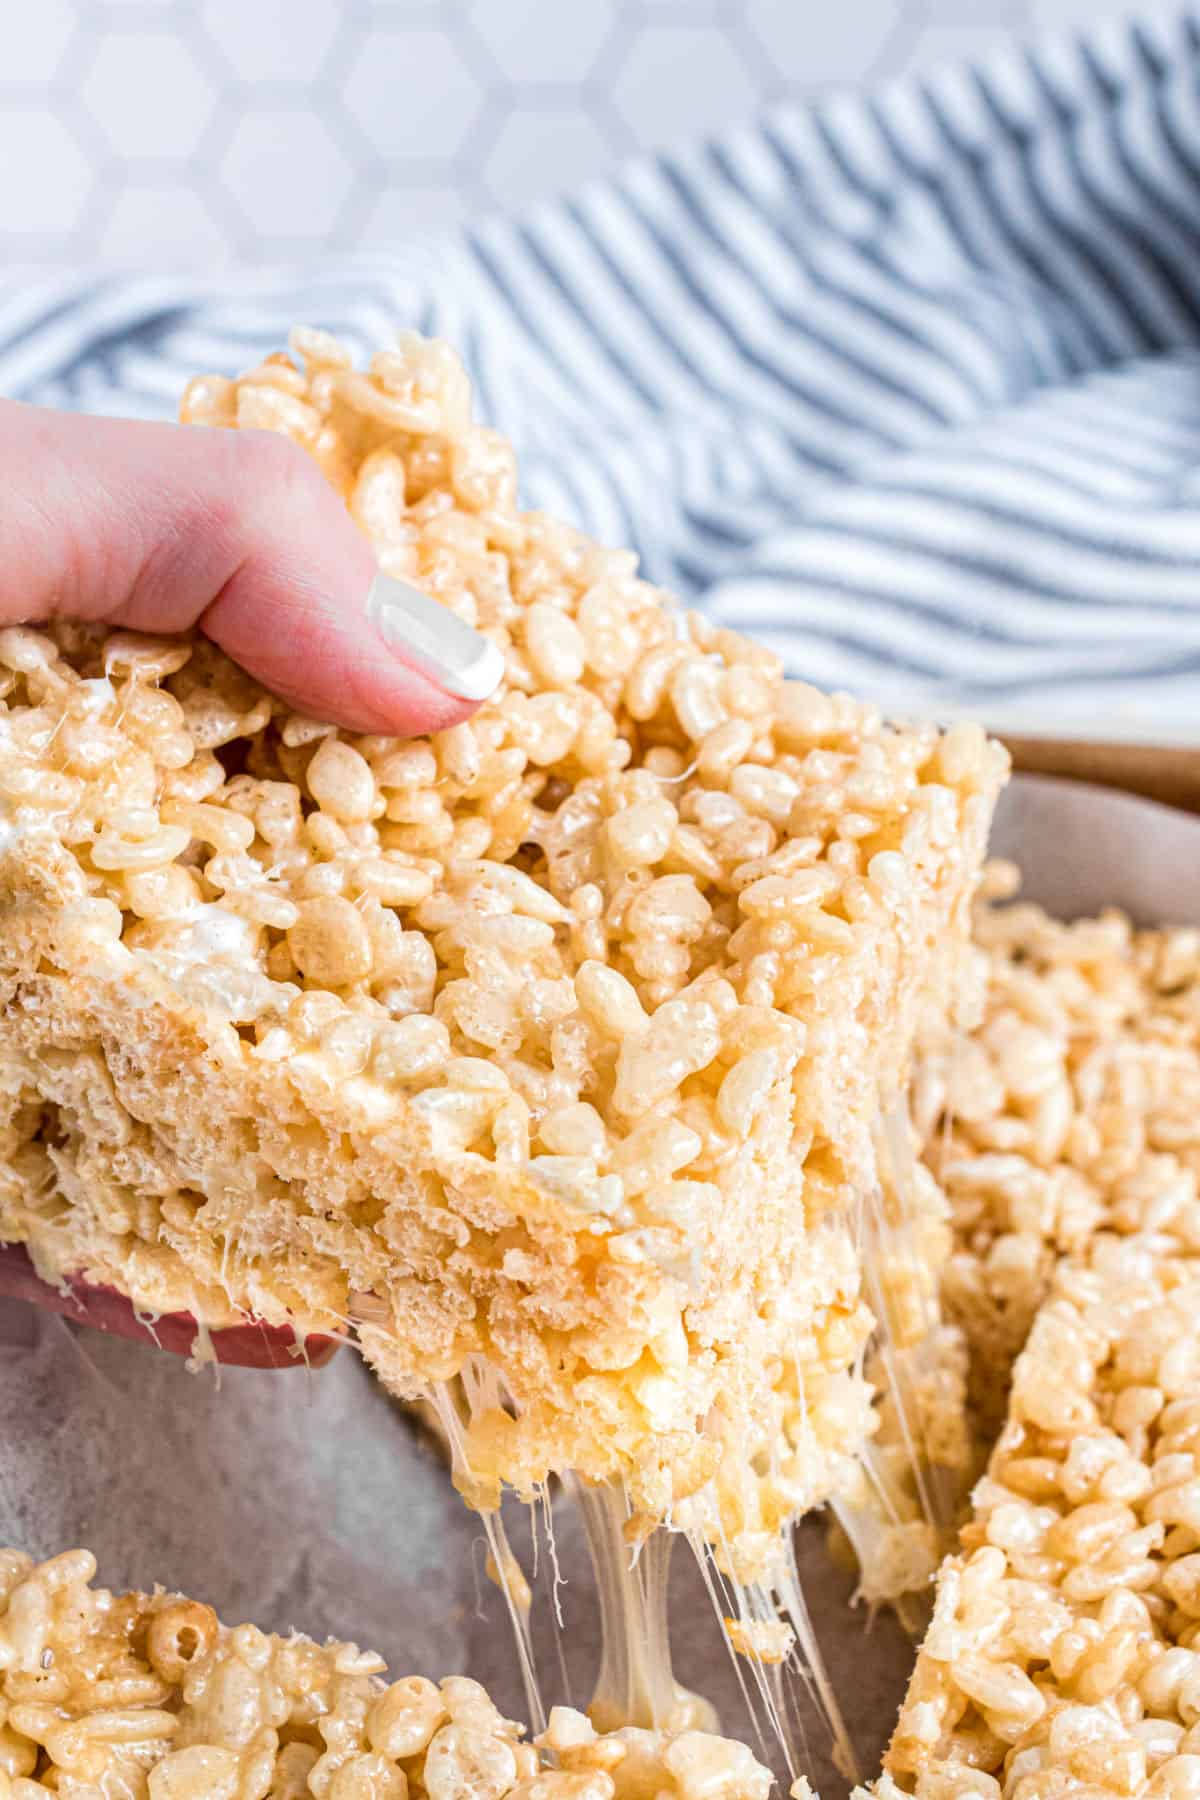
There are thousands of recipes for making homemade krispie treats, and I’m putting it out there that my recipe is BEST. You may see some similar nowadays, but they all stem from my original add-ins.
- Only 4 ingredients
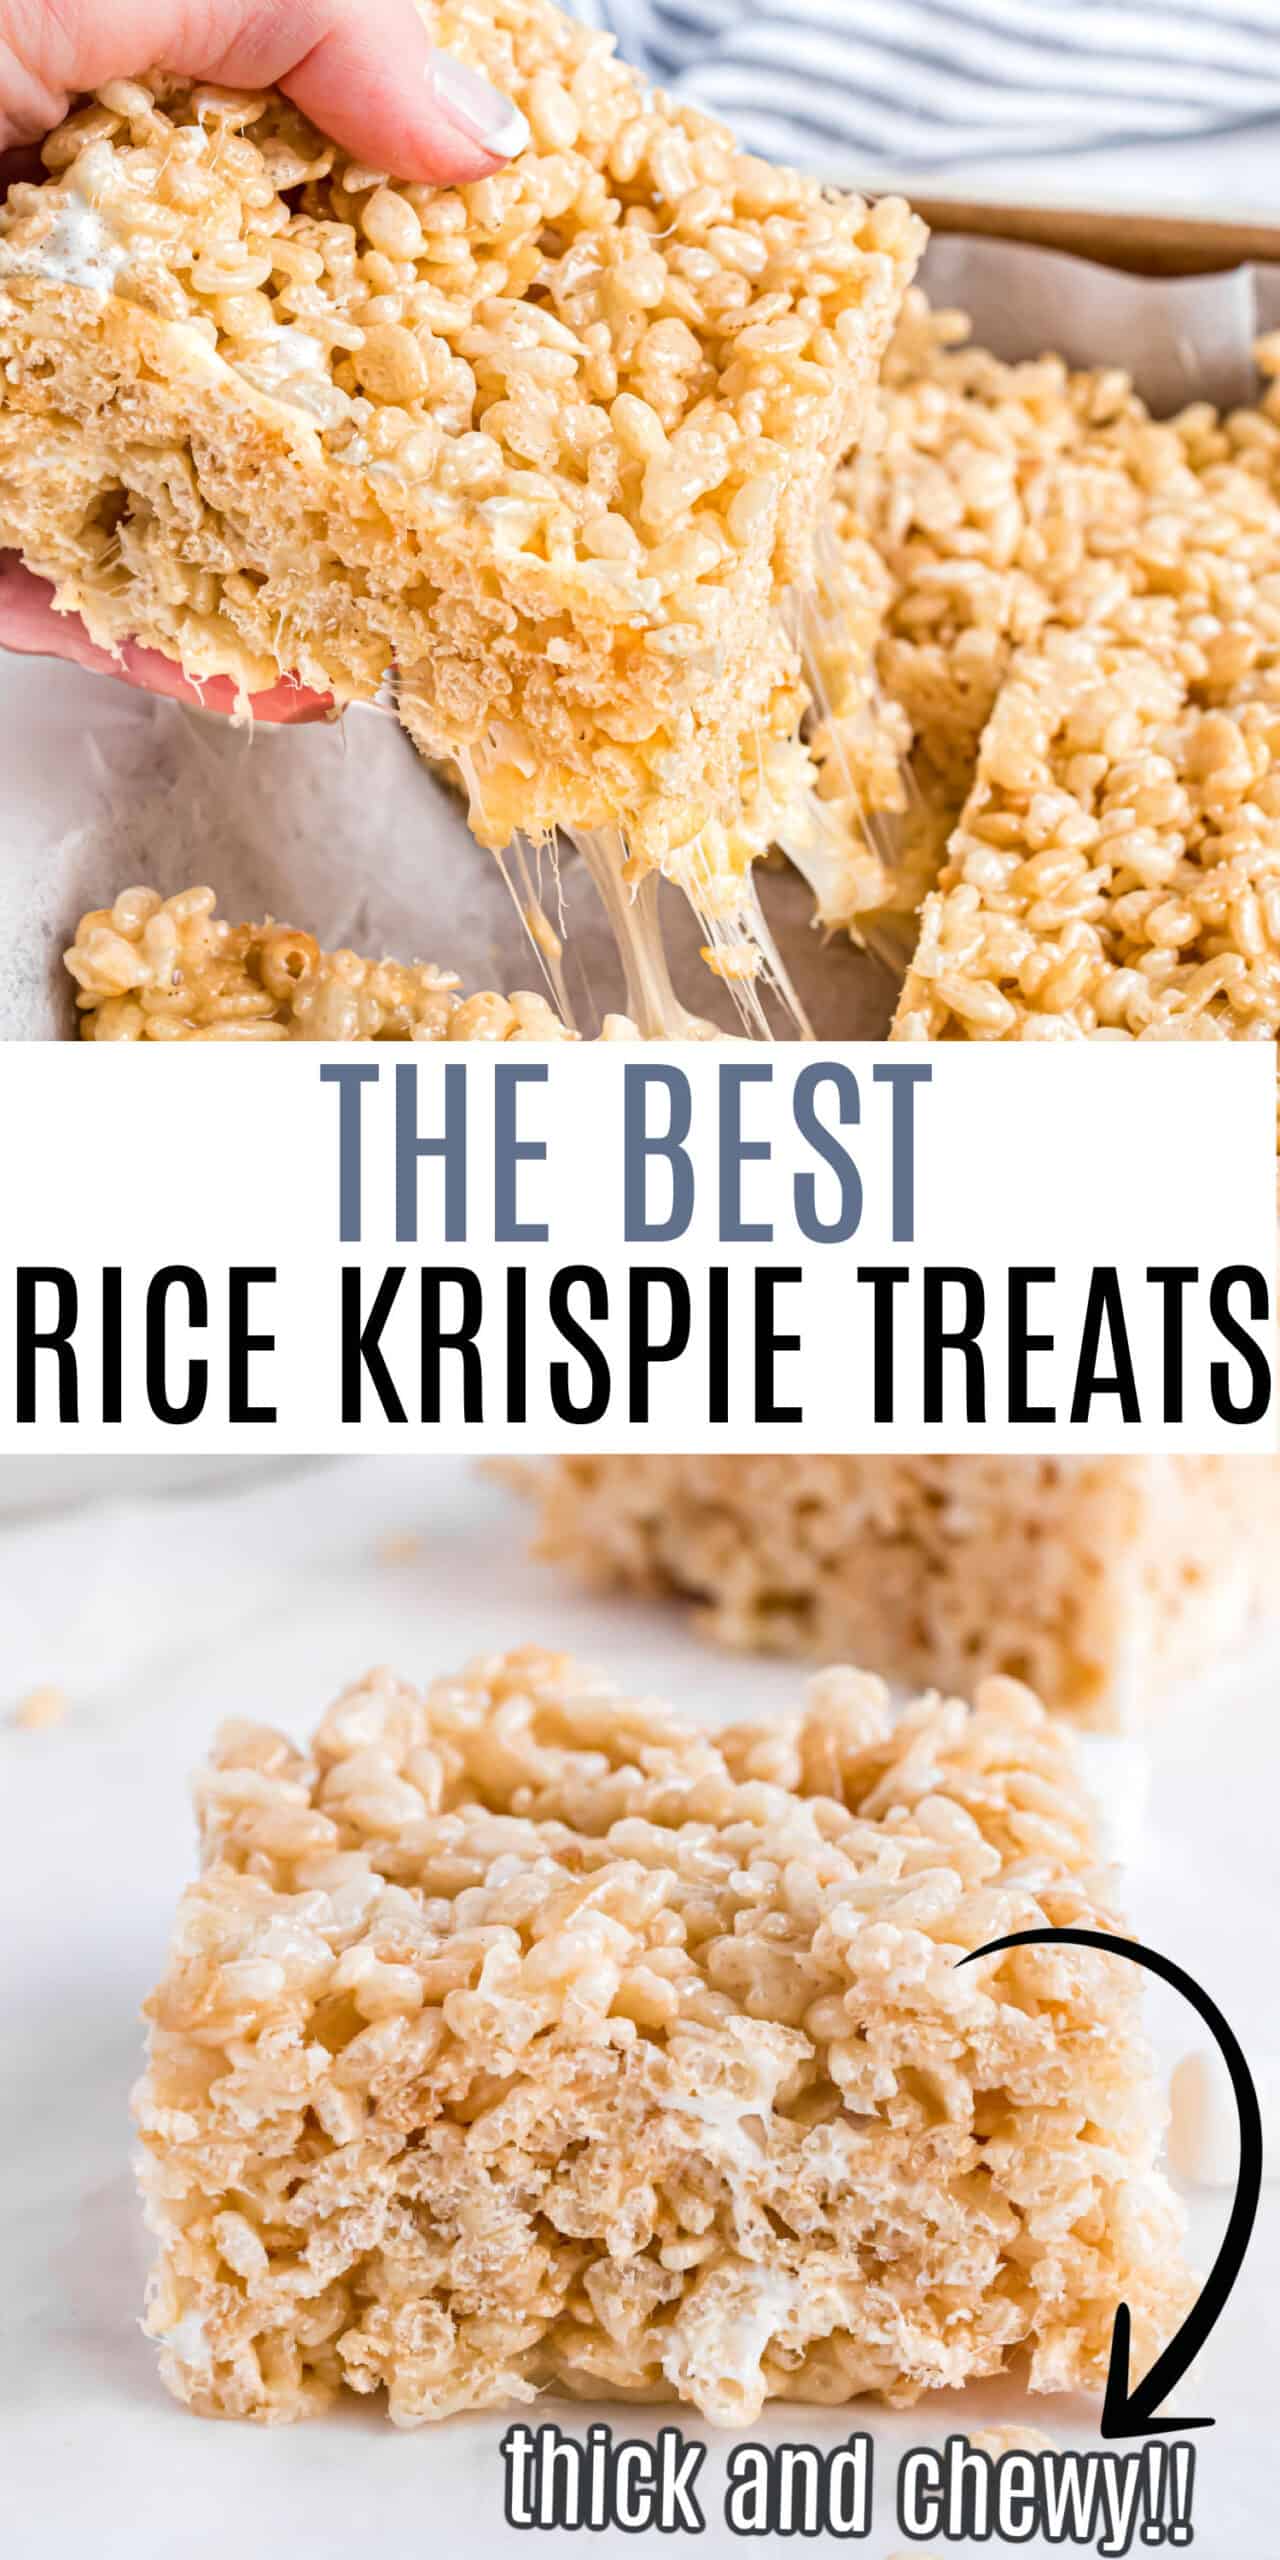
- Thick and chewy
- Vanilla flavor
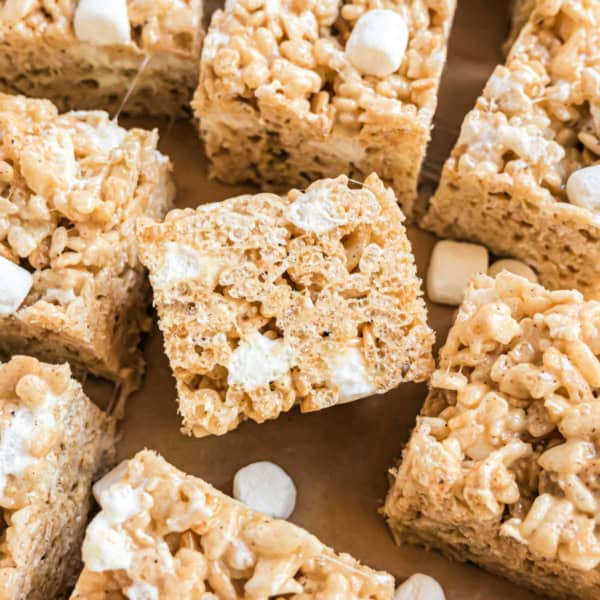
- Perfect ratio of cereal to marshmallows
We love that this classic treat can be changed up using different cereals too!
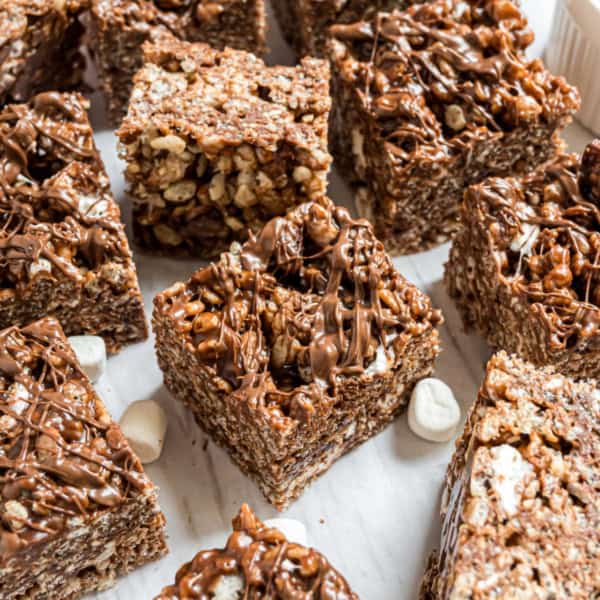
- Chocolate– Cocoa Krispie Treats
- Fruity– Fruity Pebbles Treats
- S’mores– Golden Grahams Treats
- Cheerios– Cheerio Treats
The Original Rice Krispie Treats
Rice Krispie Treats have always been the key to my heart. Knowing how to make rice krispie treats has gotten me far in life.
- I love crispy treats so much that I’ve created over a dozen flavors….from Fluffernutter Krispie Treats to Cinnamon Roll Krispie Treats.
- I’ve even got these adorable TURKEY Krispie Treats and this Pumpkin Pie Rice Krispie Treat for Thanksgiving!
But, in the end, it’s the classic, original, homemade rice krispie treat that captures my taste buds.
The biggest question is how to spell it. Some people say Rice Crispy treat, Some say Crispy Rice, some say Rice Crispies. Either way, you get the point! This rice crispy treats recipe is the best!
Ingredients You Need
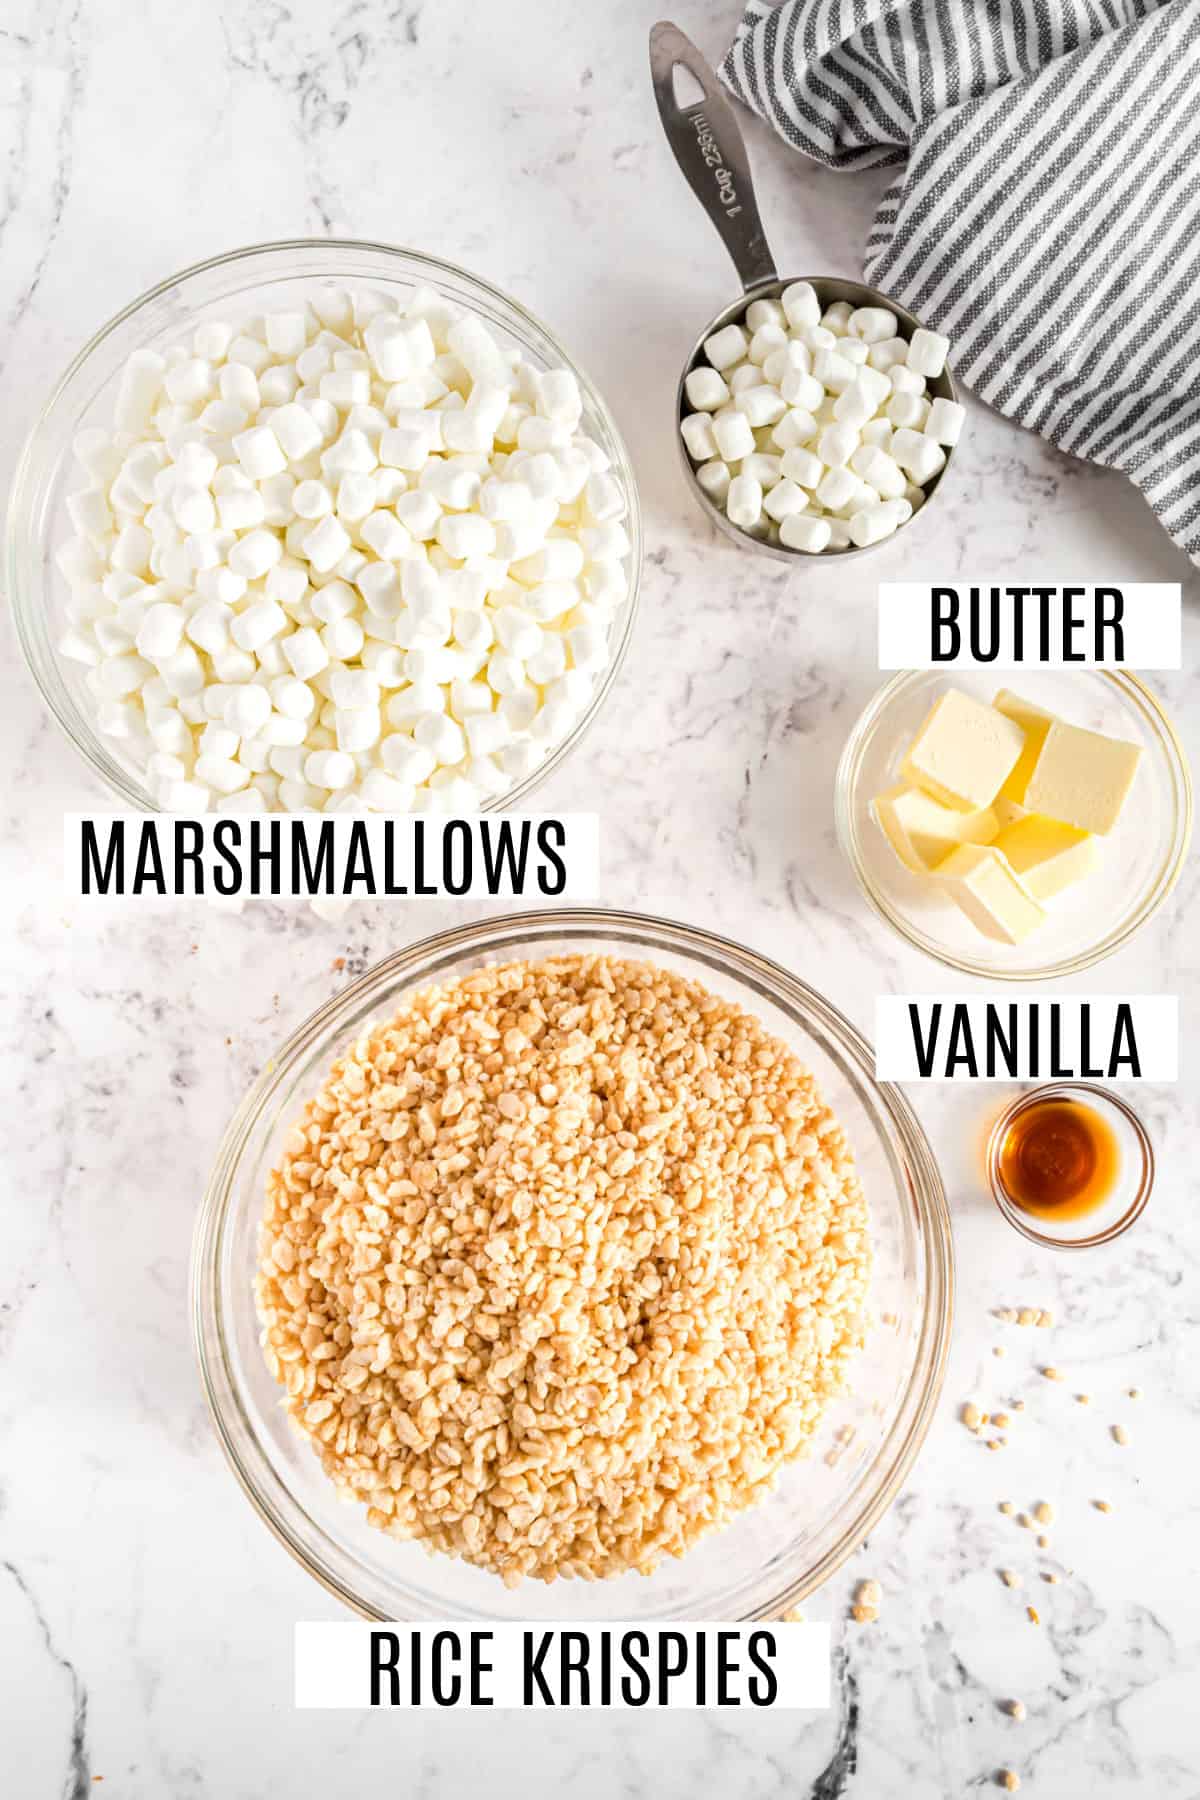
- Butter- use salted butter for this recipe. Just trust me! Don’t have any on hand? Use unsalted butter and a pinch of salt while melting. DO NOT use margarine.
- Marshmallows- you’ll need 9 cups of mini marshmallows, keeping about 1 cup aside to add in at the end!
- Rice Krispies Cereal- any brand of crispy rice cereal will work, just make sure it’s FRESH.
Aimee’s Secret Ingredient
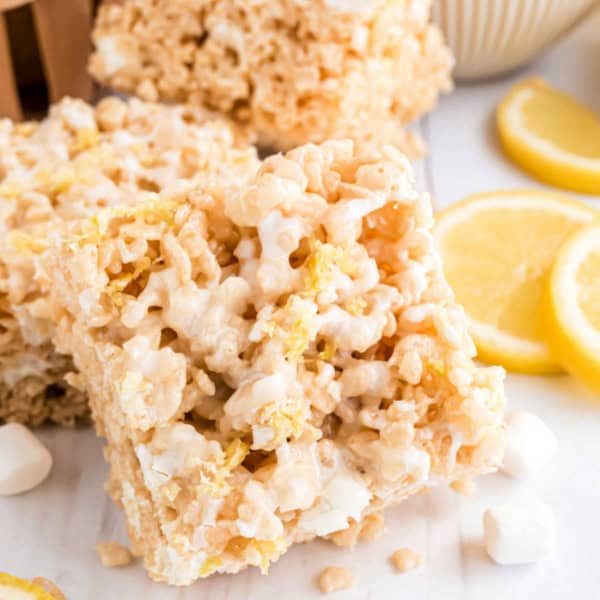
Adding my homemade vanilla extract or any pure vanilla extract takes this recipe over the top. Or make it lemon flavored using our easy lemon rice krispie treat recipe.
How to Make Rice Krispie Treats
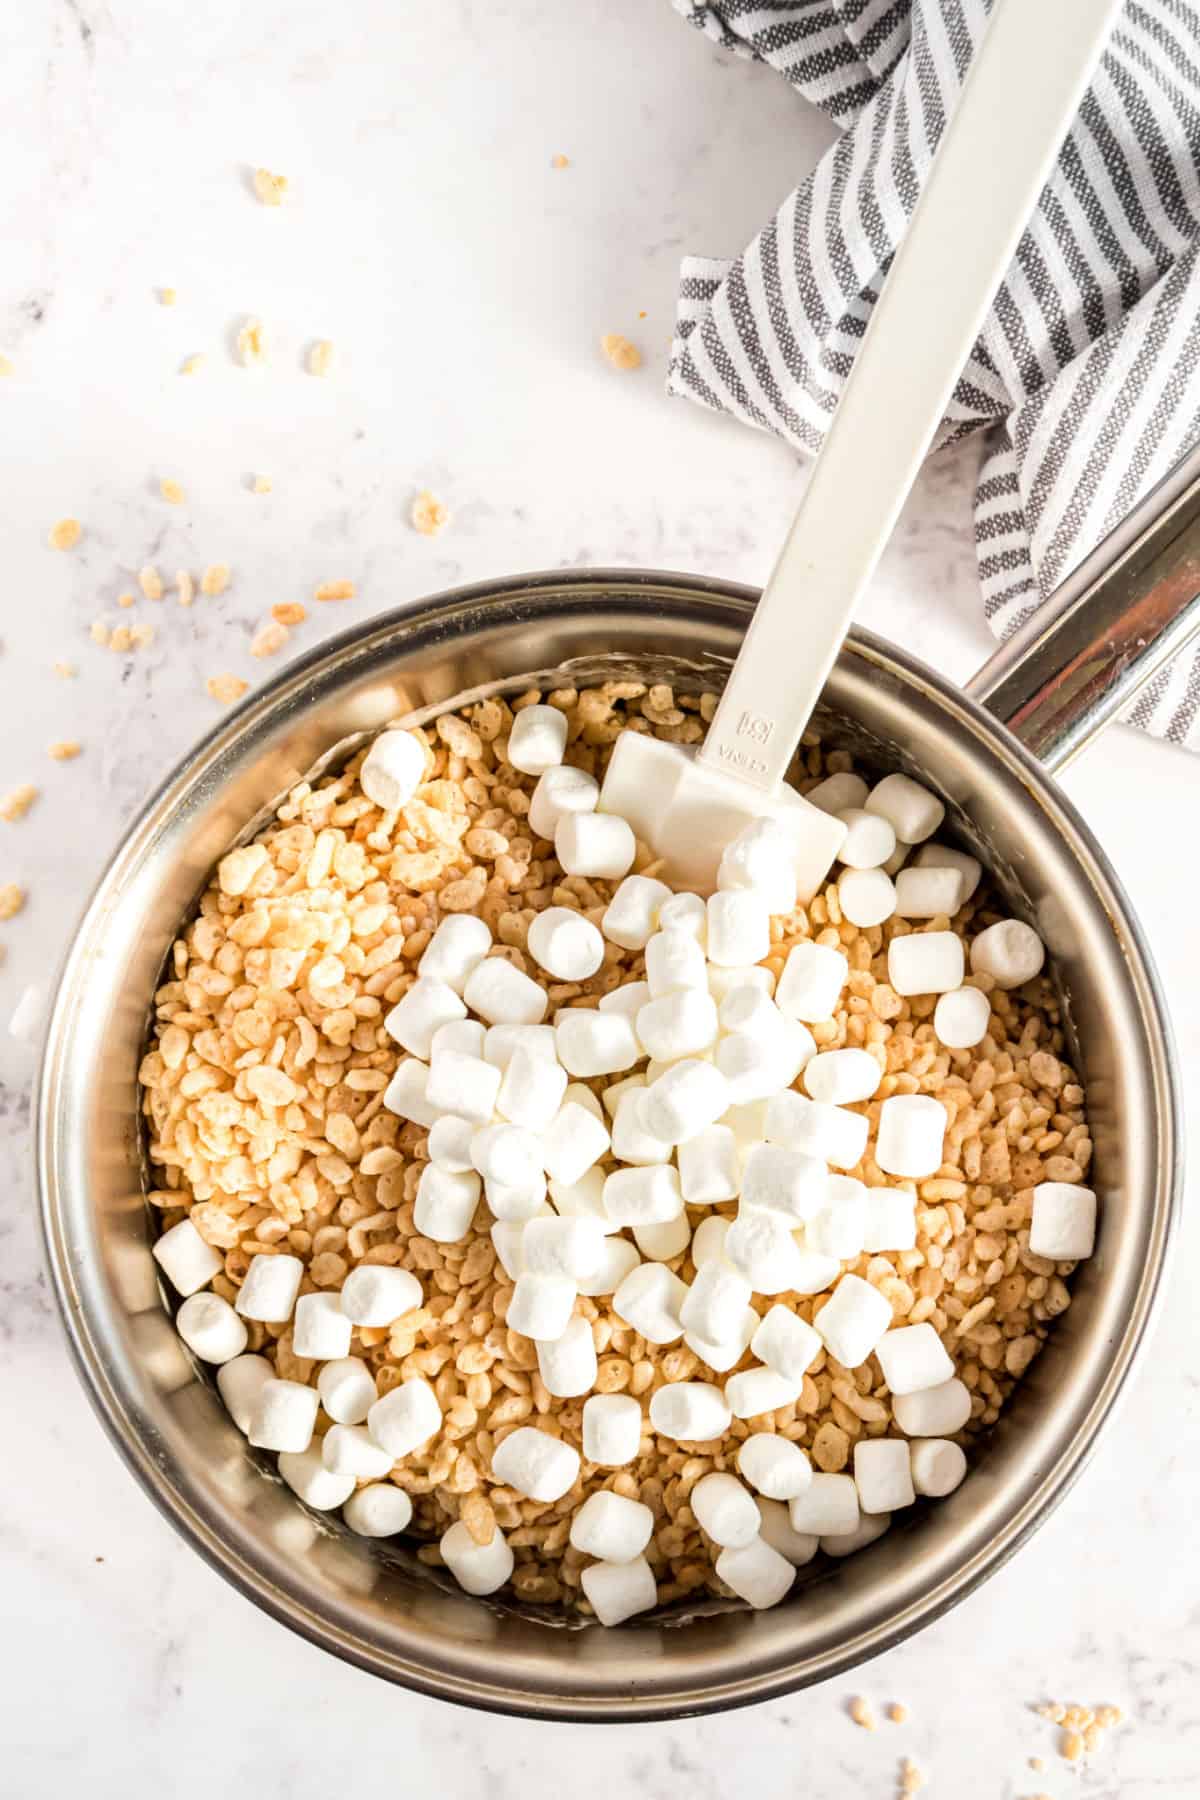
Making rice krispie treats is super easy. You’ll only need one pot and a spatula for stirring! Oh, and I love making mine in a 9-inch square pan, for thicker bars, but you can use a 13×9 if you prefer.
- Melt butter & marshmallows.
- Add vanilla, cereal, and remaining marshmallows to the mixture.
- Pour into dish to set! No need to use nonstick spray…but I do love a piece of parchment paper for easy cleanup and removal.
Quick Tips
- Use fresh marshmallows. Using stale marshmallows will result in stale treats. Trust me, I’ve learned the hard way.
- Brown the butter. Learn how to brown butter and make a batch of my flavorful brown butter rice krispie treats next!
- Add my secret ingredient. VANILLA EXTRACT. Not imitation vanilla, but PURE VANILLA extract. It makes a difference in creating the illusion that you’re using homemade marshmallows.
- Kelloggs is wrong. DO NOT press these bars into your pan firmly. Using your fingertips and gentlypress them in just until they are spread out. The harder you pack them in, the harder they are when it’s time to eat them!
- The trick to pressing them in your pan without sticking to your hands is to run your fingers in water. Dip in water, shake off the excess, and press. Voila. No sticking!
- Store in an airtight container for two days. If they last that long, I’d be shocked!
- Make these gluten free by choosing a crispy rice cereal labeled Gluten Free (and check your marshmallow labels too just in case).
Why are my rice krispie treats hard?
As mentioned above, you’ll get hard rice krispie treats a number of ways.
Using stale ingredients will results in stale, hard treats. So always use fresh marshmallows and fresh cereal too.
Avoid pressing your bars too firmly into the pan. The harder you press, the more firm the rice krispies treats will be.
Storing Leftovers
Rarely is this the case in my house, as we all know I can eat an entire pan of homemade rice krispie treats. But, should you find yourself with leftovers, you can store them in an airtight container at room temperature. I usually just slide them into a ziploc bag.
Or you can freeze rice krispie treats. I was skeptical for a long time, and finally tried it out. I slide my leftovers into a ziploc freezer bag and placed them in the freezer.
Surprisingly, they thaw pretty quickly on the counter and they taste super fresh too!
More Rice Krispie Treat Flavors
Add in some flavored gelatin (or pudding mix) to the melted marshmallow for a unique twist! Cherry Krispie Treats!
Make Lucky Charms Treats for a St.Paddy’s Day dessert idea.
- For best results, name brand cereal stays fresher longer and can hold up to the melted butter and marshmallows better
- Always start with fresh marshmallows. If you use stale marshmallows in hopes that melting them will give you good results, you’ll be disappointed!
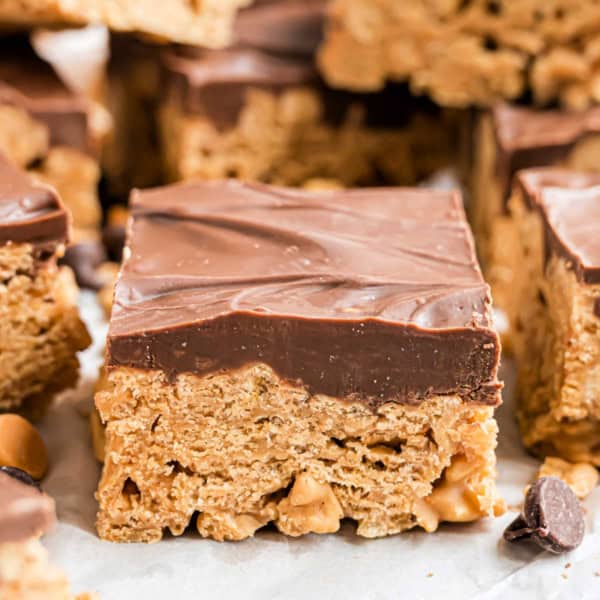
- More mix-ins: fold in some m&m’s or Reese’s peanut butter cups for a delicious dessert idea.
Best Rice Krispie Treats
Pin this now to find it later
Pin It
Rice Krispie Treats Recipe
Ingredients
- 6 Tablespoons salted butter
- 16 ounce bag mini marshmallows divided
- 1 teaspoon pure vanilla extract
- 6 cups rice krispies cereal
Instructions
- Line a 9-inch square baking dish with parchment paper. Set aside.
- In a large saucepan, melt butter over medium heat. Once melted, add in all but 1 cup of the marshmallows. Reduce heat to low and continue stirring until completely melted.
- Remove from heat and stir in the vanilla. Add the cereal and the remaining 1 cup of marshmallows and gently stir until combined.
- Pour into the prepared baking dish. Press GENTLY with your fingertips just until completely spread out (the harder you pack them in, the harder they are to eat).
- Allow to set, about 1 hour. Cut and enjoy!
Notes
- How many marshmallows do I need? One 16 ounce bag of marshmallows is about 8-9 cups. You’ll melt all but one cup of the marshmallows in the butter, reserving the last cup for adding with the cereal.
- Line a 9-inch square baking dish with parchment paper. This way you don’t have to worry about extra butter on your fingertips, or the other extreme of your bars sticking to the pan! Use binder clips to help the parchment paper stay in place.
- Use fresh marshmallows. Seriously, they make a difference. Don’t grab that bag that’s been in your pantry for months and months thinking it will be okay since you are melting them. It won’t be okay.
- Add my secret ingredient. VANILLA EXTRACT. Not imitation vanilla, but PURE VANILLA extract. It makes a difference in creating the illusion that you’re using homemade marshmallows.
- DO NOT (I repeat) DO NOT press these bars into your pan firmly. Using your fingertips, GENTLY press them in just until they are spread out. The harder you pack them in, the harder they are when it’s time to eat them!
- The trick to pressing them in your pan without sticking to your hands is to run your fingers in water, shake off the excess, and press. Voila. No sticking!
- Store in an airtight container for two days. If they last that long, I’d be shocked!
- Make these gluten free by choosing a crispy rice cereal labeled Gluten Free (and check your marshmallow labels too just in case).
- Can you freeze rice krispie treats? YES! I slide them on a parchment paper lined sheet into a ziploc freezer bag. Thaw on counter until soft again!
Video
Nutrition
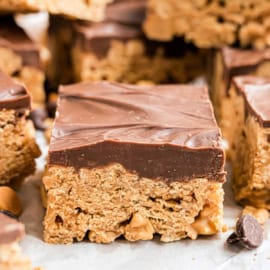
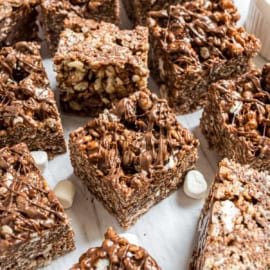
Original Rice Krispie Treats recipe with all the tips and tricks for making them thick and chewy!

The best recipe out there!
I couldn’t agree more 🙂
These Rice Krispie treats are so easy and fun to make , everyone loves them
These are FANTASTIC and worth the time to refresh your rice Krispy treat skills!!
Yes!!!!!
I Love your rice crispy treats!!! I’ve always added extra marshmallows, makes them even better!! Love your broccoli soup too!! I’ve always Loved broccoli soup!! You have so many great recipes!!!
Thank you Teresa!
Love a good soft chewy rice krispie. So good!
I love these! I have also made them gluten free for my grandson. I love the amount or marshmallows that are used. Great recipe!
Thank you Karen 🙂
I have been making rice krispie treats for many, many years. I have to say these are the BEST ever! They stayed soft and chewy. I love reading your tips. The tip in this recipe that I never knew, was NOT to smash them down in the pan. I never knew that and it made a huge difference. I love the added vanilla as well.
Great rice krispy recipe!
An oldie but a goodie! Keep keepin on girl!
Thank you Gina!!
Even a common recipe like Rice Krispies Treats can be improved with the addition of your tips, like adding vanilla, not pressing them into the pan so hard and even using a square pan which makes for a thicker treat. I am now making “perfect” Rice Krispies Treats. Thank you!
This is by far my favorite go to recipe for Rice Krispie Treats. I have made this so many times and it is always a HUGE hit. I love the addition of the vanilla and adding in some mini marshmallows after everything is mixed together. I actually add the vanilla to my melted butter before I mix it with the marshmallows. I’m not sure if it makes a big difference if you add before or after the marshmallows that’s just what I do. But definitely a keeper. I will never make Rice Krispie Treats any other way again. Thank you for the recipe…it’s AMAZING!!!!
I wet my hands and then pat the mixture down and it works great. Much better than a buttered spatula, etc.
For sure these are the best Rice Krispie Treats. The vanilla adds so much and the little bit of sale as well. I usually use salted butter. I like the few whole marshmallows put in at the end as well. YUM!!!
Just wondering..is this recipe doable with the regular size marshmallows? That’s all i have on hand right now. If so do you know how many marshmallows lol
A 16 ounce pack of mini marshmallows is 8-9 cups. Hope that helps!
Theses are by Far the best Rice Krispie treats I have ever made!! Today is like my 5-6 th time. Always a huge hit. 🩷 people ask for the recipe (wish I could say it’s mine 😂) but Pinterest Aimee!
Haha! It’s my favorite dessert 🙂
This recipe came out PERFECT & DELICIOUS, the family loved it!! Reserving 1 cup of marshmallows for the end really makes a difference as well as pressing gently instead of mashing firmly. Appreciate you sharing your recipe and your tips! My only tip that I recommend is -The trick to pressing them in your pan without sticking to your hands is to spray your gloved hand with Pam cooking spray 🙂 try it 🙂
Just made these and they were a hit! My kids and I couldn’t stop eating it as soon as we poured it into the pan. Not sure if we can wait the full hour. lol
It’s addicting I know 🙂
Why 9″ square baking pan? Why do y’all wanna be quirky!? For square baking pans the literally MOST common is 8″!
NOBODY in a normal house hold has a 9″ square baking pan.
Angry much? It’s a rice krispie treat that brings joy. Put it in an 8-inch pan, it will just be thicker. And apparantly will make you happier. PS, could you let me know where you sourced the information that 8-inch is MOST common? Thanks.
You wanna bet? I have both 8 and 9 inch square pans, and have been in a pretty norman household for years. These pans were purchased when first married in 1966!! I go back more years than most people care to acknowledge!!! (This is said with a huge smile!) I’ll bet many of you gals also go back years and years ALSO have both sizes. Come on, admit it!
By the way, 8 inch all the way as recommended! The thicker bars are the best : )
UMMMM I have a 9 inch AND a 8 inch ( but my first was a 9 inch ) I also have a normal household that is kind and most of all adaptable to things like cake pans… one inch off.. Is it a big issue ? No
Don’t go and be mean to Aimee! this rice krispie treat recipe was one of the best I ever had!
You say 9 cups of marshmallows, but in your ingred. you say 6??? Is it 9 or 6 cups? thanks
I think you’re reading the ingredients wrong. It’s 6 cups of cereal, 9 cups (16 ounce) or marshmallows.
Hello, My roommate accidentally bought me a 10 oz. Bag of marshmallows. I guessed about the measurements. They came out just fine and thank you for your recipe.
Do you happen to have the measurements for RC squares for a 10 oz. Bag of marshmallows? Thank you in advance if you do. Sincerely, Aimee Ingerson
Today I made a second batch of these after testing the recipe last week. They were a hit all my friends loved them so I made more for Easter, I considered adding candy toppings but the original flavor is just so good on it’s own. **Pro tip- toast the cereal first for extra flavor and it makes it a bit crispier! I also top it with sea salt to cut the sweetness a little and it’s balanced so perfectly 👌🏼
What size pan did you use