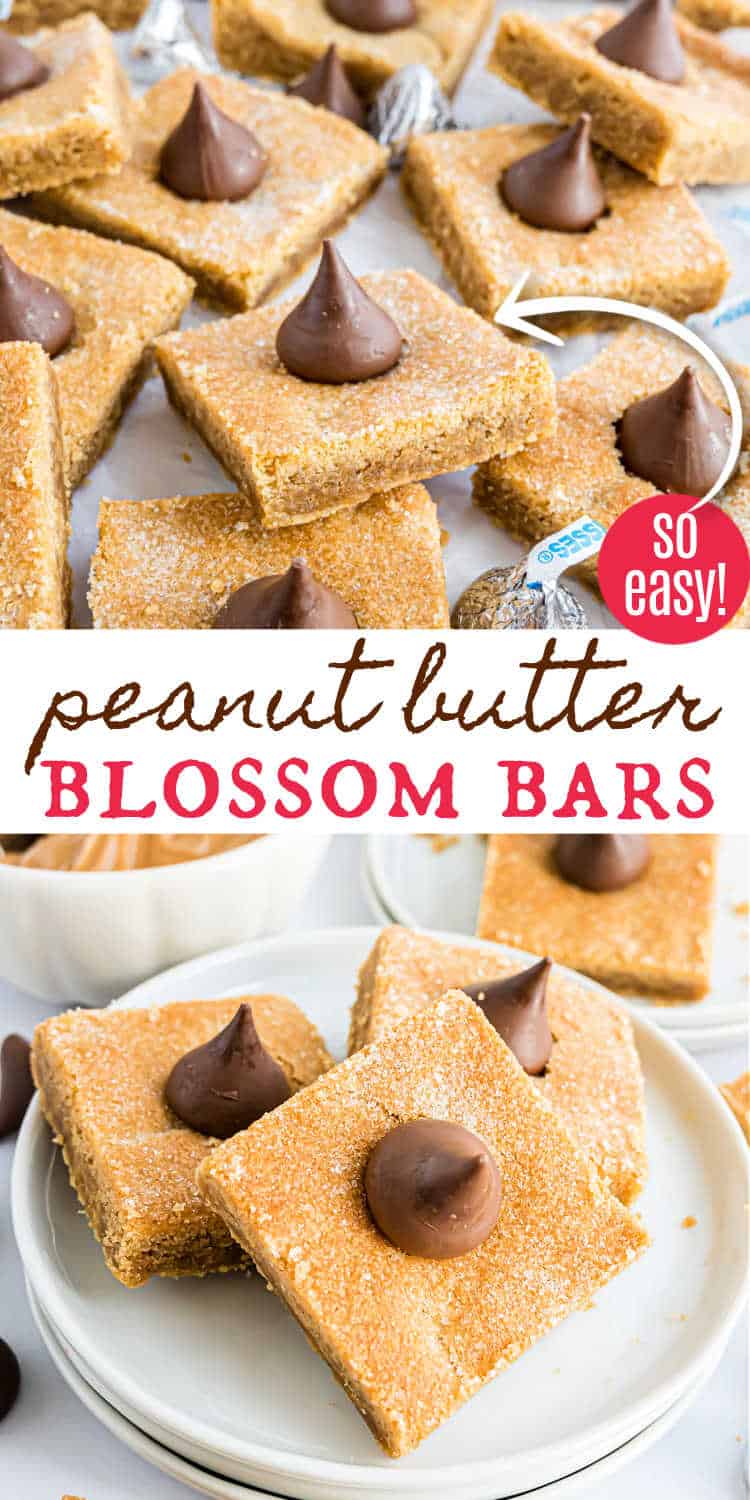
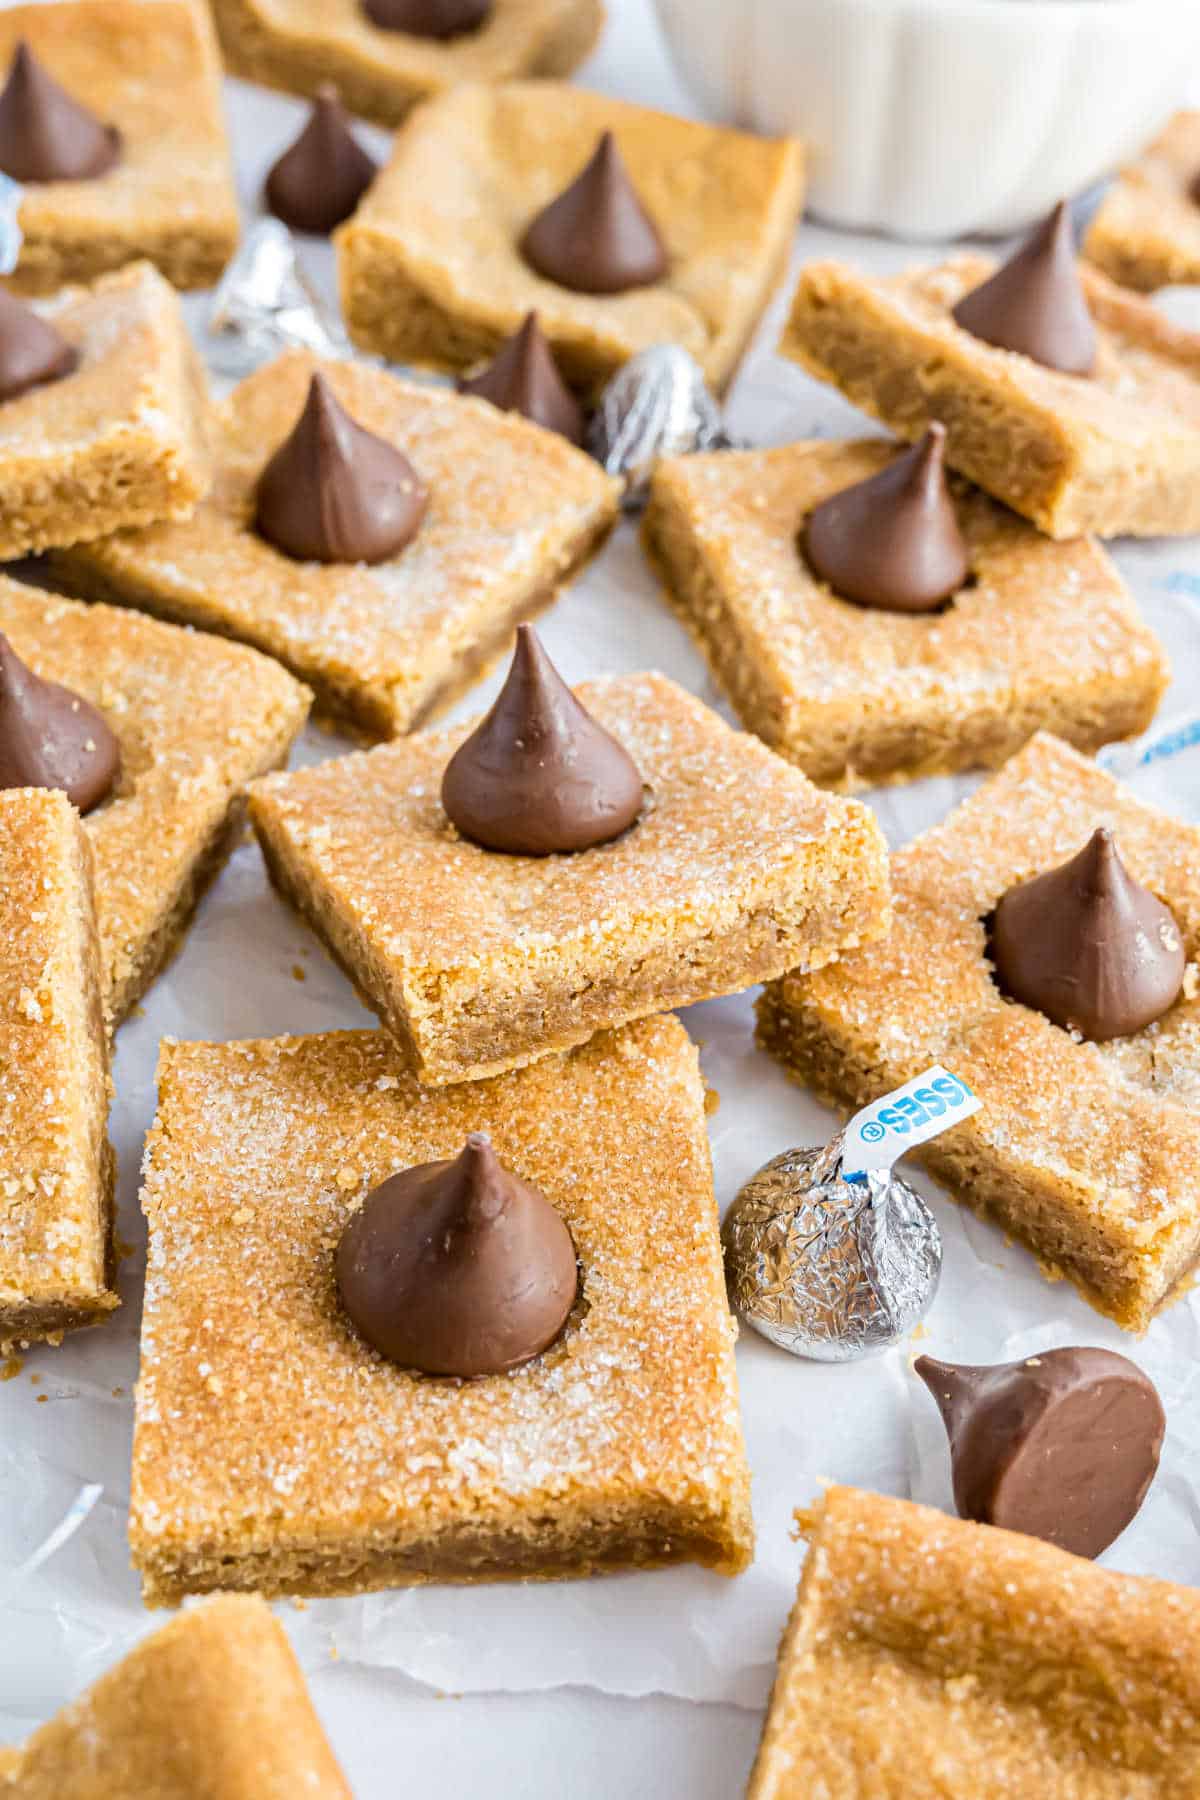
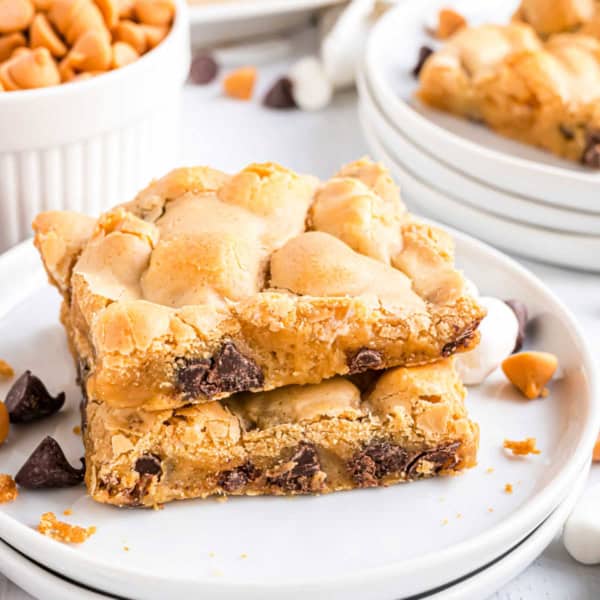
If you love the classic cookie, you’ll also love these Peanut Butter Blossom Bars! Chewy peanut butter cookie bars are topped with chocolate Hershey’s Kisses.
Everyone waits until the holidays to make classic peanut butter blossom cookies. With this easy bar cookie you can whip up a batch any time of year! You’ll love the crunchy top I put on mine too.
Aimee’s Recipe Notes
- Taste: Sweet and nutty with the classic creamy peanut butter flavor you love, paired with rich chocolate in every bite.
- Texture: Soft and chewy peanut butter base with a piece of chocolate candy on each cookie bar.
- Ease to Make: Beginner-friendly! Simple ingredients and minimal hands-on time make these bars a breeze to whip up.
- Cooking Method: Baked in a 9×13-inch pan, then topped with chocolate pieces while still warm.
- Top Tip: Don’t skip the granulated sugar on the cookie bars. Adds a delicious texture and sweetness like none other.
Peanut butter blossoms are one of those classic cookies, like Snickerdoodles and sugar cookies, that almost everyone has enjoyed at some point in their lives.
They’re so simple—just a peanut butter cookie base and a Hershey’s Kiss on top—but so delicious!
Consider these an easier way to do peanut butter blossoms—no rolling individual balls of dough, just press it all into a baking pan!
- Easy to make, with a simple cookie dough for the base.
- Peanut butter blossom bars are perfect for sharing! Make them for parties, potlucks, or even game-day get-togethers. (You need something sweet to serve with your Buffalo Chicken Dip!)
- The texture is on point! You get the cookie base, which is crisp on the outside and chewy in the middle, plus the creamy melt-in-your-mouth chocolates on top.
Important Ingredient Notes
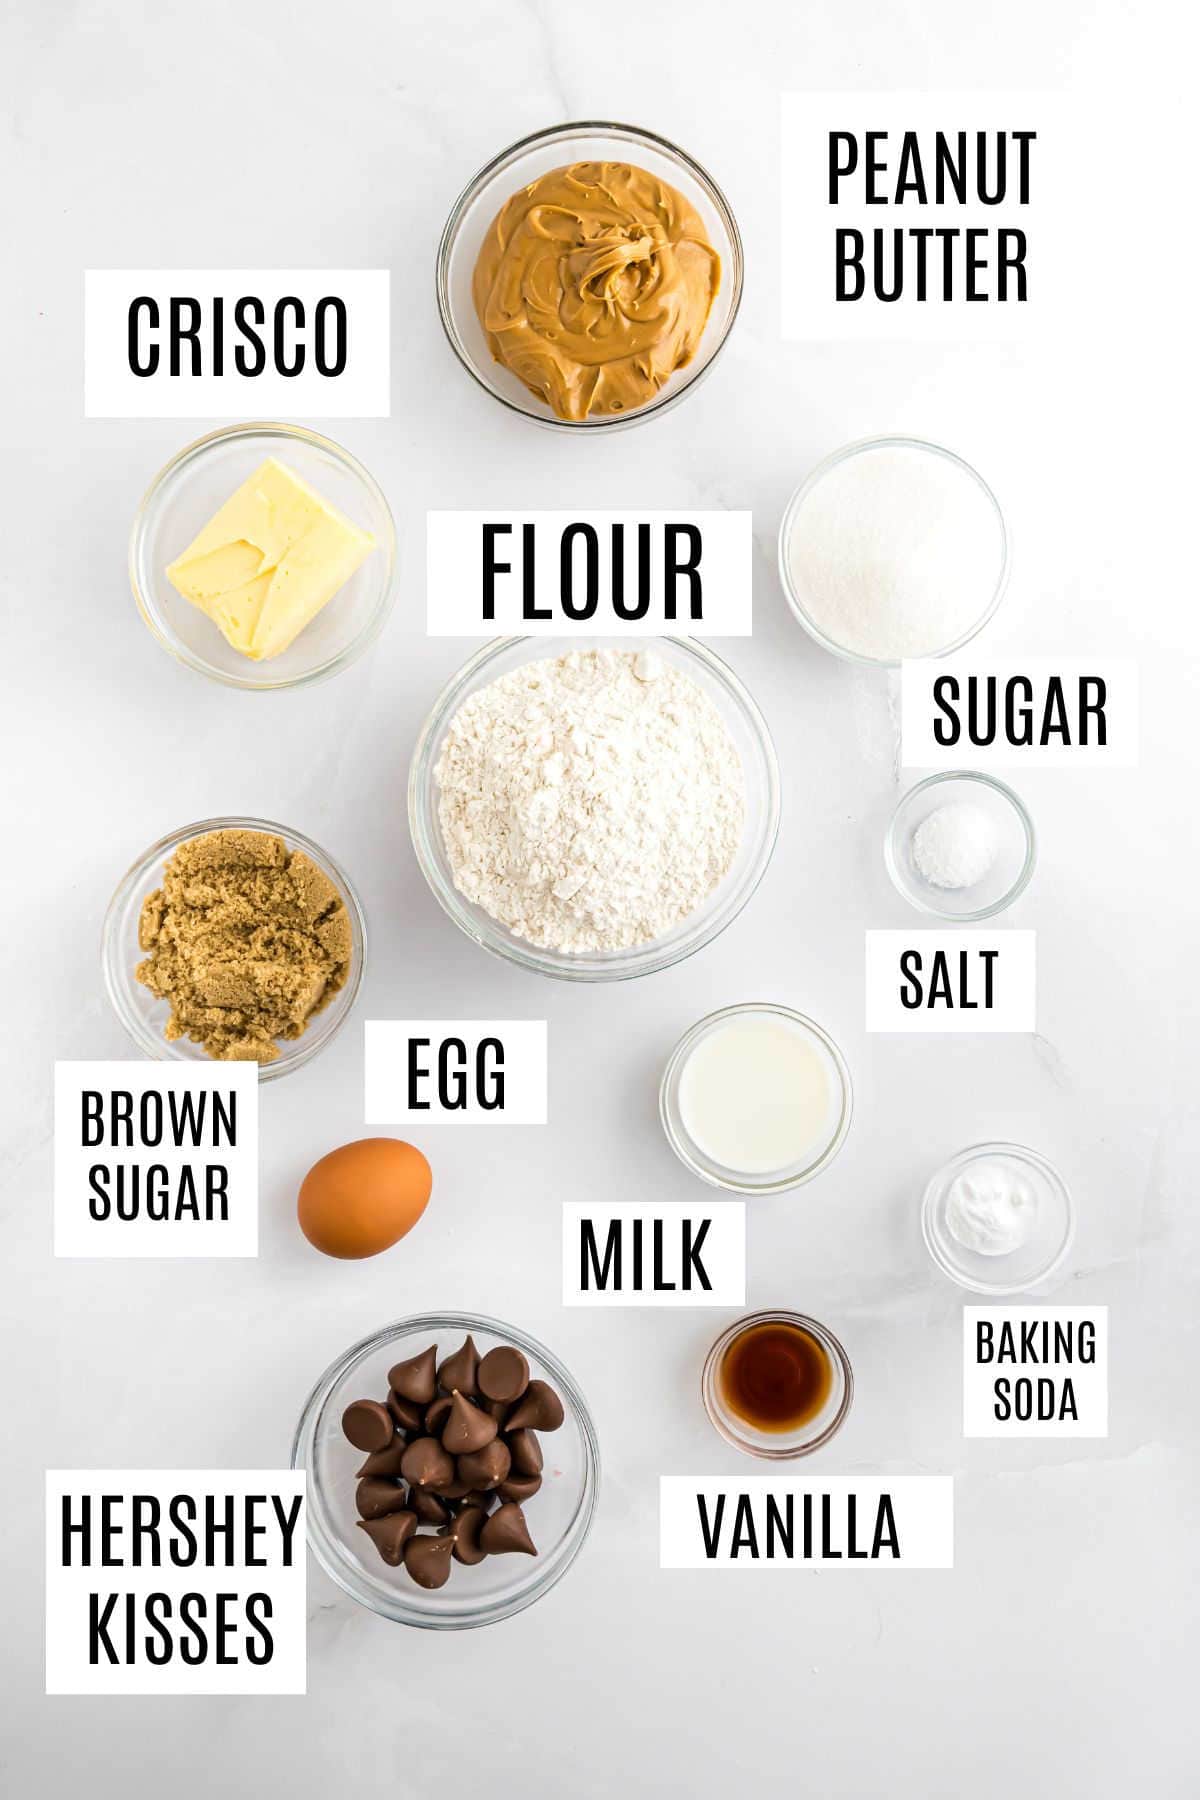
The full ingredient list is in the recipe card at the bottom of the post, but here are some highlights.
- Butter flavored shortening – This helps give the peanut butter blossom bars their irresistible texture! The outside is crunchy while the inside is soft and chewy. You can swap in butter if you prefer, but the texture will be different.
- Creamy peanut butter – Don’t use natural peanut butter—you need the kind that doesn’t need to be stirred before you use it.
- Light brown sugar – This has a milder flavor than dark brown sugar.
- Granulated sugar – You can also sprinkle some on top of the bars for a little extra sweetness and crunch.
- Whole milk – While a lighter milk will work if that’s what you have on hand, I always like baking with whole milk because it makes everything a little bit richer!
- Pure vanilla extract – Don’t use imitation vanilla, which doesn’t have the same depth of flavor. I love using my homemade vanilla extract.
- All-purpose flour – Lightly spoon this into the measuring cups rather than scooping it. When you scoop flour, you compact it, which means you’ll use more than you need and your baked goods can turn out dry.
- Hershey Kisses – I use the traditional milk chocolate ones, but you can definitely swap in another variety if you’d like. Just make sure it’s a flavor that would pair well with peanut butter!
How to Make Peanut Butter Blossom Bars
Prep your pan and oven: Line a 13×9-inch baking dish with parchment paper and preheat the oven to 350ºF.
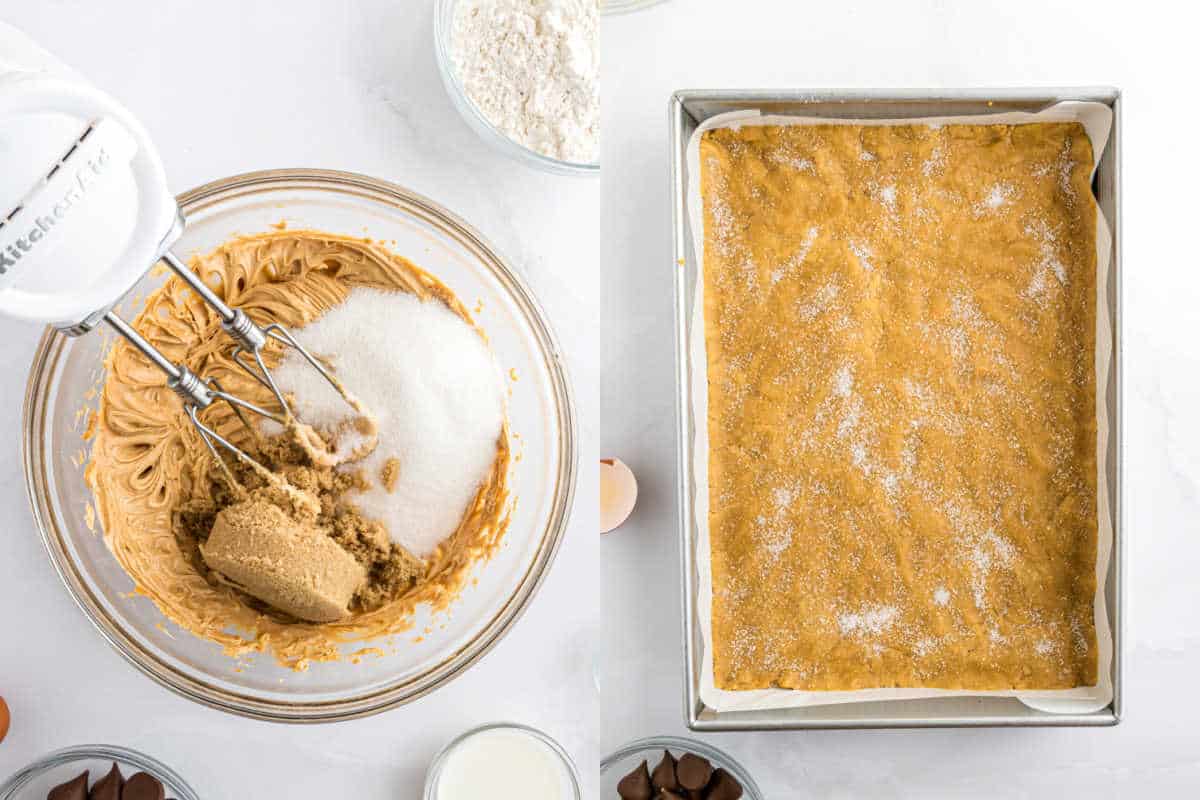
Make the dough: Beat together the shortening and peanut butter. Add sugars, then mix in the egg, milk, and vanilla. Finally, stir in the dry ingredients until just combined.
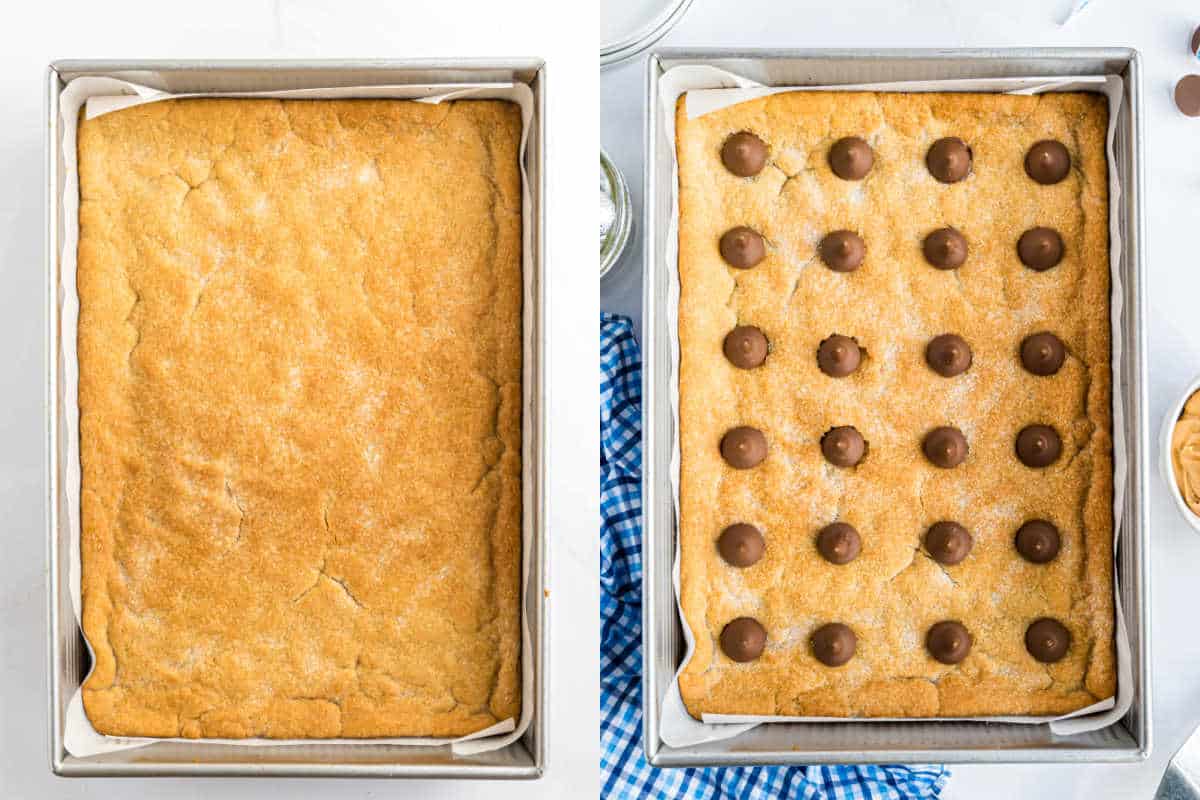
Bake the bars: Press the dough into the pan, sprinkle with sugar (the key to my delicious bars), and bake for 16–18 minutes, just until lightly golden.
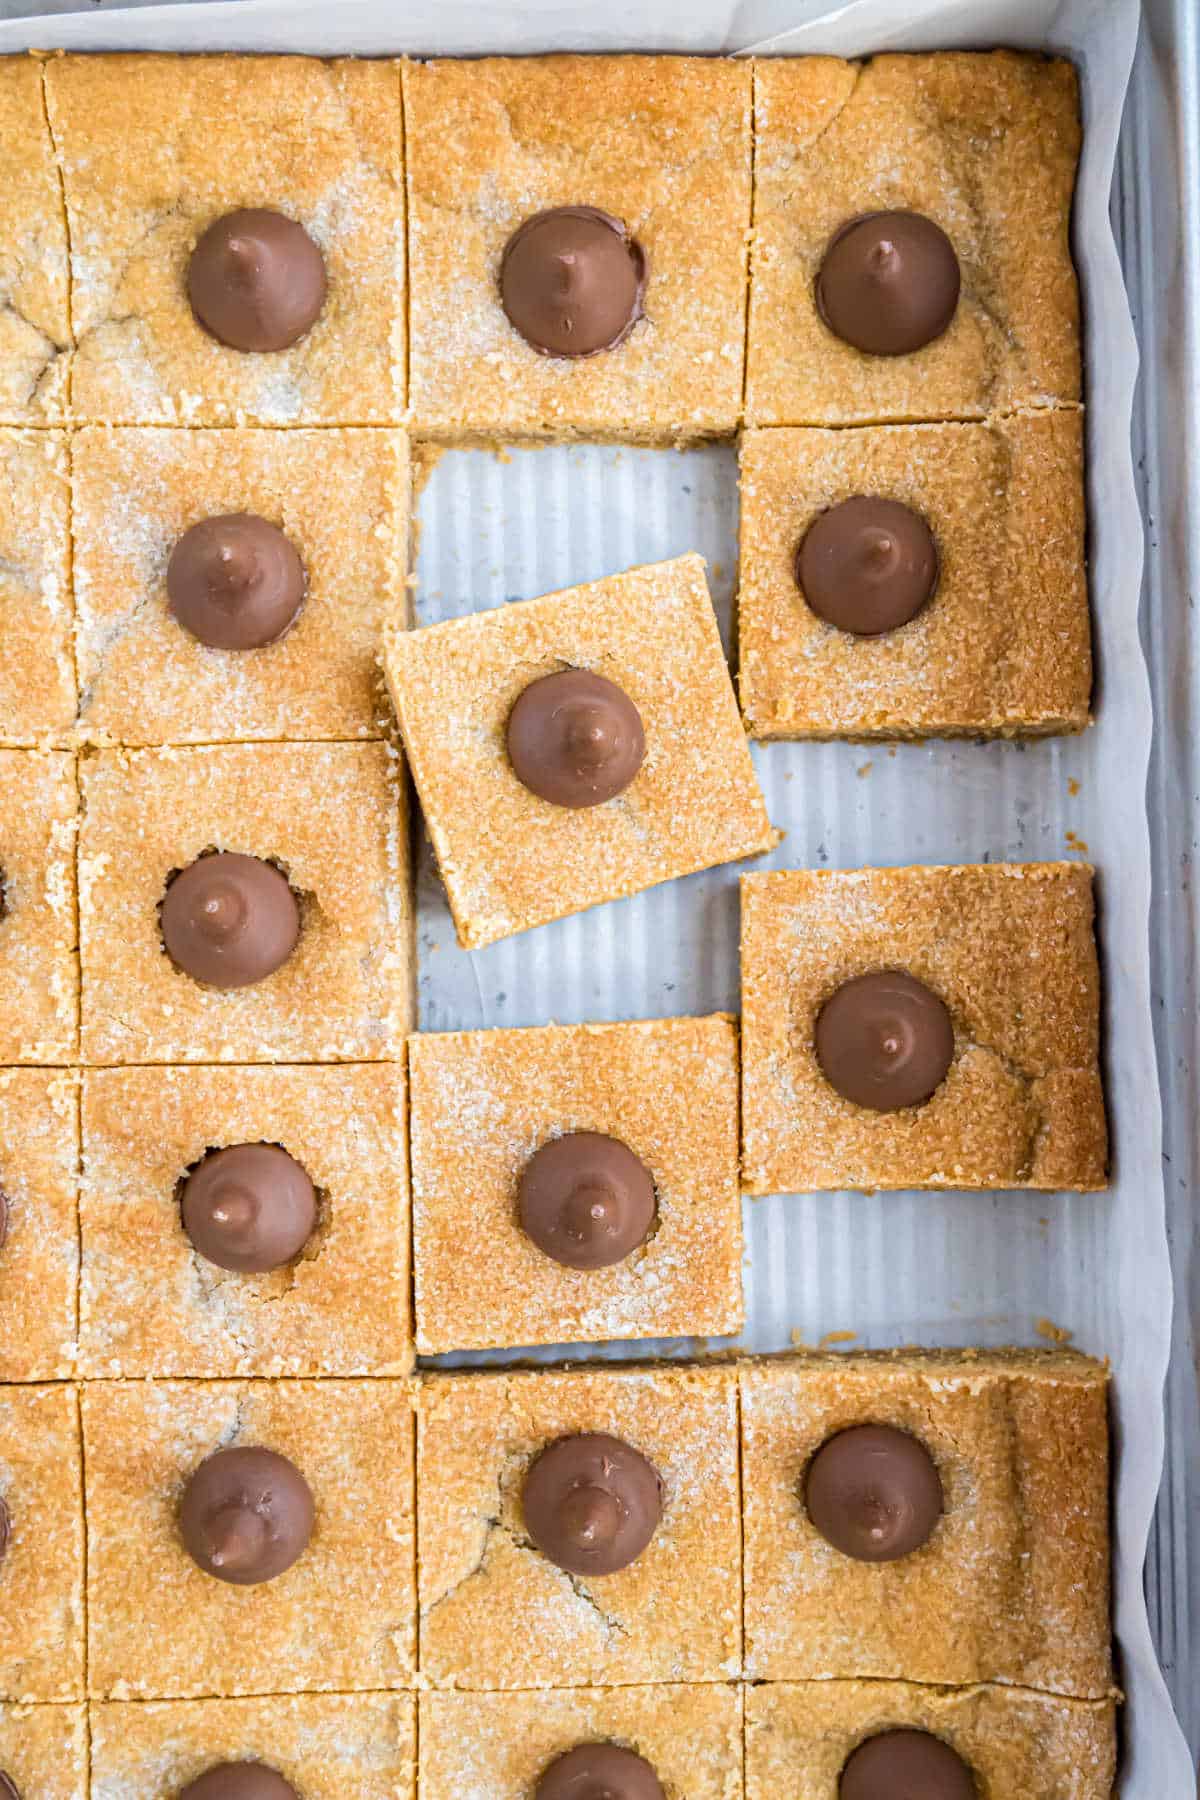
Finish with Kisses: Once baked, press Hershey’s Kisses into the bars. Let cool completely before slicing and serving.
Tips and Tricks
- Don’t overbake the bars. If you do, they’ll be crunchy all the way through, rather than chewy.
- Once the cookie bars cool, you can cut them and store them in an airtight container at room temperature for up to one week.
- You can also freeze these peanut butter blossom bars for later! Place them in an airtight container and freeze for up to 3 months. Thaw at room temperature before serving.
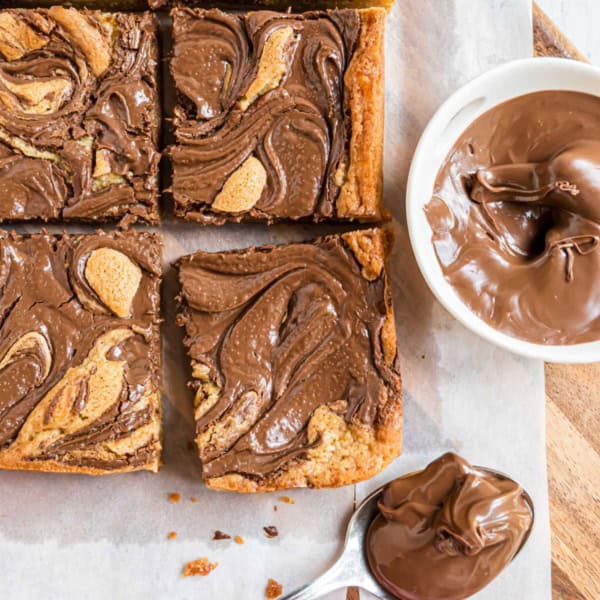
- For a little extra decadence, you can add a drizzle of melted chocolate to the bars once they’ve cooled. White chocolate is a nice visual contrast!
- Swap out the Hershey Kisses for a bite of your favorite candy. Maybe you want to press a DOVE candy into the bar for Valentine’s Day.
More Cookies and Bars
My Cookbook is Here!
- 5 categories of delicious treats!
- Full page photos for EVERY recipe.
- QR codes with every recipe to receive BONUS recipes!
- 35 mouth-watering, expert tested recipes!
Pin this now to find it later
Pin It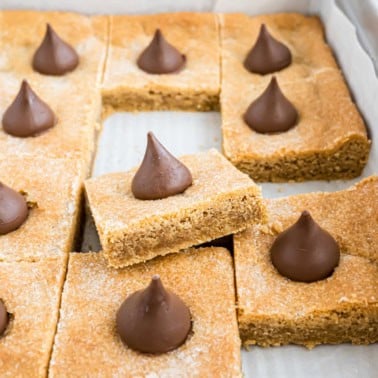
Peanut Butter Blossom Bars Recipe
Ingredients
- ½ cup butter flavored shortening
- ¾ cup creamy peanut butter
- ½ cup light brown sugar packed
- ½ cup granulated sugar
- 1 large egg
- 2 Tablespoons whole milk
- 1 teaspoon pure vanilla extract
- 1 ½ cups all-purpose flour
- 1 teaspoon baking soda
- ½ teaspoon kosher salt
- 24 Hershey Kisses unwrapped
- 2 Tablespoons granulated sugar optional
Instructions
- Preheat the oven to 350 degrees F. Line a 13×9-inch baking dish with parchment paper and set it aside.
- In a mixing bowl, beat together the shortening and peanut butter. Add in brown sugar and the ½ cup of granulated sugar. Beat until well blended.
- Add in egg, milk, and vanilla extract. Slowly add in flour, baking soda, and salt. Mix just until combined.
- Press cookie dough into the prepared baking dish. Sprinkle with 2 Tablespoons of granulated sugar, if desired.
- Bake cookies for 16-18 minutes, just until they begin to brown. Remove from the oven and immediately press the unwrapped Hershey Kisses into the bars. Allow to cool, then enjoy.
Notes
- You can definitely swap the shortening for butter, but the texture of the cookie bar will be different. My family prefers the crunchy outside and chewy inside that you get with shortening.
- Store cooled cookie bars in an airtight container at room temperature for up to one week.
- Freeze cookie bars in a freezer safe airtight container for up to 3 months. Thaw at room temperature overnight.
- See blog post for more recipe tips and tricks and process pictures.